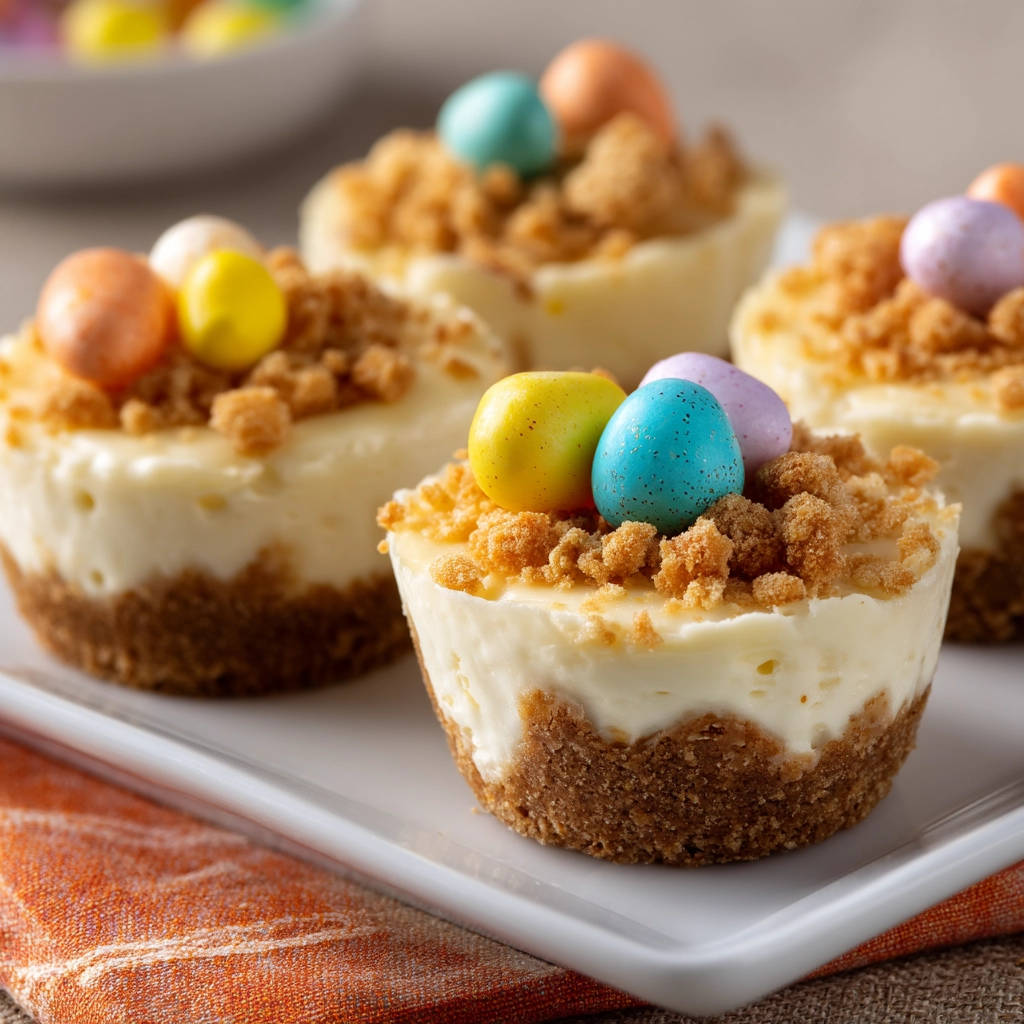
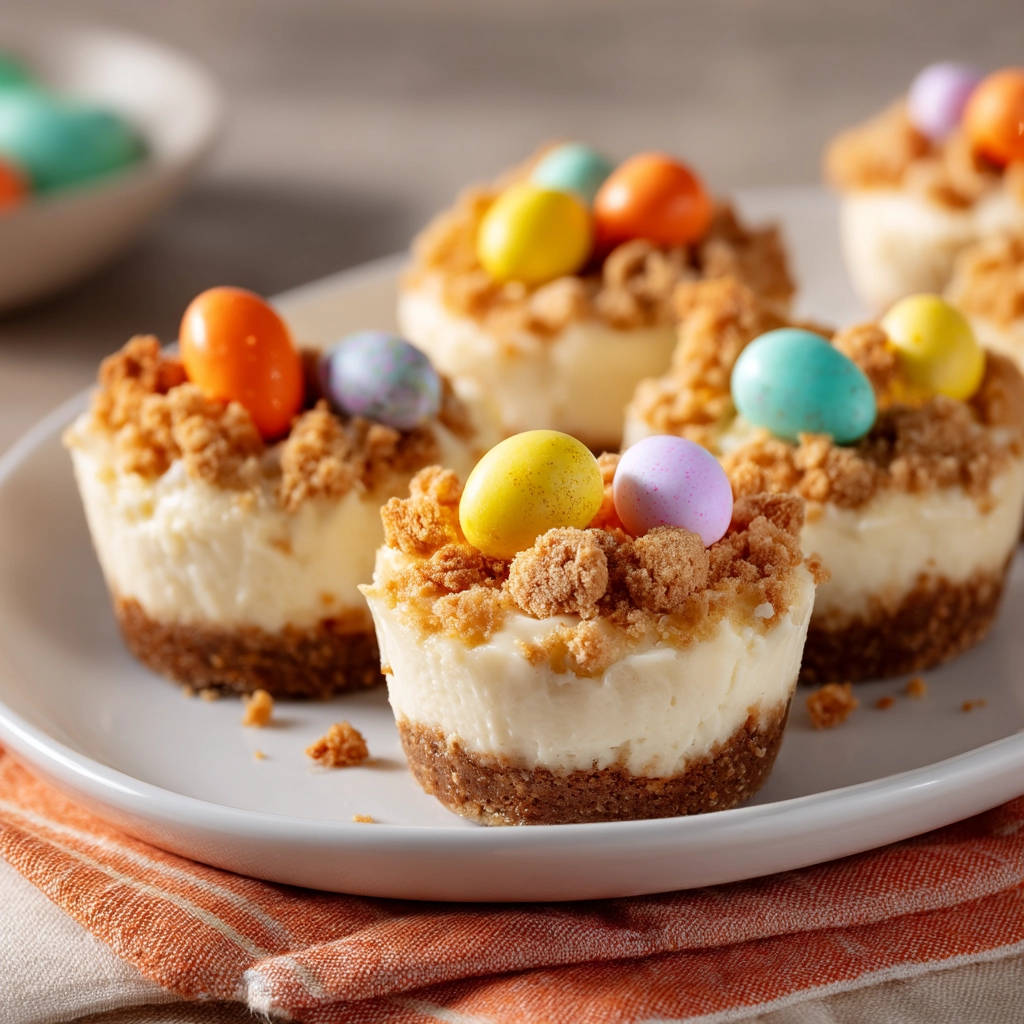
Is there anything more disappointing than making adorable mini cheesecakes only to have them stubbornly glued to their wrappers? It ruins the presentation and makes them a hassle to serve. But fear not, fellow dessert enthusiasts! I’ve cracked the code to creating mini cheesecakes that release cleanly every single time. This easy method guarantees perfectly portioned, beautifully presented treats that are sure to impress.
Why You’ll Love These Mini Cheesecakes
These aren’t just any mini cheesecakes; they’re:
- Foolproof: The simple trick ensures they never stick.
- Perfectly portioned: Ideal for parties, potlucks, or just a little sweet treat.
- Customizable: Easily adaptable with different toppings to suit your taste.
- Deliciously creamy: The classic cheesecake flavor you know and love, in miniature form!
Gathering Your Ingredients for Mini Cheesecakes
Before we begin, let’s talk ingredients. These mini cheesecakes rely on a harmonious blend of textures and flavors, starting with the crust, moving to the creamy filling, and finishing with a touch of sweetness and visual appeal on top. High-quality ingredients make all the difference, so choose wisely!
Here’s what you’ll need:
- For the Crust:
- 1 ½ cups graham cracker crumbs: The foundation of our cheesecake! Graham crackers provide a slightly sweet, subtly spiced base that perfectly complements the creamy filling. You can buy pre-made crumbs or crush your own.
- ¼ cup unsalted butter, melted: Butter binds the crumbs together, creating a sturdy and flavorful crust. Unsalted butter allows us to control the overall saltiness of the cheesecake.
- 1 tablespoon granulated sugar: A touch of sweetness to enhance the crust’s flavor.
- For the Creamy Filling:
- Two 8-ounce packages of cream cheese, softened: This is the star of the show! Ensure your cream cheese is completely softened for a smooth, lump-free filling. Full-fat cream cheese is recommended for the best texture and flavor.
- ¾ cup granulated sugar: Sweetness is essential! Granulated sugar dissolves easily into the cream cheese, creating a silky smooth filling.
- 2 large eggs: Eggs provide structure and richness to the filling.
- 1 teaspoon vanilla extract: A splash of vanilla enhances all the other flavors, adding warmth and complexity.
- 1 tablespoon all-purpose flour or cornstarch: This helps stabilize the filling and prevent it from cracking. Cornstarch is a great gluten-free alternative.
- For the Topping:
- 1 cup graham cracker crumbs: More of that delicious graham cracker flavor!
- 1 tablespoon melted butter: To bind the topping and add a touch of richness.
- ½ cup small candy-coated chocolate eggs: These add a festive touch and a pop of color, perfect for a celebration! You can substitute these with other candies, sprinkles, or fresh fruit depending on your preference.
Crafting Your Mini Cheesecakes: Step-by-Step
Making these mini cheesecakes is easier than you think! Follow these simple steps, and you’ll be enjoying perfectly portioned treats in no time. The key is to be patient and let the cheesecakes cool and chill properly – that’s what prevents them from sticking!
- Preheat and Prep: Begin by preheating your oven to 325 degrees F (160 degrees C). While the oven heats, line a muffin tin with cupcake liners. This is crucial for easy release later on.
- Make the Crust: In a small bowl, combine the 1 ½ cups of graham cracker crumbs, ¼ cup of melted butter, and 1 tablespoon of sugar. Mix well until the crumbs are evenly moistened.
- Press into Liners: Press about 1 to 2 tablespoons of the graham cracker mixture firmly into the bottom of each lined muffin cup. Use the back of a spoon or a small glass to create a compact and even crust. A well-pressed crust will hold its shape during baking.
- Prepare the Filling: In a large bowl, beat the softened cream cheese until smooth and creamy. This may take a few minutes, but it’s important to eliminate any lumps for a silky filling.
- Add Sugar: Gradually add the ¾ cup of sugar to the cream cheese, continuing to beat until well combined. Make sure the sugar is fully incorporated to avoid a grainy texture.
- Incorporate Eggs and Vanilla: Beat in the eggs one at a time, mixing well after each addition. Then, stir in the 1 teaspoon of vanilla extract. The eggs add richness and structure to the cheesecake.
- Add Flour/Cornstarch: Gently mix in the 1 tablespoon of flour or cornstarch until just combined. Be careful not to overmix the batter at this stage. Overmixing can lead to a tough cheesecake.
- Fill the Liners: Spoon the cream cheese mixture evenly over the crusts, filling each cup about three-quarters full. This allows for a little bit of rising during baking without overflowing.
- Bake to Perfection: Bake for 18-22 minutes, or until the centers are almost set but still look slightly soft. The cheesecakes should jiggle slightly when the pan is gently shaken.
- The Secret Step: This is the key to non-stick success! Let the cheesecakes cool completely in the muffin tin on a wire rack. Then, transfer the entire tin to the refrigerator and chill for at least 4 hours, preferably overnight, until they are fully firm. This chilling process allows the cheesecake to set properly and releases it from the liners.
- Prepare the Topping: While the cheesecakes are chilling, combine the remaining 1 cup of graham cracker crumbs with the remaining 1 tablespoon of melted butter for the topping. This can be stored in an airtight container until ready to use.
- Release and Top: Once the cheesecakes are chilled and firm, gently peel away the cupcake liners. The cold, firm cheesecake should release cleanly.
- Garnish and Serve: Top each cheesecake with some of the crumb topping and a few candy-coated chocolate eggs before serving. Get creative with your toppings!
Tips for Perfect Mini Cheesecakes Every Time
Want to ensure your mini cheesecakes are a hit every time? Here are a few pro tips:
- Softened Cream Cheese is Key: Make absolutely sure your cream cheese is fully softened. This is essential for a smooth, lump-free filling. If you’re short on time, you can microwave it in 15-second intervals, but watch it carefully to prevent melting.
- Don’t Overmix: Overmixing the batter can incorporate too much air, leading to cracks in the cheesecake. Mix until just combined.
- Baking Time is Crucial: Keep a close eye on the cheesecakes while they’re baking. They should be almost set but still slightly jiggly in the center. They will continue to set as they cool.
- The Chilling is Non-Negotiable: Don’t skip the chilling step! This is what allows the cheesecakes to fully set and release cleanly from the liners.
- Variations: Try different toppings! Fresh berries, chocolate shavings, a drizzle of caramel sauce, or a dollop of whipped cream all make delicious additions. You could also try swirling a spoonful of fruit preserves into the batter before baking for a burst of flavor. Check out these easy caramel nut dessert jars for topping inspiration!
Optional Ideas for Serving
While these mini cheesecakes are delicious on their own, consider serving them with a side of fresh fruit or a scoop of vanilla ice cream for an extra special treat. For a more sophisticated presentation, you could arrange them on a platter with a variety of toppings for guests to customize their own.
Your Mini Cheesecakes Questions Answered (FAQ)
Can I use a different type of crust?
Absolutely! While graham cracker crumbs are classic, you could also use crushed chocolate wafers, vanilla wafers, or even gingersnaps for a different flavor profile. Just adjust the amount of butter accordingly to ensure the crust holds together.
Can I make these ahead of time?
Yes! In fact, it’s recommended. The cheesecakes need to chill for at least 4 hours, but they can be made up to 2-3 days in advance. Store them in an airtight container in the refrigerator.
My cheesecakes cracked! What did I do wrong?
Cracking can be caused by overbaking, overmixing the batter, or a sudden temperature change. Make sure to bake the cheesecakes until they are just set and avoid opening the oven door frequently. Letting them cool gradually can also help prevent cracks.
Can I freeze these mini cheesecakes?
Yes, you can! Wrap them individually in plastic wrap and then place them in a freezer-safe bag or container. They can be frozen for up to 2 months. Thaw them in the refrigerator overnight before serving. They may have a slightly different texture after freezing, but they will still be delicious.
Enjoy Your Homemade Mini Cheesecakes!
These mini cheesecakes are the perfect way to satisfy your sweet tooth without the guilt of a large slice of cake. They’re easy to make, endlessly customizable, and always a crowd-pleaser. So go ahead, whip up a batch and experience the joy of perfectly portioned, never-stick cheesecakes. Don’t forget to leave a comment below and let me know how yours turned out! Share this recipe with your friends and spread the cheesecake love!