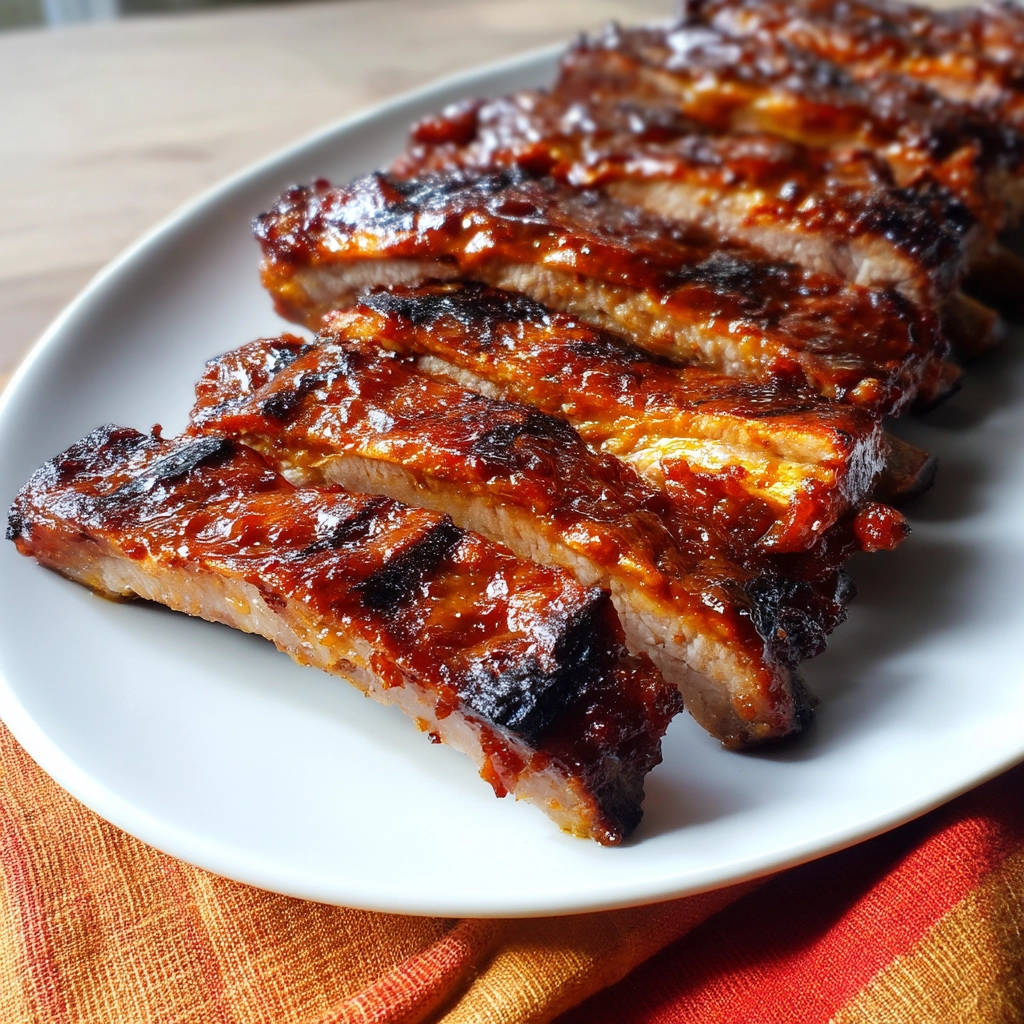
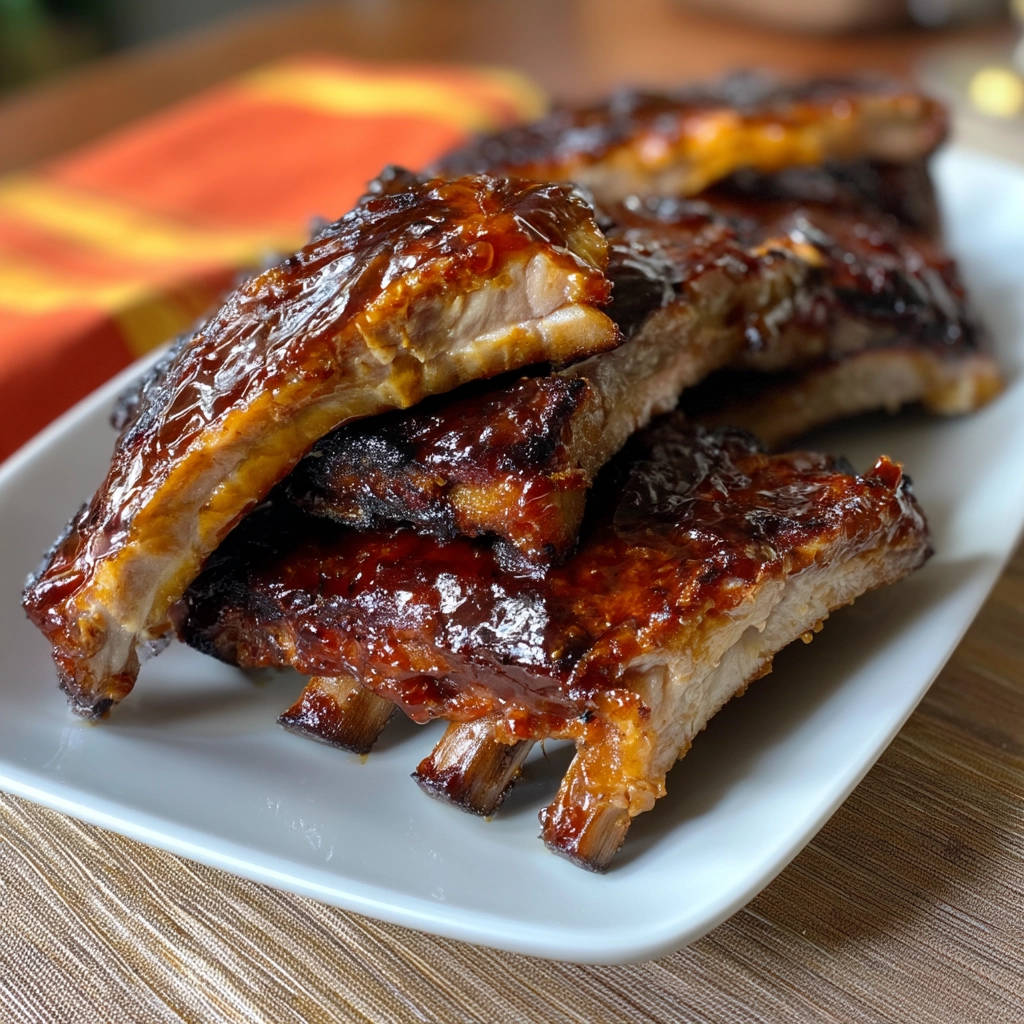
Ever dream of ribs so tender they practically melt in your mouth? Ribs where the meat effortlessly pulls away from the bone with the slightest touch? I know I have! And after countless attempts, I’ve finally perfected the technique to achieve exactly that. These Amazing Glazed Ribs are guaranteed to be a crowd-pleaser, whether you’re grilling them up for a backyard barbecue or enjoying a cozy family dinner. Forget tough, chewy ribs – get ready for fall-off-the-bone deliciousness!
Why You’ll Love These Amazing Glazed Ribs
Here’s why this recipe is a total game-changer:
- Unbelievably Tender: The secret steaming method ensures the ribs are incredibly juicy and tender.
- Flavor Explosion: The combination of sweet, smoky, and savory spices creates a complex and irresistible flavor.
- Easy to Make: Despite the incredible results, this recipe is surprisingly simple and straightforward.
- Versatile: Perfect for grilling or broiling, so you can enjoy them year-round.
Gathering Your Ingredients for Amazing Glazed Ribs
Before we dive into the cooking process, let’s talk about the ingredients that make these ribs so special. We’re aiming for a beautiful balance of savory, sweet, and smoky flavors, which starts with selecting the right cuts of meat and building a flavorful dry rub. The apple cider (or juice) and barbecue sauce create a glaze that’s simply irresistible. Let’s take a closer look at what you’ll need:
- Ribs: You’ll need 2 racks of ribs, each weighing around 2-3 pounds. Baby back ribs or spare ribs will both work beautifully, so pick your preference!
- Brown Sugar: This adds a touch of sweetness and helps create a beautiful caramelized crust. We use brown sugar here because its molasses content adds moisture and a deeper flavor compared to white sugar.
- Smoked Paprika: This is a key ingredient for that signature smoky flavor. If you only have regular paprika, you can use it, but the smoked version really takes these ribs to the next level.
- Garlic Powder & Onion Powder: These add a savory depth to the rub.
- Salt & Black Pepper: Essential for seasoning and enhancing all the other flavors.
- Apple Cider or Apple Juice: The apple cider creates steam inside the foil packet, tenderizing the ribs and infusing them with a subtle fruity flavor.
- Your Favorite Barbecue Sauce: This is where you can really customize the recipe! Choose a barbecue sauce that you love, whether it’s sweet, tangy, spicy, or smoky.
Crafting Your Amazing Glazed Ribs: Step-by-Step
Now for the fun part – turning those ingredients into mouthwatering ribs! The key to fall-off-the-bone tenderness is the steaming process in the oven. This step gently cooks the ribs, breaking down the connective tissue and resulting in incredibly juicy and tender meat. Don’t skip it! Here’s how to do it:
- Preheat the Oven: Get your oven nice and hot by preheating it to 300 degrees F (150 degrees C).
- Prep the Ribs: Flip the ribs over and locate the membrane on the back of each rack. This thin, papery layer can be tough and prevent the rub from penetrating the meat. Gently lift a corner with a knife and use a paper towel to pull it off. The paper towel provides a better grip.
- Mix the Dry Rub: In a small bowl, combine the brown sugar, smoked paprika, garlic powder, onion powder, salt, and pepper. This is your magic spice blend that will transform ordinary ribs into something extraordinary.
- Rub the Ribs: Generously rub the spice mixture all over both sides of each rack of ribs. Make sure to get every nook and cranny! The dry rub is a blank canvas for the Barbecue sauce, so don’t be shy here.
- Wrap in Foil: Place each rack of ribs meat-side up on a large sheet of heavy-duty aluminum foil. Pour half of the apple cider or juice onto each rack.
- Seal the Packet: Tightly wrap the foil around the ribs, sealing completely to create a packet. This is crucial for trapping the steam and creating that tenderizing effect. Think of it like a sauna for your ribs!
- Bake the Ribs: Place the wrapped ribs on a baking sheet and bake in the preheated oven for 2 to 2.5 hours. They’re ready when they’re very tender when gently poked with a fork, but not completely falling apart. You want them tender, but not so soft that they disintegrate.
- Remove from Foil: Carefully remove the ribs from the foil, letting the liquid drain away. Discard the liquid – it’s done its job!
- Preheat Grill or Broiler: If using a grill, preheat it to medium-high heat. If using your oven broiler, preheat it.
- Brush with Barbecue Sauce: Brush the ribs generously with your favorite barbecue sauce. Don’t be afraid to slather it on!
- Grill or Broil: Place the ribs on the grill or under the broiler for 5-10 minutes, flipping and brushing with more sauce every few minutes. Watch carefully to prevent burning – the sugar in the barbecue sauce can caramelize quickly. You’re aiming for a sticky, slightly caramelized glaze.
- Rest and Serve: Let the ribs rest for 5-10 minutes before slicing into individual ribs and serving. This allows the juices to redistribute, resulting in even more tender and flavorful ribs.
Tips for Perfect Amazing Glazed Ribs Every Time
Want to take your rib game to the next level? Here are a few pro tips to ensure perfect results every time:
- Don’t Skip the Membrane Removal: Removing the membrane on the back of the ribs makes a huge difference in tenderness and allows the rub to penetrate more effectively.
- Use Heavy-Duty Foil: Regular foil can tear easily, so invest in heavy-duty foil to ensure a tight seal.
- Check for Tenderness: Use a fork to gently poke the ribs during the baking process. They’re ready when they’re very tender but not completely falling apart.
- Don’t Overcook: Overcooked ribs can be dry and tough. Keep a close eye on them during the grilling or broiling stage to prevent burning.
- Get Creative with the Rub: Feel free to experiment with different spices in the rub. A pinch of chili powder or a dash of cayenne pepper can add a nice kick.
What to Serve With Amazing Glazed Ribs
These Amazing Glazed Ribs are a complete meal on their own, but they’re even better with a few delicious side dishes. Consider serving them with classic barbecue sides like coleslaw, potato salad, corn on the cob, or baked beans. If you are looking for a side that’s a bit healthier, a vibrant salad or some grilled vegetables would be great choices. You might consider pairing these ribs with a side of golden rice pilaf for a well-rounded meal.
Your Amazing Glazed Ribs Questions Answered (FAQ)
Can I make these ribs ahead of time?
Yes! You can bake the ribs in the foil packet ahead of time and store them in the refrigerator for up to 2 days. When you’re ready to serve, simply brush them with barbecue sauce and grill or broil them until heated through and glazed.
Can I use a different kind of juice besides apple cider?
Yes, you can substitute other fruit juices like pineapple juice or pear juice. Just be mindful that the flavor will change slightly.
What if I don’t have a grill or broiler?
No problem! You can also finish the ribs in the oven. After removing them from the foil, brush them with barbecue sauce and bake them at 350 degrees F (175 degrees C) for 15-20 minutes, or until heated through and glazed.
How do I store leftover ribs?
Store leftover ribs in an airtight container in the refrigerator for up to 3 days. Reheat them in the oven, microwave, or on the grill.
Enjoy Your Homemade Amazing Glazed Ribs!
There you have it – the secret to making Amazing Glazed Ribs that are guaranteed to impress! This recipe is all about tender, flavorful, and incredibly satisfying ribs. So, fire up the grill, gather your ingredients, and get ready to enjoy the best ribs you’ve ever tasted. And don’t forget to leave a comment below and let me know how they turned out! Share your pictures with me too, I love seeing your creations. Happy cooking!