I remember the frustration of wanting to create those stunning, perfectly layered Chocolate Coconut Dream Bars, only to be met with a chocolate topping that was either too soft or disappointingly cracked. It felt like a constant battle to achieve that smooth, professional finish. But through countless batches, I finally mastered the technique, and now these bars emerge from my kitchen with a flawlessly set chocolate layer every single time.
This recipe isn’t just about a delicious treat; it’s about confidently creating a dessert that looks as incredible as it tastes, solving that common baking dilemma with a simple yet effective approach.
Why These Chocolate Coconut Dream Bars Will Be Your New Favorite Treat
Effortlessly Perfect Chocolate Topping, Every Time
One of the biggest challenges with layered bars is often the chocolate topping. This recipe focuses on a specific chilling method that guarantees a perfectly smooth, non-cracking chocolate layer, eliminating the frustration of messy cuts and ensuring every bar looks picture-perfect.
Layers of Indulgence, Simple to Achieve
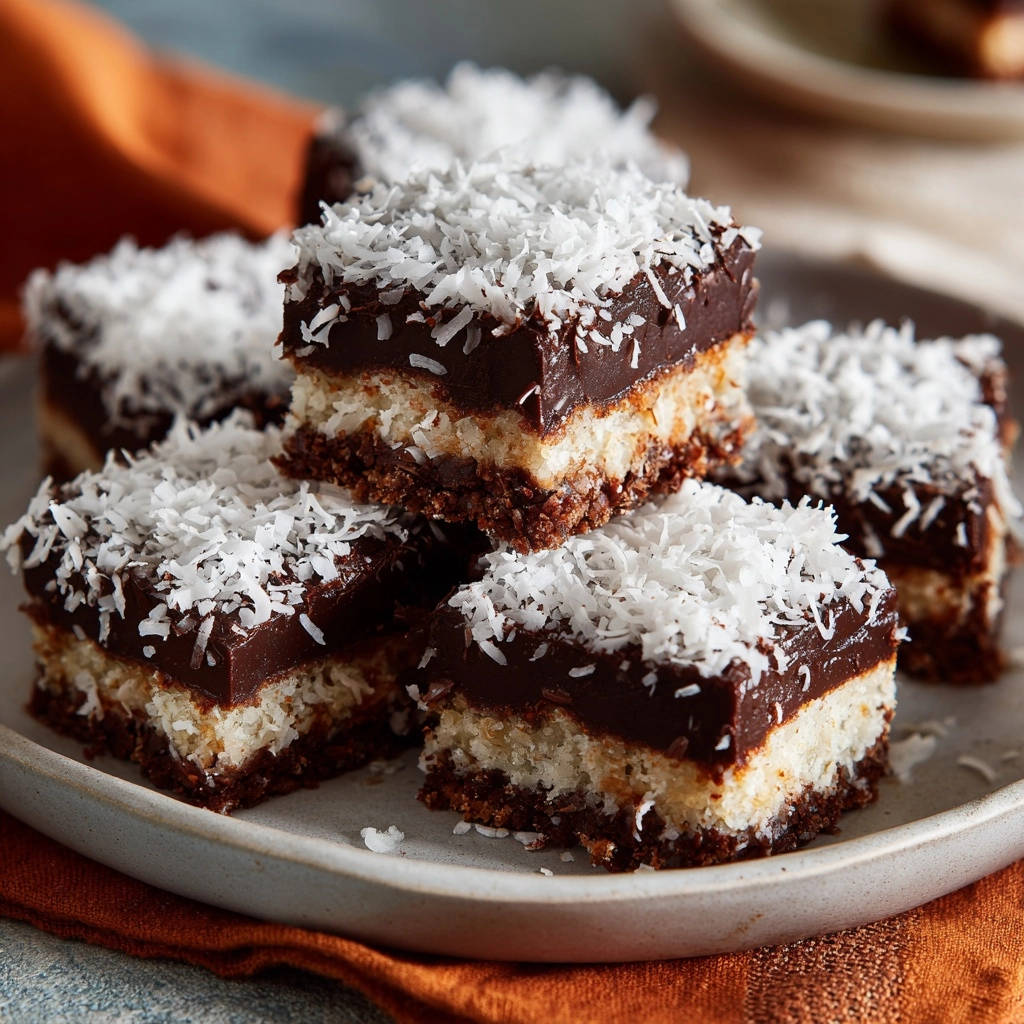
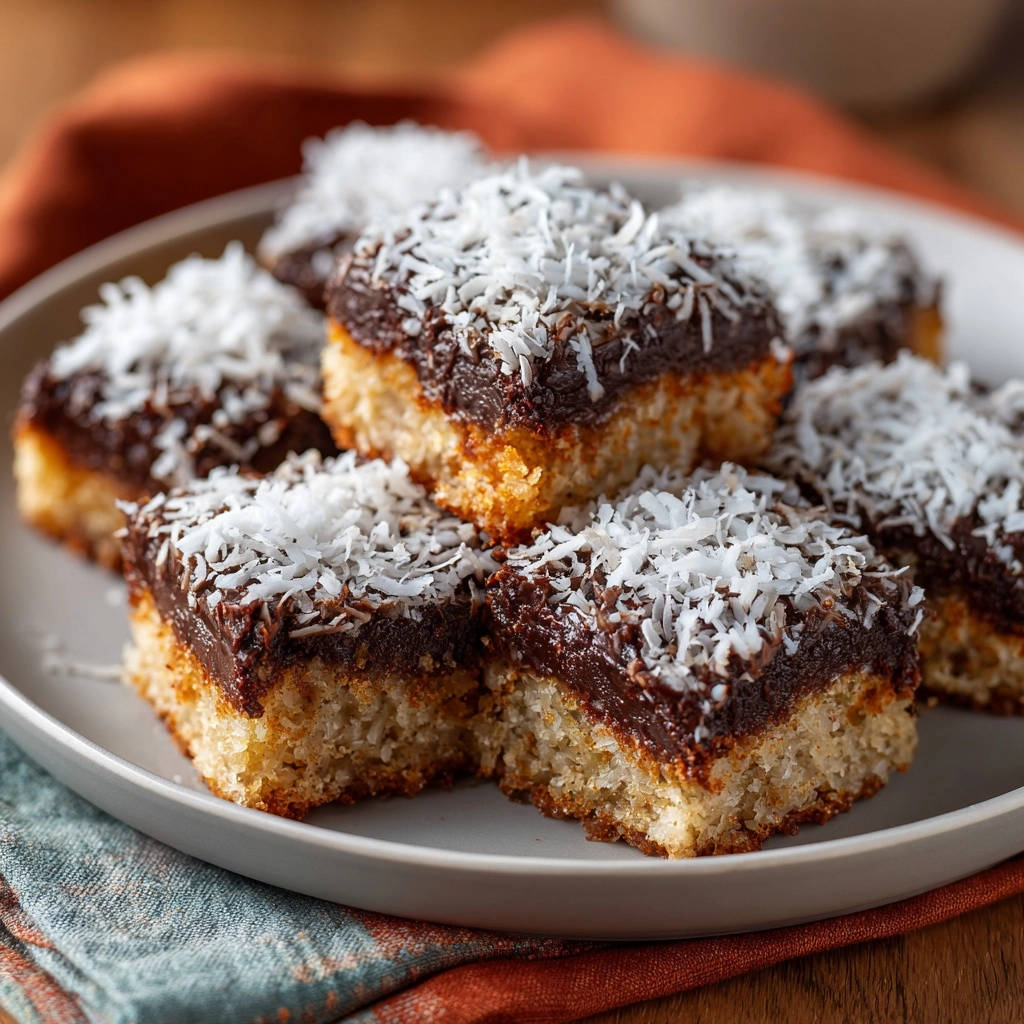
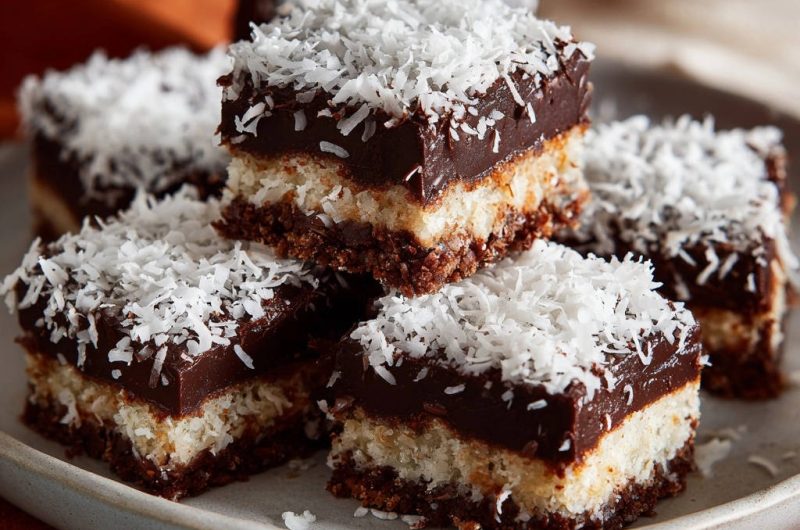
These bars feature a rich chocolate cookie crust, a sweet, chewy coconut center, and a decadent chocolate topping. Despite their impressive layered appearance, the process is straightforward, making them an approachable yet indulgent dessert for any home baker.
A Crowd-Pleaser for Any Occasion
With their irresistible combination of chocolate and coconut, these treats are universally loved. They are perfect for potlucks, holiday gatherings, bake sales, or simply as a delightful indulgence to share with family and friends.
The Essential Ingredients for Your Chocolate Coconut Dream Bars
Quality ingredients are the foundation of truly exceptional baked goods. Here’s a closer look at what makes these Chocolate Coconut Dream Bars so special.
Building the Perfect Chocolate Cookie Crust
For the crust, opt for classic chocolate sandwich cookies with the cream filling scraped out. This ensures a pure chocolate flavor. Granulated sugar adds a touch more sweetness, while melted unsalted butter binds it all together into a firm, flavorful base.
Crafting the Creamy Coconut Heart
Sweetened shredded coconut is crucial here; its moisture and sweetness contribute to the chewy, tender texture of the middle layer. Sweetened condensed milk provides the rich, gooey binder and additional sweetness, while vanilla extract enhances the overall aroma and flavor.
Secrets to the Silky Chocolate Topping
Semi-sweet chocolate chips offer a balanced chocolate flavor that isn’t overly sweet. Unsalted butter adds richness and a smooth mouthfeel to the topping. A small amount of milk helps create that perfectly pourable, glossy consistency, and a pinch of salt enhances the chocolate flavor, making it truly pop.
Essential Tools for Your Dream Bar Baking Adventure
Having the right tools on hand makes the baking process smooth and enjoyable, especially when creating layered desserts like these Chocolate Coconut Dream Bars.
8×8 Inch Baking Pan: This specific size is crucial for achieving the ideal thickness for each layer, ensuring a balanced bite in every bar. A metal pan generally conducts heat best for even baking.
Parchment Paper: Lining your pan with parchment paper, leaving an overhang, is the ultimate secret for effortless removal of the entire slab of bars once chilled. This prevents sticking and makes cutting much easier.
Saucepan & Bowls: You’ll need separate bowls for mixing the crust and coconut layers, and a small saucepan for gently melting the chocolate topping. Using separate containers prevents cross-contamination and ensures proper mixing.
Wire Rack: Essential for allowing the bars to cool evenly after baking. Proper air circulation around the pan helps prevent sogginess and aids in the initial setting process before chilling.
Your Path to Perfect Chocolate Coconut Dream Bars: A Step-by-Step Guide
Creating these delightful bars is a straightforward process when you follow these steps carefully. Each phase is designed to build the perfect texture and flavor.
- Prepare Your Pan & Preheat Oven:
Start by lining an 8×8 inch baking pan with parchment paper, allowing some overhang on the sides. This simple step is vital for easy removal later.
Preheat your oven to 350°F (175°C). An accurately preheated oven ensures the crust bakes consistently and sets properly.
- Craft the Cookie Crust:
In a medium bowl, combine the chocolate cookie crumbs, granulated sugar, and melted butter. Stir until the crumbs are evenly moistened, resembling wet sand.
Press this mixture firmly and evenly into the bottom of the prepared pan. Bake for 10 minutes until lightly set. This initial bake helps create a stable, non-crumbly base for your bars.
- Mix the Coconut Layer:
While the crust is baking, in a separate bowl, stir together the shredded sweetened coconut, sweetened condensed milk, and vanilla extract until everything is well combined.
This mixture will be sticky and sweet, forming the iconic gooey middle layer of your Chocolate Coconut Dream Bars.
- Layer and Bake the Coconut:
Carefully and evenly spread the prepared coconut mixture over the warm, baked crust in the pan. Take your time to get an even layer.
Return the pan to the oven and bake for another 15 minutes, or until the coconut layer appears lightly golden brown around the edges. This indicates it’s properly cooked and chewy.
- Initial Cooling Phase:
Once baked, remove the pan from the oven and transfer it to a wire rack. Let the bars cool on the rack for at least 30 minutes.
This crucial partial cooling prevents the warm coconut layer from causing the chocolate topping to melt excessively or separate when applied, ensuring a smooth transition between layers.
- The Game-Changing Chocolate Topping Method:
While the bars cool, prepare your chocolate topping. In a small saucepan, combine the semi-sweet chocolate chips, unsalted butter, and milk over very low heat. Stir constantly and gently until the chocolate is completely melted and the mixture is smooth and glossy.
Crucially, remove it from the heat immediately once melted. Stir in the vanilla extract and a pinch of salt. Do not overheat the chocolate, as this can cause it to seize or become grainy.
- Pour and Spread the Chocolate:
Pour the warm, silky chocolate mixture evenly over the partially cooled coconut layer in the pan.
Gently spread it with an offset spatula or the back of a spoon to cover the entire surface, creating an even and appealing top layer.
- Crucial Chilling for Flawless Finish & Garnish:
While the chocolate topping is still wet, sprinkle the remaining shredded coconut evenly over the top. This garnish adheres beautifully as the chocolate sets.
Now, place the entire pan in the refrigerator for at least 2 hours, or until the chocolate layer is completely firm and set. This slow, thorough chilling is paramount; it allows the chocolate to firm up perfectly without becoming brittle, ensuring clean cuts later.
- Cut and Serve Your Dream Bars:
Once thoroughly chilled and firm, use the parchment paper overhang to gently lift the entire slab of bars from the pan onto a cutting board.
For the cleanest cuts, use a very sharp knife, wiping the blade clean with a warm, damp cloth between each slice. Cut into 16 perfect squares, ready to enjoy!
Pro Tips for Chocolate Coconut Dream Bar Perfection
Achieving truly exceptional Chocolate Coconut Dream Bars goes beyond just following the steps. These expert tips will help you elevate your baking game and ensure a flawless result.
Master the Chocolate Melt: Always melt chocolate over low heat or in a double boiler. Overheating chocolate is the quickest way to make it seize or become grainy, ruining your silky topping. Remove it from the heat as soon as it’s smooth and fully melted.
The Power of Chilling: The refrigeration step is non-negotiable for these bars. Rushing it will result in a soft, messy chocolate layer that cracks or spreads when cut. Give it the full 2 hours (or even overnight) for optimal firmness and an incredibly satisfying texture.
Sharp Knife, Clean Cuts: For professional-looking squares, a very sharp knife is your best friend. For even cleaner slices, warm your knife under hot water, wipe it completely dry, then make each cut, cleaning the blade after every slice. This melts through the chocolate slightly, preventing cracks.
Parchment Paper is Your Best Friend: Never skip lining the pan with parchment paper, making sure to leave an overhang. This allows you to effortlessly lift the entire slab of bars out, preventing sticking and making the cutting process much simpler and cleaner.
Personalize Your Crust: While chocolate cookie crumbs are a classic choice, don’t hesitate to experiment! Graham cracker crumbs create a wonderful counterpoint to the chocolate and coconut, or even vanilla shortbread cookies can offer a delicate, buttery base. For another delightful bar experience, consider trying our Orange Dream Bars.
Common Questions & Quick Fixes for Your Dream Bars
Even with the best recipes, questions can arise. Here are some common issues and their simple solutions for your Chocolate Coconut Dream Bars.
Why is My Chocolate Topping Cracking?
Cracking is most often a result of the chocolate cooling too rapidly, or the bars being moved or cut before the chocolate is fully set. Ensure you chill the bars slowly and thoroughly in the refrigerator for the recommended at least 2 hours, and resist the urge to cut them prematurely.
My Bars are Too Sticky/Hard to Cut!
If your bars are too sticky, they likely haven’t had enough chilling time; return them to the refrigerator. If they are too hard, it could be due to overbaking the coconut layer or slightly overheating the chocolate topping. Always watch for just-golden edges on the coconut layer, and melt the chocolate gently on low heat.
How Can I Make the Crust Less Crumbly?
A crumbly crust often means the melted butter wasn’t fully incorporated, or the mixture wasn’t pressed firmly enough into the pan. Ensure all crumbs are moistened and press down very firmly with the back of a spoon or a flat-bottomed glass. Baking the crust for 10 minutes also helps it set and become cohesive.
Storing Your Chocolate Coconut Dream Bars & Making Them Ahead
These delectable bars are as convenient as they are delicious, making them ideal for planning ahead or enjoying over several days.
Optimal Freshness: Storage Tips
For the best texture and freshness, store your Chocolate Coconut Dream Bars in an airtight container. They can be kept at room temperature for up to 3-4 days, but for extended freshness and a firmer chocolate layer, the refrigerator is ideal for up to a week.
Can I Prepare Them in Advance?
Absolutely! These bars are an excellent make-ahead dessert, perfect for busy schedules or entertaining. You can bake them a day or two in advance and store them chilled until you’re ready to serve. In fact, chilling overnight often yields the best, most cohesive texture and allows the flavors to fully meld.
Creative Ways to Serve Your Dream Bars
While these Chocolate Coconut Dream Bars are a triumph on their own, there are several ways to enhance the experience and present them creatively.
A La Mode: Serve a square slightly warmed (just a few seconds in the microwave) with a scoop of premium vanilla bean ice cream. The contrast of warm and cold, and the melting ice cream, is pure bliss.
Coffee Companion: Their rich flavor and satisfying sweetness make them an ideal pairing for a hot cup of freshly brewed coffee, a robust espresso, or simply a tall glass of cold milk.
Dessert Platter Star: Cut the bars into smaller, bite-sized pieces and arrange them on a festive dessert platter alongside other treats for parties or gatherings. Their distinct layers make them visually appealing.
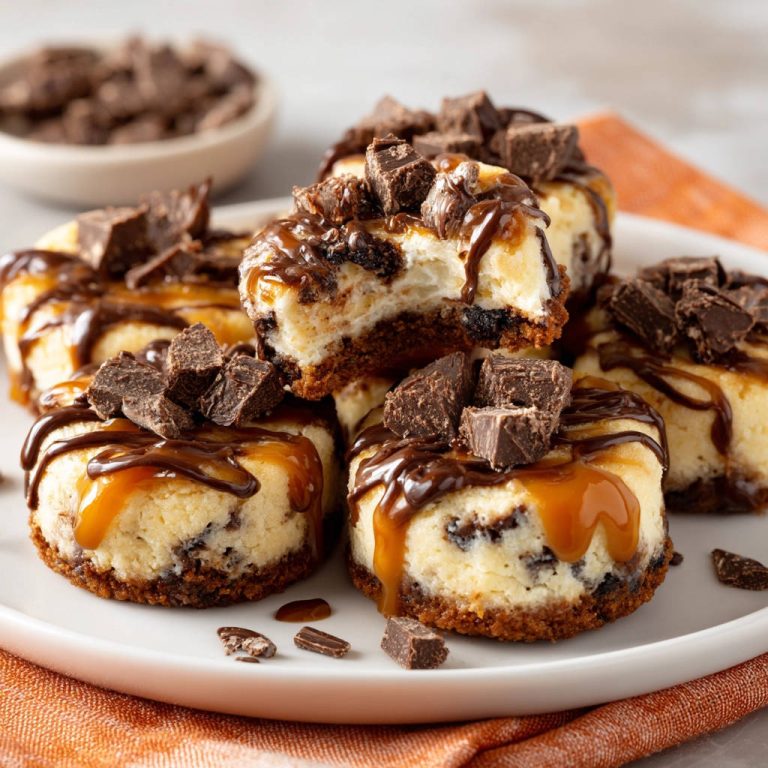
Custom Toppings: Elevate the flavor profile with a delicate drizzle of homemade caramel sauce or a sprinkle of flaky sea salt over the chocolate topping. This can add an unexpected layer of salty-sweet complexity.
Your Top Questions About Chocolate Coconut Dream Bars Answered
Here are answers to some of the most frequently asked questions about making and enjoying these irresistible bars.
Can I Use Different Kinds of Chocolate?
Yes, you can certainly experiment with different types of chocolate! While semi-sweet chocolate chips provide a classic, balanced flavor, using milk chocolate will result in a sweeter, creamier bar, and dark chocolate will offer a richer, more intense chocolate experience. When melting chocolate, especially different kinds, consider our tips for preventing seized chocolate in recipes like our Easy White Chocolate Pecan Clusters.
Is There a Gluten-Free Option?
Making these Chocolate Coconut Dream Bars gluten-free is simple. The only modification needed is to use gluten-free chocolate sandwich cookies for the crust. All other ingredients in this recipe are naturally gluten-free, making it easy to adapt for dietary needs.
How Long Do These Bars Last?
When stored correctly in an airtight container, Chocolate Coconut Dream Bars remain fresh and delicious. If kept at room temperature, they are best enjoyed within 3-4 days. For optimal freshness and to maintain the firmness of the chocolate layer, store them in the refrigerator for up to one week.
Can I Freeze Chocolate Coconut Dream Bars?
Absolutely! These bars freeze exceptionally well, making them perfect for meal prep or enjoying a single serving later. Wrap individual squares tightly in plastic wrap, then place them in a freezer-safe bag or container. They will keep well for up to 2-3 months. Thaw them in the refrigerator or at room temperature for a few hours before serving.
Ready to Bake? Share Your Chocolate Coconut Dream Bar Masterpiece!
You now have all the tools and expert knowledge to create your own batch of incredibly delicious Chocolate Coconut Dream Bars, complete with that perfectly set, crack-free chocolate topping. This recipe isn’t just about ingredients and steps; it’s about confidently creating a dessert that brings joy and truly impresses anyone lucky enough to take a bite.
Don’t wait! Gather your ingredients and get ready to experience a truly dreamy dessert that will quickly become a household favorite. We’d love to see your creations! Share your Chocolate Coconut Dream Bars with us on social media and let us know your favorite part about this recipe.
Chocolate Coconut Dream Bars
Course: DessertCuisine: American CuisineDifficulty: easy16
bars20
minutes25
minutes45
minutesAmerican Cuisine
Ingredients
For the Crust:
1 1/2 cups chocolate cookie crumbs (about 18 chocolate sandwich cookies, scraped)
1/4 cup granulated sugar
1/2 cup unsalted butter, melted
For the Coconut Layer:
1 1/3 cups shredded sweetened coconut
1 (14 ounce) can sweetened condensed milk
1 teaspoon vanilla extract
For the Chocolate Topping:
1 1/2 cups semi-sweet chocolate chips
1/4 cup unsalted butter
2 tablespoons milk (whole milk or 2%)
1 teaspoon vanilla extract
Pinch of salt
For Garnish:
1/4 cup shredded sweetened coconut
Directions
- Preheat your oven to 350°F (175°C). Line an 8×8 inch baking pan with parchment paper, leaving an overhang on the sides for easy removal.
- Make the Crust: In a medium bowl, combine the chocolate cookie crumbs, granulated sugar, and melted butter. Press the mixture evenly into the bottom of the prepared baking pan. Bake for 10 minutes. Remove from oven.
- Prepare the Coconut Layer: While the crust bakes, in a separate bowl, stir together the shredded sweetened coconut, sweetened condensed milk, and vanilla extract until well combined.
- Evenly spread the coconut mixture over the warm crust in the pan. Return to the oven and bake for another 15 minutes, or until the coconut layer is lightly golden brown around the edges.
- Remove the pan from the oven and let it cool on a wire rack for at least 30 minutes. This partial cooling is important for the next step.
- The Secret to the Perfectly Set Chocolate Top! While the bars cool, prepare the chocolate topping. In a small saucepan over low heat, combine the semi-sweet chocolate chips, unsalted butter, and milk. Stir constantly until the chocolate is completely melted and the mixture is smooth and glossy. Do not overheat. Remove from heat and stir in the vanilla extract and a pinch of salt.
- Pour the warm chocolate mixture evenly over the cooled coconut layer. Gently spread it to cover the entire surface.
- Crucial Setting Step: Sprinkle the remaining shredded coconut over the chocolate topping while it’s still wet. Now, place the entire pan in the refrigerator for at least 2 hours, or until the chocolate layer is completely firm and set. This slow, thorough chilling allows the chocolate to firm up perfectly without becoming brittle, ensuring clean cuts later.
- Once thoroughly chilled, use the parchment paper overhang to lift the bars from the pan. Place on a cutting board and cut into 16 squares using a sharp knife. For the cleanest cuts, wipe your knife clean between each slice.
Notes
- Chilling is crucial for a perfectly set chocolate layer. For cleanest cuts, wipe knife between slices.