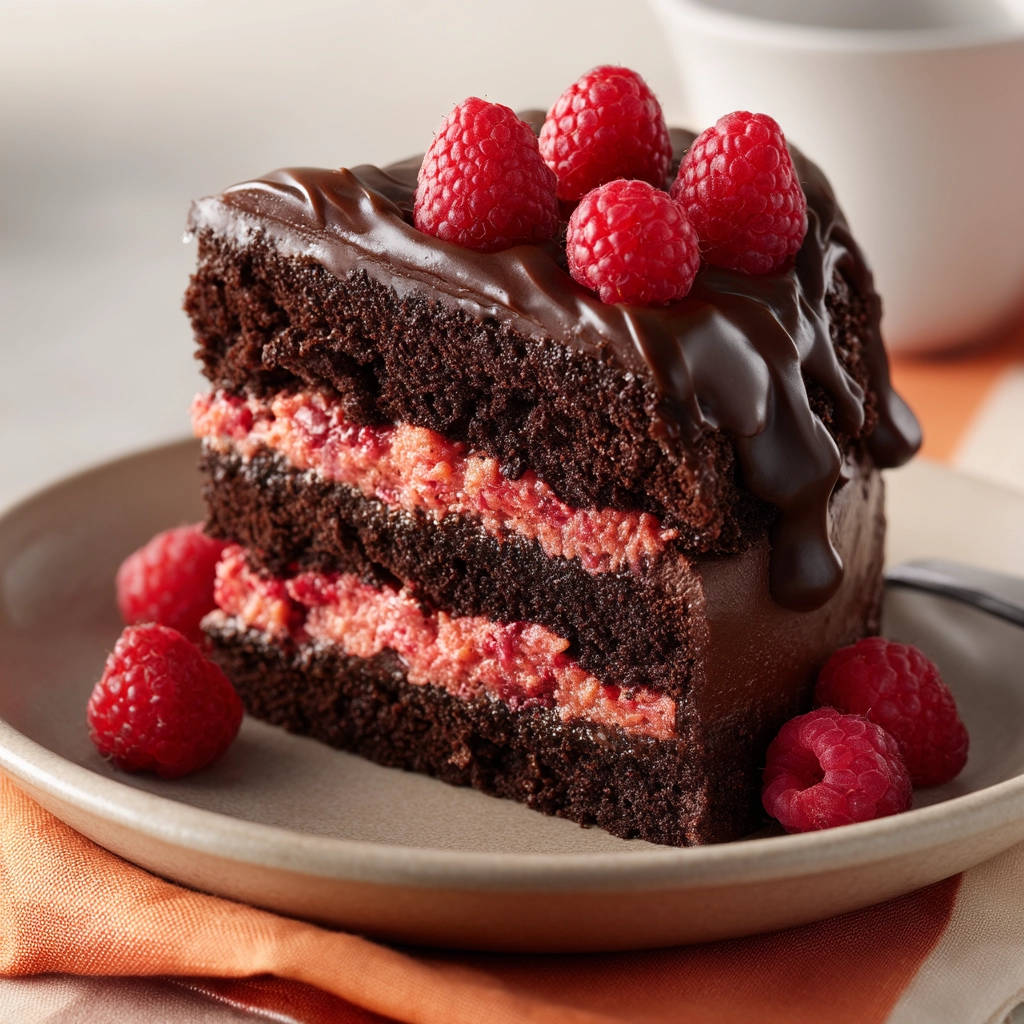
Is there anything more disappointing than biting into a slice of what looks like a perfect chocolate cake, only to find it’s dry and crumbly? I’ve been there, too many times to count! But fear not, fellow cake lovers, because this Chocolate Raspberry Layer Cake recipe is here to banish dry chocolate cake from your lives forever. This isn’t just any chocolate cake; it’s a guaranteed-moist, intensely chocolatey experience, perfectly balanced with the tartness of fresh raspberries and a luscious chocolate ganache. Get ready for the best chocolate raspberry layer cake you’ve ever tasted!
Why You’ll Love This Chocolate Raspberry Layer Cake
This cake isn’t just delicious; it’s also:
- Incredibly Moist: Thanks to one simple trick, you’ll never have to worry about a dry chocolate cake again.
- Bursting with Flavor: The combination of rich chocolate, tangy raspberries, and decadent ganache is simply irresistible.
- Surprisingly Easy: Don’t let the layers intimidate you. This recipe is straightforward and perfect for bakers of all skill levels.
- Perfect for Any Occasion: Whether it’s a birthday celebration or a simple Sunday dessert, this cake is guaranteed to impress.
Gathering Your Ingredients for Chocolate Raspberry Layer Cake
Before we dive into baking this masterpiece, let’s talk about the ingredients. The quality of your ingredients plays a significant role in the final outcome. We’re aiming for a moist, flavorful cake with a beautiful balance of chocolate and raspberry. The key to that is using good quality cocoa powder and fresh, ripe (or perfectly frozen) raspberries. The hot water is what binds the cake to make it super moist and delicious.
- For the Cake:
- All-Purpose Flour: This forms the structure of our cake.
- Granulated Sugar: Adds sweetness and helps to keep the cake moist.
- Unsweetened Cocoa Powder: Provides that deep, rich chocolate flavor we all crave.
- Baking Soda & Baking Powder: These leavening agents work together to give the cake a light and airy texture.
- Salt: Enhances the flavors of all the other ingredients.
- Large Eggs: Bind the ingredients together and add richness.
- Buttermilk: Contributes to the cake’s tenderness and tang.
- Vegetable Oil: Adds moisture and keeps the cake soft.
- Vanilla Extract: Enhances the overall flavor profile.
- Hot Water or Hot Brewed Coffee: This is our secret weapon for ultimate moisture! The hot liquid helps to bloom the cocoa powder and create a super tender crumb. I have had great success with both, use whichever you have on hand.
- For the Raspberry Filling:
- Fresh or Frozen Raspberries: The star of our filling, providing a tart and fruity contrast to the chocolate. If using frozen, there’s no need to thaw them first.
- Granulated Sugar: Sweetens the filling and helps the raspberries break down.
- Cornstarch: Thickens the filling to the perfect consistency.
- Water: Helps to create a smooth cornstarch slurry.
- Fresh Lemon Juice (Optional): Adds a touch of brightness and enhances the raspberry flavor.
- For the Chocolate Ganache:
- Semi-Sweet Chocolate Chips or Chopped Chocolate: Choose a good quality chocolate for the best flavor.
- Heavy Cream: Creates a rich and decadent ganache.
- For Decorating:
- Fresh Raspberries: Add a beautiful and fresh touch to the finished cake.
Crafting Your Chocolate Raspberry Layer Cake: Step-by-Step
Now for the fun part! Don’t be intimidated by the multi-layered aspect; this recipe is designed to be approachable. The key is to take it one step at a time. The most important thing to remember is to not overbake the cakes. Slightly underbaked is better than dry! Grab your mixing bowls, preheat that oven, and let’s get baking!
- Preheat and Prep: Start by preheating your oven to 350°F (175°C). While it’s heating, grease and flour two 9-inch round cake pans. This ensures that the cakes release easily after baking. You can also line the bottoms with parchment paper rounds for extra insurance.
- Combine Dry Ingredients: In a large bowl, whisk together the flour, sugar, cocoa powder, baking soda, baking powder, and salt. Whisking ensures that everything is evenly distributed, which helps the cake bake evenly.
- Combine Wet Ingredients: In a separate medium bowl, whisk together the eggs, buttermilk, oil, and vanilla extract. Make sure your buttermilk is cold, as this helps activate the baking soda and baking powder.
- Mix Wet and Dry: Pour the wet ingredients into the dry ingredients and mix until just combined. It’s crucial not to overmix at this stage, as it can lead to a tough cake. A few streaks of flour are okay.
- The Secret to Moisture: This is where the magic happens! Carefully and slowly pour in the hot water or hot coffee, mixing until the batter is smooth and thin. Don’t be alarmed by the liquidy consistency; this is exactly what we want. The hot liquid helps to bloom the cocoa powder, intensifying the chocolate flavor and creating a super moist crumb.
- Bake: Pour the batter evenly into the prepared cake pans. Bake for 30-35 minutes, or until a wooden skewer inserted into the center comes out clean. Crucially, do not overbake. Check a few minutes early if unsure.
- Cool the Cakes: Let the cakes cool in the pans for 10 minutes before inverting them onto a wire rack to cool completely. This prevents them from sticking and allows them to cool evenly.
- Make the Raspberry Filling: While the cakes are cooling, it’s time to make the raspberry filling. In a saucepan, combine the raspberries and sugar. Heat over medium heat, stirring, until the berries break down and release their juice.
- Thicken the Filling: In a small bowl, whisk together the cornstarch and water until smooth. Pour this slurry into the raspberry mixture. Bring to a simmer, stirring constantly, until the filling thickens. Remove from the heat and stir in the lemon juice (if using). Let the filling cool completely.
- Prepare the Ganache: Place the chocolate chips or chopped chocolate in a heatproof bowl. Heat the heavy cream in a small saucepan until it just begins to simmer. Pour the hot cream over the chocolate. Let it stand for 5 minutes to allow the chocolate to melt, then whisk until smooth and glossy. Let the ganache cool slightly until it thickens but is still pourable.
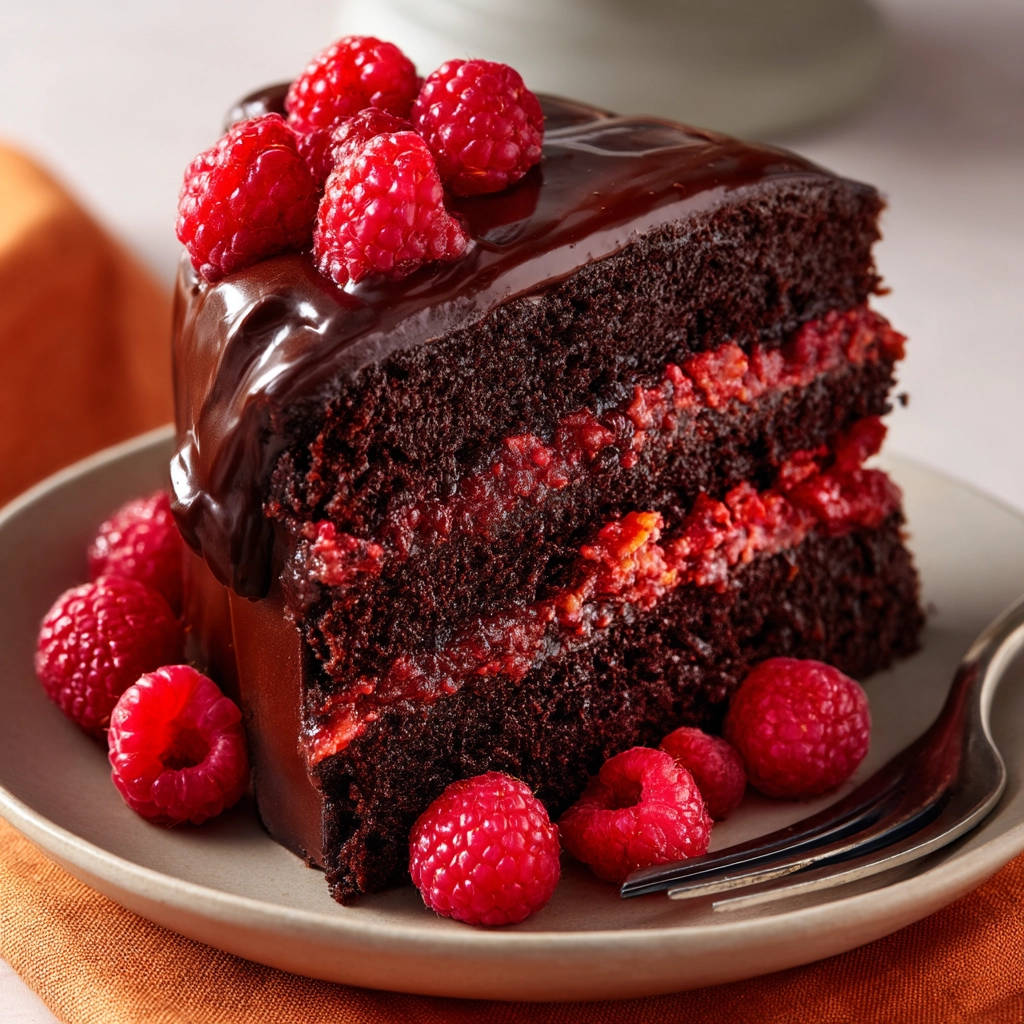
- Assemble the Cake: Now for the grand finale! Place one cooled cake layer on your serving plate. Spread the cooled raspberry filling evenly over the layer. Top with the second cake layer.
- Ganache Drizzle: Pour the slightly cooled ganache over the top of the cake, allowing it to drip down the sides.
- Decorate: Decorate with fresh raspberries on top. This adds a beautiful finishing touch and a burst of fresh flavor.
- Chill (Optional): For easier slicing, chill the cake in the refrigerator for at least 30 minutes before serving.
Tips for Perfect Chocolate Raspberry Layer Cake Every Time
Want to ensure your Chocolate Raspberry Layer Cake is a showstopper? Here are a few extra tips and tricks:
- Measure Accurately: Baking is a science, so accurate measurements are crucial. Use measuring cups and spoons, and level off dry ingredients with a knife.
- Don’t Overmix: Overmixing develops the gluten in the flour, leading to a tough cake. Mix until just combined.
- Use Room Temperature Ingredients: Using room temperature eggs and buttermilk will help them incorporate more easily into the batter, resulting in a smoother cake.
- Cool Completely: Make sure the cakes and raspberry filling are completely cool before assembling the cake. Otherwise, the ganache will melt and the layers will slide.
- Customize the Ganache: For a richer ganache, use dark chocolate instead of semi-sweet. You can also add a teaspoon of instant coffee to the ganache to enhance the chocolate flavor. You can try our recipe for a decadent chocolate topped cream cake recipe for more chocolate inspiration.
What to Serve With Chocolate Raspberry Layer Cake
This Chocolate Raspberry Layer Cake is delicious on its own, but it’s also wonderful with a scoop of vanilla ice cream or a dollop of whipped cream. For a refreshing contrast, serve it with a side of fresh fruit salad.
Your Chocolate Raspberry Layer Cake Questions Answered (FAQ)
Can I make this cake ahead of time?
Yes! You can bake the cakes and make the raspberry filling and ganache a day or two in advance. Store the cakes tightly wrapped at room temperature, the filling in an airtight container in the refrigerator, and the ganache in an airtight container at room temperature. Assemble the cake just before serving.
Can I freeze this cake?
Yes, you can freeze the assembled cake. Wrap it tightly in plastic wrap and then in foil. Freeze for up to 2-3 months. Thaw overnight in the refrigerator before serving.
Can I use a different type of berry for the filling?
Absolutely! Blueberries, strawberries, or blackberries would all be delicious in this cake. You may need to adjust the amount of sugar depending on the sweetness of the berries.
My ganache is too thick. What should I do?
If your ganache is too thick, add a tablespoon or two of warm heavy cream and whisk until smooth. If it is too thin, let it sit at room temperature until it thickens, stirring occasionally.
I don’t have buttermilk. What can I use as a substitute?
You can make a quick buttermilk substitute by adding 1 tablespoon of white vinegar or lemon juice to a liquid measuring cup and then filling the cup to the 1-cup line with milk. Let it stand for 5 minutes before using.
Enjoy Your Homemade Chocolate Raspberry Layer Cake!
Congratulations, you’ve just created a stunning and delicious Chocolate Raspberry Layer Cake that’s guaranteed to impress! The combination of moist chocolate cake, tart raspberry filling, and decadent ganache is truly irresistible. Now, go ahead, slice yourself a generous piece, and savor the moment. Don’t forget to leave a comment below and let me know how your cake turned out! And if you loved this recipe, be sure to share it with your friends and family. Happy baking!