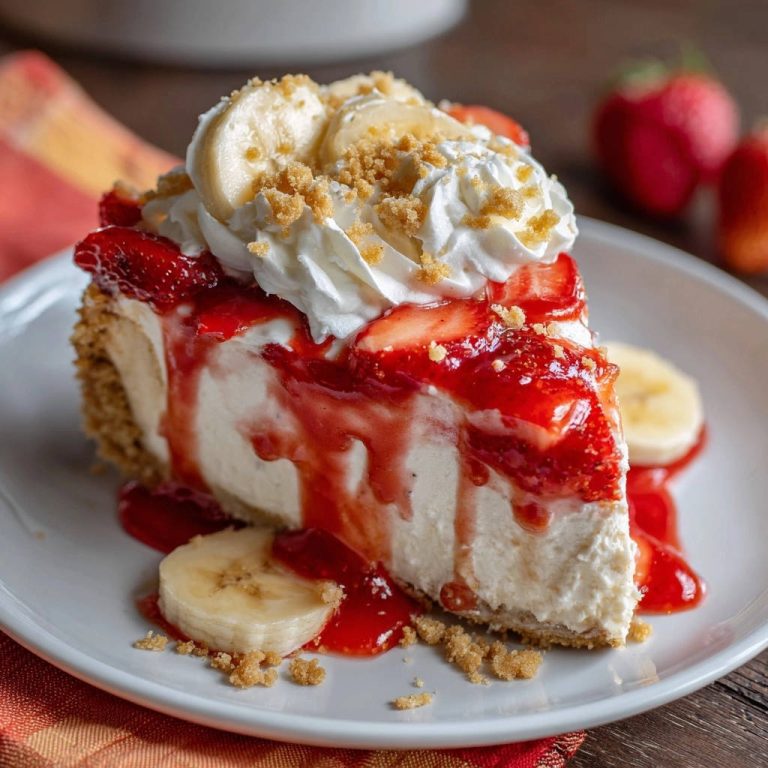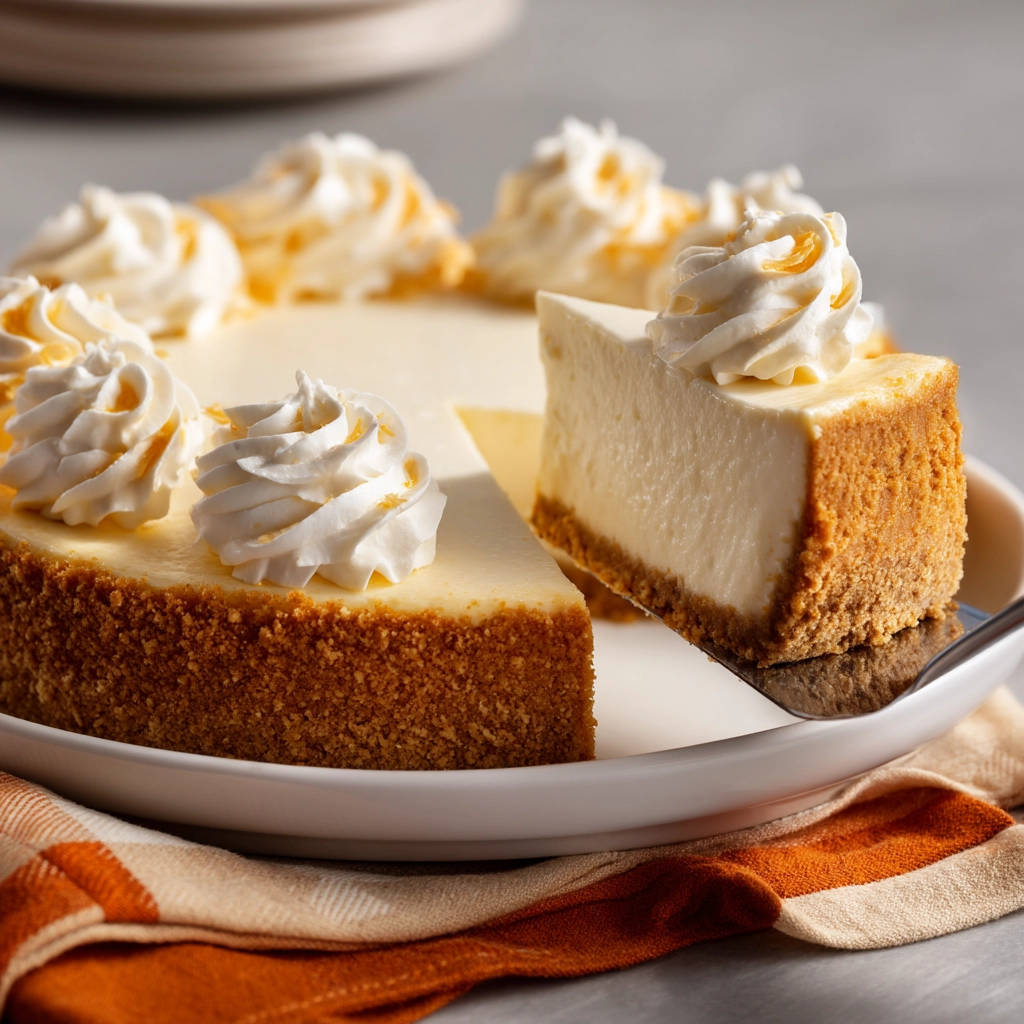
Let’s face it, baking a cheesecake can be a nerve-wracking experience. The anticipation builds as you mix the batter and carefully prepare the crust, only to be met with the dreaded sight of cracks marring the surface after baking. It’s a common baking woe, but fear not! This classic baked cheesecake recipe guarantees a smooth, creamy, and crack-free result every single time. This recipe is not just about the end result; it’s about enjoying the baking journey and creating a dessert that will impress everyone.
Why You’ll Love This Classic Baked Cheesecake
This isn’t just any cheesecake recipe; it’s a guaranteed success story. Here’s why you’ll adore it:
- Perfectly Smooth Top: Say goodbye to unsightly cracks! The secret water bath and slow cooling technique ensure a flawless finish.
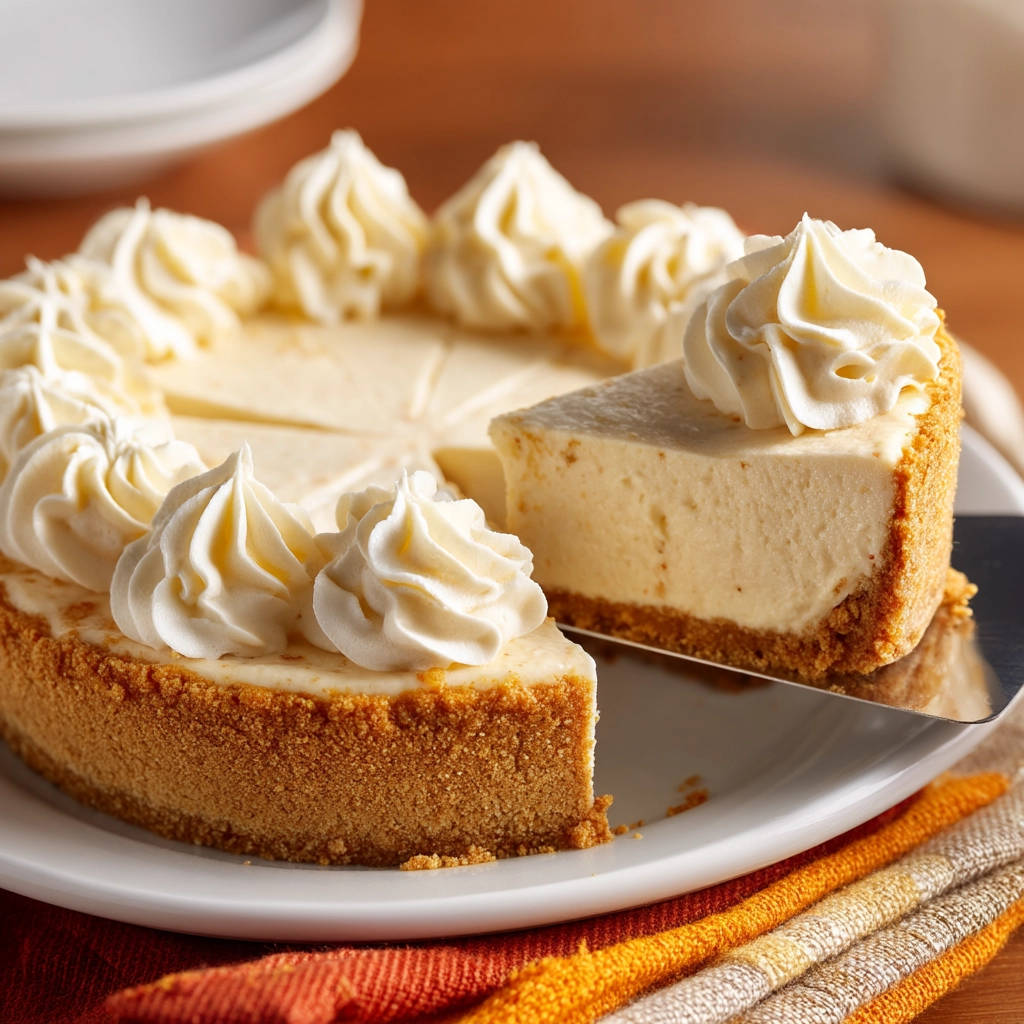
- Rich and Creamy Texture: The combination of high-quality cream cheese and sour cream creates an unbelievably decadent texture.
- Classic Flavor: This recipe delivers the quintessential cheesecake taste that everyone loves, enhanced by a touch of vanilla.
- Impressive Presentation: The elegant simplicity of a classic cheesecake makes it a stunning centerpiece for any occasion.
Gathering Your Ingredients for Classic Baked Cheesecake
Before we dive into the baking process, let’s talk ingredients. The key to an exceptional cheesecake lies in using high-quality ingredients and understanding their roles. We’re aiming for a rich, decadent flavor with a hint of tanginess that balances the sweetness. The ingredients below are used for the smooth and creamy texture that a perfect cheesecake has.
For the Decadent Filling:
- 3 (8 ounce) packages cream cheese, softened: This is the star of the show! Make sure your cream cheese is fully softened to room temperature. This ensures a smooth, lump-free batter and prevents overmixing, which can lead to cracks. Using full-fat cream cheese is essential for the rich, creamy texture we’re after.
- 1 1/2 cups granulated sugar: Sugar not only sweetens the cheesecake but also contributes to its tender texture. The quantity is carefully balanced to provide the right amount of sweetness without being overpowering.
- 1/2 cup sour cream: Sour cream adds a delightful tanginess and helps to create a moist, tender cheesecake. It also contributes to the overall creaminess. Don’t substitute with low-fat versions, as they won’t deliver the same rich flavor and texture.
- 2 teaspoons vanilla extract: Vanilla extract enhances the overall flavor profile, adding a touch of warmth and complexity. Use pure vanilla extract for the best results.
- 4 large eggs: Eggs provide structure and richness to the cheesecake. Adding them one at a time and mixing on low speed is crucial to prevent overmixing, which can cause cracks.
For the Graham Cracker Crust:
- 1 1/2 cups graham cracker crumbs: Graham crackers provide a slightly sweet and subtly spiced base for the cheesecake. You can buy pre-made graham cracker crumbs or crush your own using a food processor or rolling pin.
- 1/2 cup unsalted butter, melted: Melted butter binds the graham cracker crumbs together, creating a firm and flavorful crust. Be sure to use unsalted butter so you can control the overall saltiness of the cheesecake.
Crafting Your Classic Baked Cheesecake: Step-by-Step
Now for the fun part: baking! Don’t be intimidated by the water bath; it’s the secret weapon for achieving a perfectly smooth cheesecake. Follow these steps carefully, and you’ll be rewarded with a stunning dessert.
- Preheat and Prepare: Begin by preheating your oven to 350 degrees F (175 degrees C). The foil wrap and water bath are very important so your cheesecake has a humid environment. Wrap the bottom of a 9-inch springform pan tightly with heavy-duty aluminum foil. This double layer of protection prevents water from seeping into the crust during the water bath.
- Make the Graham Cracker Crust: In a medium bowl, combine the graham cracker crumbs and melted butter. Mix until the crumbs are evenly moistened. Press the mixture firmly into the bottom of the prepared springform pan, pressing it up the sides too if you like. Bake the crust for 8-10 minutes. This pre-baking step sets the crust and prevents it from becoming soggy. Let the crust cool slightly while you prepare the filling.
- Beat the Cream Cheese: In a large bowl, beat the softened cream cheese with an electric mixer until smooth and creamy. This is a crucial step for creating a lump-free cheesecake. If you use cold cream cheese, there will be clumps in your cheesecake mixture.
- Incorporate the Sugar: Gradually add the granulated sugar, beating until well combined and no lumps remain. Adding the sugar gradually helps it to dissolve evenly into the cream cheese, preventing a gritty texture.
- Add Sour Cream and Vanilla: Beat in the sour cream and vanilla extract until just incorporated. Do not overmix after this point. Overmixing after this point can introduce too much air into the batter.
- Incorporate the Eggs: Add the eggs one at a time, beating on low speed just until each egg is combined. Overmixing at this stage can add too much air and cause cracks. Mix the batter just until the egg is incorporated for a light, lump-free cheesecake.
- Assemble and Prepare for Baking: Pour the cream cheese mixture over the cooled graham cracker crust in the springform pan. Gently tap the pan on the counter a few times to release any large air bubbles.
- Water Bath Time: Place the foil-wrapped springform pan in a large roasting pan. Carefully pour hot water into the roasting pan so it comes about halfway up the sides of the springform pan. The water bath creates a humid environment and ensures even, gentle cooking, which is the key to preventing cracks.
- Bake: Bake for 60-75 minutes, or until the edges are set but the center is still slightly wobbly. Don’t worry if the center jiggles a bit; it will firm up as it cools.
- Slow Cooling: Turn off the oven, but do not remove the cheesecake. Prop the oven door open a crack (about 1-2 inches) with a wooden spoon. Let the cheesecake cool gradually in the oven for 1 hour. This slow cooling process prevents a sudden temperature change that can cause cracks.
- Chill: Carefully remove the cheesecake from the water bath and remove the foil. Let it cool completely on a wire rack before refrigerating for at least 4 hours, or preferably overnight, before serving. This chilling time allows the cheesecake to fully set and develop its flavors.
Tips for Perfect Classic Baked Cheesecake Every Time
Want to guarantee cheesecake perfection? Here are a few extra tips and tricks:
- Softened Cream Cheese is Key: Seriously, don’t skip this step! Fully softened cream cheese is essential for a smooth, lump-free batter.
- Don’t Overmix: Overmixing incorporates too much air into the batter, which can cause the cheesecake to puff up and then crack as it cools. Mix on low speed and only until the ingredients are just combined.
- Water Bath is Non-Negotiable: The water bath is the key to even cooking and preventing cracks. Make sure your foil is tightly sealed to prevent water from seeping into the crust.
- Slow Cooling is Crucial: The slow cooling process prevents a sudden temperature change that can cause cracks. Be patient and let the cheesecake cool gradually in the oven and then on a wire rack.
- Get creative with your toppings: A variety of toppings will make your cheesecake even more exciting.
What to Serve With Classic Baked Cheesecake
Classic baked cheesecake is delicious on its own, but it also pairs well with a variety of accompaniments. Consider serving it with fresh berries, a drizzle of chocolate sauce, or a dollop of whipped cream. For a more savory contrast, try pairing it with a side of creamy spiced potatoes.
Your Classic Baked Cheesecake Questions Answered (FAQ)
Why did my cheesecake crack?
The most common reason for cheesecake cracks is a rapid temperature change. This can happen if the cheesecake is baked at too high a temperature, cooled too quickly, or overmixed. Following the water bath and slow cooling instructions in this recipe will help prevent cracks.
Can I use a different crust?
Yes, you can substitute the graham cracker crust with other types of crusts, such as an Oreo crust or a shortbread crust. Adjust the baking time accordingly.
Can I make this cheesecake ahead of time?
Absolutely! In fact, cheesecake is often better when made ahead of time. It allows the flavors to meld together and the texture to fully set. You can make the cheesecake up to 2-3 days in advance and store it in the refrigerator.
Can I freeze this cheesecake?
Yes, you can freeze cheesecake. Wrap it tightly in plastic wrap and then in aluminum foil. Freeze for up to 2-3 months. Thaw in the refrigerator overnight before serving.
Enjoy Your Homemade Classic Baked Cheesecake!
There you have it – a foolproof recipe for classic baked cheesecake with no cracks! This recipe takes a little patience, but the results are well worth the effort. Indulge in a slice of creamy, decadent cheesecake that’s sure to impress. Don’t forget to leave a comment below and let me know how your cheesecake turned out! And if you’re looking for other delicious dessert ideas, be sure to check out our recipe for decadent chocolate topped cream cake!