
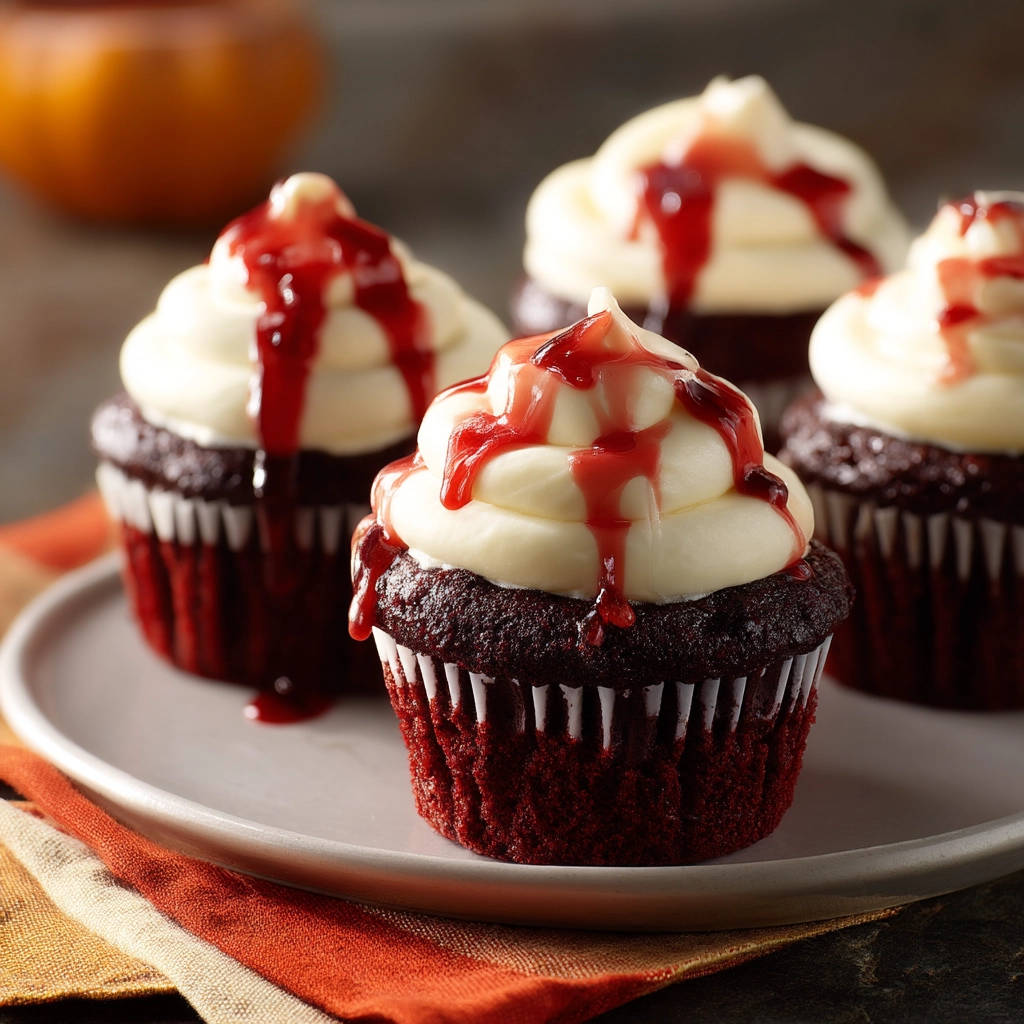
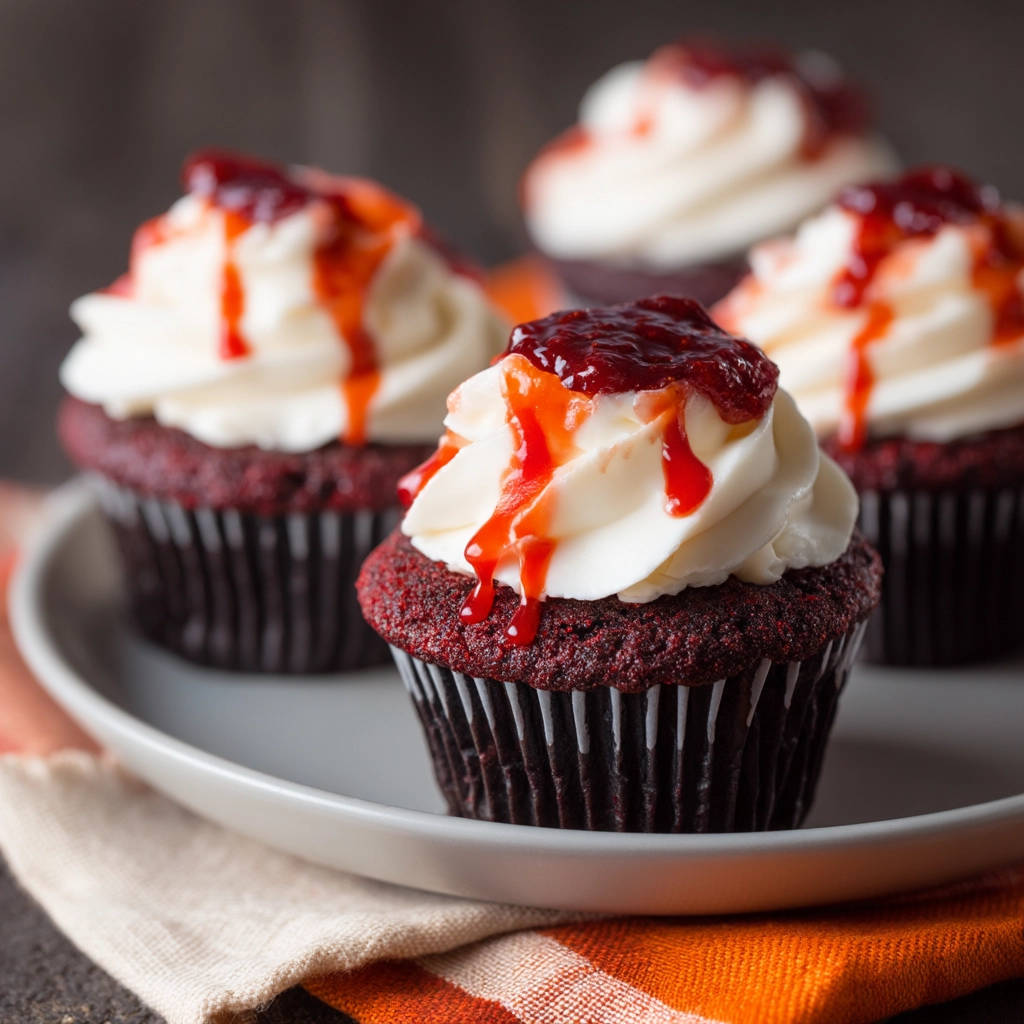
Okay, let’s be honest: red velvet cupcakes can sometimes be a gamble. You see that gorgeous, vibrant color, that tempting swirl of cream cheese frosting, and you take a bite…only to find it’s dry and disappointing. I’ve been there! But after much experimentation, I’m thrilled to share this recipe for incredibly moist and tender classic red velvet cupcakes. Get ready to bake cupcakes that are as delicious as they are beautiful!
Why You’ll Love These Red Velvet Cupcakes
These aren’t your average cupcakes! Here’s why you’ll fall in love with this recipe:
- Unbelievably Moist: The secret ingredient combination ensures a tender, melt-in-your-mouth texture.
- Perfectly Balanced Flavor: The subtle cocoa notes, tang of buttermilk, and creamy frosting create a harmonious blend.
- Easy to Make: Despite their sophisticated flavor, these cupcakes are surprisingly simple to bake.
- Stunning Presentation: The vibrant red color and elegant frosting make them perfect for any occasion.
Gathering Your Ingredients for Classic Red Velvet Cupcakes
Let’s talk ingredients! The key to truly exceptional red velvet cupcakes lies not just in the amounts, but also in the quality and the way they interact. We’re aiming for a moist, tender crumb with a hint of cocoa and a delightful tang. Here’s what you’ll need:
For the Cake:
- All-Purpose Flour (2 cups): This provides the structure for our cupcakes. Make sure to measure it accurately; spooning and leveling is recommended to avoid using too much.
- Granulated Sugar (1 and 3/4 cups): This adds sweetness and contributes to the moistness of the cupcakes.
- Unsweetened Cocoa Powder (1 tablespoon): This provides that characteristic hint of chocolate flavor that complements the red velvet base perfectly. Don’t skip it – it’s essential for the flavor profile!
- Baking Soda (1 teaspoon): This is our leavening agent, helping the cupcakes rise to a light and airy texture.
- Salt (1/2 teaspoon): Salt enhances the other flavors in the cupcakes, balancing the sweetness and adding depth.
- Large Eggs (2): Eggs bind the ingredients together and contribute to the richness and structure of the cupcakes.
- Buttermilk (1 cup): This is a key ingredient! The acidity in buttermilk helps to tenderize the gluten in the flour, resulting in a wonderfully soft and moist cupcake. If you don’t have buttermilk on hand, you can make a quick substitute by adding 1 tablespoon of white vinegar or lemon juice to a liquid measuring cup, then filling it with milk to equal 1 cup. Let it sit for 5 minutes before using.
- Vegetable Oil (1/2 cup): Oil adds moisture and ensures the cupcakes stay tender for days.
- Vanilla Extract (2 teaspoons): A touch of vanilla enhances the overall flavor and adds a warm, comforting note.
- Red Food Coloring (1 tablespoon): This gives red velvet cupcakes their signature vibrant color. Gel food coloring is recommended for the most intense color payoff.
- White Vinegar (1 teaspoon): This reacts with the baking soda to create a light and fluffy texture, and it also enhances the red color.
For the Cream Cheese Frosting:
- Unsalted Butter, Softened (1/2 cup or 1 stick): Use unsalted butter to control the amount of salt in the frosting. Make sure it’s softened to room temperature for a smooth and creamy frosting.
- Cream Cheese, Softened (8 ounces): Full-fat cream cheese is essential for a rich and tangy frosting. Again, make sure it’s softened to room temperature to avoid lumps.
- Powdered Sugar (4 cups): This sweetens and thickens the frosting. Sifting it before adding it to the butter and cream cheese will help prevent clumps.
- Vanilla Extract (1 teaspoon): Adds a touch of flavor to the frosting.
- Milk or Cream (1-2 tablespoons): This helps to adjust the consistency of the frosting to your desired thickness. Start with 1 tablespoon and add more as needed.
For the Drizzle:
- Cherry or Raspberry Preserves (1/4 cup): This adds a touch of fruity sweetness and a beautiful glaze to the finished cupcakes. Straining the preserves removes any seeds for a smooth drizzle.
Crafting Your Classic Red Velvet Cupcakes: Step-by-Step
Ready to bake? Don’t be intimidated! This recipe is straightforward, and I’ll guide you through each step to ensure cupcake success. The most important thing is to avoid overbaking – that’s the key to keeping these cupcakes moist and tender.
- Preheat and Prep: Start by preheating your oven to 350 degrees F (175 degrees C). While the oven is heating, line a 12-cup cupcake pan with paper liners. This prevents the cupcakes from sticking and makes for easy removal.
- Whisk the Dry Ingredients: In a large bowl, whisk together the 2 cups all-purpose flour, 1 and 3/4 cups granulated sugar, 1 tablespoon unsweetened cocoa powder, 1 teaspoon baking soda, and 1/2 teaspoon salt. Whisking ensures that the dry ingredients are evenly distributed, which is crucial for consistent baking.
- Combine the Wet Ingredients: In a separate medium bowl, whisk together the 2 large eggs, 1 cup buttermilk, 1/2 cup vegetable oil, 2 teaspoons vanilla extract, 1 tablespoon red food coloring, and 1 teaspoon white vinegar. This combination of wet ingredients is what gives red velvet cupcakes their signature tender crumb. The buttermilk tenderizes the gluten, while the vinegar reacts with the baking soda to create a light and fluffy texture.
- Combine Wet and Dry: Pour the wet ingredients into the dry ingredients and mix on low speed with an electric mixer just until combined. This is a critical step: do not overmix! Overmixing develops the gluten in the flour, which leads to tough, dry cupcakes. Stop mixing as soon as the dry streaks disappear. A few lumps are okay.
- Fill the Cupcake Liners: Divide the batter evenly among the prepared cupcake liners, filling each about two-thirds full. This ensures the cupcakes bake evenly and don’t overflow. A cookie scoop works great for this!
- Bake to Perfection: Bake for 18-22 minutes, or until a toothpick inserted into the center comes out clean. The most important step to avoid dryness is not overbaking! Start checking around 18 minutes. The cupcakes are done when they spring back slightly when lightly touched. A toothpick inserted into the center should come out clean or with a few moist crumbs attached, not wet batter.
- Cool Completely: Let the cupcakes cool in the pan for 5-10 minutes before transferring them to a wire rack to cool completely. Cooling them in the pan first helps them to set and prevents them from collapsing. Ensure they are fully cooled before frosting, or the frosting will melt.
- Make the Frosting: In a large bowl, beat the 1/2 cup (1 stick) softened unsalted butter and 8 ounces softened cream cheese together until smooth and creamy. This is best done with an electric mixer. Make sure both the butter and cream cheese are at room temperature to avoid lumps.
- Add the Sweetness: Gradually add the 4 cups powdered sugar, 1 cup at a time, beating until combined. Then, add the 1 teaspoon vanilla extract.
- Adjust the Consistency: Add the 1-2 tablespoons milk or cream, 1 tablespoon at a time, until the frosting reaches your desired consistency for piping. Beat on high speed for 1-2 minutes until light and fluffy.
- Frost and Drizzle: Pipe or spread the frosting onto the cooled cupcakes. For the drizzle, warm the 1/4 cup cherry or raspberry preserves in a small saucepan or microwave until slightly runny. Strain through a fine-mesh sieve to remove any seeds. Let cool slightly before drizzling over the frosted cupcakes.
Tips for Perfect Red Velvet Cupcakes Every Time
Want to ensure your red velvet cupcakes are a smashing success? Here are a few pro tips to keep in mind:
- Don’t Overmix the Batter: This is the number one cause of dry cupcakes! Mix just until the dry ingredients are incorporated.
- Accurate Measurements: Baking is a science, so accurate measurements are key. Use measuring cups and spoons, and level off dry ingredients.
- Room Temperature Ingredients: Using room temperature eggs, butter, and cream cheese helps the ingredients to blend together smoothly and evenly.
- Don’t Overbake: Start checking the cupcakes around 18 minutes. Overbaking will result in dry, crumbly cupcakes.
- Cool Completely Before Frosting: Frosting warm cupcakes will result in a melty, messy frosting. Be patient and let them cool completely.
- Storing Your Cupcakes: Store frosted cupcakes in an airtight container in the refrigerator for up to 3 days. Unfrosted cupcakes can be stored at room temperature for up to 2 days or in the freezer for up to 2 months.
What to Serve With Red Velvet Cupcakes
These cupcakes are a delightful treat on their own, but if you’re looking to create a complete dessert spread, consider pairing them with other complementary flavors. A light fruit salad would provide a refreshing contrast to the richness of the cupcakes, or you could even make some Easy Caramel Nut Dessert Jars for an even more decadent offering. For something a bit lighter, try serving them alongside a simple scoop of vanilla ice cream.
Your Red Velvet Cupcake Questions Answered (FAQ)
Why are my red velvet cupcakes dry?
The most common reason for dry red velvet cupcakes is overmixing the batter or overbaking. Overmixing develops the gluten in the flour, resulting in a tough texture. Overbaking dries out the cupcakes. Be sure to measure your ingredients accurately, mix just until combined, and check for doneness early.
Can I use a different type of food coloring?
Gel food coloring is recommended for the most vibrant red color. Liquid food coloring can also be used, but you may need to use more to achieve the desired color. Natural food coloring options are available but may not produce as intense of a red hue.
Can I make these cupcakes gluten-free?
Yes, you can! Substitute the all-purpose flour with a gluten-free all-purpose baking flour blend. Be sure to check the package instructions for any additional adjustments needed. You might also want to check out additional tips and tricks online for baking gluten-free cakes, like those used for our Decadent Chocolate Topped Cream Cake Recipe to achieve that light and fluffy texture. Also, if you are on a gluten-free diet, be sure to check the labeling on your other ingredients, as some may contain gluten.
Can I freeze these cupcakes?
Yes, you can freeze unfrosted red velvet cupcakes for up to 2 months. Wrap them tightly in plastic wrap and then place them in a freezer-safe bag or container. Thaw completely before frosting.
Can I make a red velvet cake instead of cupcakes?
Absolutely! This recipe can easily be adapted to make a layer cake. Simply bake the batter in two 8-inch or 9-inch cake pans for about 25-30 minutes, or until a toothpick inserted into the center comes out clean. Adjust the baking time as needed.
Enjoy Your Homemade Classic Red Velvet Cupcakes!
There you have it – a foolproof recipe for unbelievably moist and delicious classic red velvet cupcakes! With their vibrant color, tender crumb, and tangy cream cheese frosting, these cupcakes are sure to be a hit at any gathering. Don’t forget the final touch of that delightful cherry or raspberry drizzle! So grab your mixing bowls, preheat your oven, and get ready to experience red velvet cupcake perfection. If you try this recipe, let me know in the comments below! And don’t forget to share your cupcake creations on social media!


