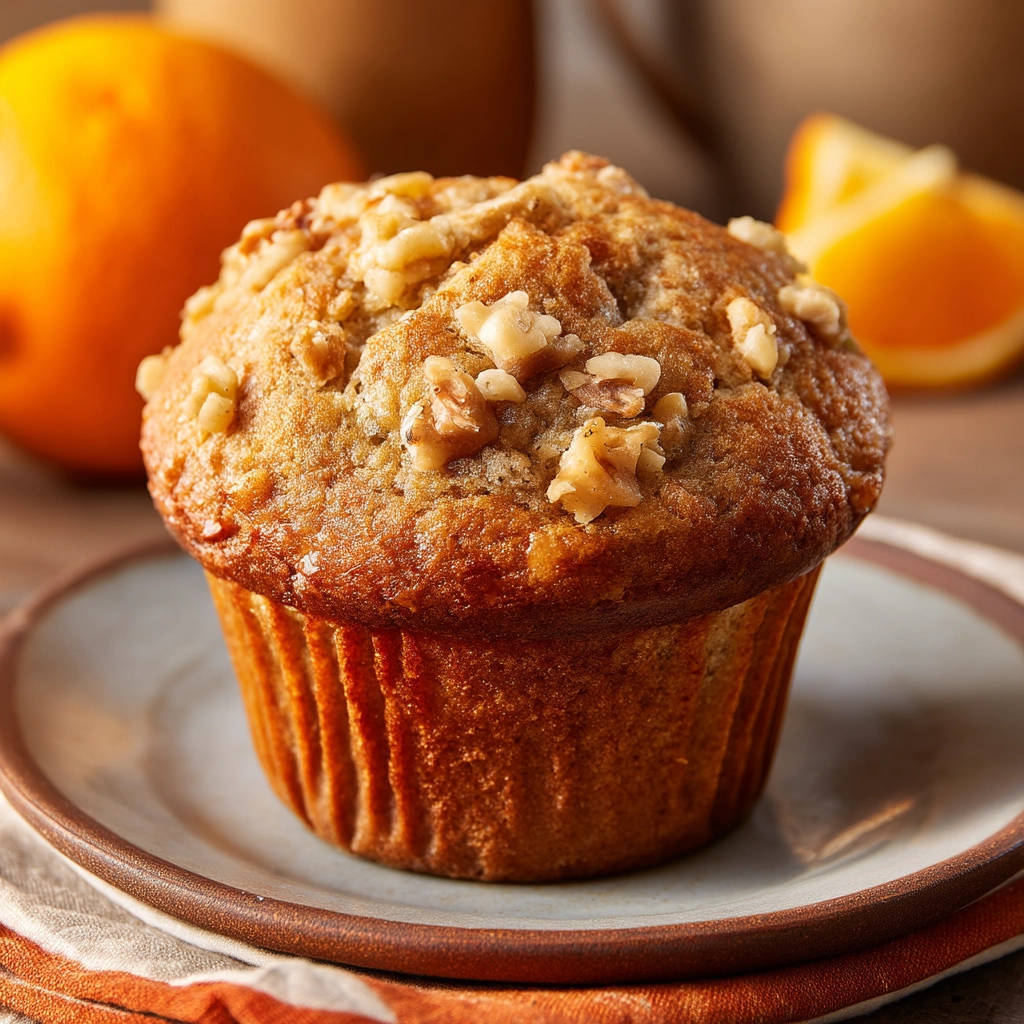
There’s nothing quite like the promise of a warm, freshly baked muffin. You picture that perfect dome top, the aroma filling your kitchen, and the anticipation of biting into a soft, tender crumb. But let’s be honest, we’ve all been there – excited for that perfect bake, only to end up with a muffin that’s disappointingly dry and crumbly. It’s a common baking frustration, but I’m here to tell you it doesn’t have to be your reality anymore! These Classic Walnut Muffins are anything but dry. They are consistently moist, wonderfully flavorful, and feature a simple, game-changing technique that guarantees bakery-quality results every single time.
This recipe for Classic Walnut Muffins isn’t just another standard version; it’s designed with moisture in mind. The magic lies in understanding one crucial step in the process that many bakers rush or misunderstand. Get this right, and you’ll unlock the secret to walnut muffins that stay tender for days, bursting with nutty flavor and a delightful hint of citrus.
Why You’ll Love These Classic Walnut Muffins
Beyond their incredible moisture, these walnut muffins offer a host of reasons to become your new go-to baking project:
- Unbeatable Texture: Forget hockey pucks! These muffins boast a tender, airy crumb thanks to our special mixing method.
- Perfect Flavor Harmony: The earthy richness of walnuts pairs beautifully with the bright, subtle notes of orange zest and juice.
- Simple Ingredients: You likely have most of the items needed already in your pantry.
- Quick & Easy: From start to finish, you can have a batch of warm muffins ready in under 40 minutes.
- Versatile: Perfect for a quick breakfast on the go, a delightful afternoon snack, or a sweet treat with coffee or tea.
Gathering Your Ingredients for Perfectly Moist Walnut Muffins
Creating muffins that are consistently moist and delicious starts with the right components. Think of these ingredients not just as a list, but as building blocks, each playing a vital role in the final texture and flavor. Here’s what you’ll need, with a little insight into why each one is important:
- All-Purpose Flour (2 cups): This provides the structure for our muffins. While some recipes use a mix, standard all-purpose flour works perfectly here, creating a tender but sturdy crumb.
- Granulated Sugar (3/4 cup): Sugar isn’t just for sweetness; it also helps retain moisture and contributes to that lovely golden-brown crust on top of the muffins.
- Baking Powder (2 teaspoons): This is our primary leavening agent, responsible for giving the muffins their lift and creating those desirable airy pockets within the crumb. Ensure your baking powder is fresh for the best rise!
- Salt (1/4 teaspoon): Just a touch of salt balances the sweetness and enhances all the other flavors in the muffin. Don’t skip it!
- Milk (1 cup): Milk provides necessary liquid to hydrate the dry ingredients and create the batter. Whole milk tends to add a bit more richness, but any milk will work.
- Vegetable Oil (1/2 cup): Unlike butter, which contributes flavor and structure, oil provides pure, unadulterated moisture. Using oil is one of the keys to keeping these muffins moist for longer compared to butter-based recipes.
- Large Egg (1): The egg acts as a binder, holding the muffin structure together, and also adds richness and helps with leavening, contributing to a softer texture.
- Vanilla Extract (1 teaspoon): Vanilla is a classic flavor enhancer that complements both the walnuts and the citrus notes beautifully. Use pure vanilla extract for the best results.
- Zest of One Orange: This is where a burst of bright, aromatic citrus flavor comes from. Be sure to only zest the outer orange part, avoiding the bitter white pith underneath. This addition truly elevates the flavor profile beyond a simple walnut muffin.
- Fresh Orange Juice (1/4 cup): The juice adds moisture and reinforces the orange flavor introduced by the zest. Freshly squeezed is always best for the brightest taste.
- Chopped Walnuts (1 cup, divided): The star ingredient! Walnuts provide wonderful crunch, nutty flavor, and healthy fats. We divide them, adding most to the batter and reserving some for topping for extra visual appeal and crunch. Make sure they are roughly chopped, not finely ground, so you get distinct pieces in each bite.
Having all your ingredients measured out and ready to go before you start mixing is a simple step that makes the baking process much smoother and helps ensure you don’t miss anything.
Crafting Your Classic Walnut Muffins: The Step-by-Step Guide to Moisture
Alright, let’s get baking! Follow these steps carefully, paying special attention to the mixing stage, and you’ll be rewarded with the most delicious, moist walnut muffins you’ve ever made.
- Prepare Your Workspace: Begin by preheating your oven to 375 degrees F (190 degrees C). Preparing the oven temperature ahead of time is crucial for even baking from the moment the muffins hit the heat. Next, ready your standard 12-cup muffin tin. You can line it with paper liners – which makes cleanup a breeze – or grease the cups thoroughly with butter or baking spray. This prevents sticking and ensures your beautiful muffins release easily once baked.
- Combine the Dry Ingredients: In a large mixing bowl, measure out your dry ingredients: the all-purpose flour, granulated sugar, baking powder, and salt. Use a whisk to vigorously blend these together. Whisking isn’t just about mixing; it helps to aerate the flour slightly and ensures the baking powder and salt are evenly distributed throughout the dry mixture. This even distribution is key for consistent leavening and flavor in every muffin.
- Whisk Together the Wet Ingredients: In a separate, medium-sized bowl, crack your large egg. Give it a quick whisk before adding the rest of the liquid components: the milk, vegetable oil, vanilla extract, fresh orange zest, and orange juice. Whisk everything together until the mixture is well combined and the egg is fully incorporated. You’ll notice the lovely aroma of the orange zest already starting to release!
- Combine Wet and Dry with Walnuts: Create a well in the center of the dry ingredients in the large bowl. Pour the entire wet ingredient mixture into this well. Now is also the time to add the bulk of your chopped walnuts – specifically, 3/4 cup of them. Adding the walnuts at this stage ensures they get evenly distributed throughout the batter as you mix.
- The MOST Important Step: Gentle Mixing is Key! This step is the true secret weapon against dry muffins, so pay close attention! With a rubber spatula or a wooden spoon, begin to gently stir the wet ingredients into the dry. Your goal here is minimal mixing. Stir just until the dry ingredients are moistened and no visible streaks of dry flour remain. The batter will look lumpy – and that is EXACTLY what you want! Do NOT try to stir out the lumps or achieve a smooth batter. Overmixing develops gluten, which leads to a tough, dense, and yes, dry muffin. A few seconds of gentle folding is often enough. Stop the moment you see the last bit of dry flour disappear.
- Fill the Muffin Cups: Using a large spoon or an ice cream scoop (this helps with portioning!), divide the lumpy batter evenly among the prepared muffin cups. Fill each cup about two-thirds full. This leaves enough room for the muffins to rise nicely without overflowing the tin, creating those perfect domed tops we all love.
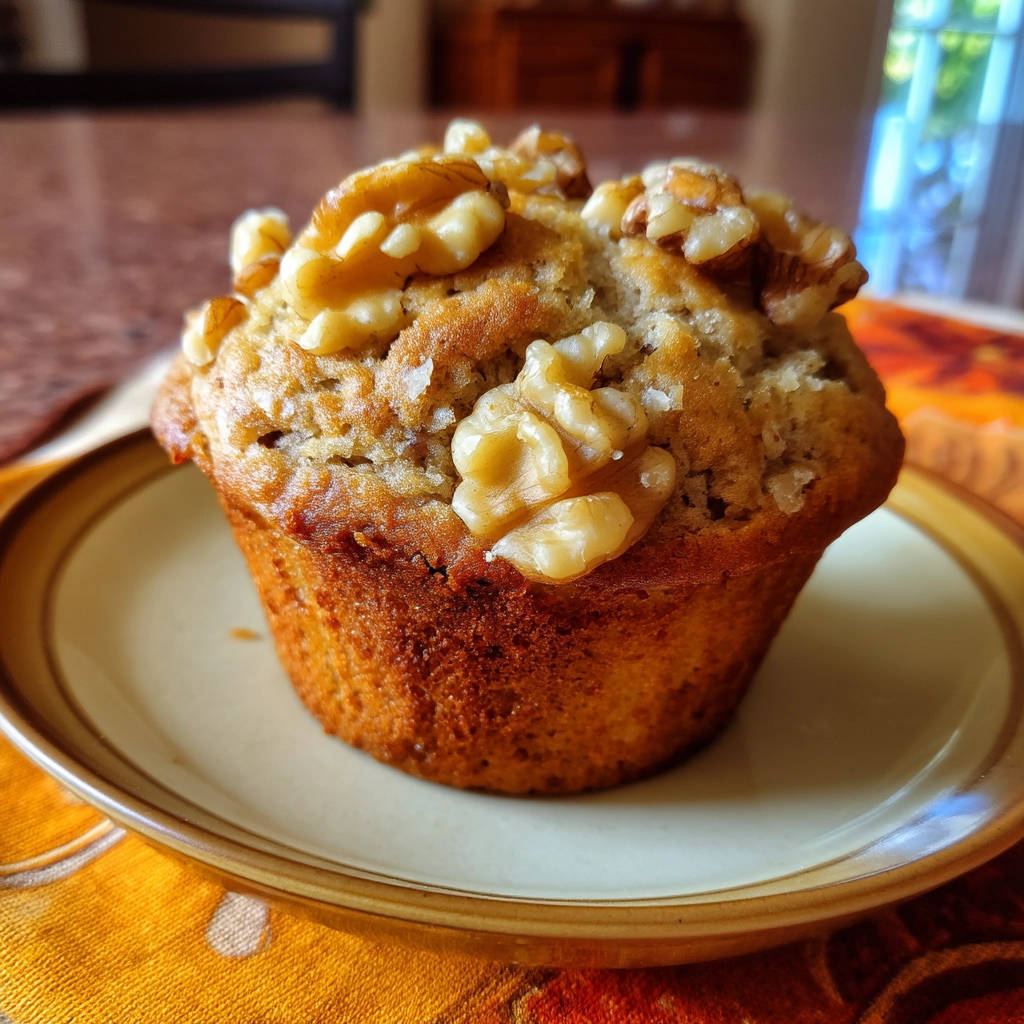
- Add the Finishing Touch: Take the remaining 1/4 cup of chopped walnuts that you set aside earlier and sprinkle them generously over the top of the batter in each muffin cup. This adds a beautiful visual element and an extra layer of delightful walnut crunch on top.
- Time to Bake: Carefully place the muffin tin into your preheated oven. Bake for 20 to 25 minutes. The exact baking time will vary depending on your oven, so start checking around the 20-minute mark. You’ll know they’re done when the tops are golden brown, and a wooden skewer or toothpick inserted into the center of a muffin comes out clean, with no wet batter attached (a few moist crumbs are okay!).
- Cooling Patience: Once baked, remove the muffin tin from the oven. Resist the urge to immediately pop them out! Let the muffins cool in the tin for about 5 minutes. This allows them to set slightly and makes them easier to transfer without breaking apart. After 5 minutes, gently move them to a wire rack to cool completely. Cooling on a wire rack allows air to circulate around the muffins, preventing the bottoms from becoming soggy.
Taking the time to follow these steps, especially the gentle mixing in step 5, will truly make a difference in the outcome of your Classic Walnut Muffins. Get ready for moist, flavorful perfection!
Tips for Baking the Best Walnut Muffins
Want to take your walnut muffin game to the next level? Here are a few extra tips and considerations:
- Don’t Overmix: Yes, I’m stressing this again because it’s that important! Lumps are your friend when making muffins.
- Ingredients at Room Temperature: Using milk and eggs that are at room temperature helps them emulsify better with the oil and other ingredients, leading to a smoother, more uniform batter (before the lumps, of course!).
- Measure Flour Correctly: Spoon the flour into your measuring cup and level it off with a straight edge. Scooping directly from the bag can compact the flour, resulting in too much flour and a dry muffin.
- Fresh Baking Powder: Make sure your baking powder isn’t expired. Test it by adding a teaspoon to a small amount of hot water; it should fizz vigorously.
- Nut Variety: While walnuts are classic, you could experiment with other nuts like pecans for a slight variation. The principle of gentle mixing still applies! For other delicious treats involving nuts, you might enjoy our Whipped Feta Dip with Walnuts & Honey, perfect for an appetizer!
Serving Suggestions for Walnut Muffins
These Classic Walnut Muffins are fantastic all on their own, but they also pair beautifully with a few simple additions:
Enjoy them warm with a smear of butter or cream cheese. They are a delightful companion to your morning coffee or tea. For a weekend breakfast treat, serve them alongside fresh fruit or yogurt. If you’re looking for other great breakfast baking ideas, be sure to check out our recipes for Classic Blueberry Scones or even our Oatmeal Blueberry Muffins.
Your Classic Walnut Muffin Questions Answered (FAQ)
Got questions about making these incredibly moist walnut muffins? Let’s tackle some common queries:
Can I substitute the orange zest and juice?
Yes, you can! If you don’t have oranges, you can use lemon zest and juice for a lemon-walnut muffin, or simply replace the orange juice with milk for a more traditional walnut-only flavor. The orange adds a wonderful complexity, but the base recipe is still delicious without it, especially with the gentle mixing technique ensuring moisture.
How long do Classic Walnut Muffins last?
Stored in an airtight container at room temperature, these muffins should stay moist and delicious for 2-3 days. The key is that airtight container to prevent them from drying out.
Why were my walnut muffins dry even with this recipe?
The most common culprit, even with a great recipe, is still overmixing the batter. Remember, lumps are okay! Other factors could include measuring your flour incorrectly (too much flour) or baking them for too long or at too high a temperature. Make sure your oven temperature is accurate (an oven thermometer is a good investment!) and start checking for doneness at the lower end of the bake time range.
Can I freeze walnut muffins?
Absolutely! Muffins freeze beautifully. Allow them to cool completely, then wrap each muffin individually in plastic wrap, followed by a layer of aluminum foil, or place them in a freezer-safe bag or container. They will keep in the freezer for up to 3 months. To thaw, simply unwrap and let them sit at room temperature for an hour or two, or gently warm them in the microwave for 20-30 seconds.
Can I add other things to the batter besides walnuts?
Certainly! Chocolate chips are a popular addition, either alongside or instead of the walnuts. You could also add dried cranberries or raisins. Just be mindful of the total amount of “mix-ins” so you don’t overload the batter – sticking to roughly 1 cup total is a good guideline.
Enjoy Your Homemade Classic Walnut Muffins!
Baking these Classic Walnut Muffins is more than just following a recipe; it’s about mastering a simple technique that makes all the difference. The combination of moist crumb, crunchy walnuts, and bright orange notes is truly irresistible. Whether you bake them for a special occasion or just because, they’re sure to bring a little joy to your day.
Give this recipe a try and taste the difference that gentle mixing makes. We promise, you won’t go back to dry muffins again! If you make them, be sure to leave a comment below and let us know how they turned out. Happy Baking!
Classic Walnut Muffins

Ingredients
- 2 cups all purpose flour
- 3/4 cup granulated sugar
- 2 teaspoons baking powder
- 1/4 teaspoon salt
- 1 cup milk
- 1/2 cup vegetable oil
- 1 large egg
- 1 teaspoon vanilla extract
- Zest of one orange
- 1/4 cup fresh orange juice
- 1 cup chopped walnuts, divided
Directions
- Preheat oven to 375 degrees F (190 degrees C). Line a 12 cup muffin tin with paper liners or grease the cups well.
- In a large bowl, whisk together the flour, sugar, baking powder, and salt.
- In a separate medium bowl, whisk together the milk, vegetable oil, egg, vanilla extract, orange zest, and orange juice.
- Pour the wet ingredients into the bowl with the dry ingredients. Add 3/4 cup of the chopped walnuts.
- This is the most important step for preventing dry muffins: Stir the mixture gently with a spatula or wooden spoon just until the dry ingredients are moistened. There should still be lumps. Do not overmix. Overmixing develops gluten and results in tough, dry muffins. A few seconds of gentle stirring is often enough.
- Divide the batter evenly among the prepared muffin cups, filling each about two thirds full.
- Sprinkle the remaining 1/4 cup of chopped walnuts over the tops of the muffins.
- Bake for 20-25 minutes, or until a wooden skewer inserted into the center of a muffin comes out clean.
- Let the muffins cool in the tin for a few minutes before transferring them to a wire rack to cool completely.