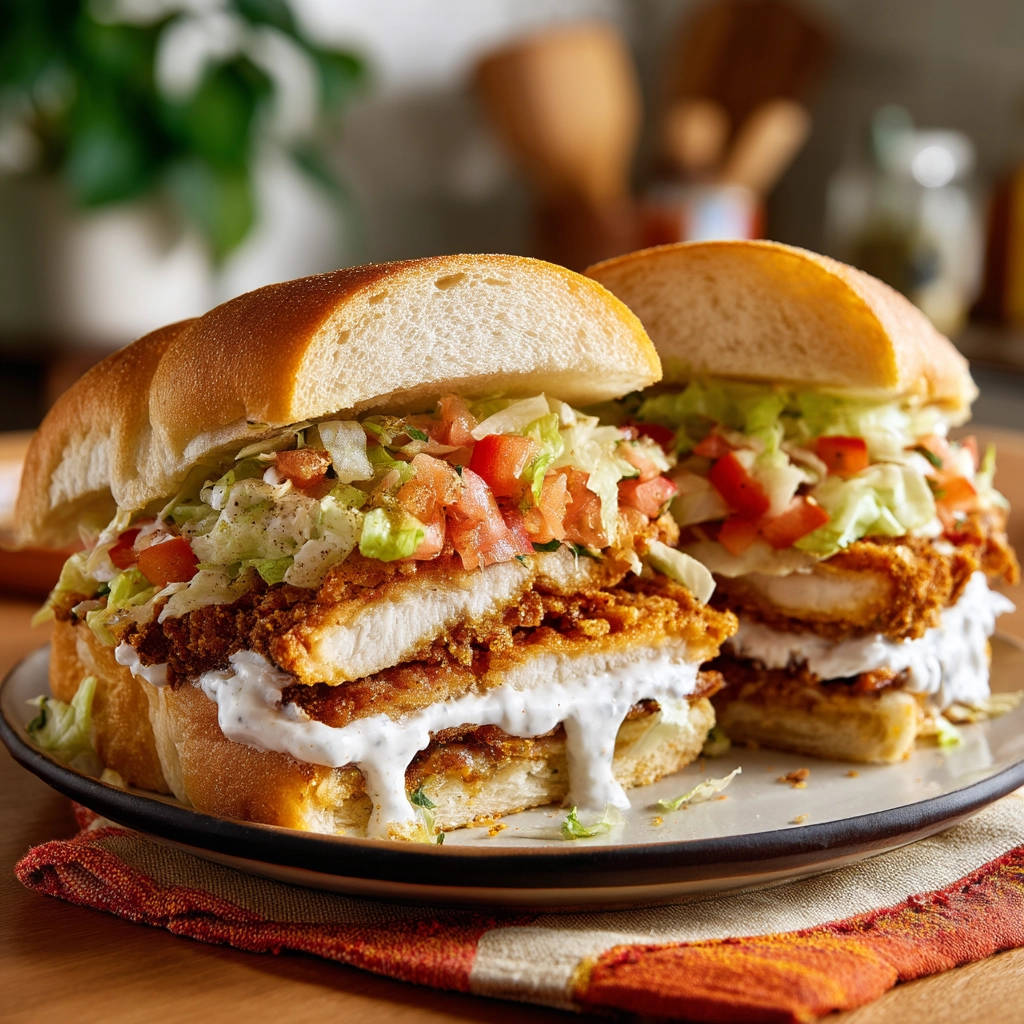
Why This Crispy Chicken Sandwich is a Keeper
This isn’t just another recipe; it’s your ticket to achieving crispy chicken sandwich perfection right in your own kitchen. So, what makes this version stand out from the rest? It starts with the chicken itself. We tackle the dryness issue head-on with a clever preparation step that ensures the chicken cooks quickly and evenly, locking in all those delicious juices. The result? Chicken that’s moist and tender on the inside. Then there’s the coating – a simple yet flavorful flour dredge that fries up to a glorious golden brown crisp. The combination of seasonings gives you that classic, satisfying taste you crave. Paired with your favorite fixings and a soft roll, it’s everything a great homemade crispy chicken sandwich should be.
Gathering Your Ingredients for the Ultimate Crispy Chicken Sandwich
Building the perfect sandwich starts with quality ingredients. Each component plays a role in achieving that craveable combination of textures and flavors. For the star of the show, you’ll need boneless, skinless chicken breasts. We’ll be prepping these in a way that guarantees tenderness. When choosing chicken, look for breasts that are roughly similar in size for more consistent cooking. The coating is where the magic happens, delivering that essential crunch. This recipe relies on a simple blend of all purpose flour seasoned generously with paprika, garlic powder, onion powder, salt, and black pepper. The paprika adds lovely color and a touch of sweetness, while the garlic and onion powders build that savory base. If you like a little heat, a touch of cayenne pepper is totally optional but highly recommended – it adds a subtle kick without overwhelming the other flavors. To help the dry coating adhere and to contribute to a tender chicken, you’ll need a wet mixture. Buttermilk is the classic choice here because its acidity helps tenderize the chicken slightly. If you don’t have buttermilk on hand, a simple hack is to combine regular milk with a tablespoon of lemon juice and let it sit for a few minutes – it works like a charm! You’ll also need one large egg whisked into this wet mix. For frying, a neutral vegetable oil is best. You’ll need enough to reach about an inch depth in your skillet to ensure the chicken is submerged enough to cook evenly and get crispy on all sides. Finally, for assembling these beauties, grab your favorite hoagie rolls or similar long rolls. You’ll also want fresh, shredded lettuce and juicy sliced tomato for classic sandwich toppings. And no crispy chicken sandwich is complete without a creamy white sauce – think cool, tangy mayonnaise or a zesty ranch dressing. Use your favorite! Here’s a breakdown of what you’ll need:
- 2 boneless, skinless chicken breasts
- 1 cup all purpose flour
- 2 teaspoons paprika
- 1 teaspoon garlic powder
- 1 teaspoon onion powder
- 1/2 teaspoon salt
- 1/4 teaspoon black pepper
- 1/4 teaspoon cayenne pepper (optional)
- 1 cup buttermilk or milk with 1 tablespoon lemon juice
- 1 large egg
- Vegetable oil for frying
- 2 hoagie rolls or similar long rolls
- Shredded lettuce
- Sliced tomato
- Creamy white sauce (like mayonnaise or a ranch dressing)
Crafting Your Crispy Chicken Sandwich: Step-by-Step
Ready to achieve sandwich nirvana? Let’s walk through the process together. Each step is designed to build flavor and texture, ensuring you end up with a masterpiece.
- The first crucial step is preparing your chicken breasts for frying. This isn’t just about getting them ready; it’s the secret to preventing dryness. Place each chicken breast on a cutting board. Cover them gently with plastic wrap – this helps keep things tidy and prevents meat particles from flying around as you work! Grab your meat mallet or even just a sturdy heavy pan and gently but firmly pound each breast until it’s uniformly about half an inch thick. This creates a thinner, even piece of chicken that cooks much faster and more consistently, which is absolutely key for locking in those juices and getting perfectly fried chicken that isn’t dry.
- Next, set up your dredging stations. You’ll need two shallow dishes, like pie plates or wide bowls. In one dish, whisk together your wet ingredients: the buttermilk (or the milk with lemon juice) and the large egg until well combined. In the other dish, whisk together your dry ingredients: the all purpose flour, paprika, garlic powder, onion powder, salt, black pepper, and the optional cayenne pepper. Make sure the spices are evenly distributed throughout the flour mixture for consistent flavor.
- Now it’s time to coat the chicken! Take each pounded chicken breast and first dip it into the wet mixture, letting any excess liquid drip off back into the dish. You want it fully coated. Immediately transfer the wet chicken to the dry flour mixture. Dredge it thoroughly, pressing the flour mixture onto the chicken with your hands to ensure it’s completely and evenly coated. You want a good amount of the flour mixture to adhere – this is what creates that amazing crispy crust. Place the coated chicken breasts on a wire rack set over a baking sheet. This allows any excess coating to fall away and keeps the chicken elevated while you heat the oil, preventing it from getting soggy on the bottom.
- While your chicken rests, heat your frying oil. Pour vegetable oil into a large, sturdy skillet to a depth of about 1 inch. Place the skillet over medium-high heat. The ideal temperature for frying crispy chicken is around 350 degrees Fahrenheit. If you have a thermometer, this is the best way to monitor the heat. If not, you can test the oil by dropping a small pinch of the flour mixture into it; it should sizzle immediately and vigorously, indicating the oil is hot enough. Be patient and wait for the oil to reach the correct temperature before adding the chicken.
- Carefully place the coated chicken breasts into the hot oil. Do not overcrowd the pan! Frying too many pieces at once will lower the oil temperature and result in greasy, less crispy chicken. If necessary, fry the chicken in batches. Fry for about 4 to 6 minutes per side. You’ll know it’s time to flip when the edges look golden brown. Flip the chicken gently and fry the other side for another 4 to 6 minutes, or until both sides are a beautiful golden brown and crispy. The internal temperature of the thickest part of the chicken should reach 165 degrees Fahrenheit. Using a meat thermometer is the most reliable way to check for doneness and ensure juicy results – undercooked is unsafe, and overcooked leads to dryness. The relatively short cooking time needed for the thinner, pounded chicken is a key factor in keeping it incredibly juicy. Once cooked, carefully remove the chicken from the oil and place it back on the wire rack set over paper towels. This allows the excess oil to drain off, keeping the crust crispy.
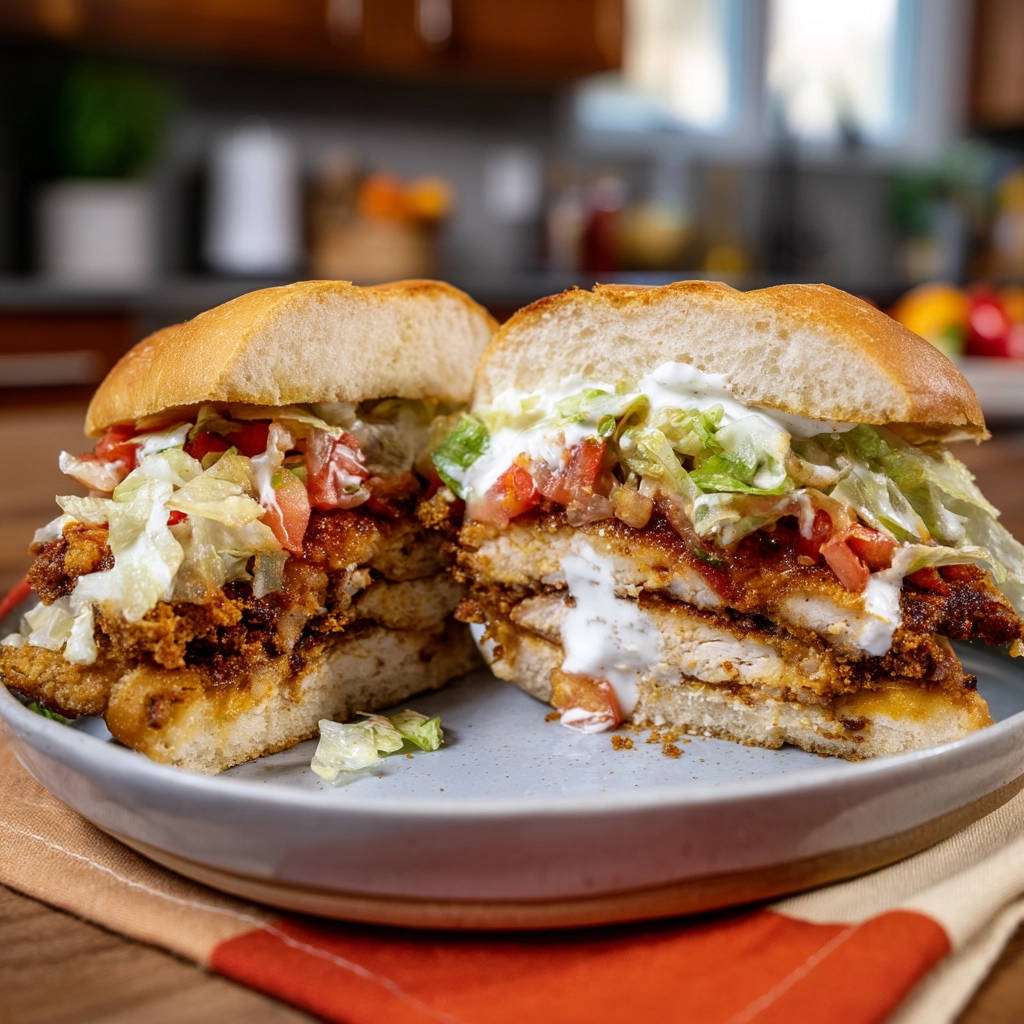
- Time to assemble your masterpiece! Split your hoagie rolls or long rolls horizontally using a serrated knife. Place one glorious fried chicken breast on the bottom half of each roll.
- Now, pile on your favorite toppings! Top generously with shredded lettuce and sliced tomato. Finish it off with a dollop or drizzle of that creamy white sauce – mayo or ranch work perfectly here. Place the top half of the roll on top.
- Serve immediately! The sooner you enjoy your crispy chicken sandwich after frying, the better that crunch will be.
Tips for a Perfect Crispy Chicken Sandwich Every Time
Achieving crispy, juicy chicken isn’t difficult, but a few simple tips can elevate your sandwich game from good to absolutely amazing. Don’t Skip the Pound: Seriously, this is the number one secret. Pounding the chicken to an even thickness ensures it cooks through quickly and evenly. This rapid cooking minimizes the chance of the chicken drying out before the coating is perfectly golden. Buttermilk is Your Friend: The acidity in buttermilk helps tenderize the chicken, contributing to that juicy texture. If using the milk and lemon juice substitute, let it sit for at least 5-10 minutes to curdle slightly before using. Proper Dredging Technique: Ensure the chicken is fully coated in the wet mixture, allowing excess to drip off, then press the flour mixture onto the chicken firmly. Don’t be shy! A thick, even coating provides maximum crunch. Let it Rest: Placing the coated chicken on a wire rack before frying allows the coating to set slightly, which helps it adhere better during frying and results in a crispier crust. After frying, resting the chicken on a wire rack (not directly on paper towels in the pan) allows air circulation and helps maintain that crispiness. Monitor Oil Temperature: Too low, and your chicken will be greasy. Too high, and the coating will burn before the chicken is cooked through, leading to dry results. Aim for that 350°F sweet spot. A simple candy or deep-fry thermometer is a great investment if you plan to fry often. Don’t Overcrowd: Frying in batches might take a little longer, but it’s essential for keeping the oil hot enough to get a truly crispy coating. Overcrowding cools the oil and leads to soggy chicken.
What to Serve With Your Crispy Chicken Sandwich
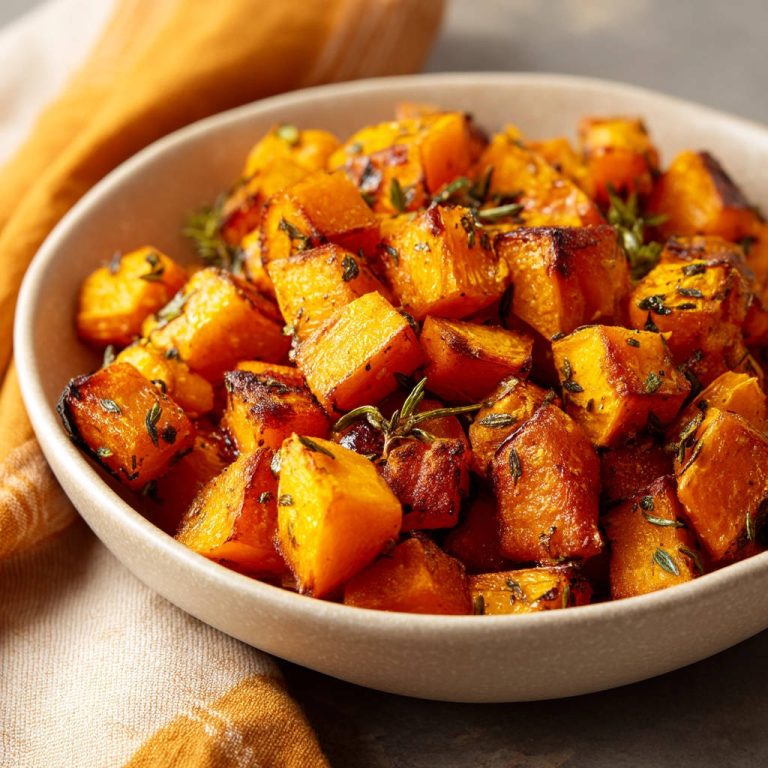
A fantastic crispy chicken sandwich deserves equally fantastic sides! Classic pairings enhance the experience and turn a sandwich into a full, satisfying meal. Fries are, of course, a perennial favorite. Whether you prefer classic thin-cut, steak fries, or something a little different, they’re a perfect match for the crunchy chicken. You might even enjoy making your own, like these easy crispy roasted potatoes for a less traditional but equally delicious side. A crisp, cool salad provides a refreshing contrast. A simple coleslaw or a creamy cucumber salad can cut through the richness of the fried chicken. If you’re looking for something light and refreshing, perhaps a simple kale salad could be a lovely addition to your meal. Pickles are a must-have for many! Their tangy bite adds a burst of flavor that complements the savory sandwich. You can also serve them with onion rings or perhaps some quick and easy pan-fried potatoes.
Your Crispy Chicken Sandwich Questions Answered (FAQ)
Let’s tackle some common questions you might have about making the best crispy chicken sandwich at home.
Can I use chicken thighs instead of breasts?
Absolutely! Boneless, skinless chicken thighs are often even more forgiving and tend to stay incredibly juicy due to their higher fat content. The pounding and frying method described here will work beautifully with thighs as well. The cooking time might be slightly different depending on their thickness, so always use a thermometer to check for an internal temperature of 165°F.
Why is my fried chicken dry?
The most common culprit for dry fried chicken is overcooking. Chicken breast is lean and cooks quickly. Pounding it to a consistent, thinner thickness (about 1/2 inch) drastically reduces the necessary frying time. Frying at the correct temperature (around 350°F) ensures the outside gets crispy while the inside finishes cooking just right. Always use a thermometer and pull the chicken out as soon as it hits 165°F.
How can I make the coating extra crispy?
Ensuring your oil is at the correct temperature (350°F) is crucial. Also, pressing the flour mixture firmly onto the chicken during dredging helps create a thicker, more robust coating. Allowing the coated chicken to rest on a wire rack for a few minutes before frying can help the coating adhere better. Frying in batches to avoid overcrowding also ensures the oil stays hot enough for maximum crispness. For even more crunch, some people do a double dredge: wet, dry, wet again, then dry again. This creates a thicker, more textured coating.
Can I bake or air fry this chicken instead of deep frying?
While this recipe is specifically designed for deep frying to achieve a particular texture, you can adapt it. For an air fryer, preheat to around 400°F, lightly mist the coated chicken with oil, and cook for 10-15 minutes, flipping halfway, until golden and the internal temperature is 165°F. For baking, preheat your oven to 400°F, place the coated chicken on a wire rack set over a baking sheet, mist with oil, and bake for 20-25 minutes, flipping halfway, until golden and the internal temperature is 165°F. These methods will yield delicious results, though the texture might be slightly different than traditional deep frying. If you’re interested in other crispy chicken options, check out our recipe for Crispy Chicken Tenders which uses a similar coating method.
Can I prepare the chicken ahead of time?
You can pound and coat the chicken up to a few hours ahead of time. Keep it covered on a wire rack in the refrigerator. However, for the crispiest results, it’s best to fry the chicken just before serving. The coating can get a bit soggy if it sits for too long after being wet and coated.
Enjoy Your Homemade Crispy Chicken Sandwich!
There you have it – the secret to a perfectly crispy, incredibly juicy chicken sandwich made right in your own kitchen. No more dry, disappointing bites! This recipe proves that you don’t need to go out to enjoy a truly fantastic fried chicken sandwich experience. Give this recipe a try and taste the difference that simple techniques can make. It’s perfect for a weekend lunch, a casual dinner, or whenever that sandwich craving hits. Have you tried this method? What are your favorite toppings? Let us know in the comments below! And if you loved this recipe, be sure to share it with your friends and family. Happy cooking!
Crispy Chicken Sandwich

Ingredients
- 2 boneless, skinless chicken breasts
- 1 cup all purpose flour
- 2 teaspoons paprika
- 1 teaspoon garlic powder
- 1 teaspoon onion powder
- 1/2 teaspoon salt
- 1/4 teaspoon black pepper
- 1/4 teaspoon cayenne pepper (optional)
- 1 cup buttermilk or milk with 1 tablespoon lemon juice
- 1 large egg
- Vegetable oil for frying
- 2 hoagie rolls or similar long rolls
- Shredded lettuce
- Sliced tomato
- Creamy white sauce (like mayonnaise or a ranch dressing)
Directions
- Prepare the chicken: Place chicken breasts on a cutting board. Cover with plastic wrap and pound them gently with a meat mallet or heavy pan until they are about 1/2 inch thick. This is key for even cooking and juicy results.
- Set up dredging stations: In one shallow dish, whisk together the buttermilk or milk/lemon juice and egg. In another shallow dish, combine the flour, paprika, garlic powder, onion powder, salt, pepper, and cayenne if using.
- Coat the chicken: Dip each pounded chicken breast into the wet mixture, letting excess drip off. Then dredge thoroughly in the flour mixture, pressing to coat completely. Place coated chicken on a wire rack while you heat the oil.
- Heat the oil: Pour vegetable oil into a large skillet to a depth of about 1 inch. Heat over medium high heat until the oil reaches about 350 degrees Fahrenheit. You can test by dropping a pinch of flour in; it should sizzle immediately.
- Fry the chicken: Carefully place the coated chicken breasts in the hot oil. Do not overcrowd the pan; fry in batches if necessary. Fry for about 4 to 6 minutes per side, flipping once, until golden brown and crispy and the internal temperature reaches 165 degrees Fahrenheit. This relatively short cooking time for thinner chicken prevents dryness. Remove from oil and place on a wire rack set over paper towels to drain.
- Assemble the sandwiches: Split the rolls horizontally. Place a fried chicken breast on the bottom half of each roll. Top generously with shredded lettuce, sliced tomato, and the creamy white sauce. Place the top half of the roll on top.
- Serve immediately and enjoy your perfectly juicy and crispy chicken sandwich!