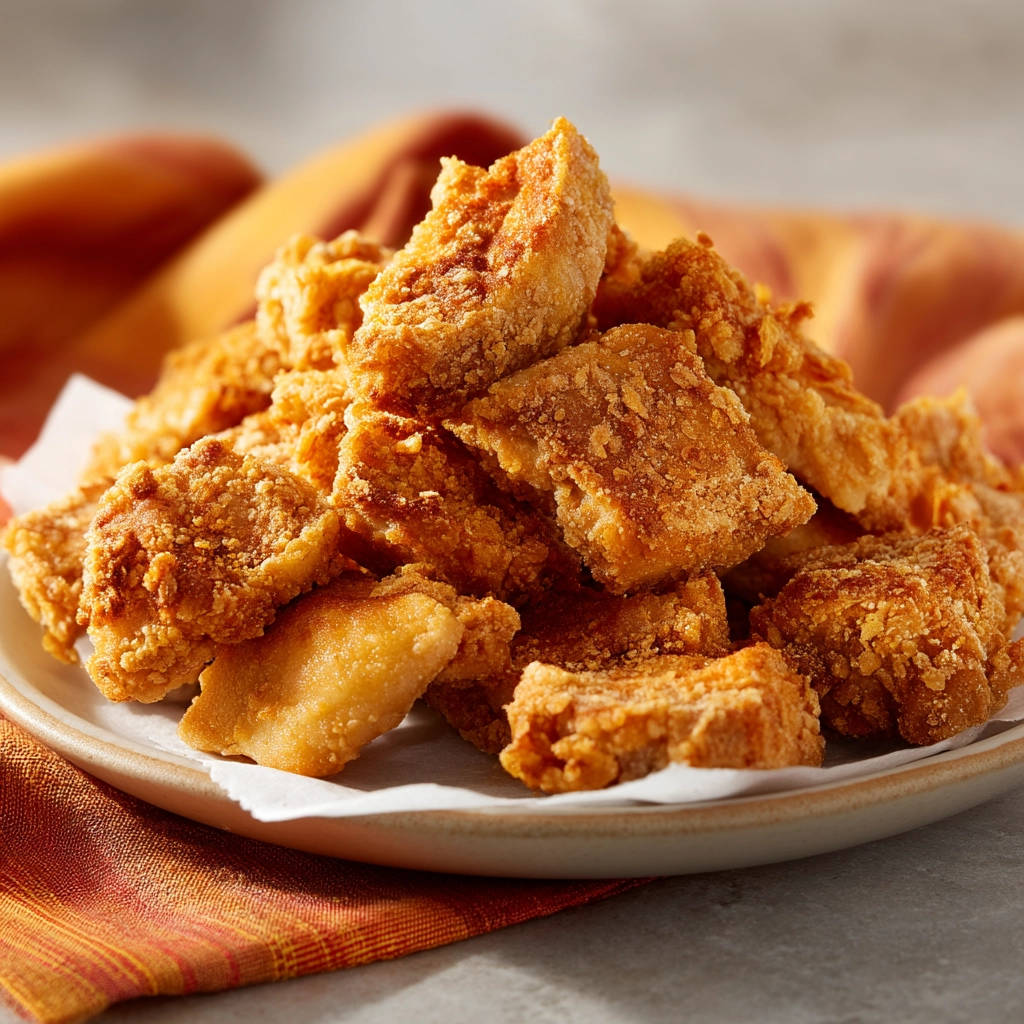
Is there anything more satisfying than biting into a piece of perfectly crispy, juicy fried chicken? We all crave that golden-brown crust and tender interior, but achieving it can feel like a culinary tightrope walk. One wrong move, and you’re left with pale, greasy chicken or, even worse, a burnt exterior with a raw center. But don’t worry, my friend! I’m here to share a game-changing technique for achieving consistently perfect, crispy fried chicken bites every single time: temperature control.
Why You’ll Love These Crispy Chicken Bites
Forget about uneven browning and soggy disappointments. These crispy fried chicken bites are:
- Perfectly Golden: Thanks to our temperature-controlled frying method, each bite is uniformly golden brown and irresistibly crispy.
- Juicy and Tender: The buttermilk marinade ensures that the chicken remains incredibly moist and tender on the inside.
- Flavor-Packed: A blend of classic spices creates a flavor explosion that will tantalize your taste buds.
- Easy to Make: While the temperature control requires a bit of attention, the overall process is surprisingly simple and straightforward.
- Versatile: Enjoy them as a snack, appetizer, or main course – the possibilities are endless!
Gathering Your Ingredients for Crispy Fried Chicken Bites
Before we dive into the frying pan, let’s gather our ingredients. The key to truly exceptional fried chicken lies not just in the method, but also in the quality and balance of the ingredients. We’re aiming for a symphony of flavors and textures, where each component plays a crucial role.
First, the star of the show – the chicken. We’ll be using boneless, skinless chicken thighs. Chicken thighs are more forgiving than breasts, staying moist and tender even with a little extra frying time. They also boast a richer, more savory flavor that complements the spices beautifully.
- 1.5 pounds boneless skinless chicken thighs, cut into 1-inch pieces
Next, we need the perfect coating. All-purpose flour provides the base for our crispy crust. But we’re not just using plain flour – we’re infusing it with a blend of spices that will add depth and complexity to the flavor. The salt and black pepper are essential for seasoning, while garlic powder and paprika contribute warm, savory notes. A touch of cayenne pepper adds a subtle kick that will keep you coming back for more. Feel free to adjust the amount of cayenne to suit your spice preference; it’s entirely optional.
- 1 cup all-purpose flour
- 2 teaspoons salt
- 1 teaspoon black pepper
- 1 teaspoon garlic powder
- 1/2 teaspoon paprika
- 1/2 teaspoon cayenne pepper (optional)
Finally, the buttermilk. Buttermilk is the secret weapon for tenderizing the chicken and helping the flour coating adhere. Its acidity gently breaks down the proteins in the chicken, resulting in an incredibly moist and juicy interior. If you don’t have buttermilk on hand, you can easily make a substitute by adding a tablespoon of lemon juice or white vinegar to a cup of milk and letting it sit for 5-10 minutes until slightly thickened. We also need a generous amount of vegetable oil for frying. Choose an oil with a high smoke point, such as vegetable, canola, or peanut oil.
- 1 cup buttermilk
- Vegetable oil, for frying
Crafting Your Crispy Fried Chicken Bites: Step-by-Step
Now that we have all our ingredients, let’s get cooking! The secret to perfectly browned, crispy fried chicken bites is all about controlling the oil temperature. By maintaining a consistent temperature, we can ensure that the chicken cooks evenly and develops a beautiful golden-brown crust without burning or becoming soggy. Here’s how to do it:
- Prepare the Flour Mixture: In a large bowl, whisk together the flour, salt, pepper, garlic powder, paprika, and cayenne pepper (if using). Make sure all the spices are evenly distributed throughout the flour. This ensures that each chicken bite is coated with a consistent flavor profile.
- Marinate the Chicken: In a separate bowl, soak the chicken pieces in buttermilk for at least 30 minutes, or up to 2 hours in the refrigerator. The longer the chicken marinates, the more tender and flavorful it will become. This step is crucial for achieving that melt-in-your-mouth texture.
- Dredge the Chicken: Remove the chicken pieces from the buttermilk, allowing any excess to drip off. This prevents the flour mixture from becoming too wet and clumpy. Dredge each chicken piece in the flour mixture, ensuring it’s fully coated. Press the flour into the chicken to help it adhere. This creates a thicker, crispier crust.
- Heat the Oil: Heat about 1 inch of vegetable oil in a large, heavy-bottomed skillet or Dutch oven over medium heat. The oil should be around 325-350°F (160-175°C). A deep-sided pan helps prevent splattering and ensures that the chicken is submerged in oil for even cooking. Use a thermometer to monitor the oil temperature.
- Fry the Chicken: Working in batches, carefully add the chicken pieces to the hot oil, ensuring not to overcrowd the pan. Overcrowding the pan will lower the oil temperature and result in soggy chicken. This is where the even-browning method comes in: Maintain the Oil Temperature! Use a thermometer to constantly monitor the oil temperature. If the temperature drops below 325°F (160°C), the chicken will absorb too much oil and become soggy. If it gets above 350°F (175°C), the chicken will brown too quickly on the outside and may not cook through on the inside. Adjust the heat as needed to maintain the ideal temperature range.
- Cook to Perfection: Fry the chicken for 6-8 minutes, flipping halfway through, until golden brown and cooked through. The internal temperature should reach 165°F (74°C). Use a meat thermometer to ensure that the chicken is cooked through.
- Drain and Serve: Remove the chicken pieces from the oil and place them on a wire rack to drain excess oil. Do not place them on paper towels, as this will cause them to steam and lose their crispiness. Serve immediately and enjoy your perfectly browned, crispy chicken bites!
Tips for Perfect Crispy Fried Chicken Bites Every Time
Want to take your fried chicken game to the next level? Here are a few extra tips to ensure that your chicken bites are always perfect:
- Use a Thermometer: Investing in a good-quality thermometer is essential for achieving consistent results. A thermometer allows you to accurately monitor the oil temperature and ensure that the chicken is cooked through.
- Don’t Overcrowd the Pan: Frying the chicken in batches prevents the oil temperature from dropping too low, resulting in crispier chicken.
- Maintain the Oil Temperature: Adjust the heat as needed to maintain the oil temperature within the ideal range (325-350°F or 160-175°C). This is the key to achieving even browning and preventing soggy chicken.
- Use a Wire Rack: Placing the cooked chicken on a wire rack allows excess oil to drain away, resulting in crispier chicken.
- Double Dredge for Extra Crispy Chicken: For an even thicker and crispier crust, try double dredging the chicken. After the initial dredge, dip the chicken back into the buttermilk, then back into the flour mixture.
What to Serve With Crispy Fried Chicken Bites
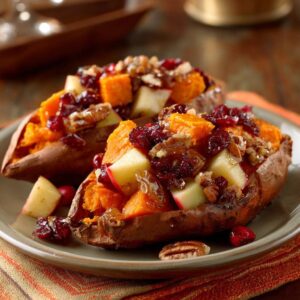
These crispy fried chicken bites are incredibly versatile and can be enjoyed in countless ways. Serve them as a snack or appetizer with your favorite dipping sauce, such as ranch dressing, honey mustard, or barbecue sauce. They also make a fantastic main course when paired with classic sides like coleslaw, mashed potatoes, or corn on the cob. For a healthier option, try serving them with a fresh salad or roasted vegetables. You could also incorporate them into a power bowl similar to our roasted sweet potato chicken power bowl recipe for a complete and satisfying meal.
Your Crispy Fried Chicken Bites Questions Answered (FAQ)
Can I use chicken breasts instead of chicken thighs?
While chicken thighs are recommended for their flavor and moisture content, you can use chicken breasts if you prefer. Just be sure to cut the breasts into smaller pieces and monitor them closely during frying to prevent them from drying out. Also consider brining the chicken breasts beforehand to ensure they stay juicy.
Can I use a different type of flour?
All-purpose flour works best for this recipe, but you can experiment with other types of flour if you’re looking for a different texture. For example, using cake flour will result in a slightly more tender crust, while using bread flour will create a crispier crust. For a gluten-free option, try using a gluten-free all-purpose flour blend. You can also explore options like cornstarch or rice flour for added crispness. Consider also taking a look at recipes where rice is the star, such as our golden rice pilaf for more rice ideas!
How do I store leftover chicken bites?
Store leftover chicken bites in an airtight container in the refrigerator for up to 3 days. To reheat, bake them in a preheated oven at 350°F (175°C) for 10-15 minutes, or until heated through. You can also reheat them in an air fryer for a crispier result.
Can I freeze these chicken bites?
Yes, you can freeze these chicken bites for longer storage. Allow them to cool completely, then arrange them in a single layer on a baking sheet lined with parchment paper. Freeze for 1-2 hours, or until solid. Transfer the frozen chicken bites to a freezer bag or airtight container and store in the freezer for up to 2 months. Reheat from frozen in a preheated oven or air fryer.
Enjoy Your Homemade Crispy Fried Chicken Bites!
With this simple technique and these helpful tips, you’ll be able to create perfectly browned, crispy fried chicken bites that will impress your family and friends. So go ahead, grab your ingredients, and get frying! Once you master the art of temperature control, you’ll never have to settle for soggy or unevenly cooked fried chicken again. Don’t forget to leave a comment below and let me know how your chicken bites turned out. Happy cooking!
Crispy Fried Chicken Bites (The Even-Browning Method)
Ingredients
- 1.5 pounds boneless skinless chicken thighs, cut into 1-inch pieces
- 1 cup all-purpose flour
- 2 teaspoons salt
- 1 teaspoon black pepper
- 1 teaspoon garlic powder
- 1/2 teaspoon paprika
- 1/2 teaspoon cayenne pepper (optional)
- 1 cup buttermilk
- Vegetable oil, for frying
Directions
- In a large bowl, combine flour, salt, pepper, garlic powder, paprika, and cayenne pepper (if using).
- In a separate bowl, soak the chicken pieces in buttermilk for at least 30 minutes, or up to 2 hours in the refrigerator.
- Remove the chicken pieces from the buttermilk, letting any excess drip off.
- Dredge each chicken piece in the flour mixture, ensuring it’s fully coated. Press the flour into the chicken to help it adhere.
- Heat about 1 inch of vegetable oil in a large, heavy-bottomed skillet or Dutch oven over medium heat. The oil should be around 325-350°F (160-175°C).
- Working in batches, carefully add the chicken pieces to the hot oil, ensuring not to overcrowd the pan. This is where the even-browning method comes in: Maintain the Oil Temperature!
- Use a thermometer to constantly monitor the oil temperature. If the temperature drops below 325°F (160°C), the chicken will absorb too much oil and become soggy. If it gets above 350°F (175°C), the chicken will brown too quickly on the outside and may not cook through on the inside. Adjust the heat as needed to maintain the ideal temperature range.
- Fry the chicken for 6-8 minutes, flipping halfway through, until golden brown and cooked through. Internal temperature should reach 165°F (74°C).
- Remove the chicken pieces from the oil and place them on a wire rack to drain excess oil. Do not place them on paper towels, as this will cause them to steam and lose their crispiness.
- Serve immediately and enjoy your perfectly browned, crispy chicken bites!