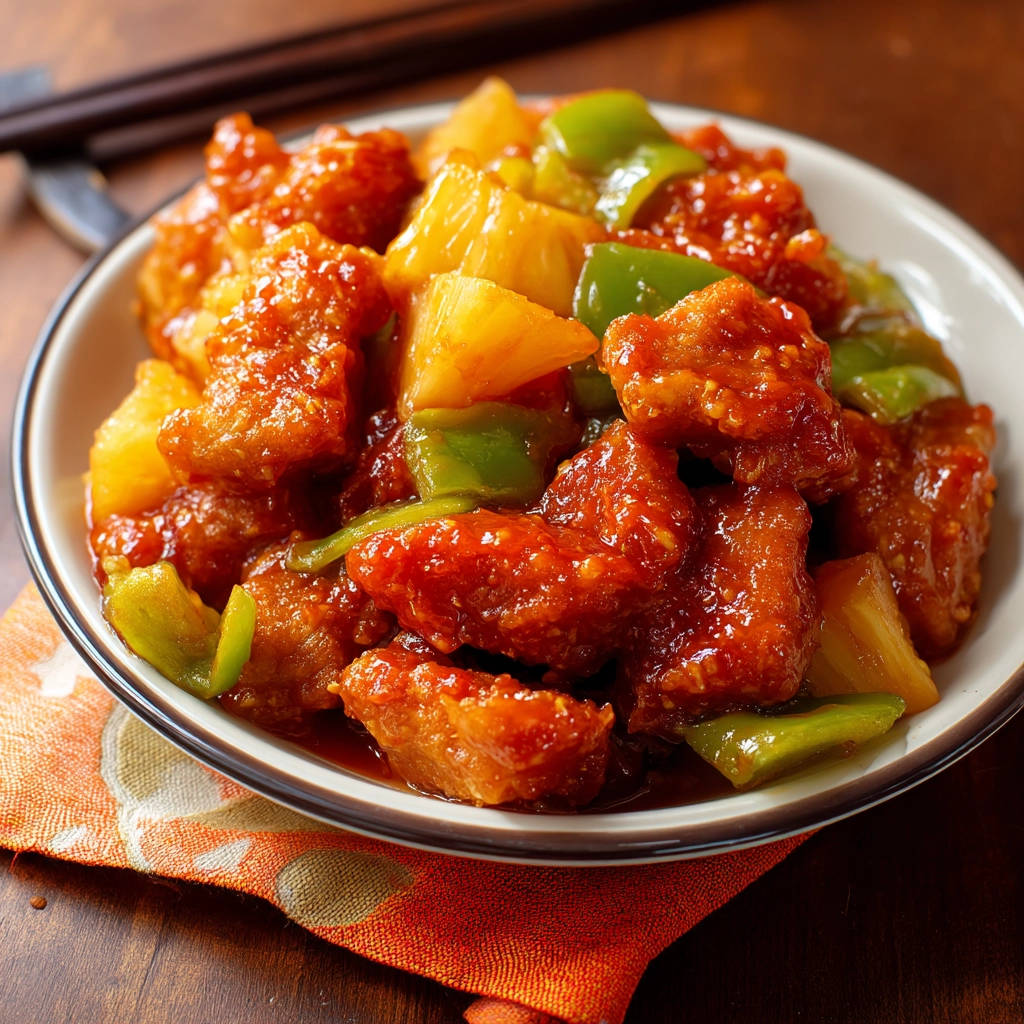
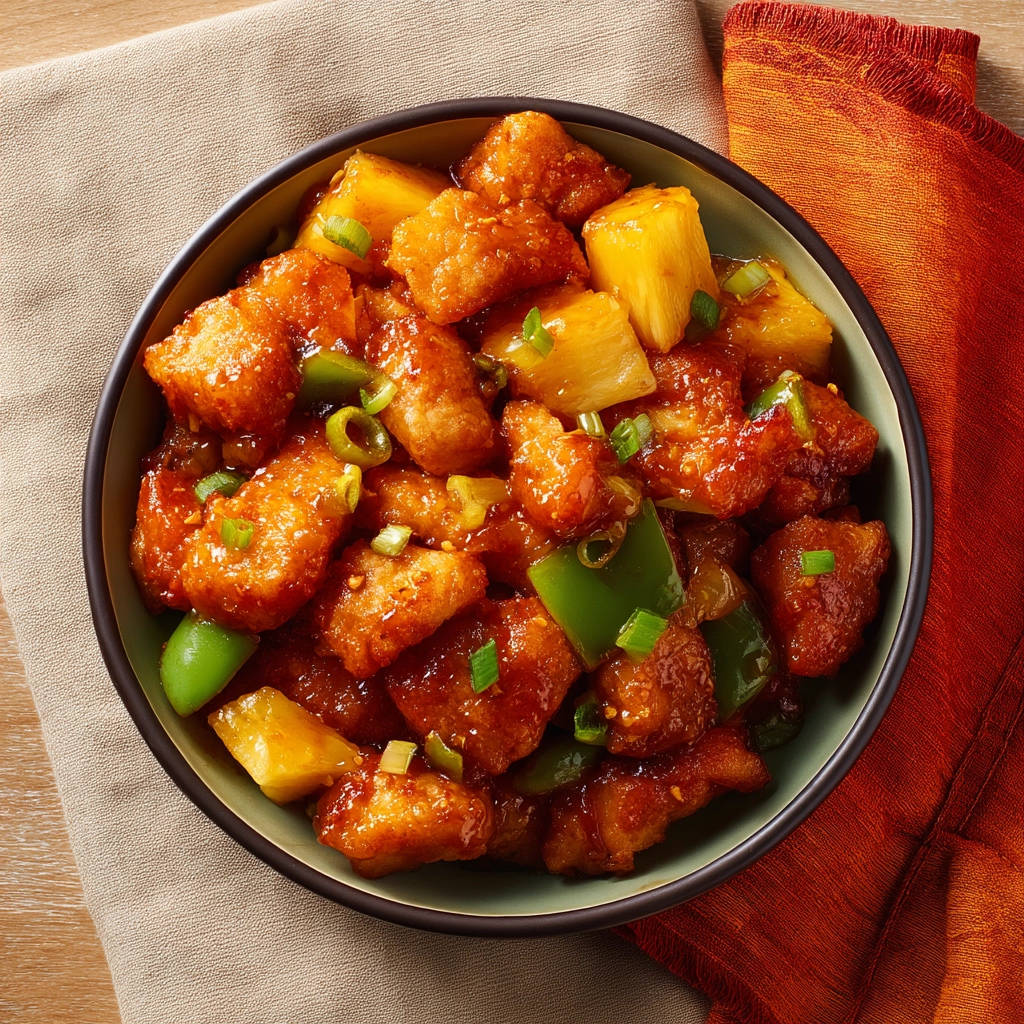
Craving that classic sweet and sour chicken but tired of the disappointment of a soggy, mushy coating? I’ve been there! For years, I struggled to recreate that restaurant-quality crispiness at home. But I’ve finally cracked the code, and I’m so excited to share my secret to perfectly crispy sweet and sour chicken every single time. Get ready for a taste of takeout, but made fresh in your own kitchen, with a coating that actually stays crispy!
Why You’ll Love This Crispy Sweet and Sour Chicken
This isn’t just another sweet and sour chicken recipe. This is THE recipe, the one you’ll turn to again and again. Here’s why:
- Unbeatable Crispiness: The double-fry technique is a game-changer, guaranteeing a satisfying crunch with every bite.
- Perfectly Balanced Flavors: The sweet and sour sauce is a delightful blend of tangy, sweet, and savory notes that complement the crispy chicken perfectly.
- Customizable: Easily adjust the sweetness or tanginess to your liking, and add your favorite veggies.
- Surprisingly Easy: While it may seem intimidating, this recipe is actually quite simple to follow, with clear, step-by-step instructions.
Gathering Your Ingredients for Crispy Sweet and Sour Chicken
Let’s talk ingredients! The beauty of this crispy sweet and sour chicken recipe lies in the combination of simple, readily available components that, when combined with a few key techniques, create an explosion of flavor and texture. We’re building a delicious base, balancing the sweet and the sour, and most importantly, ensuring that crispy coating that makes this dish so irresistible.
First, let’s consider the star of the show – the chicken. For the best results, you’ll want to gather these items:
- 1.5 lbs boneless, skinless chicken breast or thighs: I personally prefer chicken thighs for their richer flavor and tenderness, but chicken breast works just as well if you prefer a leaner option. Cut the chicken into bite-sized pieces, about 1-inch cubes, for even cooking and optimal crispiness.
Next, we need to create that incredibly crispy coating. This isn’t just a simple dredge; it’s a carefully balanced blend of dry ingredients that work together to achieve the perfect texture:
- 1 cup all-purpose flour: This provides the structure for the coating.
- 1/2 cup cornstarch: This is the secret weapon for achieving that light, airy crispness. Cornstarch helps to prevent the coating from becoming too dense or heavy.
- 1 teaspoon baking powder: This adds a touch of lift to the coating, making it even lighter and crispier.
- 1/2 teaspoon salt & 1/4 teaspoon black pepper: Simple seasonings that enhance the flavor of the chicken.
- 2 eggs, lightly beaten: The eggs act as a binder, helping the dry ingredients adhere to the chicken.
- 1/2 cup water: This thins out the egg mixture, creating a batter that coats the chicken evenly.
- Oil for frying (vegetable or canola): Choose an oil with a high smoke point, like vegetable or canola oil, for frying. You’ll need enough oil to submerge the chicken pieces, about 2-3 inches in a large pot or Dutch oven.
Now, for the flavorful sweet and sour sauce and accompanying vegetables and fruit. These items really balance out the dish.
- 1 green bell pepper, cut into chunks: Adds a slightly bitter and crunchy element to the dish. You could also use other colors of bell pepper, or a mix, for added visual appeal and flavor.
- 1 cup pineapple chunks (fresh or canned): The sweetness and slight acidity of pineapple perfectly complements the savory chicken and tangy sauce. Fresh or canned works equally well; just be sure to drain canned pineapple thoroughly.
Finally, the components for our tangy and delicious sauce:
- 1/2 cup ketchup: The base of our sweet and sour flavor!
- 1/4 cup rice vinegar (or white vinegar): Rice vinegar offers a slightly milder and sweeter tang compared to white vinegar, but either will work.
- 1/4 cup sugar: Balances the acidity of the vinegar and adds sweetness to the sauce. Adjust to your liking!
- 2 tablespoons soy sauce: Adds a savory, umami depth to the sauce. Use low-sodium soy sauce to control the saltiness.
- 1 tablespoon cornstarch: Thickens the sauce, giving it a glossy, coating consistency.
- 1/2 cup water: Thins out the sauce and helps the cornstarch dissolve evenly.
Crafting Your Crispy Sweet and Sour Chicken: Step-by-Step
Alright, let’s get cooking! Don’t be intimidated by the double-fry – it’s the secret weapon to achieving that unforgettable crispy coating. Follow these steps, and you’ll be enjoying homemade crispy sweet and sour chicken in no time.
- Prepare the chicken coating: In a medium bowl, whisk together the flour, cornstarch, baking powder, salt, and pepper. This ensures that the dry ingredients are evenly distributed, preventing clumps and ensuring a consistent coating. In a separate bowl, whisk the eggs and water. Add the dry ingredients to the wet ingredients and whisk until just combined, creating a thick batter. Don’t overmix! It’s okay if there are some small lumps; overmixing can develop the gluten in the flour, resulting in a tougher coating.
- Coat the chicken: Add the chicken pieces to the batter and stir to coat each piece thoroughly. Make sure every piece is well-coated for maximum crispiness. Let the chicken sit in the batter for about 5-10 minutes. This helps the batter adhere to the chicken and allows the baking powder to activate.
- Fry the chicken (First Fry): Heat 2-3 inches of oil in a large pot or Dutch oven over medium-high heat to about 350°F (175°C). Use a thermometer to ensure the oil is at the correct temperature. If the oil is too cold, the chicken will absorb too much oil and become greasy. If the oil is too hot, the outside will cook too quickly, and the inside may remain raw. Carefully add the coated chicken pieces in batches, making sure not to overcrowd the pot. Overcrowding will lower the oil temperature and result in soggy chicken. Fry for 3-4 minutes until lightly golden and cooked through. Remove the chicken with a slotted spoon and place it on a wire rack set over a baking sheet to drain. This first fry cooks the chicken and sets the batter. Using a wire rack allows excess oil to drip off, helping to maintain crispiness.
- Fry the chicken (Second Fry – The Crispy Secret!): Increase the oil heat slightly to about 375°F (190°C). Again, use a thermometer to ensure accuracy. Return the chicken to the hot oil in batches for a second fry. This fry is quick, only 1-2 minutes, until the chicken is deeply golden brown and extra crispy. The second fry is what truly transforms the chicken into a crispy masterpiece. Remove to the wire rack again. THIS DOUBLE FRYING IS KEY TO KEEPING THE COATING CRISPY LATER!
- Make the sauce: While the chicken is frying, whisk together the ketchup, vinegar, sugar, soy sauce, cornstarch, and water in a small saucepan. Whisking ensures that the cornstarch dissolves properly, preventing lumps in the sauce. Heat over medium heat, stirring constantly, until the sauce thickens and becomes glossy. This should take about 3-5 minutes. Stirring constantly prevents the sauce from sticking to the bottom of the pan and burning.
- Stir-fry the vegetables and fruit: In a large skillet or wok, heat 1-2 tablespoons of oil over medium-high heat. Add the green bell pepper and pineapple chunks and stir-fry for 2-3 minutes until slightly softened but still crisp. You want the vegetables and fruit to retain some of their texture, so don’t overcook them.
- Combine: Add the thickened sauce to the skillet with the peppers and pineapple. Stir to coat.
- The Final Toss (Preventing Soggy Coating!): Remove the skillet from the heat or turn the heat very low. This is absolutely critical for maintaining crispiness. Add the DOUBLE-FRIED crispy chicken to the skillet. Quickly but gently toss everything together just until the chicken is coated in the sauce. Serve immediately over rice. Tossing just before serving and keeping the sauce contact brief is critical after the double fry. The longer the chicken sits in the sauce, the softer the coating will become.
Tips for Perfect Crispy Sweet and Sour Chicken Every Time
Want to ensure your crispy sweet and sour chicken is a guaranteed success? Here are a few extra tips and tricks:
- Don’t overcrowd the frying pot: Frying in batches is essential to maintaining the oil temperature and ensuring even cooking. Overcrowding will lower the oil temperature, resulting in soggy chicken.
- Use a thermometer: A thermometer is your best friend when frying. It ensures that the oil is at the correct temperature, which is crucial for achieving a crispy coating.
- Drain the chicken properly: Place the fried chicken on a wire rack set over a baking sheet to drain excess oil. This helps to keep the coating crispy.
- Make the sauce ahead of time: The sauce can be made ahead of time and stored in the refrigerator until ready to use. This can save you time when you’re ready to cook the chicken.
- Adjust the sauce to your liking: Feel free to adjust the sweetness and tanginess of the sauce to your personal preference. Add more sugar for a sweeter sauce, or more vinegar for a tangier sauce.
- For a little added kick: Add a pinch of red pepper flakes to the sauce for a little heat.
What to Serve With Crispy Sweet and Sour Chicken
Crispy sweet and sour chicken is delicious served over a bed of fluffy rice, like white rice or even our golden rice pilaf. It also pairs well with steamed broccoli, stir-fried vegetables, or even a simple side salad. For a complete meal, consider adding some spring rolls or egg rolls. You can also check out our creamy paneer rice bowl for inspiration on other rice bowl variations.
Your Crispy Sweet and Sour Chicken Questions Answered (FAQ)
Can I use chicken thighs instead of chicken breast?
Absolutely! Chicken thighs are a great alternative to chicken breast. They tend to be more flavorful and stay more moist during frying. Just be sure to trim off any excess fat before cutting them into bite-sized pieces.
Can I make this recipe gluten-free?
Yes, you can! Simply substitute the all-purpose flour with a gluten-free all-purpose flour blend. Also, double-check that your soy sauce is gluten-free (tamari is a good option). The cornstarch is naturally gluten-free, so no need to change that!
How do I store leftover crispy sweet and sour chicken?
Store leftover chicken and sauce separately in airtight containers in the refrigerator. The chicken will lose some of its crispiness as it sits, but you can reheat it in a skillet or oven to help restore some of the texture. For best results, consume within 2-3 days.
Why is my chicken not crispy?
There are a few reasons why your chicken might not be crispy. Make sure your oil is at the correct temperature (350°F for the first fry, 375°F for the second fry). Don’t overcrowd the frying pot. And most importantly, don’t skip the double fry! That second fry is what seals the deal on the crispiness. Lastly, serve the chicken immediately after tossing it with the sauce to prevent it from becoming soggy.
Enjoy Your Homemade Crispy Sweet and Sour Chicken!
There you have it – the secret to perfectly crispy sweet and sour chicken that will rival your favorite takeout! This recipe is a labor of love, but the results are so worth it. The perfectly crispy chicken, the tangy-sweet sauce, and the satisfying crunch in every bite… it’s a flavor explosion you won’t be able to resist. So, gather your ingredients, follow the steps, and get ready to enjoy a homemade meal that’s sure to impress. Don’t forget to leave a comment below and let me know how your crispy sweet and sour chicken turned out! I can’t wait to hear from you. And if you loved this recipe, be sure to share it with your friends and family!