

Remember those moments when a single bite could transport you back to a cherished memory? These dark chocolate peanut butter cups do just that. They evoke the warmth and love of my grandmother’s kitchen, where simple ingredients transformed into extraordinary treats. The combination of rich, dark chocolate and creamy peanut butter, elevated by a hint of maple syrup, is simply irresistible. This isn’t just another candy recipe; it’s a hug in every bite!
What makes these treats truly special is the “maple-kissed secret” – a delightful blend of peanut butter, maple syrup, and sea salt that takes these cups to a whole new level of deliciousness. Forget store-bought candies filled with artificial flavors and preservatives. With this recipe, you can create homemade peanut butter cups that are healthier, tastier, and customized to your liking. Perfect for satisfying your sweet tooth or impressing your friends and family, these dark chocolate treats are guaranteed to become a new favorite.
What You’ll Need: Ingredients for Maple-Kissed Cups
Before we dive into the step-by-step instructions, let’s gather all the necessary ingredients. The beauty of this recipe lies in its simplicity, requiring only a handful of readily available components. Here’s what you’ll need to create these delectable dark chocolate peanut butter cups:
- 1 cup Dark Chocolate Chips: The foundation of our indulgence. Opt for high-quality dark chocolate chips with a cocoa content of 70% or higher for a richer, more intense flavor. Dairy-free dark chocolate chips can be used for a vegan variation.
- 1/2 cup Peanut Butter: Choose your favorite type of peanut butter – creamy or crunchy. Natural peanut butter works best, as it contains fewer additives and provides a purer peanut flavor. If you have a peanut allergy, sunflower seed butter or almond butter are excellent substitutes.
- 2 tablespoons Maple Syrup: This is the “maple-kissed secret” ingredient! Pure maple syrup adds a touch of sweetness and a hint of caramel flavor that complements the dark chocolate and peanut butter beautifully. For a sugar-free option, use a sugar-free maple-flavored syrup.
- 1/4 teaspoon Sea Salt: A pinch of sea salt enhances the sweetness and brings out the flavors of the chocolate and peanut butter. Don’t skip this ingredient – it makes a world of difference!
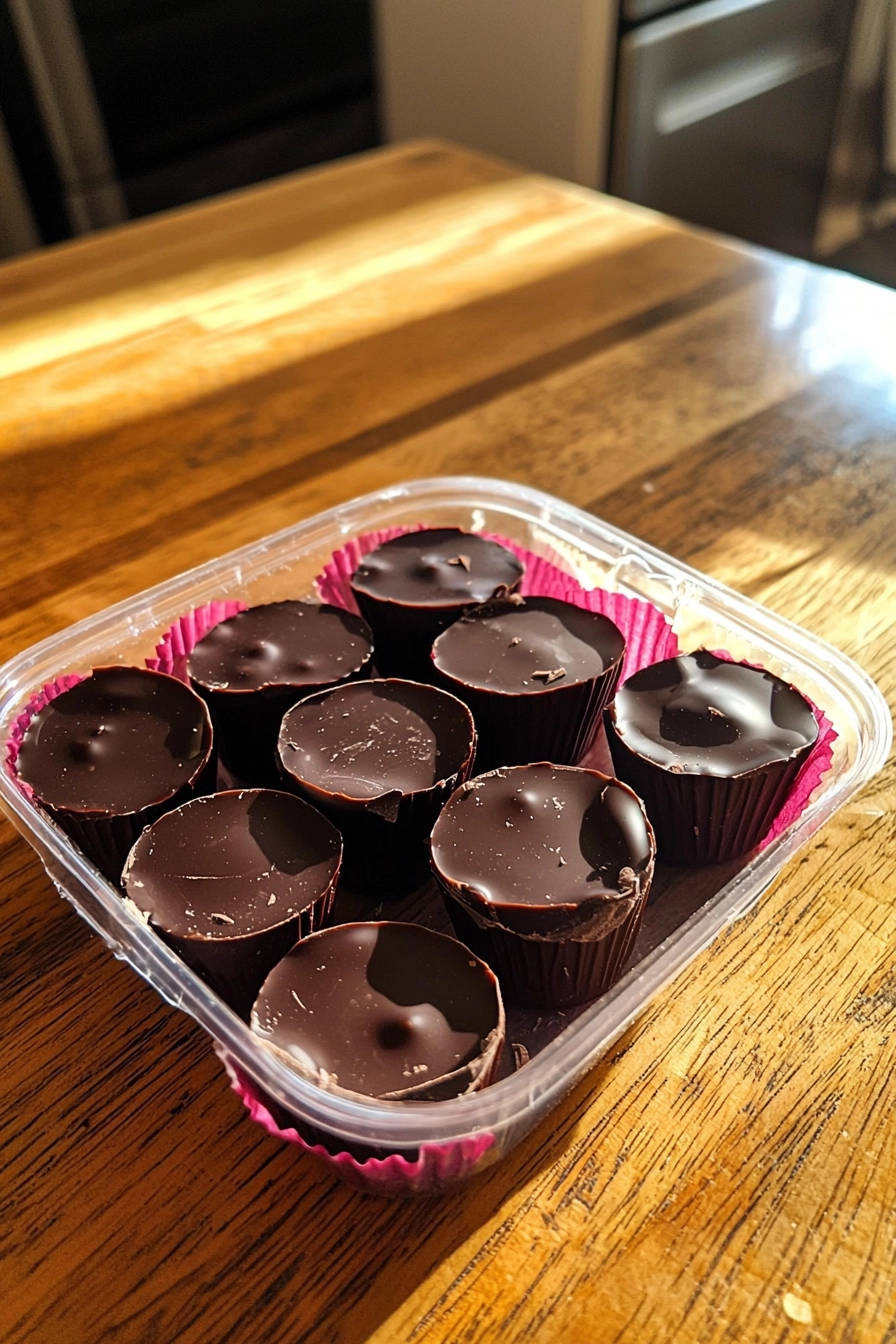
- Pink Cupcake Liners: These add a touch of elegance and make the cups easy to remove from the muffin tin. Feel free to use any color or pattern you prefer.
Got your ingredients ready? Great! Now, let’s move on to the fun part – making these irresistible dark chocolate peanut butter cups. Remember, the key to success is to have everything prepared beforehand. This will make the process smoother and more enjoyable.
Step-by-Step: Crafting Your Maple-Kissed Masterpiece
Alright, let’s get started! Follow these simple steps to create your own batch of homemade dark chocolate peanut butter cups. Don’t worry if you’re a beginner; this recipe is incredibly easy and forgiving. Just remember to take your time and enjoy the process!
- Melt the Dark Chocolate: The first step is to melt the dark chocolate chips. You can do this in a double boiler or in the microwave.
- Double Boiler Method: Fill a saucepan with a few inches of water and bring it to a simmer. Place a heat-proof bowl over the saucepan, ensuring the bottom of the bowl doesn’t touch the water. Add the dark chocolate chips to the bowl and stir constantly until melted and smooth. This method provides gentle heat, preventing the chocolate from burning.
- Microwave Method: Place the dark chocolate chips in a microwave-safe bowl. Microwave in 30-second intervals, stirring after each interval, until melted and smooth. Be careful not to overheat the chocolate, as it can become scorched and grainy.
- Prepare the Maple-Kissed Filling: In a separate bowl, combine the peanut butter, maple syrup, and sea salt. Mix well until all ingredients are fully incorporated and the mixture is smooth and creamy. This “maple-kissed secret” filling is what sets these peanut butter cups apart from the rest.
- Line the Muffin Tin: Place the cupcake liners in a muffin tin. This will make it easier to remove the cups once they’re set and add a nice presentation.
- Create the First Chocolate Layer: Spoon a small amount of melted chocolate into the bottom of each cupcake liner. You want to create a thin, even layer that will serve as the base for the peanut butter filling.
- Add the Maple-Kissed Filling: Add a spoonful of the peanut butter mixture on top of the chocolate layer. Be careful not to overfill the liners, as you’ll need to leave room for the top chocolate layer.
- Cover with the Final Chocolate Layer: Cover the peanut butter filling with another layer of melted chocolate, ensuring that it completely covers the filling. This will create a seamless, professional-looking finish.
- Freeze to Perfection: Place the muffin tin in the freezer for at least 30 minutes, or until the cups are firm. This will allow the chocolate to set and the flavors to meld together.
- Enjoy! Remove the dark chocolate peanut butter cups from the freezer and enjoy! These can be stored in the refrigerator or freezer for later enjoyment.
Expert Tips & Serving Suggestions
Now that you’ve mastered the basic recipe, let’s explore some expert tips and serving suggestions to elevate your dark chocolate peanut butter cups to the next level. These tips will help you achieve a smoother chocolate finish, a more professional presentation, and a variety of ways to enjoy your homemade treats.
Advanced Preparation Tips:
- Tempering the Chocolate: For a smoother, shinier chocolate finish, consider tempering the chocolate. Tempering involves heating and cooling the chocolate to specific temperatures, which stabilizes the cocoa butter and prevents the chocolate from blooming (developing white streaks). There are many resources online that provide detailed instructions on how to temper chocolate at home.
- Piping the Chocolate: For a precise and professional look, use a piping bag to pour the chocolate into the cupcake liners. This will help you control the amount of chocolate and create even layers.
- Make-Ahead Option: These peanut butter cups can be made ahead of time and stored in the freezer for up to a month. This makes them perfect for parties, holidays, or anytime you need a quick and easy dessert.
Serving Suggestions:
- Classic Pairing: Enjoy these cups with a cold glass of milk or a hot cup of coffee. The rich chocolate and creamy peanut butter complement the flavors of both beverages perfectly.
- Dessert Platter: Add these dark chocolate treats to a dessert platter along with other homemade goodies, such as cookies, brownies, and fruit.
- Gift Giving: Package these peanut butter cups in a decorative box or tin and give them as a homemade gift to friends, family, or coworkers.
- Ice Cream Topping: Crumble these cups over a scoop of vanilla ice cream for an extra decadent treat.
Storage Recommendations:
- Refrigerator: Store the dark chocolate peanut butter cups in an airtight container in the refrigerator for up to a week.
- Freezer: For longer storage, freeze the cups in an airtight container for up to a month. Thaw in the refrigerator before serving.
Ready to create your own batch of these delightful dark chocolate peanut butter cups? Don’t forget to share your creations with us on social media using #MapleKissedCups! We can’t wait to see your culinary masterpieces. And remember, the best part about cooking is experimenting, so feel free to add your own personal touch to this recipe. Happy baking!
Frequently Asked Questions: Mastering Your Maple-Kissed Cups
Got questions about making these dark chocolate peanut butter cups? You’re not alone! Here are some frequently asked questions to help you troubleshoot common issues and perfect your recipe. From ingredient substitutions to storage tips, we’ve got you covered.
1. Can I use milk chocolate instead of dark chocolate?
Absolutely! While the recipe calls for dark chocolate for its rich, intense flavor, you can definitely substitute milk chocolate if that’s your preference. Keep in mind that milk chocolate is sweeter than dark chocolate, so the overall sweetness of the cups will be increased. You can also experiment with semi-sweet chocolate for a balance between the two.
2. Can I use a different type of nut butter?
Yes! If you have a peanut allergy or simply prefer a different flavor, you can easily substitute other nut butters. Almond butter, cashew butter, sunflower seed butter, and even tahini (sesame seed paste) are all excellent alternatives. Each will impart a unique flavor to the cups, so experiment and find your favorite combination.
3. Can I make these cups vegan?
Yes! To make these peanut butter cups vegan, simply use dairy-free dark chocolate chips and ensure that your maple syrup is 100% pure (some brands may contain honey). The rest of the ingredients are naturally vegan-friendly.
4. My chocolate is seizing up! What do I do?
Chocolate seizing up is a common problem, especially when melting chocolate in the microwave. This usually happens when a small amount of moisture comes into contact with the melted chocolate. To fix it, try adding a teaspoon of vegetable oil or shortening to the chocolate and stirring vigorously. This will help to loosen the chocolate and restore its smooth texture.
5. My peanut butter filling is too thick. How can I thin it out?
If your peanut butter filling is too thick, you can thin it out by adding a small amount of melted coconut oil or a teaspoon of milk (dairy or non-dairy). Start with a small amount and add more until you reach the desired consistency.
6. How do I prevent the chocolate from cracking when I bite into the cups?
The best way to prevent the chocolate from cracking is to temper it properly. Tempering stabilizes the cocoa butter, which makes the chocolate more resilient and less prone to cracking. If you don’t want to temper the chocolate, you can also try adding a small amount of coconut oil to the melted chocolate, which will make it slightly softer.
7. Can I add other ingredients to the peanut butter filling?
Absolutely! Feel free to get creative and add other ingredients to the peanut butter filling. Some popular additions include chopped nuts, crushed pretzels, mini chocolate chips, shredded coconut, or even a pinch of cinnamon.
8. How do I store the leftover dark chocolate peanut butter cups?
Store the leftover dark chocolate peanut butter cups in an airtight container in the refrigerator for up to a week or in the freezer for up to a month. If storing in the freezer, thaw in the refrigerator before serving.
9. Can I make these cups without a muffin tin?
While a muffin tin makes it easier to create uniform cups, you can still make these without one. Simply line a baking sheet with parchment paper and spoon the chocolate and peanut butter mixture into individual mounds. Freeze until firm.
10. What is the best way to melt the chocolate for a smooth consistency?
The best way to melt chocolate for a smooth consistency is to use a double boiler or the microwave in short intervals, stirring frequently. Avoid overheating the chocolate, as this can cause it to seize up or burn. If using the microwave, microwave in 30-second intervals, stirring after each interval, until melted and smooth.
11. Can I use sugar-free maple syrup?
Yes! If you’re watching your sugar intake, you can definitely use sugar-free maple syrup. Keep in mind that the flavor may be slightly different from pure maple syrup, but it will still provide a touch of sweetness to the peanut butter filling.
12. Can I use white chocolate instead of dark chocolate?
Yes, while the original recipe uses dark chocolate, you can absolutely experiment with white chocolate for a sweeter and creamier variation. Consider adding a pinch of sea salt to the white chocolate to balance the sweetness.
Conclusion: Your Maple-Kissed Adventure Awaits!
There you have it – a simple, delicious, and customizable recipe for dark chocolate peanut butter cups with a delightful maple-kissed secret. Whether you’re a seasoned baker or a kitchen novice, this recipe is sure to become a new favorite. The combination of rich chocolate, creamy peanut butter, and a hint of maple syrup is simply irresistible, and the best part is that you can tailor it to your liking.
So, what are you waiting for? Gather your ingredients, put on your apron, and get ready to embark on a sweet adventure. Don’t be afraid to experiment with different flavors and textures to create your own unique version of these peanut butter cups. Add a sprinkle of sea salt on top, mix in some chopped nuts, or drizzle with caramel – the possibilities are endless!
Once you’ve created your masterpiece, be sure to share your creations with us! Post a picture on social media using #MapleKissedCups and tell us what you think. We can’t wait to see your culinary masterpieces and hear about your experiences. And remember, the most important ingredient is love, so bake with joy and enjoy every bite!
Dark Chocolate Peanut Butter Cups with a Maple-Kissed Secret
Ingredients
- 1 cup dark chocolate chips
- 1/2 cup peanut butter
- 2 tablespoons maple syrup
- 1/4 teaspoon sea salt
- Pink cupcake liners
Directions
- 1. 1. Melt the dark chocolate chips in a double boiler or microwave in 30-second intervals, stirring until smooth.
- 2. 2. In a separate bowl, mix the peanut butter, maple syrup, and sea salt until well combined. This is your “maple-kissed secret.”
- 3. 3. Place cupcake liners in a muffin tin.
- 4. 4. Spoon a small amount of melted chocolate into the bottom of each liner.
- 5. 5. Add a spoonful of the peanut butter mixture on top of the chocolate.
- 6. 6. Cover the peanut butter with another layer of melted chocolate.
- 7. 7. Place the muffin tin in the freezer for at least 30 minutes, or until the cups are firm.
- 8. 8. Remove from the freezer and enjoy!
- 9. Tip/Pairing:
- 10. Enjoy these cups with a glass of milk or a cup of coffee.
- 11. Chef Tip:
- 12. For a smoother chocolate finish, temper the chocolate by heating it gently and stirring frequently to prevent burning. Also, use a piping bag to precisely pour the chocolate into the cups for a professional look.


