Making beautiful, thin crepes can sometimes feel like a high-wire act in the kitchen, can't it? You whisk up a lovely batter, heat the pan, pour it in, and then... disaster strikes! The crepe sticks, it tears when you try to flip it, or it just refuses to spread into that perfect, delicate circle. It's enough to make you want to give up and just buy a box of mix.
But honestly, I've been there, and I've found the secret. It's not about magic kitchen skills; it's about a few simple, reliable techniques that guarantee success. With this recipe for Easy Chocolate Crepes, you're going to master the art and impress everyone (including yourself!). These turn out perfect every single time - no sticking, no tearing, just gorgeous, tender chocolatey goodness ready to be filled.
Why You'll Fall in Love with This Easy Crepe Recipe
Beyond the sheer triumph of making crepes that behave, there are so many reasons these Easy Chocolate Crepes will become a staple in your dessert or brunch rotation.
- Effortless Perfection: The core techniques we'll cover are simple but incredibly effective, ensuring a smooth, tear-free experience.
- Quick & Rewarding: With just 30 minutes total time, you can have a stack of these delicate treats ready for filling.
- Decadently Delicious: The subtle chocolate flavor in the crepe itself, combined with a rich filling, is pure bliss.
- Versatile: While we're focusing on a classic chocolate hazelnut filling, these crepes are a perfect base for countless sweet fillings and toppings.
Gathering Your Dreamy Chocolate Crepe Ingredients
Creating these light and airy chocolate crepes requires a few basic pantry staples, plus the star flavor components. Quality matters here, especially for key items like butter and chocolate spreads, as they contribute significantly to the final taste and texture.
You'll need:
- All-Purpose Flour: The foundation of our crepe structure. Just regular plain flour works perfectly.
- Granulated Sugar: Adds a touch of sweetness to the batter and helps with browning as the crepes cook.
- Salt: A pinch balances the sweetness and enhances the overall flavor.
- Large Eggs: Eggs are crucial for binding the batter, adding richness, and contributing to that lovely tender texture. They act as an emulsifier, helping everything hold together beautifully.
- Whole Milk: Provides the necessary liquid for a thin batter and contributes richness. Using whole milk offers the best flavor and texture results.
- Melted Unsalted Butter: Butter adds wonderful flavor and moisture to the batter. Using unsalted allows you to control the salt level. You'll also need a little extra for greasing your pan - melted is best for even coverage.
- Vanilla Extract: A touch of vanilla enhances the chocolate notes and adds a warm, inviting aroma and flavor.
- Chocolate Hazelnut Spread: The classic, irresistible filling for these crepes. Choose your favorite brand!
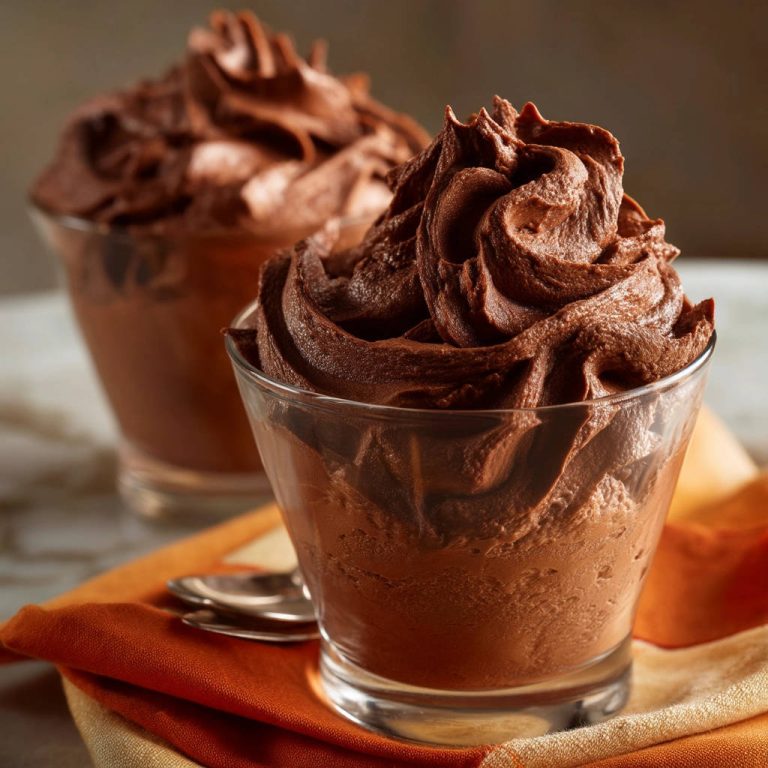
- Melted Chocolate Chips (Optional): For that extra touch of decadence - a drizzle of melted chocolate takes these over the top! For another decadent chocolate option, you might also love our Dreamy Chocolate Mousse recipe with Hazelnuts.
Crafting Your Crepes: Step-by-Step to No-Fail Results
Alright, let's get cooking! Follow these steps carefully, paying special attention to the little details, and you'll be enjoying perfect crepes in no time. Remember, the process is straightforward, but a few key techniques make all the difference between frustration and crepe success!
- Combine the Dry Ingredients: Grab a large mixing bowl - big enough to hold all the batter later. Whisk together your all-purpose flour, granulated sugar, and salt. Whisking ensures they're evenly distributed and helps prevent lumps later on. This simple step lays the groundwork for a smooth batter.
- Mix the Wet Ingredients: In a separate, medium-sized bowl, crack your two large eggs. Give them a good whisk until they're well beaten. Then, whisk in the whole milk, the melted unsalted butter, and the vanilla extract. Make sure the melted butter isn't too hot, or it might scramble the eggs!
- Marry Wet and Dry: Pour the wet ingredients mixture from the second bowl into the large bowl with your dry ingredients. Grab your whisk again and start whisking from the center outwards. Continue whisking until the batter is completely smooth. There should be no dry pockets of flour or pesky lumps. The batter should be quite thin - think the consistency of heavy cream, not pancake batter. This thinness is key for delicate crepes. Now, here's one of our first crucial tips: let the batter rest! Cover the bowl and let it sit at room temperature for at least 10 minutes. This resting time allows the gluten in the flour to relax, which results in much more tender crepes that are less likely to tear. If you have more time, resting it in the fridge for 30 minutes or even overnight is even better! If you're interested in perfecting other classic breakfast items, check out our guide to Baked Berry French Toast Casserole.
- Heat Your Pan Perfectly (The Key to No-Stick!): This step is perhaps the most critical for preventing sticking and ensuring even cooking. You need a good quality nonstick crepe pan or an 8-inch nonstick skillet. Place it over medium heat and let it heat up for 2 to 3 minutes. The goal is even, consistent heat across the surface. Test the temperature: flick a tiny drop of water into the pan. If it sizzles and evaporates almost instantly, your pan is ready. If it just sits there or takes a while to evaporate, it's not hot enough. If it smokes excessively the moment you add butter, it's too hot - lower the heat slightly. Once the pan is hot, lightly grease it. Melt a tiny bit of butter (or use cooking spray) and swirl it around, then immediately wipe away any excess with a paper towel. You want a very thin film of fat, not a puddle. Too much fat can make the crepes greasy and uneven.
- Pour and Swirl the Batter: Pick up the hot, lightly greased pan from the heat. Pour about 1/4 cup of your rested batter directly into the center of the pan. Immediately, and working quickly, tilt and swirl the pan in a circular motion. The goal is to spread the thin batter thinly and evenly over the entire bottom surface before it sets. This takes a little practice, but you'll get the hang of it! Work fast - the hot pan will set the batter almost instantly.
- Cook the First Side: Place the pan back on the medium heat. Let the crepe cook for 1 to 2 minutes. You'll know it's ready to move on when the edges start to look dry and pull away slightly from the sides of the pan. The surface of the crepe will also appear dry and set, losing its wet, shiny look. The bottom should be a lovely light golden brown.
- Loosen and Wait Before Flipping (The Key to No-Tear!): Once the first side is cooked and set, gently use a thin, flexible spatula (a crepe spatula is ideal, but a thin offset spatula works well) to carefully loosen the edges all the way around the crepe. Now, here's the second critical tip: wait until the crepe is fully set on the first side before you even attempt to flip. If you try to flip it too early, while the center is still a bit wet or tender, it will almost certainly tear. Be patient! Once the edges are loose and the surface is set, slide your thin spatula carefully under the center of the crepe and, in one swift, confident motion, flip it over.
- Cook the Second Side: The second side cooks much faster than the first. Let it cook for just another 30 seconds to 1 minute, or until it's lightly golden brown. You don't need to cook this side as long as the first.
- Remove and Repeat: Carefully slide the finished crepe out of the pan onto a plate. Continue with the remaining batter. Lightly regrease the pan between each crepe as needed, and make sure your pan stays at that consistent medium heat. Stack the finished crepes on the plate - they won't stick together if cooked properly!
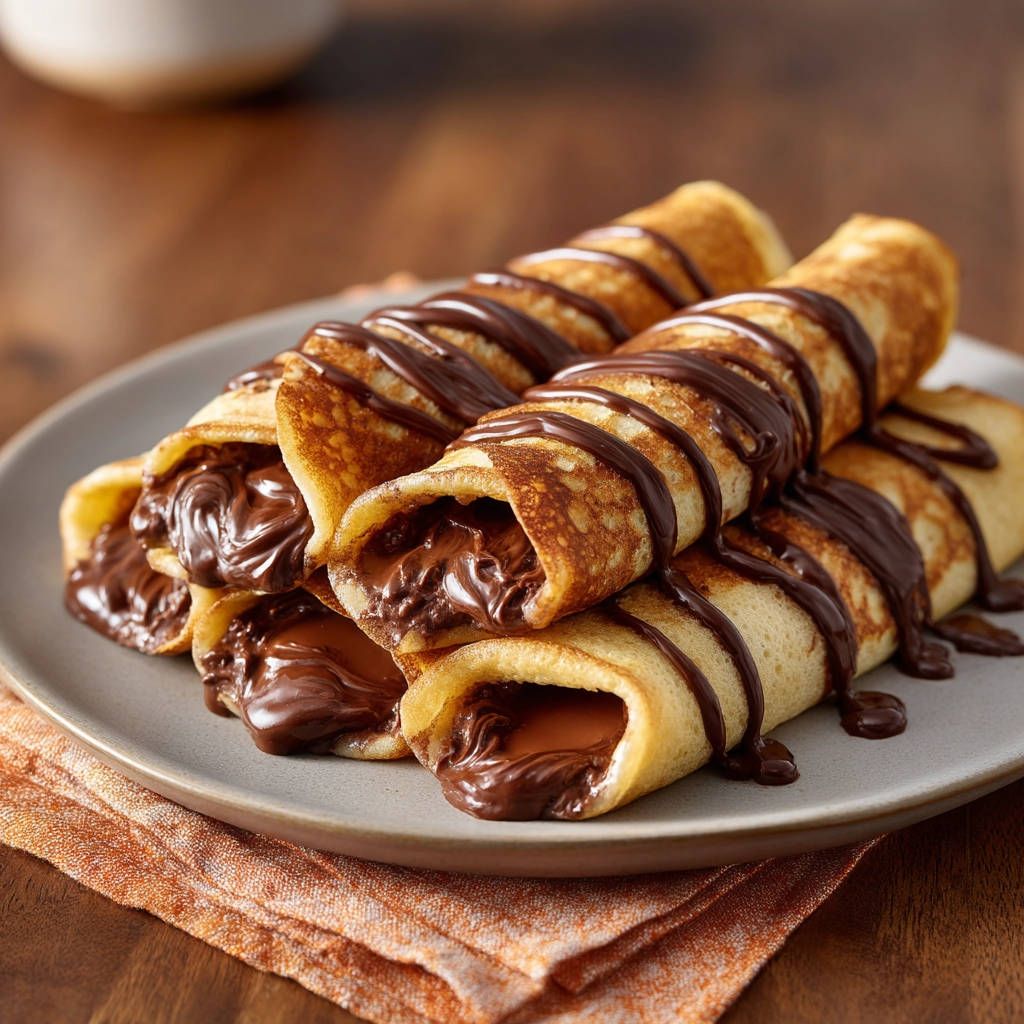
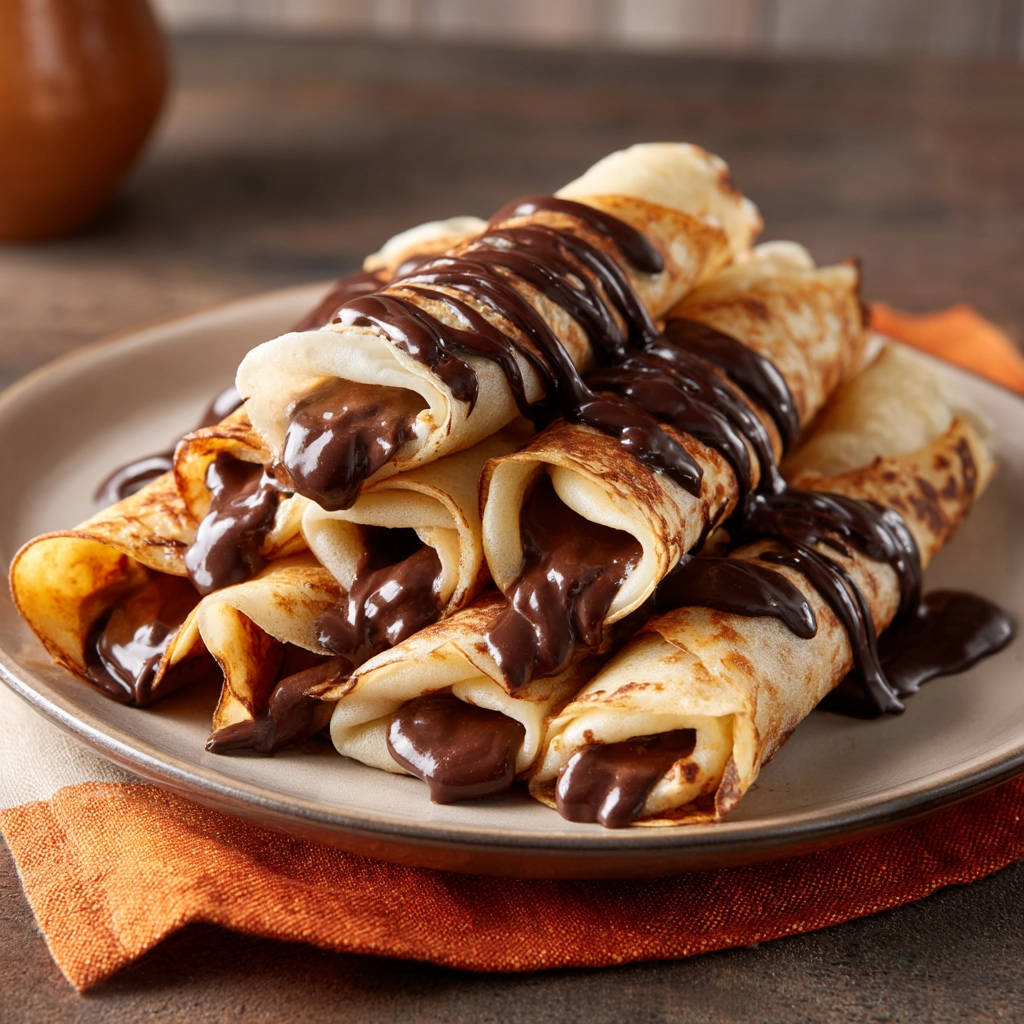
- Add the Filling: Once you have a stack of warm crepes ready, it's time for the best part! Spread about 2 tablespoons (or more, we won't judge!) of your chocolate hazelnut spread evenly over the surface of each warm crepe. The warmth of the crepe will make the spread nice and melty.
- Roll and Serve: Starting from one edge, roll the crepe up tightly. You can stack the rolled crepes on a plate. If you like, drizzle them with melted chocolate chips for an extra layer of chocolatey goodness. Serve these delights immediately while they are warm and the filling is soft and gooey!
Tips for Perfect Chocolate Crepes Every Time
Achieving consistently beautiful crepes is easy once you understand a few nuances. Here are some pro tips:
- Batter Consistency is Key: Your batter should be thin, like heavy cream or even thinner. If it seems too thick after resting, whisk in a tablespoon of milk at a time until you reach the right consistency. A thicker batter results in thicker, less delicate crepes that are more prone to tearing during the swirl.
- Don't Skip the Rest: That 10-minute rest minimum is non-negotiable for tender crepes. The longer rest (up to overnight in the fridge) is even better as it hydrates the flour more fully.
- Pan Heat is Crucial: Too low heat results in pale, tough crepes that take forever and stick. Too high heat burns them before they're cooked through and can also lead to sticking. Medium heat is your sweet spot. Trust the water drop test!
- Less is More When Greasing: You only need a very thin layer of fat. Excess butter or spray can cause uneven browning and make the crepes greasy.
- Use the Right Pan: A dedicated crepe pan with low sides is easiest for flipping and swirling, but any good quality 8-inch nonstick skillet will work. Just ensure it has a flat, even heating surface. For perfecting other simple dishes, you might also enjoy our guide to Easy Crepes (the non-chocolate version!).
- Stacking Keeps Them Warm: As you finish each crepe, stacking them on a plate traps the heat, keeping them warm and pliable while you cook the rest.
Serving Suggestions for Your Chocolate Crepes
While the chocolate hazelnut spread is heavenly on its own, you can elevate your chocolate crepe experience with various additions:
- Fresh berries (strawberries, raspberries, blueberries)
- Sliced bananas
- Whipped cream or a dollop of mascarpone cheese
- A dusting of powdered sugar
- Vanilla ice cream (especially while the crepes are still warm!)
- Other chocolate spreads or melted white chocolate
Your Chocolate Crepe Questions Answered (FAQ)
Got questions? Don't worry, these are common! Here are answers to some frequent queries about making perfect chocolate crepes.
Why are my crepes sticking to the pan?
The most common culprit is either the pan not being hot enough or not being properly seasoned/greased. Ensure your nonstick pan is truly nonstick and heated correctly (use the water drop test!). Make sure you grease it lightly between each crepe, but wipe away any excess fat. Uneven heat can also cause sticking in spots.
My crepes keep tearing when I flip them. What am I doing wrong?
You're likely trying to flip them too soon! The key is patience. Wait until the first side is fully set, the edges have pulled away, and the surface looks dry. If the center is still wet or shiny, it will tear. Use a thin, flexible spatula and flip with confidence once they're ready.
Can I make the crepe batter ahead of time?
Absolutely! Making the batter ahead is actually recommended, as it gives the gluten even more time to relax, resulting in ultra-tender crepes. You can make the batter and store it in an airtight container in the refrigerator for up to 2-3 days. Give it a quick whisk before using, as some settling may occur. You might need to add a splash more milk if it thickens slightly in the fridge.
Can I substitute the whole milk?
While whole milk gives the best richness and texture, you can use 2% milk. Skim milk might result in slightly less rich crepes. Non-dairy milks like almond or soy milk can often be substituted, but the texture might vary slightly. Avoid heavily flavored non-dairy options.
How do I store leftover crepes?
Let the crepes cool completely. Stack them with parchment paper or wax paper in between each one to prevent sticking. Store them in an airtight container or resealable bag in the refrigerator for 2-3 days. Reheat gently in a pan, microwave, or oven.
Can I freeze homemade crepes?
Yes, you can! Stack cooled crepes with parchment or wax paper between layers. Wrap the stack tightly in plastic wrap, then place in a freezer-safe bag or container. They can be frozen for up to 1-2 months. Thaw them in the refrigerator overnight before gently reheating.
Enjoy Your Homemade Chocolate Crepes!
There you have it! Everything you need to make perfect, non-stick, non-tear Easy Chocolate Crepes right in your own kitchen. These delicate treats are a wonderful way to elevate a simple dessert or create a special brunch experience. The rich chocolate hazelnut filling is a classic for a reason, but feel free to get creative with your favorite toppings.
Give this recipe a try and share your success! What are your favorite fillings? Let me know in the comments below. Happy crepe making!
Easy Chocolate Crepes

Ingredients
- 1 cup all-purpose flour
- 2 tablespoons granulated sugar
- 1/4 teaspoon salt
- 2 large eggs
- 1 1/2 cups whole milk
- 2 tablespoons melted unsalted butter, plus more for greasing the pan
- 1 teaspoon vanilla extract
- 1 cup chocolate hazelnut spread
- 1/2 cup melted chocolate chips for drizzling (optional)
Directions
- In a large bowl, whisk together the flour, sugar, and salt.
- In a separate bowl, whisk the eggs, then whisk in the milk, melted butter, and vanilla extract.
- Pour the wet ingredients into the dry ingredients and whisk until the batter is smooth and there are no lumps. The batter should be quite thin, like heavy cream. Let the batter rest for at least 10 minutes at room temperature. This helps the gluten relax, making the crepes more tender.
- This is the key to no-stick, no-tear crepes: Heat a nonstick crepe pan or an 8-inch nonstick skillet over medium heat for 2 to 3 minutes. It needs to be evenly heated. Lightly grease the hot pan with a tiny bit of melted butter or cooking spray, wiping away any excess with a paper towel. The pan should be hot enough that a drop of water sizzles and evaporates instantly, but not so hot that the butter smokes excessively.
- Pour about 1/4 cup of batter into the center of the hot pan. Quickly tilt and swirl the pan to spread the batter thinly and evenly over the bottom surface. Work quickly as the batter sets fast.
- Cook for 1 to 2 minutes, or until the edges start to pull away from the pan and the bottom is golden brown. You’ll see the surface of the crepe look dry and set.
- Gently loosen the edges with a spatula. This is the second part of the trick: Wait until the crepe is fully set on the first side before you attempt to flip. If you try too early, it will tear. Once set, carefully slide a thin spatula under the center and flip the crepe.
- Cook for another 30 seconds to 1 minute on the second side, just until lightly golden brown.
- Slide the finished crepe onto a plate. Repeat with the remaining batter, regreasing the pan lightly between each crepe as needed and ensuring the pan stays at the correct temperature.
- To serve, spread about 2 tablespoons of chocolate hazelnut spread over each warm crepe.
- Roll the crepes up tightly. Stack on a plate and drizzle with melted chocolate if desired. Serve immediately.