Oh, cheesecake. Just thinking about that rich, creamy texture and the sweet, buttery crust makes my mouth water! For years, though, baking cheesecake felt like a high-stakes gamble. I’d follow recipes to the letter, only to pull my beautiful creation out of the oven and stare in dismay at those dreaded cracks marring the surface. It was frustrating, to say the least!
Sound familiar? If you’ve ever wrestled with cheesecake cracks, you’re not alone. But I’m here to tell you there’s a better way! After much trial and error, I finally unlocked the secrets to a truly foolproof cheesecake recipe. This method virtually guarantees a smooth, perfect top every single time. It’s simpler than you might think, and the results are absolutely worth the minimal extra effort.
Get ready to bake a classic, creamy cheesecake that will impress everyone (especially yourself!) with its flawless finish. This isn’t just any cheesecake recipe; it’s THE Foolproof Cheesecake Recipe that will give you confidence in the kitchen and deliver dessert perfection.
Why This Foolproof Cheesecake Recipe Works Wonders
What makes this particular cheesecake recipe so special and, well, foolproof when it comes to avoiding those unsightly cracks? It boils down to understanding the science behind cheesecake baking and implementing a couple of key techniques that control temperature and moisture.
The primary culprits behind cracking are usually drastic temperature changes and overbaking, which causes the outer edges to set and shrink much faster than the center. This recipe directly addresses those issues head-on with two simple, yet powerful, strategies:
- The Water Bath: Baking the cheesecake in a water bath provides a gentle, consistent heat source around the entire pan. This ensures the cheesecake bakes evenly and slowly from the outside in, preventing the edges from drying out and setting too quickly. The steam from the water also creates a humid environment in the oven, further promoting a smooth, even bake.
- Slow Cooling: Allowing the cheesecake to cool gradually within the turned-off oven, still in its water bath, is absolutely critical. A sudden change from a hot oven to cooler room air causes the cheesecake to contract rapidly, leading to cracks. This slow cooling period lets the temperature equalize gently, allowing the cheesecake to settle without stress.
Combine these techniques with proper ingredient preparation and careful mixing, and you have a recipe that takes the guesswork (and the heartbreak) out of cheesecake baking. It’s truly a game-changer for achieving that dreamy, crack-free surface.
Key Ingredients for Your Silky Smooth Cheesecake
Starting with the right ingredients, prepared correctly, is foundational to a great cheesecake. Think of these as the building blocks for that incredibly creamy texture and perfect flavor profile. Here’s what you’ll need and a little bit about why each component matters:
For the classic graham cracker crust, we need just three simple items. The graham cracker crumbs provide that familiar, slightly sweet base. You can buy pre-crushed crumbs or make your own by pulsing graham crackers in a food processor. Melting unsalted butter binds those crumbs together – using unsalted gives you control over the saltiness. A touch of sugar adds a little extra sweetness and helps the crust crisp up nicely when baked.
Now, for the luscious filling – the heart of the cheesecake! The star is undoubtedly the cream cheese. You’ll need three full 8-ounce packages. It’s absolutely essential that your cream cheese is fully softened to room temperature. This isn’t just a suggestion; cold cream cheese will result in a lumpy batter, no matter how much you beat it! Using full-fat block cream cheese (not the spreadable kind from a tub) is key for structure and richness.
Sugar provides sweetness and also contributes to the smooth texture. We use a generous amount here to balance the tang of the cream cheese.
Eggs are crucial for structure, helping the cheesecake set. Like the cream cheese, your large eggs should be at room temperature. Room temperature eggs incorporate more easily into the batter, reducing the need to overmix and thereby minimizing air bubbles – another potential cause of cracks!
To add that signature richness and slight tang, we incorporate either sour cream or heavy cream. Both work beautifully, adding moisture and a tender crumb. Again, ensure this is at room temperature for smooth mixing.
Finally, pure vanilla extract adds that classic, warm flavor that makes cheesecake so comforting and delicious.
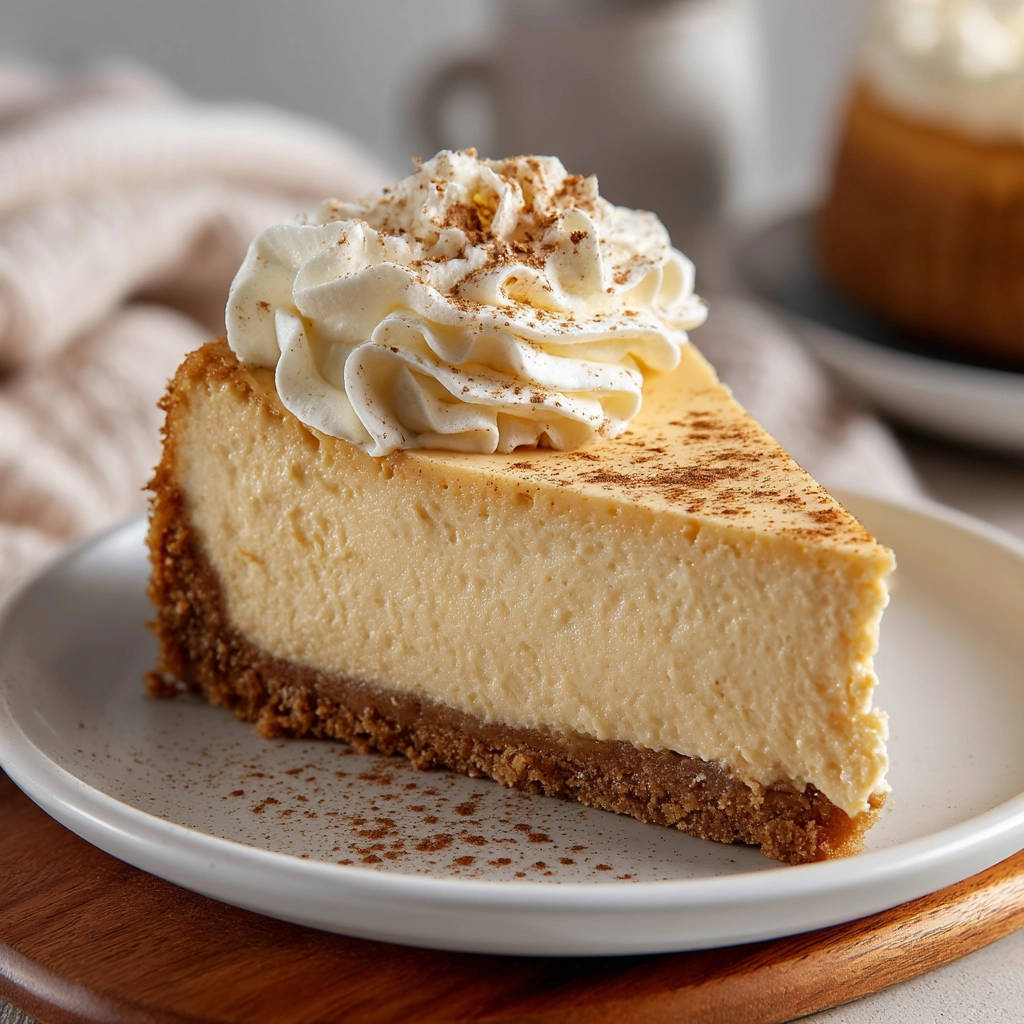
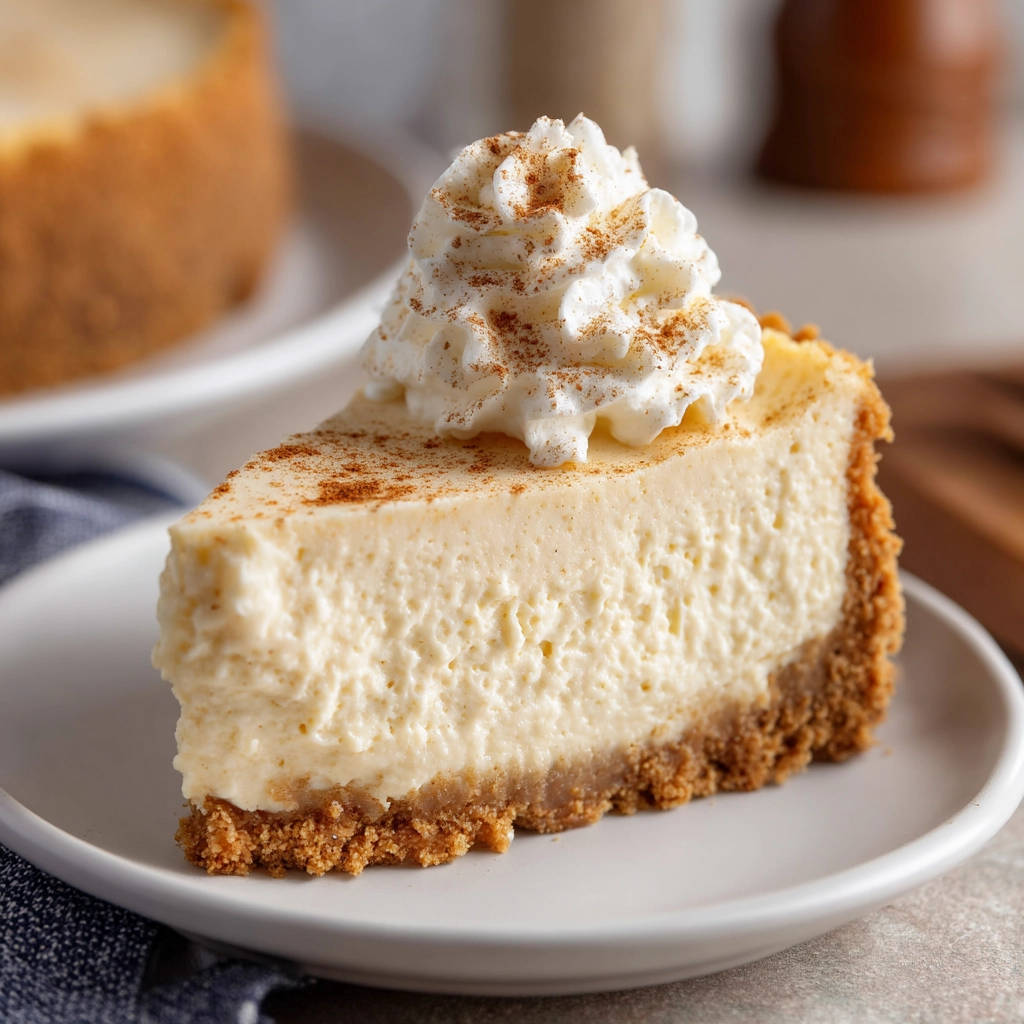
And for serving? Simple whipped cream and a dusting of ground cinnamon are classic, elegant finishing touches.
Here is a summary of the ingredients:
- 1 and 1/2 cups graham cracker crumbs (plan on about 10 full sheets to make this amount)
- 1/3 cup melted unsalted butter
- 2 tablespoons sugar (for the crust)
- 3 packages (8 ounces each) cream cheese, softened to room temperature
- 1 and 1/4 cups sugar (for the filling)
- 3 large eggs, at room temperature
- 1 cup sour cream or heavy cream, at room temperature
- 1 teaspoon vanilla extract
- Whipped cream, for serving
- Ground cinnamon, for dusting
Crafting Your Foolproof Cheesecake: Step-by-Step Guide
Ready to turn these simple ingredients into a stunning, crack-free masterpiece? Follow these steps carefully. Paying attention to the ‘why’ behind each action will make all the difference in achieving that perfect texture and flawless top.
-
Prepare Your Oven and Pan: Start by preheating your oven to 325°F (160°C). This lower temperature is part of the gentle baking process. Next, prepare your 9-inch springform pan. Springform pans are essential as they allow you to easily release the delicate cheesecake without flipping it. Wrap the entire outside of the pan securely with two layers of heavy-duty aluminum foil. The goal here is to create a watertight seal to prevent any water from the bath from seeping into the crust and making it soggy. Don’t skimp on the foil!
-
Make and Bake the Crust: In a medium bowl, combine the graham cracker crumbs, melted butter, and 2 tablespoons of sugar. Stir them together until the mixture resembles wet sand – this means every crumb is coated in butter. Press this mixture firmly and evenly into the bottom of your prepared springform pan. You can use the bottom of a glass or a flat measuring cup to get a really compact layer. Bake the crust for just 8 minutes. This quick bake helps to set the crust and prevent it from getting soggy later when the filling is added. Remove it from the oven and set it aside while you prepare the filling.
-
Cream the Cream Cheese and Sugar: In a large bowl, add your softened cream cheese and 1 and 1/4 cups of sugar. Using an electric mixer (either a stand mixer with the paddle attachment or a hand mixer), beat the mixture on medium speed until it is wonderfully smooth and creamy. Make sure to scrape down the sides and bottom of the bowl frequently with a spatula to ensure everything is evenly combined and no pockets of unmixed cream cheese remain. This step is crucial for a smooth filling, but be careful – do not overmix! Overmixing at this stage incorporates too much air, which can cause the cheesecake to puff up significantly while baking and then fall and crack as it cools.
-
Add the Eggs (Carefully!): Now, add the large, room-temperature eggs one at a time. After adding each egg, beat on low speed just until the egg is incorporated into the batter. Stop the mixer as soon as you no longer see streaks of egg. Again, the key here is gentle mixing. Overmixing after adding the eggs can develop too much gluten in the eggs and incorporate excess air, both contributing factors to cracking and a less desirable texture.
-
Incorporate Sour Cream/Heavy Cream and Vanilla: Gently stir in the room-temperature sour cream or heavy cream and the vanilla extract. Use a spatula or mix on the absolute lowest speed of your electric mixer, mixing only until just combined. Seriously, just a few seconds is usually enough. Remember, excess air bubbles are the enemy of a crack-free top! Gentle handling of the batter from this point forward is key.
-
Assemble the Cheesecake: Carefully pour the creamy filling mixture over the pre-baked graham cracker crust in the springform pan. Use a spatula to smooth the top of the batter if needed, ensuring an even surface.
-
Set Up the Water Bath (The Crack Prevention Technique): This is where the magic happens! Place the foil-wrapped springform pan containing the cheesecake batter into a larger baking pan. A roasting pan or a large casserole dish works well, as long as it’s big enough to comfortably fit the springform pan and is oven-safe. Carefully pour hot water into the larger pan. Be cautious not to splash any water onto the cheesecake itself! Pour enough water so that it comes about halfway up the sides of your springform pan. This water bath is your secret weapon for gentle, even baking.
-
Bake to Perfection: Carefully place the entire setup (the large pan with the water bath and the cheesecake inside) into your preheated 325°F (160°C) oven. Bake for 65 to 75 minutes. How do you know it’s done? The edges should appear set and slightly puffed, while the center (about a 2-3 inch circle in the middle) should still have a slight jiggle when you gently nudge the pan. It should not look liquidy, but rather like soft-set custard. Don’t wait until the entire top looks firm; that’s a sign it’s overbaked!
-
Begin the Crucial Slow Cooling: Once the baking time is up and the cheesecake has that perfect jiggle, turn off the oven. Do NOT take the cheesecake out immediately. Prop the oven door open slightly – a wooden spoon or an oven mitt works perfectly for this. Leave the cheesecake right there, in its water bath, inside the cooling oven for exactly 1 hour. This slow, gradual decrease in temperature is vital. It allows the cheesecake to cool down without experiencing a thermal shock, which is a major cause of cracking.
-
Continue Cooling at Room Temperature: After the 1-hour cooling period in the oven, carefully remove the springform pan from the water bath and the larger baking pan. Place the cheesecake on a wire rack to cool completely at room temperature. Let it cool fully; rushing this step can still lead to cracks.
-
Chill Thoroughly: Once the cheesecake is completely cool to the touch (this can take a couple of hours), cover it loosely with plastic wrap. Be careful not to let the plastic wrap touch the surface if possible. Transfer the cheesecake to the refrigerator to chill for at least 4 hours. However, for the absolute best texture and easiest slicing, chilling it overnight is highly recommended. This allows the cheesecake to firm up and for the flavors to meld beautifully.
-
Serve and Enjoy!: When you’re ready to serve your gorgeous, crack-free cheesecake, run a thin, sharp knife dipped in hot water (and wiped dry) around the inner edge of the springform pan before releasing the clasp and removing the side. This prevents the edges from sticking and tearing. Slice the cheesecake using that same warm knife method for clean cuts. Top each slice with a dollop of whipped cream and a dusting of ground cinnamon, just like the recipe suggests, or get creative with other toppings! This cheesecake is delicious on its own or paired with fresh fruit like berries, which are wonderful in desserts like our perfect fruit tart.
Essential Tips for Baking a Perfect Cheesecake
Beyond the steps outlined above, here are a few extra pointers to help ensure your cheesecake success:
- Room Temperature is Non-Negotiable: We mentioned it in the ingredients and steps, but it bears repeating. Cold cream cheese, eggs, or sour cream will lead to lumps and require overmixing to smooth out, introducing dreaded air bubbles. Plan ahead and take your ingredients out of the fridge at least 1-2 hours before you plan to start mixing.
- Do Not Overmix: This is the second golden rule after temperature control. Beat the cream cheese and sugar until just smooth. Add eggs and dairy on the lowest speed, mixing only until combined. Excessive mixing whips air into the batter, which expands in the oven, causes puffing, and leads to cracks as it cools and contracts.
- Tap Out Air Bubbles: After pouring the batter into the pan but before putting it in the water bath, gently tap the pan on the counter a few times. This helps bring any large air bubbles trapped in the batter to the surface, where they can pop, resulting in a smoother texture.
- Don’t Peek Too Much: Resist the urge to open the oven door frequently while the cheesecake is baking or cooling. Each time you open the door, you lose heat, causing temperature fluctuations that can stress the cheesecake and contribute to cracking.
- Trust the Jiggle Test: It feels counterintuitive, but a slight jiggle in the center means it’s perfectly cooked. The residual heat will continue to set the center as it cools.
- Chill Time is King: Don’t rush the chilling process. A properly chilled cheesecake has the ideal firm, dense, and creamy texture and is much easier to slice neatly.
Serving Suggestions for Your Dreamy Dessert
While this Foolproof Cheesecake is absolutely divine served simply with whipped cream and cinnamon, its classic flavor profile makes it a perfect canvas for a variety of toppings. Fresh berries, a simple fruit compote, a drizzle of chocolate ganache or caramel sauce are all fantastic options. Consider serving slices alongside a warm cup of coffee or perhaps a refreshing beverage like our ultimate frozen chocolate drink for a truly decadent treat.
Foolproof Cheesecake Recipe FAQs
Let’s tackle some common questions that often pop up when making cheesecake.
Why did my cheesecake still crack?
Even with a foolproof recipe, cracks can sometimes happen if crucial steps aren’t followed precisely. The most common reasons are still overmixing the batter (incorporating too much air), overbaking (baking until the center is completely firm), and cooling the cheesecake too quickly (not using the slow cooling method in the oven). Ensure your ingredients are at room temperature, mix gently, rely on the jiggle test, and follow the water bath and slow oven cooling steps diligently.
How do I know exactly when my cheesecake is done baking?
The visual cue is key. After the minimum bake time (around 65 minutes), gently nudge the pan. The outer few inches should look set and firm, but the very center (about 2-3 inches across) should still have a noticeable wobble or jiggle, like firm jelly. If the entire top is completely firm and still, it’s likely overbaked. If the jiggle extends closer to the edges, it needs more time.
What if I don’t have a springform pan?
While a springform pan is highly recommended for easy removal and presentation, you could potentially use a regular cake pan, lining it completely with parchment paper (bottom and sides, with extra overhang) so you can lift the cheesecake out once cooled and chilled. However, a springform pan truly makes the process much simpler for cheesecake.
Can I skip the water bath?
Skipping the water bath is the most common reason cheesecakes crack! The water bath is essential for providing the gentle, even heat and humid environment needed for a smooth, crack-free top and creamy texture. While some “no-water-bath” recipes exist, they often employ different techniques or result in a different texture. For this foolproof recipe aiming for no cracks, the water bath is non-negotiable.
How long does the cheesecake need to chill?
It needs at least 4 hours in the refrigerator to firm up enough to slice cleanly. However, chilling it overnight (8-12 hours) is always best for optimal texture, flavor development, and the easiest slicing.
How should I store leftover cheesecake?
Keep leftover cheesecake tightly covered with plastic wrap in the refrigerator. It will typically stay fresh for 4-5 days. For longer storage, cheesecake freezes well. Wrap individual slices or the whole remaining cheesecake tightly in plastic wrap, then in a layer of aluminum foil. Freeze for up to 1-2 months. Thaw in the refrigerator overnight before serving.
Enjoy Your Beautiful, Crack-Free Cheesecake!
There you have it! The Foolproof Cheesecake Recipe that really delivers on its promise. No more hiding cracks under excessive toppings (unless you want to, of course!). Just a gorgeous, smooth, incredibly creamy cheesecake ready to be enjoyed.
Give this recipe a try and banish cheesecake baking fears forever. You might just find it becomes your go-to classic cheesecake recipe. If you bake it, please leave a comment below and let me know how it turned out! Happy baking!
The Foolproof Cheesecake Recipe

Ingredients
- 1 and 1/2 cups graham cracker crumbs (about 10 full sheets)
- 1/3 cup melted unsalted butter
- 2 tablespoons sugar
- 3 packages (8 ounces each) cream cheese, softened to room temperature
- 1 and 1/4 cups sugar
- 3 large eggs, at room temperature
- 1 cup sour cream or heavy cream, at room temperature
- 1 teaspoon vanilla extract
- Whipped cream, for serving
- Ground cinnamon, for dusting
Directions
- Preheat oven to 325F (160C). Wrap the outside of a 9 inch springform pan with two layers of heavy-duty aluminum foil to prevent water from seeping in.
- In a medium bowl, mix graham cracker crumbs, melted butter, and 2 tablespoons sugar until combined. Press mixture firmly into the bottom of the prepared springform pan to form the crust. Bake for 8 minutes. Remove from oven and set aside.
- In a large bowl, beat the softened cream cheese and 1 and 1/4 cups sugar together with an electric mixer on medium speed until smooth and creamy, scraping down the sides of the bowl as needed. Do not overmix or whip too much air into the batter.
- Add the eggs, one at a time, beating on low speed just until each egg is incorporated. Do not overmix.
- Gently stir in the sour cream or heavy cream and vanilla extract until just combined. The key is to mix gently and not incorporate excess air bubbles, as these can contribute to cracking.
- Pour the cream cheese mixture over the baked graham cracker crust in the springform pan. Smooth the top with a spatula.
- The Crack Prevention Technique: Place the foil-wrapped springform pan in a larger baking pan (like a roasting pan). Carefully pour hot water into the larger pan until it comes about halfway up the sides of the springform pan. This water bath creates a humid environment in the oven, ensuring the cheesecake bakes gently and evenly from the edges to the center, which is the best way to prevent cracks.
- Bake for 65 to 75 minutes, or until the edges are set but the center still has a slight jiggle when the pan is gently nudged.
- Crucial Slow Cooling: Turn off the oven. Prop the oven door open slightly with a wooden spoon or oven mitt. Leave the cheesecake in the water bath inside the cooling oven for 1 hour. This slow, gradual cooling process prevents the cheesecake from cracking due to a sudden temperature change.
- Carefully remove the cheesecake from the water bath and the larger baking pan. Place it on a wire rack to cool completely at room temperature.
- Once completely cool, cover the cheesecake loosely with plastic wrap and refrigerate for at least 4 hours, or ideally overnight, to allow it to fully set.
- To serve, run a thin knife around the edge of the pan before releasing the springform side. Slice and top each piece with a dollop of whipped cream and a dusting of ground cinnamon.