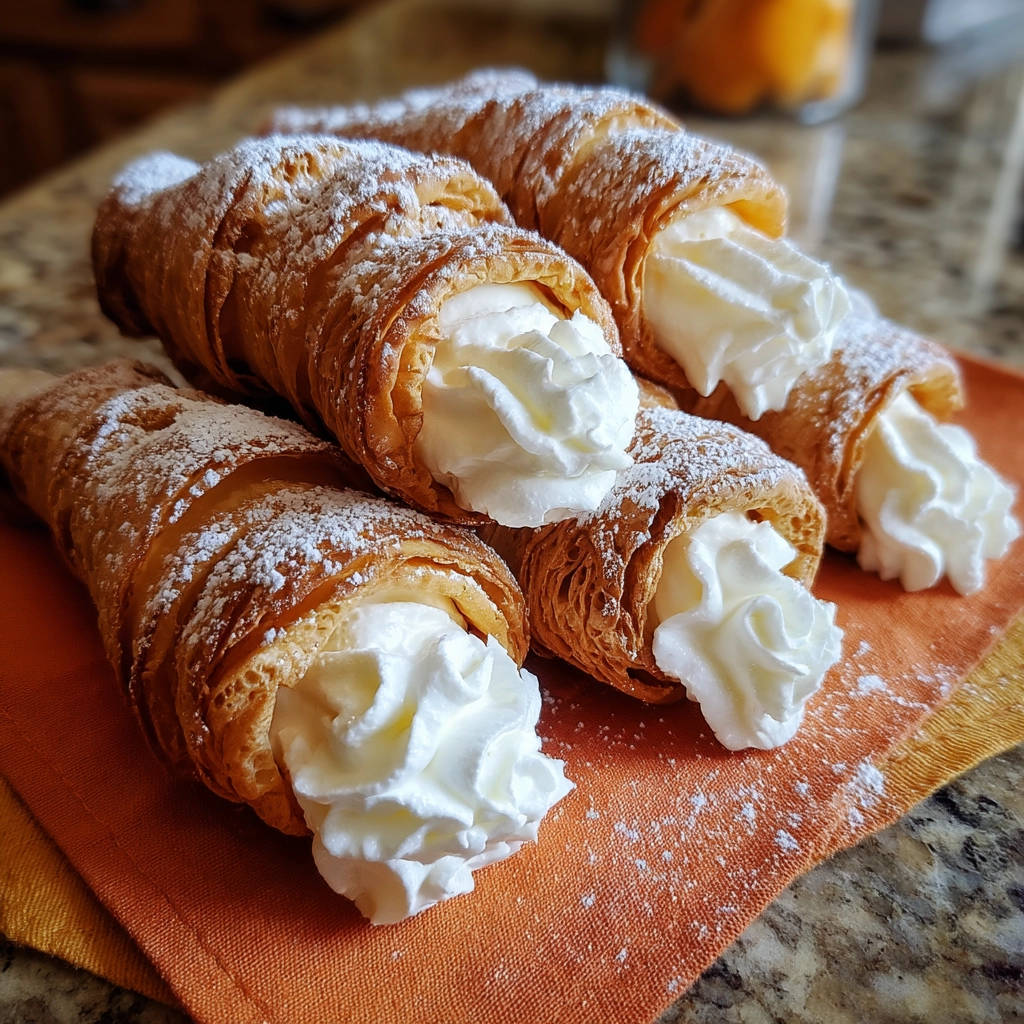
Oh, cream horns! Just the name conjures up images of delicate, crispy pastry shells filled with a cloud of sweet, airy whipped cream. They look so elegant, don’t they? Like something you’d only find in a fancy bakery window. But let’s be honest, the thought of making them at home can feel a little daunting.
Maybe you’ve tried before, and ended up with beautiful shells stubbornly stuck to their molds, crumbling frustratingly as you tried to release them. Or perhaps you’ve admired them from afar, convinced they require some kind of pastry wizardry beyond the average home baker’s reach.
Well, I’m here to tell you that making gorgeous, bakery-worthy Cream Horns at home is not just possible, it’s surprisingly simple – especially when you know the little secret to getting those crisp pastry shells off the molds without a single tear. Forget the pastry nightmares; this method is truly foolproof!
This recipe takes the mystery out of the process, focusing on that one crucial step that guarantees easy release every single time. Get ready to impress yourself (and anyone lucky enough to share these with you!) with perfectly formed, golden brown pastry shells just waiting to be filled with luscious whipped cream.
Why You’ll Fall in Love with This Cream Horn Recipe
Beyond the sheer elegance of the final product, there are so many reasons this cream horn recipe deserves a spot in your baking repertoire. It’s a classic treat that feels special, but the process is grounded in simplicity.
- Impressive Results, Approachable Method: Cream horns look incredibly fancy, but thanks to smart technique and readily available ingredients like frozen puff pastry, they are very achievable for home bakers of all levels.
- Guaranteed Easy Release: The number one hurdle for many is sticking pastry. This recipe specifically addresses that with a simple, effective mold preparation method. No more broken shells!
- Speedy Baking: Using store-bought puff pastry drastically cuts down on prep time. The baking itself is quick, meaning you can enjoy these delicate treats sooner.
- Customizable Filling: While classic whipped cream is divine, these shells are a perfect canvas for other fillings (more on that later!).
- Perfect for Any Occasion: Whether it’s a special holiday, a birthday, a brunch, or just an afternoon treat, cream horns add a touch of celebration.
Gathering Your Ingredients for Cream Horns
Part of the beauty of this recipe lies in its simplicity. You don’t need a long list of obscure ingredients. The magic happens with just a few key players coming together. We’re focusing on creating those wonderfully flaky shells and a classic, light filling.
Here’s what you’ll need to gather from your pantry and fridge:
- Frozen Puff Pastry Sheets: The star of our pastry shell show! Using frozen puff pastry is the ultimate shortcut to flaky, buttery layers without spending hours making dough from scratch. Ensure they are thawed according to package directions – this is key for easy handling, but still kept cold enough to work with.
- Large Egg: This, whisked with a little water, creates our egg wash. The egg wash is crucial for giving the baked shells that beautiful golden color and slightly crisp exterior.
- Water: Just a tablespoon to help thin out the egg for an even wash.
- Metal Cream Horn Molds: You’ll need about 8 to 10 of these cone-shaped metal molds. These are what give the cream horns their distinctive shape. They’re readily available at most kitchen supply stores or online.
- Non-stick Cooking Spray or Butter: This is the first layer of our foolproof release strategy. You need to be generous here! Coating the molds thoroughly is non-negotiable.
- All-purpose Flour or Granulated Sugar (Optional): This is the extra insurance layer for preventing sticking. A light dusting after greasing creates a tiny barrier that helps the baked pastry slide right off. Flour is traditional for a less sweet shell, while sugar can add a subtle sweetness and a little sparkle.
- Very Cold Heavy Cream: The foundation of our classic filling. Heavy cream whips up beautifully, creating that light and airy texture we’re looking for. Make sure it’s straight from the fridge!
- Powdered Sugar: Sweetens the whipped cream and helps stabilize it slightly. We’ll use a quarter cup for the filling and then extra for that final elegant dusting.
- Vanilla Extract: Adds that essential hint of warmth and classic dessert flavor to the whipped cream. Use a good quality extract for the best taste.
Crafting Your Cream Horns: Step-by-Step
Ready to turn these simple ingredients into stunning cream horns? Follow these steps, paying special attention to the mold preparation and release timings, and you’ll be golden!
- Get the Oven Ready: Start by preheating your oven to 400°F (200°C). A hot oven is important for helping the puff pastry puff up quickly and evenly. While it heats, line a baking sheet with parchment paper. This makes cleanup a breeze and helps prevent the bottoms of the pastries from sticking to the pan.
- The Secret to No-Stick Molds: This is arguably the most important step! Take each metal cream horn mold and coat it liberally. Don’t be shy with the non-stick cooking spray or the butter; you want complete coverage. For that extra layer of protection, lightly dust the greased mold with either a little all-purpose flour or granulated sugar. Tap off any excess powder. This dual approach ensures your beautiful pastry shells will release effortlessly after baking.
- Prepare the Pastry: Unfold your thawed puff pastry sheets onto a surface that’s been lightly dusted with flour. The flour prevents the pastry from sticking to your counter. If, despite being thawed, your pastry feels a bit too soft or sticky, pop the sheet back in the fridge for a few minutes to firm up. Using a sharp knife or a pizza cutter (a pizza cutter is often easiest for straight lines!), cut each pastry sheet lengthwise into strips about 1-inch wide.
- Wrap the Molds: Now for the fun part – wrapping the pastry! Take a strip of pastry and find the pointed tip of one of your prepared molds. Start wrapping the pastry strip around the tip, spiraling upwards towards the wider base of the cone. As you wrap, overlap the pastry slightly with each turn – about a quarter to a third of the strip’s width is good. You can gently stretch the pastry slightly as you go to ensure it covers the mold completely and smoothly. When you reach the end of a strip (or the wide end of the mold), press the end of the pastry strip firmly into the layer below it to seal it tightly. If your mold isn’t fully covered with one strip, just grab another and continue wrapping from where the first one ended, overlapping and sealing the end. The goal is a continuous, sealed spiral covering the entire metal cone.
- Egg Wash and Arrange: In a small bowl, quickly whisk together the large egg and the tablespoon of water. This is your egg wash. Carefully place the wrapped molds onto your parchment-lined baking sheet, making sure the sealed seam of the pastry is facing down against the paper. This helps prevent it from unraveling as it bakes. Use a pastry brush to generously brush the tops and sides of each wrapped pastry shell with the egg wash. This will give them that beautiful golden color and a lovely finish.
- Bake Until Golden and Crisp: Slide the baking sheet into your preheated oven. Bake for 15 to 20 minutes. Keep an eye on them; you’re looking for the pastry to be significantly puffed up, a beautiful golden brown all over, and looking visibly crisp. The exact time can vary depending on your oven, so baking to visual cues is key.
- Release While Warm: The Second Secret! This step is just as crucial as mold preparation! As soon as the cream horns come out of the oven, promptly remove the baking sheet. While they are still warm – warm enough to handle comfortably but definitely not fully cooled – gently grab a baked pastry shell in one hand and the metal mold in the other. Give the pastry shell a slight twist to loosen it from the mold. Then, carefully slide the metal mold out of the pastry shell. Do this for all the shells immediately. Letting them cool completely on the molds is a common mistake that makes sticking much, much more likely. Place the empty, baked pastry shells onto a wire rack to cool down completely. They need to be fully cooled before filling.
- Prepare the Cloud-Like Filling: While your pastry shells are cooling, it’s time to make that dreamy whipped cream filling. Pour the very cold heavy cream into a medium bowl. Use an electric mixer (or vigorous whisking if you need a workout!) to beat the cream on high speed. Watch it closely; it will start to thicken. Beat until soft peaks form – meaning when you lift the beaters, the cream holds a soft shape that flops over. Gradually add the powdered sugar and vanilla extract. Continue beating until stiff peaks form – the cream should now hold a firm shape when the beaters are lifted. Be very careful not to overbeat, or you’ll end up with butter instead of fluffy whipped cream!
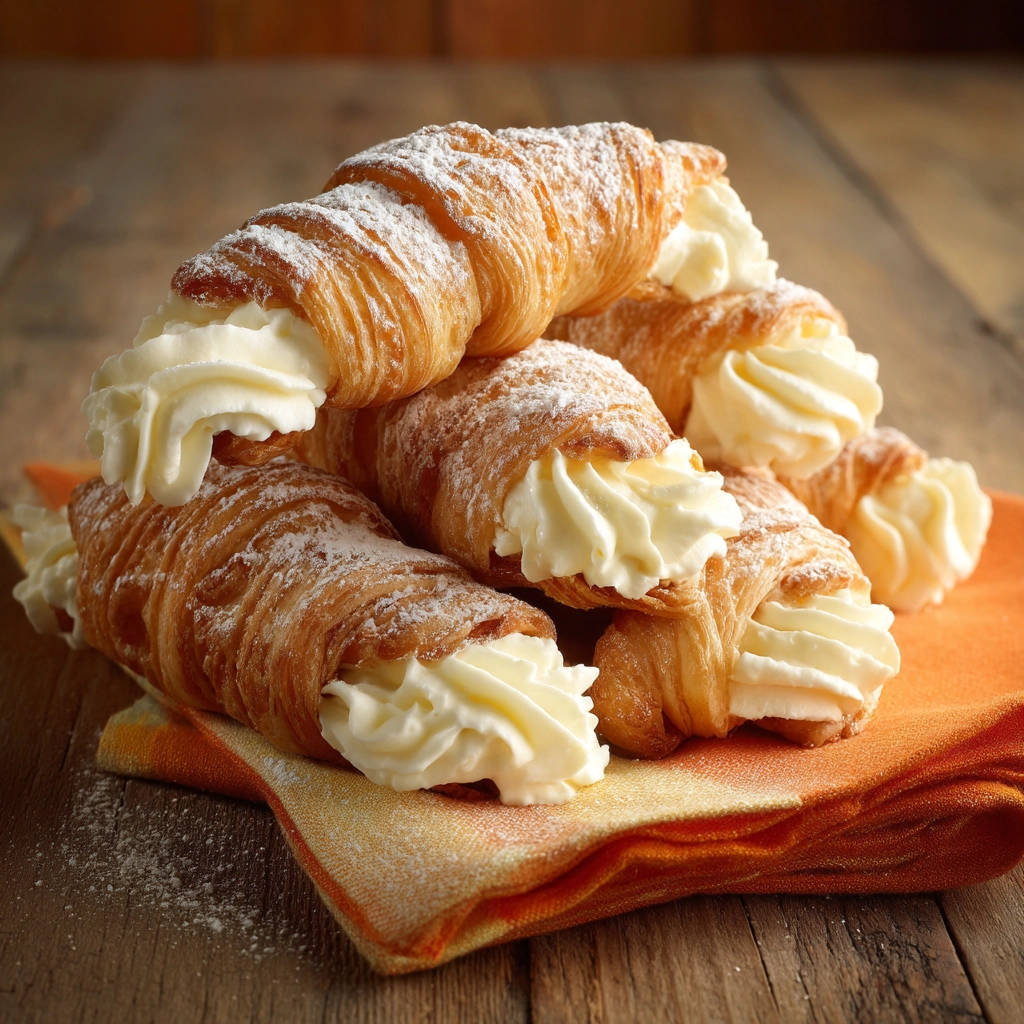
- Fill ‘Em Up! Once your pastry shells are completely cool to the touch, it’s time to fill them. The neatest way is to spoon the whipped cream into a piping bag fitted with a star tip (a star tip gives a lovely finish). If you don’t have a piping bag or tip, no problem! Just spoon the whipped cream into a sturdy zip-top bag and snip off one of the bottom corners. Gently pipe the whipped cream into each cooled pastry shell, starting from the wider end and filling it completely. Fill them close to serving time for the freshest taste and best texture.
- Serve and Delight: Arrange your beautifully filled cream horns on a serving platter. For that classic bakery look, dust them generously with additional powdered sugar just before serving. Watch them disappear – they’re irresistible!
Tips for Perfect Cream Horns Every Time
Getting perfect cream horns is all about those little details. Here are a few extra tips to ensure your success and make the process even smoother:
- Keep Pastry Cold: Puff pastry is happiest when cold. Work quickly when cutting and wrapping the strips. If your kitchen is warm and the pastry gets too soft, pop it back in the fridge for a few minutes to firm up.
- Seal the Ends Well: When wrapping, make sure you firmly press the end of each pastry strip onto the layer beneath it. This prevents the spiral from unraveling during baking.
- Don’t Overlap Too Much: A slight overlap (about 1/4 to 1/3 inch) is needed to create a sealed shell, but overlapping too much can prevent the layers from puffing properly and result in a doughy shell.
- Grease and Dust Generously: Revisit step 2! This step is critical. Be thorough with the non-stick spray or butter and don’t skip the optional flour or sugar dusting if you want maximum insurance against sticking.
- Twist and Release While Warm: I know I’ve mentioned it, but it bears repeating! Waiting for the shells to cool on the molds is the number one reason for sticking. They are most pliable and forgiving when warm.
- Chill the Cream: For the easiest and fluffiest whipped cream, ensure your heavy cream, bowl, and even the beaters are very cold.
- Don’t Fill Until Serving: For the crispiest shells and freshest whipped cream, fill the cream horns no more than a couple of hours before serving.
Serving Suggestions and Variations
Classic cream horns with vanilla whipped cream are always a hit, but these versatile shells can be adapted! Serve them as a delightful dessert on their own, or as part of a larger spread. They pair wonderfully with fresh berries on the side.
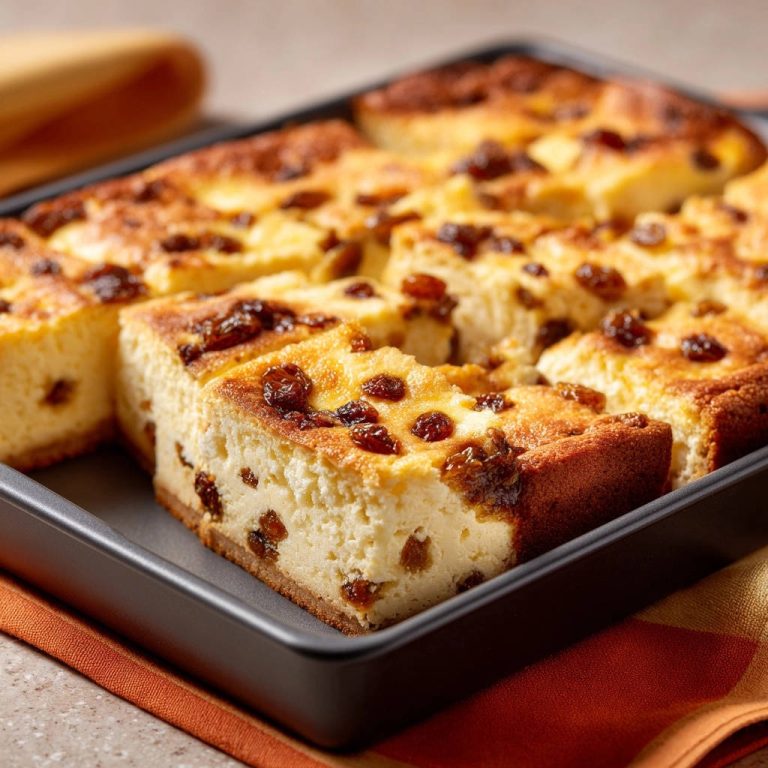
Looking for other dessert ideas for a gathering? Consider serving them alongside a Classic Baked Cheesecake or a vibrant Perfected Fruit Tart to offer a variety of textures and flavors.
While the recipe focuses on whipped cream, the shells are sturdy enough for other fillings like pastry cream, chocolate mousse (perhaps our Rich Chocolate Mousse?), lemon curd, or even a lightened cream cheese filling. Get creative with adding a touch of cocoa powder, espresso powder, or a hint of almond extract to the whipped cream for variations.
Your Cream Horns Questions Answered (FAQ)
Got questions? We’ve got answers! Here are some common queries about making cream horns:
Can I make the pastry shells ahead of time?
Yes! The baked pastry shells can be made a day or two in advance. Store them in an airtight container at room temperature. Do NOT refrigerate them, as this can make them soft. Fill them just before serving for the best texture.
What if I don’t have metal cream horn molds?
Unfortunately, cream horn molds are essential for achieving the cone shape required for this recipe. There isn’t a readily available substitute that will produce the same result. They are a worthwhile investment if you plan on making these treats!
My whipped cream isn’t getting stiff. What went wrong?
Ensure your heavy cream is VERY cold. The colder the cream, the easier it is to whip to stiff peaks. Make sure you are using “heavy cream” or “whipping cream,” not milk or half-and-half. Warm temperatures and not using the right type of cream are the most common culprits.
Why did my pastry stick to the mold even after greasing?
Did you grease them liberally? Was it non-stick spray or butter? Did you add the optional dusting of flour or sugar for extra insurance? And most importantly, did you try to remove the molds while the pastry was still warm, or did you let them cool completely on the molds? Releasing them warm is the key to preventing sticking.
Can I use dairy-free alternatives?
You might be able to find dairy-free puff pastry (check ingredients). For the filling, you would need a stable dairy-free whipping cream alternative, which can sometimes be trickier to get to hold stiff peaks. Experimentation might be needed.
Enjoy Your Homemade Cream Horns!
See? Making beautiful, perfect Cream Horns at home is totally within your reach! With this foolproof method for mold release and a simple, delicious filling, you can confidently bake these impressive pastries for any occasion (or just because!).
Give this recipe a try and let me know how it goes in the comments below! Did they slide off the molds like a dream? What did you think of the flaky shells? I can’t wait to hear about your cream horn success!
Cream Horns

Ingredients
- 2 sheets frozen puff pastry, thawed according to package directions
- 1 large egg
- 1 tablespoon water
- 8 to 10 metal cream horn molds
- Non-stick cooking spray or butter
- All-purpose flour or granulated sugar (optional, for mold prep)
- 1 cup heavy cream, very cold
- 1/4 cup powdered sugar, plus more for dusting
- 1/2 teaspoon vanilla extract
Directions
- Preheat your oven to 400F (200C). Line a baking sheet with parchment paper.
- Prepare the molds: This is the key step for easy release! Liberally coat each metal cream horn mold with non-stick cooking spray or rub generously with butter. For extra insurance, you can lightly dust the greased mold with a tiny bit of flour or granulated sugar and tap off the excess.
- Unfold the thawed puff pastry sheets onto a lightly floured surface. If they are sticky, chill them briefly. Using a sharp knife or pizza cutter, cut each sheet lengthwise into 1-inch wide strips.
- Starting at the pointed tip of a greased mold, wrap a strip of puff pastry around it, overlapping the pastry slightly as you go, working towards the wider end. Gently stretch the pastry as needed to cover the mold completely. Press the end of the strip firmly to the pastry shell to seal it. If one strip isn’t enough, use another strip, overlapping slightly where the first one ended, and seal the end. You want the entire metal mold covered in a spiral of pastry.
- In a small bowl, whisk together the egg and water to make an egg wash. Place the wrapped molds seam-side down on the prepared baking sheet. Brush the tops and sides of the pastry shells generously with the egg wash.
- Bake for 15 to 20 minutes, or until the pastry is puffed, golden brown, and looks crisp.
- Promptly remove the baking sheet from the oven. While the pastries are still warm (but cool enough to handle), gently twist each baked pastry shell to loosen it from the metal mold. Slide the molds out carefully. Letting them cool completely on the mold makes sticking much more likely. Set the empty pastry shells aside on a wire rack to cool completely.
- While the shells cool, make the filling. In a medium bowl, beat the very cold heavy cream with an electric mixer on high speed until soft peaks form. Gradually add the powdered sugar and vanilla extract, continuing to beat until stiff peaks form. Be careful not to overbeat.
- Once the pastry shells are completely cool, spoon the whipped cream into a piping bag fitted with a star tip (or just snip off the corner of a zip-top bag). Pipe the whipped cream into each cooled pastry shell, filling it completely.
- Arrange the filled cream horns on a serving platter. Dust generously with additional powdered sugar before serving.