

Have you ever reached into your pantry, excited to whip up some delicious cookies, only to discover your brown sugar has transformed into a solid, impenetrable brick? It’s one of those little kitchen frustrations that can derail your baking plans faster than you can say “molasses.” You stand there, armed with a fork or an ice pick, trying to chip away at the rock-hard sugar, often making a mess and questioning your life choices. We’ve all been there!
But what if I told you there’s a ridiculously simple, almost magical trick to keep your brown sugar perfectly soft and ready to use whenever inspiration strikes? This isn’t a fancy gadget or a complicated process. In fact, you likely have the secret ingredient sitting on your counter right now. Once I learned this genius soft brown sugar storage hack, those hard sugar lumps became a distant, unpleasant memory. It truly is a game-changer for anyone who bakes!
Imagine opening your sugar container and scooping out beautifully soft, moist brown sugar every single time. That’s the reality this easy tip creates. It takes less than a minute to set up, requires virtually no effort, and works consistently to prevent that frustrating hardening process. Let’s dive into how this simple hack can revolutionize your baking prep!
Why You’ll Love This Storage Genius
Beyond the sheer relief of never fighting with rock-hard sugar again, there are several reasons why this method is a must-know:
- It’s Effortless: Seriously, we’re talking 60 seconds, tops.
- It’s Inexpensive: You only need a couple of pantry staples.
- It Works Consistently: This isn’t a hit-or-miss solution; it genuinely prevents hardening.
- It Revives Hardened Sugar: Even if your sugar is already a brick, this trick can often soften it back up.
- Extends Sugar Life: Keeping it soft means you can use it down to the last spoonful without waste.
Having soft, scoopable brown sugar on hand makes baking spontaneous and stress-free. Whether you’re making chewy cookies, adding sweetness to glazes, or incorporating it into savory dishes, ready-to-use brown sugar is a kitchen essential.
Gathering Your Simple Supplies for Soft Sugar Storage
The beauty of this brown sugar storage hack lies in its incredible simplicity. You don’t need any special equipment or obscure ingredients. Everything required is likely already in your kitchen, making it accessible to anyone who wants to wave goodbye to hardened brown sugar forever.
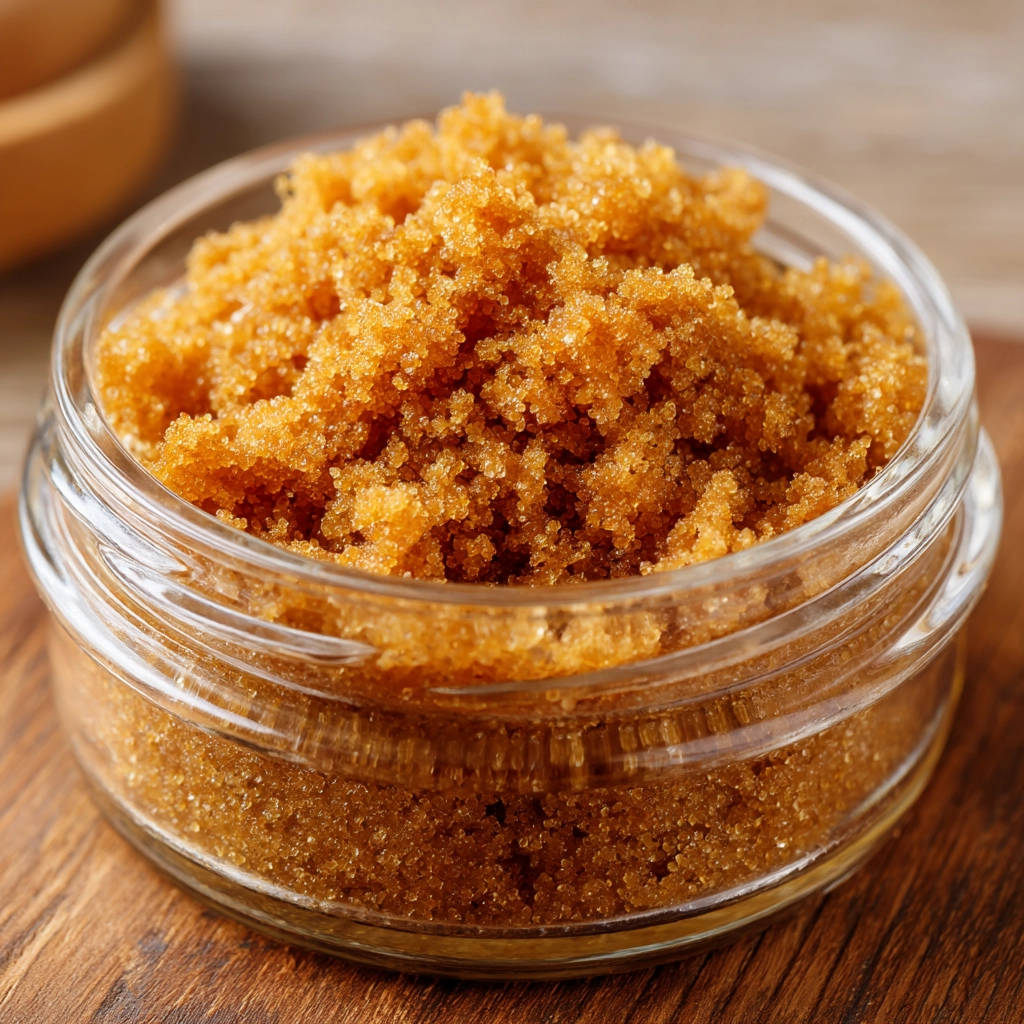
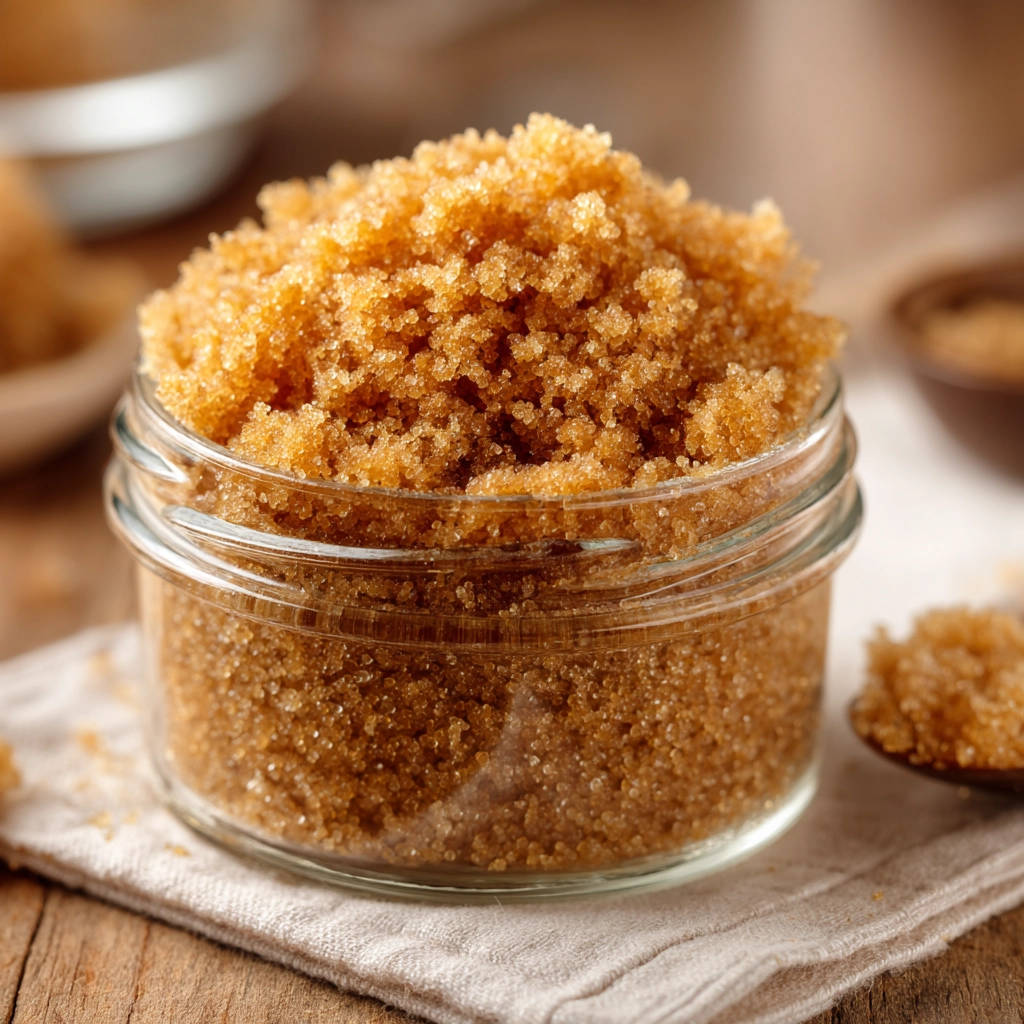
At the heart of this method are just two core components. One is the brown sugar itself, the star ingredient in so many wonderful recipes, from moist banana bread to classic apple crumble bars. Its unique texture and rich flavor come from the molasses content, which is also the reason it tends to dry out and clump. Protecting this molasses-rich sugar from air is key.
The other essential element is something you might not expect: a simple slice of bread. That’s right, plain old bread. The magic happens because bread contains moisture, and that moisture is what we need to share with our sugar. Using a fresh slice is best because it has the most moisture to give.
Here’s what you’ll need:
- Brown sugar (light or dark)
- 1 slice of fresh bread
- An airtight container
Choosing the right container is also important. While any container that seals tightly will work, a good quality airtight option, like a glass jar with a rubber-sealed lid or a sturdy plastic container with a secure clasp, is ideal. The goal is to create a sealed environment where the moisture from the bread stays trapped with the sugar, rather than escaping into the surrounding air.
Keeping Your Brown Sugar Soft: Step-by-Step Magic
Ready to transform your brown sugar situation? This process is so quick, you’ll wonder why you ever struggled with the hard stuff. It’s truly a one-minute solution to a persistent problem.
Follow these simple steps to ensure your brown sugar stays perfectly soft and ready for all your baking adventures:
Prepare the Sugar (If Needed): If you’re starting with a fresh bag of brown sugar, you can skip this part. However, if your sugar is already showing signs of hardening, or is a full-blown brick, you can try to break up the largest chunks first. A sturdy spoon, a sugar mallet, or even your hands can work, depending on how hard it is. While not strictly necessary for the hack to work eventually, breaking up big lumps can sometimes help the softening process happen a little faster by increasing the surface area exposed to the moisture. Don’t stress if you can’t break it all down; the hack will still do its job over time.
Choose and Fill Your Container: Select a container that is truly airtight. This is crucial! A glass jar with a tight-fitting metal or rubber-sealed lid is an excellent choice because you can easily see inside and they tend to seal very well. Any sturdy plastic container with a reliable gasket or clasp will also work. Transfer all of your brown sugar from its original bag into this clean, airtight container. Make sure there’s enough room for the sugar and the slice of bread.
Add the Secret Ingredient: Now for the key step! Take one slice of fresh bread – any type of soft, fresh bread will do. Place this single slice of bread directly on top of the brown sugar inside the container. You don’t need to bury it or mix it in; just lay it flat on the surface. The moisture from the bread will naturally be released into the air within the container.
Seal It Up Tight: Immediately place the lid on the container and seal it as tightly as possible. Double-check that the seal is secure, whether it’s twisting on a lid, snapping clasps shut, or pressing down a vacuum-seal top. A good seal is essential to trap the moisture released by the bread and create a humid environment for the brown sugar. Any air leaks will allow the moisture to escape, preventing the hack from working effectively.
Let the Magic Happen and Maintain: Now, simply store the container in your pantry as usual. Over the next day or two (sometimes faster if the sugar wasn’t too hard), the moisture from the bread slice will gradually transfer into the brown sugar, softening it beautifully. Check it after 24 hours – you should already feel a difference! The bread will become dry and hard as it gives up its moisture. You’ll need to replace the bread slice every few weeks, or whenever you notice the previous slice has become completely dry and brittle. Replacing the bread ensures a continuous source of moisture, keeping your brown sugar soft indefinitely.
That’s it! With minimal effort, you’ve ensured your brown sugar will always be ready for baking gooey chocolate chunk cookies, whipping up a caramel sauce for a decadent chocolate caramel layer cake, or sweetening any recipe that calls for it. This simple trick saves you time, frustration, and prevents food waste.
Tips for Perfect Soft Brown Sugar Every Time
While the hack itself is incredibly straightforward, a couple of extra tips can ensure you get the best results and keep your brown sugar wonderfully soft for the long haul:
- Use Fresh Bread: This isn’t the time to use that stale heel you were saving for breadcrumbs. A fresh slice has the most moisture to give. The type of bread doesn’t matter too much, as long as it’s soft and fresh.
- Ensure an Airtight Container: I can’t stress this enough! If your container isn’t truly airtight, the moisture will escape, and your sugar will still harden. Test your container seal if you’re unsure.
- Monitor and Replace the Bread: Don’t just set it and forget it forever. Check the bread every couple of weeks. When it’s completely dried out and hard, it has given all the moisture it can and needs to be replaced with a fresh slice.
- Dealing with Mold: In very rare cases, if the container isn’t perfectly clean or is exposed to unusual conditions, mold could develop on the bread. If this happens, discard the bread and the sugar, clean and dry the container thoroughly, and start fresh. This is why replacing the bread regularly is a good practice – it prevents it from sitting in there too long.
- For Hardened Sugar: While the hack will soften hard sugar, it can take 24-48 hours or even longer for a really solid brick. If you need soft sugar right now, microwaving a small amount with a damp paper towel for 15-20 seconds is a quick fix, but the bread hack is the long-term storage solution.
Common Questions About Keeping Brown Sugar Soft
You might have a few questions popping into your head about this simple yet effective trick. Let’s address some of the most common ones:
Can I use something other than bread?
Yes, there are other things you can use! Terracotta brown sugar savers (discs that you soak in water and place in the container) are specifically designed for this purpose and work similarly by releasing moisture. Marshmallows or apple slices are also sometimes used, but bread is often the most readily available and effective household item for the job. It’s porous and releases moisture slowly and consistently.
Does this work for white granulated sugar?
No, this hack is specifically for brown sugar. White granulated sugar is just sugar crystals without the molasses coating. It doesn’t harden in the same way brown sugar does. If granulated sugar clumps, it’s usually because it has been exposed to moisture and then dried out. The best way to store white granulated sugar is simply in a cool, dry, airtight container to protect it from humidity.
How long does the bread slice last?
The bread slice will last until it becomes completely dry and hard, as it releases its moisture. This can take anywhere from a couple of weeks to a month or more, depending on the humidity in your environment and how often you open the container. Check it periodically and replace it when it’s no longer soft and pliable.
What if the bread gets moldy?
Mold is rare if you’re using a clean container and fresh bread, and if you replace the bread regularly. However, if you see any signs of mold on the bread, you should discard both the bread and the brown sugar it was stored with, just to be safe. Clean and dry your container thoroughly before adding fresh sugar and a new slice of bread.
Does the brown sugar taste like bread?
No, the sugar will not absorb a bread flavor. The bread is simply releasing moisture into the air space within the container. The sugar absorbs the moisture, but not the flavor compounds from the bread itself. Your brown sugar will taste exactly as it should!
Enjoy Your Perfectly Soft Brown Sugar!
Say goodbye to chiseling sugar bricks and hello to effortless baking! This incredibly simple soft brown sugar storage hack is one of those timeless kitchen tips that truly makes a difference. It saves you time, effort, and ensures your ingredients are always ready for action.
Now that you’ve mastered keeping your brown sugar soft, what will you bake first? Perhaps a batch of classic chewy peanut butter cookies, or maybe you’ll try your hand at making homemade cinnamon rolls? Whatever you choose, having perfectly soft brown sugar waiting for you in the pantry makes the whole process so much more enjoyable.
Give this hack a try and experience the difference it makes! If you love this tip, leave a comment below and let me know how it worked for you, or share your favorite brown sugar recipes!
Soft Brown Sugar Storage Hack
Ingredients
- Brown sugar
- 1 slice of fresh bread
Directions
- If your brown sugar is already hard, you can sometimes break up the biggest chunks first, but it’s not strictly necessary with this method.
- Place your brown sugar in an airtight container. A glass jar with a tight-fitting lid works perfectly.
- Place one slice of fresh bread right on top of the brown sugar inside the container.
- Seal the container tightly with the lid.
- The moisture from the bread slice will gradually transfer to the brown sugar, softening it and keeping it soft. Replace the bread slice every few weeks or if it becomes completely dry and hard. This trick truly keeps your brown sugar soft and ready to use whenever you need it!


