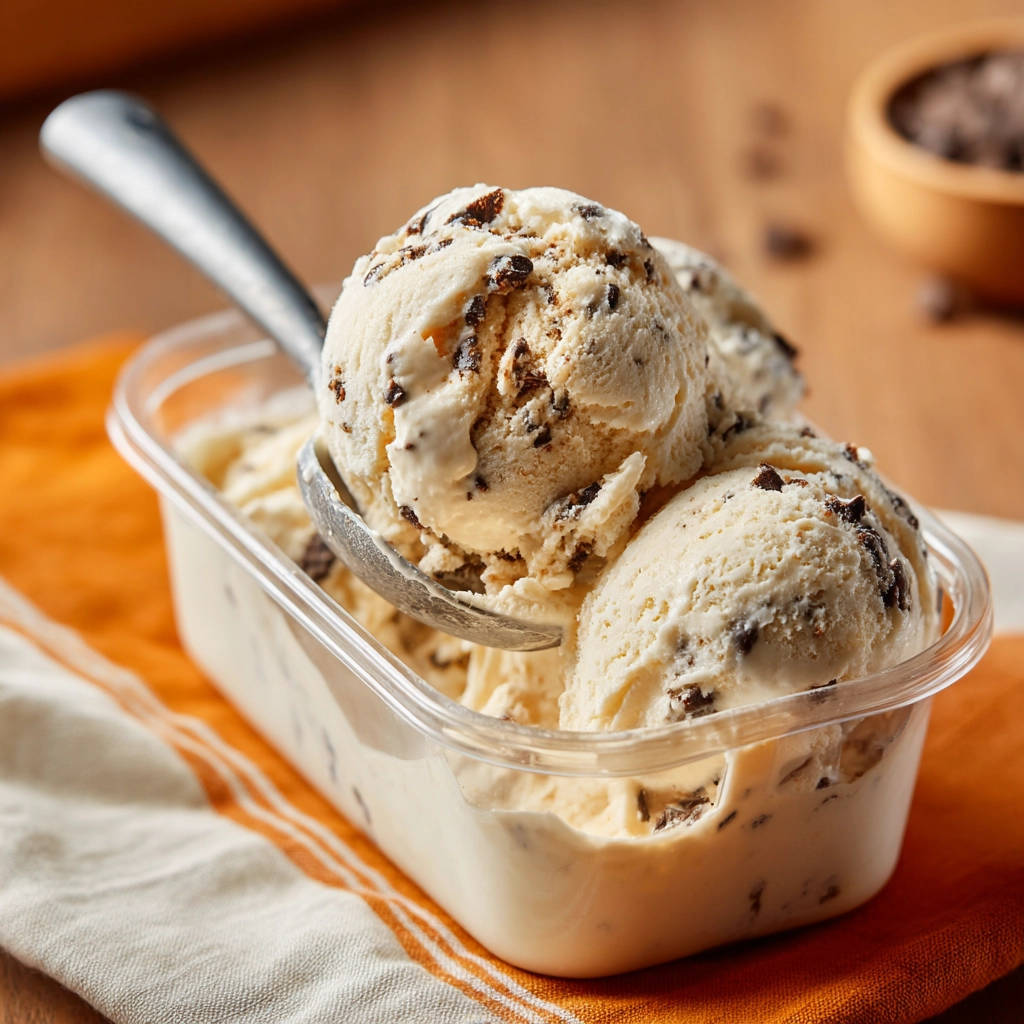
There’s nothing quite like a scoop (or two!) of rich, homemade chocolate chip ice cream. The intense flavor, the smooth texture, and the joy of creating something so delightful in your own kitchen… it’s pure magic. But if you’ve ever attempted making ice cream at home, you might have run into a common and frustrating problem: it freezes into a solid, unyielding block that requires Herculean effort to scoop. Trust me, I’ve been there! For years, my homemade batches were more like frozen concrete than dessert.
That all changed when I discovered the secrets to truly scoopable ice cream. It’s not just about the ingredients; it’s about the technique, particularly the base and proper chilling. This recipe for homemade chocolate chip ice cream is the culmination of those discoveries. It delivers incredible flavor and a texture that stays delightfully creamy, letting your spoon glide right through. Get ready to say goodbye to freezer-burnt frustration and hello to perfect scoops every single time!
Why You’ll Absolutely Adore This Creamy Chocolate Chip Ice Cream
Beyond the obvious joy of devouring homemade dessert, this particular recipe brings several key benefits that make it stand out. First and foremost, as the name suggests, it’s designed to be incredibly easy to scoop. No more wrestling with a rock-hard pint!
This ease of scooping comes from a classic, rich custard base. This isn’t a “no-churn” shortcut (though those have their place!); a cooked custard base, made with egg yolks, provides a luxurious richness and stability that helps prevent large, icy crystals from forming during the freezing process. The fats from the dairy and the emulsifying power of the egg yolks work together to create that wonderfully smooth, dense, yet scoopable texture.
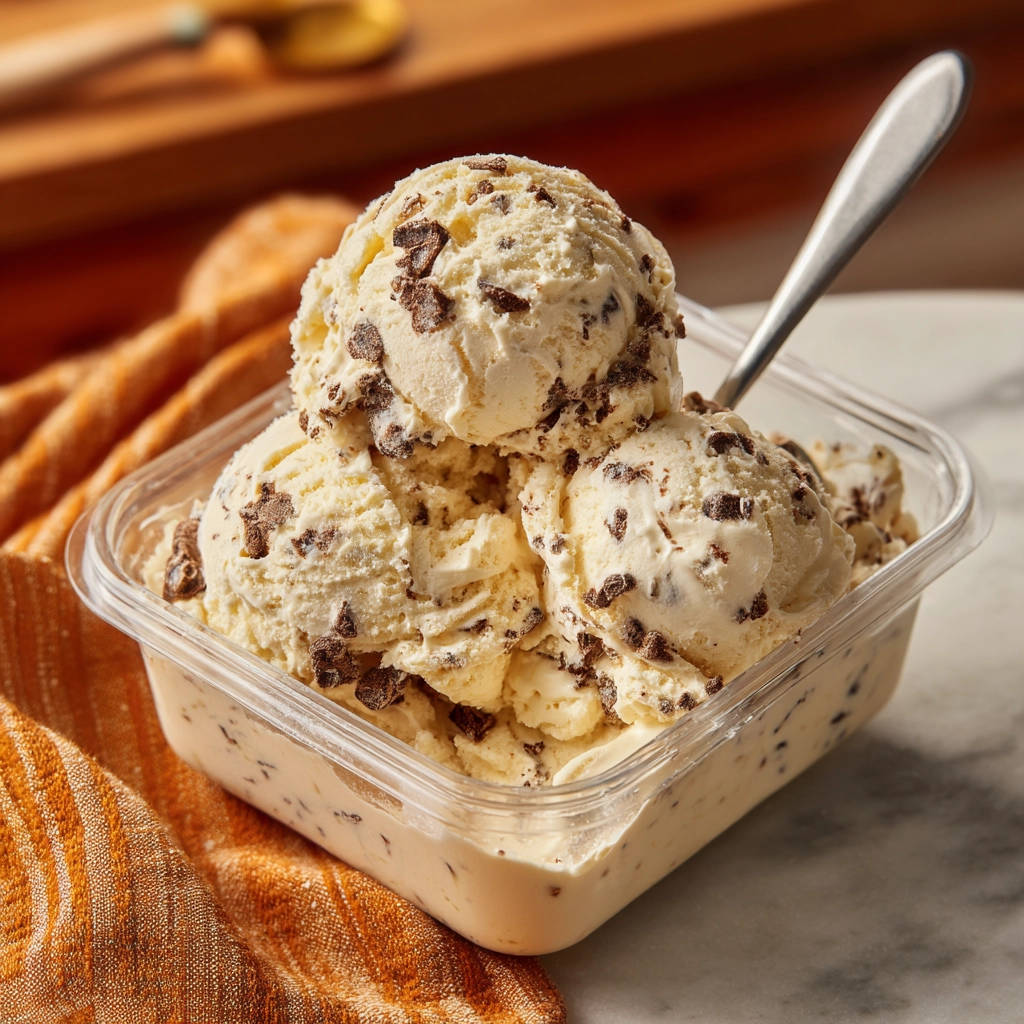
The flavor is everything you dream of in chocolate chip ice cream. A creamy vanilla base studded with glorious bits or chips of chocolate. It’s simple, classic, and utterly satisfying. Plus, making it yourself means you control the quality of the ingredients, from the dairy to the chocolate, resulting in a superior taste you just can’t get from store-bought.
Gathering Your Delicious Ingredients for Creamy Chocolate Chip Ice Cream
Making the perfect scoopable ice cream starts with selecting the right components. Think of these ingredients as the building blocks for that heavenly texture and classic flavor. Each one plays a specific role in creating the rich, smooth base that freezes beautifully.
Our recipe relies on a few key dairy components for that essential creaminess. We use whole milk and heavy cream. Why both? The high fat content of the heavy cream is crucial for preventing ice crystals, giving the ice cream its luxurious mouthfeel. Whole milk balances this richness and helps create the right consistency for the custard base as it cooks. Combining them gives us the ideal balance of structure and decadence.
Granulated sugar sweetens the base, of course, but it also plays a role in texture. Sugar interferes with the freezing process, helping to keep the final product softer and more scoopable. Using a good quality granulated sugar is all you need here.
The star of our scoopable secret weapon? Large egg yolks! This recipe uses five large egg yolks, which are essential for creating a French-style custard base. The fat and protein in the yolks act as emulsifiers and thickeners when gently heated, resulting in an incredibly smooth, rich, and stable base that resists turning into a solid block in the freezer. Don’t skip the yolks!
For flavor, pure vanilla extract adds that classic ice cream aroma and taste. Opt for pure vanilla over imitation for the best results – it makes a noticeable difference in the final product’s depth of flavor.
And finally, the chocolate chips! The recipe calls for 1 cup of either chopped chocolate or mini chocolate chips. Using chopped chocolate from a good quality bar can give you lovely irregular chunks that melt beautifully in your mouth as the ice cream melts. Mini chocolate chips distribute more evenly throughout the base. The choice is yours!
Here’s the full list of what you’ll need:
- 2 cups whole milk
- 1 cup heavy cream
- 3/4 cup granulated sugar
- 5 large egg yolks
- 1 teaspoon pure vanilla extract
- 1 cup chopped chocolate or mini chocolate chips
Crafting Your Perfect Scoopable Ice Cream: Step-by-Step
Making a custard-based ice cream might sound fancy, but it’s truly approachable. The key is patience and gentle heat. Here’s a step-by-step guide to creating that dreamy, scoopable chocolate chip ice cream.
- Begin by combining your liquid ingredients and sweetener in a medium saucepan. Pour in the 2 cups of whole milk and 1 cup of heavy cream. Add the 3/4 cup of granulated sugar. Place the saucepan over medium heat on your stovetop. As the mixture heats, stir it frequently to help the sugar dissolve completely into the liquids. You want the mixture to get hot, but be very careful not to let it boil. Gentle heat is your friend here.
- While the milk and cream mixture is heating, get your egg yolks ready. Crack your 5 large egg yolks into a separate, medium-sized bowl. Use a whisk to beat the yolks until they become a pale yellow color and are smooth. This aerates them slightly and prepares them for the next crucial step.
- Now comes the tempering process – this is how we incorporate the warm dairy mixture into the egg yolks without scrambling them into bits of cooked egg. While continuously whisking your egg yolks, very slowly drizzle about half a cup of the hot cream mixture into the bowl with the yolks. Keep whisking constantly as you add the warm liquid. This gradual addition gently raises the temperature of the egg yolks, tempering them so they can be safely added back to the main saucepan.
- Once the egg yolks are tempered with the small amount of hot cream mixture, it’s time to combine everything. Pour the tempered egg yolk mixture from your bowl back into the saucepan containing the remaining hot milk and cream. Give it a good stir to combine.
- Return the saucepan to the stovetop and reduce the heat to low. This is where the magic happens as we create the custard. You need to stir the mixture constantly. Use a wooden spoon or a heatproof spatula, making sure to scrape the bottom and sides of the pan to prevent scorching. Do NOT let the mixture boil at any point during this step, as boiling can curdle the eggs. Continue stirring gently and constantly for about 5 to 7 minutes, or until the custard thickens enough to coat the back of your spoon in a smooth layer. You should be able to draw a line through the custard on the back of the spoon with your finger, and the line should hold its shape.
- Once the custard has thickened appropriately, immediately remove the saucepan from the heat. Stir in the 1 teaspoon of pure vanilla extract. Adding it after removing from heat helps preserve the delicate vanilla flavor.
- To ensure your ice cream base is perfectly smooth, strain the custard through a fine-mesh sieve into a clean bowl. This step catches any tiny bits of cooked egg or sugar that might not have dissolved completely, resulting in the silkiest possible texture for your finished ice cream.
- This next step is absolutely KEY for achieving that easy scoopability we’re after: you MUST chill the custard base thoroughly. Cover the bowl tightly with plastic wrap, ensuring the plastic wrap is pressed directly onto the surface of the custard to prevent a skin from forming. Place the bowl in the refrigerator and chill for at least 4 hours, but preferably overnight. A well-chilled base freezes much faster in the ice cream maker, and rapid freezing helps prevent large ice crystals from forming, which is the main culprit behind hard ice cream.
- Once your custard is completely and deeply chilled (it should feel very cold), it’s time to churn! Pour the chilled base into your ice cream maker. Churn it according to the manufacturer’s instructions. The churning process incorporates air, making the ice cream light and creamy, and it also breaks up any small ice crystals as they form. Churn until the mixture reaches a soft-serve consistency.
- In the very last minute or so of churning, add your 1 cup of chopped chocolate or mini chocolate chips through the ice cream maker’s opening. Let them churn in just long enough to distribute evenly throughout the mixture.
- Transfer the freshly churned ice cream from the machine into an airtight container. To further protect against ice crystals and freezer burn, press a piece of plastic wrap directly onto the surface of the ice cream, ensuring it touches the entire top layer.
- Place the container in the coldest part of your freezer to harden. Freeze for at least 4 to 6 hours, or until the ice cream is firm enough to scoop easily. Thanks to the rich custard base and the proper chilling method, it should maintain that wonderful scoopable texture.
Tips for Perfect Scoopable Homemade Ice Cream Every Time
Making ice cream is a joy, and a few simple tips can elevate your results from good to absolutely fantastic, ensuring that coveted easy scoop texture.
- Chill, Chill, Chill: I can’t stress this enough – properly chilling the custard base is the single most important step for scoopability. Aim for the full overnight chill if you can. A super-cold base freezes faster in the churner, leading to smaller, more desirable ice crystals.
- Don’t Skimp on Fat: The recipe uses whole milk and heavy cream for a reason. The fat content is crucial for richness and a smooth texture. Using lower-fat dairy will result in a harder, icier ice cream.
- Tempering is Key: Take your time when tempering the egg yolks. Adding the hot liquid too quickly will scramble them. Go slow, whisk constantly, and ensure the yolks are gently warmed before combining with the rest of the hot cream.
- Stir Constantly While Cooking: When cooking the custard, keep that spoon moving! This prevents the bottom from scorching and ensures the eggs cook evenly without curdling. Low heat is also your friend here.
- Strain for Silkiness: Don’t skip straining the custard. Even if you don’t see obvious cooked bits, it removes any tiny imperfections that could affect the final texture.
- Quality Matters: Using good quality dairy and chocolate will make a noticeable difference in flavor. Since this recipe is simple, the taste of each ingredient shines through.
- Airtight Storage is Essential: Once frozen, keep your ice cream in a truly airtight container to prevent freezer burn and surface ice crystals, which can make the top layer icy.
- Plastic Wrap Magic: Pressing plastic wrap directly onto the surface of the ice cream before putting the lid on is a simple but effective barrier against ice crystals.
- Freezer Location: Store the ice cream in the coldest part of your freezer, usually the back, rather than the door, which fluctuates in temperature.
- Troubleshooting Hard Ice Cream: If your ice cream is still a little firm right out of the freezer (though it shouldn’t be rock-hard with this recipe!), just let it sit out on the counter for 5-10 minutes before scooping.
What to Serve With Your Homemade Chocolate Chip Ice Cream
While this creamy chocolate chip ice cream is absolutely divine on its own, serving it with a little something extra can make dessert even more special. A classic pairing is, of course, a warm, fudgy brownie. Imagine a scoop melting slightly on top of a rich chocolate square – pure bliss! If you’re a chocolate lover, pairing this with a slice of `Decadent Chocolate Layer Cake` would be an epic dessert experience.
Simple toppings like whipped cream, a drizzle of chocolate sauce, or a sprinkling of extra mini chocolate chips are always welcome. You could also serve it alongside other simple baked goods, like `Perfect Sugar Cookies` or a warm `Easy Apple Crumble`. For a truly decadent treat, top it with some toasted nuts or a swirl of salted caramel.
Your Creamy Ice Cream Questions Answered (FAQ)
Making homemade ice cream, especially one with a custard base, might bring up a few questions. Here are some common ones I get asked, with answers to help you master this scoopable chocolate chip ice cream recipe!
Why is a custard base better for scoopable ice cream?
A custard base, made with egg yolks, is richer than simpler ice cream bases. The fats in the yolks, combined with the fats in the heavy cream, interfere with the formation of large ice crystals during freezing. The proteins in the yolks also act as emulsifiers, creating a smoother, denser, yet more pliable and scoopable texture straight from the freezer compared to recipes that just use milk, cream, and sugar.
Can I make this recipe without an ice cream maker?
While you can technically freeze the custard base in a pan, it won’t yield the same creamy, scoopable result. The ice cream maker is crucial because it churns the mixture as it freezes, incorporating air and breaking up ice crystals as they form. Without this churning action, the mixture will freeze into a solid block of ice rather than smooth ice cream. This specific scoopable chocolate chip ice cream recipe relies heavily on the churning process for its texture.
What kind of chocolate chips should I use?
The recipe calls for chopped chocolate or mini chocolate chips. The type of chocolate (milk, semi-sweet, dark) is really up to your personal preference! Use a good quality chocolate that you enjoy eating on its own, as its flavor will be prominent. Mini chips distribute nicely, while chopped chocolate from a bar gives varied textures and can melt slightly more easily in your mouth.
My custard curdled slightly, can I fix it?
If you heated it too quickly or didn’t stir constantly and you see tiny curds, you can try blending it very carefully with an immersion blender or pouring it into a regular blender and pulsing until smooth before chilling and churning. Strain it again after blending. However, if it’s severely curdled (like scrambled eggs), it might be best to start over.
How long will homemade ice cream last in the freezer?
Properly stored in an airtight container with plastic wrap pressed on the surface, homemade ice cream is best enjoyed within 1-2 weeks for optimal texture and flavor. After that, it can start to lose quality and develop ice crystals, though it will still be safe to eat for longer.
Can I add other mix-ins besides chocolate chips?
>
Absolutely! Once the ice cream has churned to a soft-serve consistency and you’re adding the chocolate, you can swap them out or add other things. Just make sure the mix-ins are small or chopped. Popular options include chopped nuts, bits of cookies, or swirls of caramel or fudge sauce (swirls are best added as you layer the churned ice cream into the freezer container). Feel free to get creative!
Enjoy Your Homemade Chocolate Chip Ice Cream!
There you have it – the secrets to crafting homemade chocolate chip ice cream that’s not just delicious, but beautifully creamy and perfectly scoopable right from the freezer. No more bending spoons or waiting impatiently for it to soften!
This recipe is a true game-changer for anyone who loves homemade frozen treats but dreads the hard-as-rock outcome. The rich custard base, the patient tempering, the thorough chilling, and the final freeze in the coldest spot all work in harmony to deliver ice cream perfection.
So go ahead, gather your ingredients, follow these steps, and prepare for pure bliss. Get ready to effortlessly scoop your way to happiness. Give this recipe a try and let me know how much you love that perfectly creamy texture in the comments below!
Homemade Chocolate Chip Ice Cream

Ingredients
- 2 cups whole milk
- 1 cup heavy cream
- 3/4 cup granulated sugar
- 5 large egg yolks
- 1 teaspoon pure vanilla extract
- 1 cup chopped chocolate or mini chocolate chips
Directions
- Combine the milk, heavy cream, and sugar in a medium saucepan over medium heat. Stir until the sugar dissolves. Heat the mixture until it is hot but not boiling.
- In a separate bowl, whisk the egg yolks until pale yellow.
- Slowly temper the egg yolks by gradually whisking about half a cup of the hot cream mixture into the yolks. This slowly brings the yolks up to temperature without scrambling them.
- Pour the tempered egg yolk mixture back into the saucepan with the remaining hot cream.
- Stir the custard constantly over low heat. Do not let it boil. Continue stirring until the mixture thickens enough to coat the back of a spoon (about 5-7 minutes).
- Remove the custard from the heat and stir in the vanilla extract.
- Strain the custard through a fine-mesh sieve into a clean bowl to remove any small bits of cooked egg.
- This is a key step for scoopability: Cover the custard and chill it thoroughly in the refrigerator for at least 4 hours, or preferably overnight. A well-chilled base freezes faster and prevents large ice crystals from forming.
- Once the custard is completely chilled, pour it into your ice cream maker and churn according to the manufacturer’s instructions until it reaches a soft-serve consistency.
- In the last minute of churning, add the chopped chocolate or chocolate chips.
- Transfer the churned ice cream to an airtight container. Press a piece of plastic wrap directly onto the surface of the ice cream to prevent ice crystals from forming.
- Freeze for at least 4-6 hours, or until firm, in the coldest part of your freezer. The rich custard base and proper chilling method ensure it stays scoopable.