Okay, let’s be honest. We’ve all been there. You make these amazing-looking chicken sliders, anticipating that first delicious bite, only to discover the bottom bun is a soggy, mushy mess. The honey glaze, while delicious, is the culprit! But fear not, my friends, because I’ve cracked the code to perfectly glazed Honey Chicken Sliders that stay wonderfully intact, bun and all. Get ready to level up your game day spread or create a weeknight meal the whole family will adore with these incredible chicken sliders!
Why You’ll Love These Honey Chicken Sliders
These aren’t your average sliders. Here’s why you’ll be making them again and again:
- No Soggy Buns! The secret technique guarantees a structurally sound slider, even with that luscious honey glaze.
- Quick & Easy: From prep to plate, these sliders come together surprisingly fast.
- Crowd-Pleasing Flavor: The combination of crispy chicken, sweet and tangy honey glaze, and soft slider buns is irresistible.
- Perfect for Any Occasion: Game night, potlucks, or a fun family dinner – these sliders are always a hit.
Gathering Your Ingredients for Honey Chicken Sliders
Before we dive into the cooking process, let’s talk about the key players in our Honey Chicken Slider symphony. We’re aiming for a perfect balance of crispy, savory, and sweet, and each ingredient plays a vital role in achieving that harmony.
First, let’s consider the foundation: the chicken and the buns. For the chicken, we’re using boneless, skinless chicken breasts, cut into strips. This ensures quick and even cooking. The slider buns, ideally, should be soft but sturdy – think Hawaiian rolls or brioche sliders. Now, let’s break down the specific ingredients:
- 12 Slider Buns: Choose your favorite! Sweet Hawaiian rolls work beautifully, or try brioche for a richer flavor. Just make sure they’re fresh.
- 1.5 lbs Boneless, Skinless Chicken Breasts: Cut into strips for even cooking and perfect slider-sized portions.
- 1 Cup All-Purpose Flour: This forms the base of our crispy coating.
- 2 Teaspoons Salt: Enhances all the flavors and seasons the chicken perfectly.
- 1 Teaspoon Black Pepper: Adds a touch of warmth and spice.
- 1 Teaspoon Paprika: Contributes a beautiful color and subtle smoky note.
- 1/2 Teaspoon Garlic Powder: Because everything is better with garlic!
- 1/2 Teaspoon Onion Powder: Adds depth and complexity to the coating.
- 1 Cup Buttermilk: This is the secret to juicy, tender chicken. It also helps the flour mixture adhere properly.
- 2 Cups Vegetable Oil: For frying the chicken to golden perfection.
- 1/2 Cup Honey: The star of our glaze, providing sweetness and that signature honey flavor.
- 2 Tablespoons Butter: Adds richness and helps the glaze achieve the perfect consistency.
- 1 Tablespoon Apple Cider Vinegar: This is the secret ingredient that balances the sweetness of the honey and adds a delightful tang.
A note on substitutions: while I highly recommend sticking to the recipe for the best results, you can certainly adjust the spices to your liking. A pinch of cayenne pepper can add a little kick, or a dash of smoked paprika can enhance the smoky flavor. And if you prefer a different type of vinegar, white vinegar or rice vinegar will also work, though apple cider vinegar adds a particularly nice depth of flavor.
Crafting Your Honey Chicken Sliders: Step-by-Step
Alright, let’s get cooking! Don’t be intimidated – these Honey Chicken Sliders are easier to make than you might think. The key is to follow the steps carefully and pay attention to the details. And remember, the most important ingredient is love (and maybe a little bit of patience!). Let’s get that restaurant-quality dish.
- Prepare the Chicken Coating: In a medium-sized bowl, whisk together the flour, salt, pepper, paprika, garlic powder, and onion powder. This mixture is the magic that transforms our chicken into crispy, golden goodness. Make sure everything is evenly distributed for consistent flavor.
- Buttermilk Bath & Flour Dredge: Dip each chicken strip into the buttermilk, ensuring it’s fully coated. Then, immediately dredge it in the flour mixture, pressing gently to help the flour adhere. This double coating creates an extra-crispy crust. Don’t skip the buttermilk – it’s essential for tender, juicy chicken.
- Fry the Chicken to Golden Perfection: Heat the vegetable oil in a large skillet over medium-high heat. A good way to test if the oil is hot enough is to drop a tiny piece of the flour mixture into the oil; if it sizzles immediately, you’re good to go. Carefully place the chicken strips in the hot oil, making sure not to overcrowd the pan. Overcrowding will lower the oil temperature and result in soggy chicken. Fry for 3-4 minutes per side, or until golden brown and cooked through. The internal temperature should reach 165°F (74°C). Remove the chicken and place it on a wire rack to drain excess oil. This is crucial for maintaining that crispy texture.
- Create the Honey Glaze: In a small saucepan, combine the honey, butter, and apple cider vinegar. Heat over medium heat, stirring constantly until the butter is melted and the glaze is smooth. Bring the glaze to a simmer for 1-2 minutes to thicken it slightly. This step intensifies the flavors and creates a beautiful, glossy glaze. Be careful not to burn the glaze.
- Assemble the Sliders: Cut the slider buns in half horizontally.
- The Secret to Non-Soggy Buns: Toast Them! This is the game-changer. LIGHTLY toast the inside of the slider buns. This creates a barrier against the honey glaze, preventing the buns from becoming soggy. You can use a toaster, a broiler, or even a dry skillet. Just be sure not to over-toast them – we want them lightly golden, not burnt.
- Assemble and Glaze: Place the fried chicken on the bottom buns, drizzle generously with the honey glaze, and top with the other half of the buns. Don’t be shy with the glaze – it’s what makes these sliders so delicious!
- Serve Immediately and Enjoy!: These sliders are best enjoyed fresh, while the chicken is still crispy and the buns are soft (but not soggy!).
Tips for Perfect Honey Chicken Sliders Every Time
Want to take your Honey Chicken Sliders to the next level? Here are a few extra tips and tricks to ensure slider success:
- Don’t Overcrowd the Pan: When frying the chicken, work in batches to avoid lowering the oil temperature. This will ensure that the chicken gets nice and crispy.
- Use a Thermometer: To ensure the chicken is cooked through, use a meat thermometer to check the internal temperature. It should reach 165°F (74°C).
- Adjust the Sweetness: If you prefer a less sweet glaze, reduce the amount of honey slightly.
- Spice it Up: Add a pinch of cayenne pepper to the flour mixture or a dash of hot sauce to the honey glaze for a little kick.
- Make it Gluten-Free: Use gluten-free flour blend for the coating to accommodate dietary restrictions. Just be sure to choose a blend that’s designed for frying. You could also try almond flour or tapioca starch.
What to Serve With Honey Chicken Sliders
These Honey Chicken Sliders are delicious on their own, but they’re even better when paired with the right sides. Consider these options:
- Coleslaw: The creamy, tangy coleslaw provides a refreshing contrast to the sweet and savory sliders.
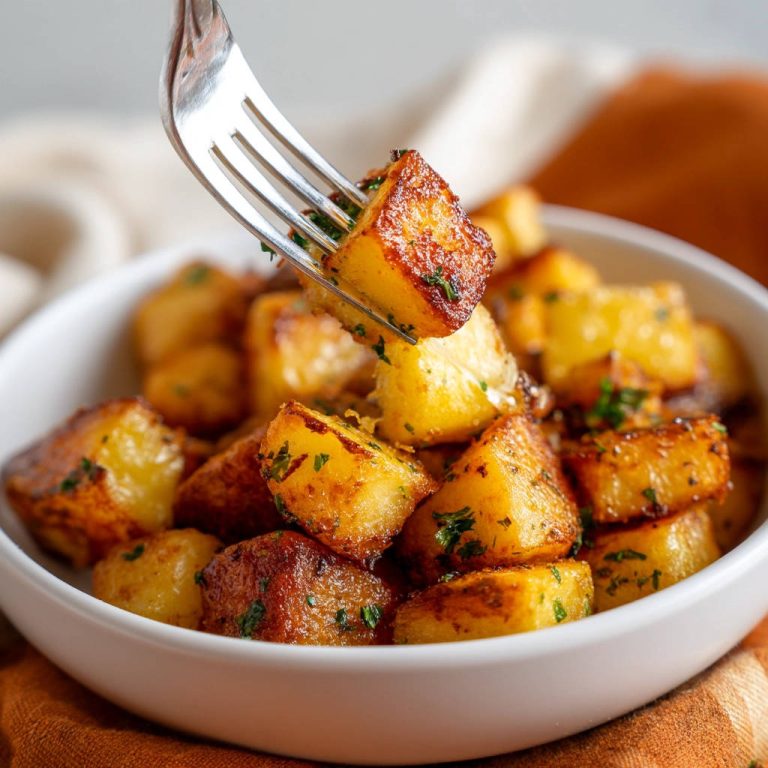
- Potato Salad: A classic side dish that’s always a crowd-pleaser.
- French Fries: Crispy fries are the perfect complement to the juicy chicken sliders.
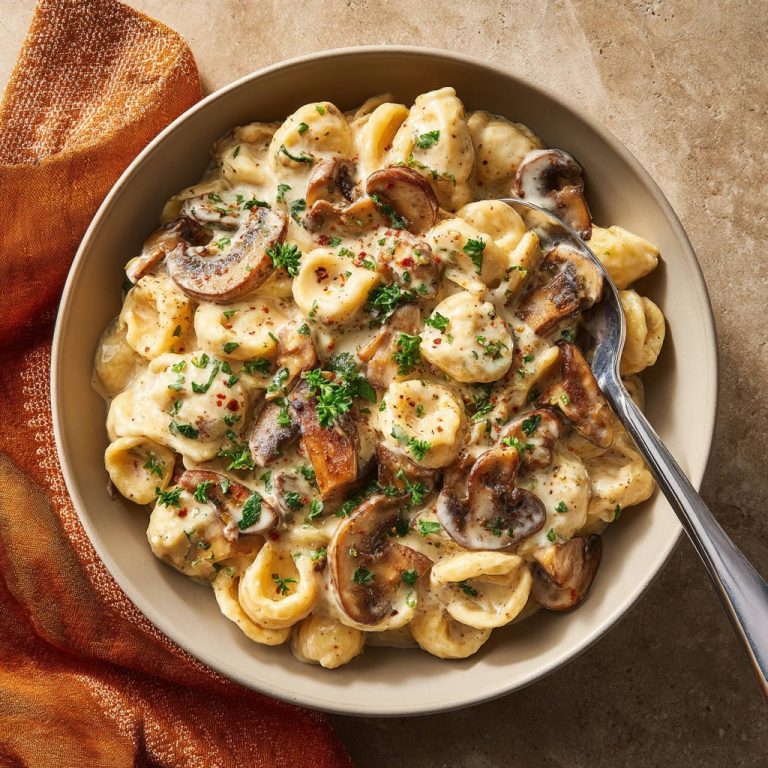
- Mac and Cheese: For the ultimate comfort food meal, serve these sliders with a side of creamy mac and cheese.
- A Simple Salad: A light and refreshing green salad can balance out the richness of the sliders. For a flavorful accompaniment, explore our collection of salad recipes; perhaps the flavors in our roasted sweet potato chicken power bowl recipe would pair well in small portions.
Your Honey Chicken Sliders Questions Answered (FAQ)
Can I make these ahead of time?
While these sliders are best enjoyed fresh, you can prepare some of the components ahead of time. The chicken can be fried a few hours in advance and kept warm in a low oven (200°F or 93°C). The honey glaze can also be made ahead of time and reheated gently before serving. However, I recommend toasting the buns and assembling the sliders right before serving to prevent them from getting soggy.
Can I bake the chicken instead of frying it?
Yes, you can bake the chicken for a healthier option. Preheat your oven to 400°F (200°C). Place the breaded chicken strips on a baking sheet lined with parchment paper and bake for 15-20 minutes, or until golden brown and cooked through. Note that the texture will be slightly different compared to fried chicken.
How do I store leftover sliders?
Leftover sliders can be stored in an airtight container in the refrigerator for up to 2 days. However, the buns may become soggy over time. To reheat, remove the chicken from the buns and reheat it in the oven or microwave. Toast the buns separately and then reassemble the sliders.
Can I use chicken thighs instead of chicken breasts?
Yes, chicken thighs can be used as a substitute for chicken breasts. They will add more flavor and moisture to the sliders, but they may take slightly longer to cook. Just make sure to cut them into strips that are similar in size to the chicken breasts.
Enjoy Your Homemade Honey Chicken Sliders!
There you have it – the secret to perfectly glazed Honey Chicken Sliders with no soggy buns! This recipe is a guaranteed crowd-pleaser and is sure to become a family favorite. The crispy chicken, the sweet and tangy honey glaze, and the perfectly toasted buns create a flavor explosion that you won’t be able to resist. So, gather your ingredients, follow the steps, and get ready to enjoy these amazing sliders. Don’t forget to leave a comment below and let me know how they turned out! And if you loved this recipe, be sure to share it with your friends and family!
Honey Chicken Sliders (Never Soggy Buns!)

Ingredients
- 12 slider buns
- 1.5 lbs boneless skinless chicken breasts, cut into strips
- 1 cup all-purpose flour
- 2 teaspoons salt
- 1 teaspoon black pepper
- 1 teaspoon paprika
- 1/2 teaspoon garlic powder
- 1/2 teaspoon onion powder
- 1 cup buttermilk
- 2 cups vegetable oil, for frying
- 1/2 cup honey
- 2 tablespoons butter
- 1 tablespoon apple cider vinegar
Directions
- Prepare the chicken: In a bowl, mix together flour, salt, pepper, paprika, garlic powder, and onion powder.
- Dip the chicken strips in buttermilk, then dredge in the flour mixture, ensuring they are fully coated.
- Fry the chicken: Heat vegetable oil in a large skillet over medium-high heat. Carefully place the chicken strips in the hot oil, ensuring not to overcrowd the pan. Fry for 3-4 minutes per side, or until golden brown and cooked through. Remove and place on a wire rack to drain excess oil.
- Make the honey glaze: In a small saucepan, combine honey, butter, and apple cider vinegar. Heat over medium heat, stirring until the butter is melted and the glaze is smooth. Simmer for 1-2 minutes to thicken slightly.
- Assemble the sliders: Cut the slider buns in half.
- Here’s the SECRET to non-soggy buns: LIGHTLY toast the inside of the slider buns. It creates a barrier against the glaze!
- Place fried chicken on the bottom buns, drizzle generously with honey glaze, and top with the other half of the buns.
- Serve immediately and enjoy!