
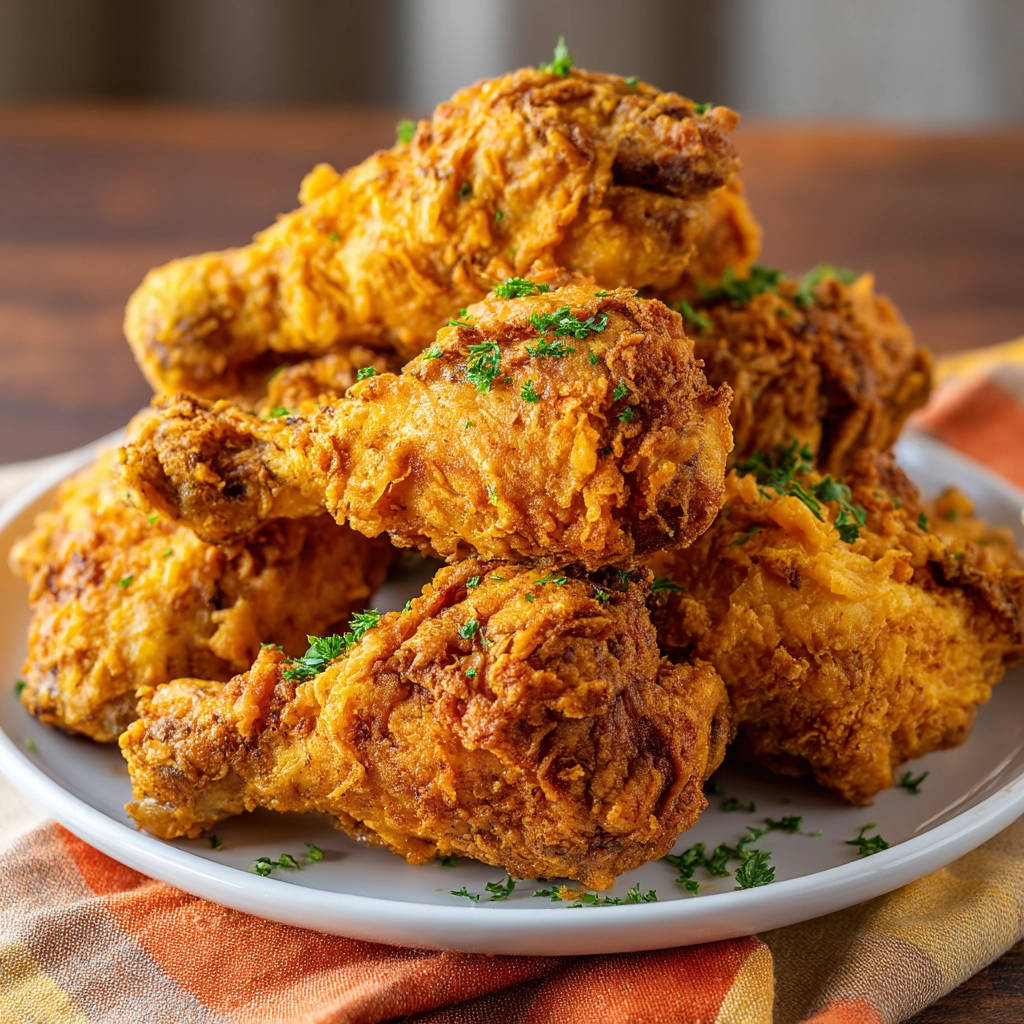
Oh, fried chicken drumsticks. Just the thought conjures up images of backyard cookouts, family dinners, and crispy, golden perfection. We’ve all been there – eagerly anticipating that first bite, only to be met with a disappointing, dry interior. I used to dread making fried chicken, constantly worried about getting the outside perfectly crisp while keeping the inside tender and juicy.
But over the years, I discovered a simple, game-changing technique that guarantees juicy classic crispy fried chicken drumsticks every single time. It’s all about the soak, the seasoning, and managing that oil temperature. Trust me, once you try this method, you’ll say goodbye to dry fried chicken forever!
Why This Fried Chicken Recipe is a Game Changer
What makes this recipe stand out? It’s designed specifically to combat dryness and deliver maximum flavor and crispiness. Here are a few reasons you’re going to absolutely love this approach:
- Unbeatable Juiciness: The secret is in the marinade – it deeply penetrates the meat, keeping it incredibly moist.
- Perfectly Crispy Coating: We’re talking satisfying crunch with every single bite, without being overly thick or greasy.
- Flavor Packed: A simple yet effective blend of pantry staple spices ensures a delicious crust that complements the tender chicken.
- Drumstick Focused: Drumsticks are forgiving and cook beautifully, making them ideal for frying and less prone to drying out than other cuts when treated right.
If you’re looking for other fantastic chicken recipes, you might enjoy our Glazed Chicken and Cilantro Rice or our Honey Garlic Chicken for different flavor profiles!
Gathering Your Ingredients for Juicy Fried Chicken Drumsticks
Making delicious fried chicken doesn’t require a long list of exotic items. Most of what you need you likely already have in your kitchen. It’s the combination and how you use them that creates the magic.
The foundation, of course, is the chicken itself. We’re focusing on bone-in, skin-on chicken drumsticks. The bone helps distribute heat evenly, contributing to juicy meat, and the skin is essential for achieving that classic crispy texture we all crave. Aim for 8-10 drumsticks, depending on appetites – this recipe generously serves 4-6 people.
Next up is the key to moisture: buttermilk. You’ll need a couple of cups. Buttermilk’s acidity works wonders, tenderizing the chicken fibers without breaking them down too much, and its viscosity helps the flour coating adhere beautifully.
For the crispy coating, all-purpose flour is your friend. Two cups provide plenty for dredging all the drumsticks. This creates the base for our flavorful crust.
The flavor comes from a simple, balanced spice blend whisked right into the flour. We use everyday seasonings:
- 2 teaspoons salt: Essential for enhancing flavor throughout.
- 1 teaspoon black pepper: Adds a foundational savory note.
- 1 teaspoon paprika: Contributes color and a mild, sweet peppery flavor.
- 1 teaspoon garlic powder: Provides that irresistible aromatic depth.
- 1 teaspoon onion powder: Another layer of savory aroma.
- 1/2 teaspoon cayenne pepper (optional): Adds a touch of heat if you like a little kick!
Finally, you’ll need oil for frying. About 1 ½ to 2 inches in your pot is usually sufficient. Vegetable or peanut oil are excellent choices because they have high smoke points, which means they can get hot enough to fry chicken without burning. Peanut oil imparts a lovely, classic flavor, but vegetable oil is a great neutral alternative.
Crafting Your Classic Crispy Fried Chicken Drumsticks: Step-by-Step
Ready to transform simple drumsticks into crispy, juicy masterpieces? Let’s walk through the process. Remember, the secret is in the details and not rushing.
The Buttermilk Bath (The Secret Weapon): Begin by placing your bone-in, skin-on chicken drumsticks into a large bowl or a sturdy resealable bag. Pour the two cups of buttermilk over the drumsticks, ensuring each piece is completely submerged or well-coated. This step is non-negotiable! The lactic acid in the buttermilk tenderizes the meat, and the soak helps the chicken absorb moisture, which is critical for preventing that dreaded dryness during frying. Pop the bowl or bag into the refrigerator for a minimum of 2 hours, but you can let them soak for up to 4 hours for even more tender results. Any less than 2 hours won’t give you the full benefit.
Mixing the Flavorful Dredge: While your chicken is enjoying its buttermilk spa, prepare the coating. Grab a shallow dish or a large plate with plenty of surface area. Measure out your two cups of all-purpose flour and add it to the dish. Now, whisk in your seasonings: salt, black pepper, paprika, garlic powder, and onion powder. If you’re using the cayenne pepper for a little heat, add that too. Whisk everything together thoroughly with a fork or whisk. You want the spices evenly distributed throughout the flour so every part of the chicken gets coated in flavor.
Coating for Crispiness: It’s time to dress the chicken! Carefully remove the drumsticks from the buttermilk. Let the excess buttermilk drip off slightly for just a moment – you want some clinging to help the flour stick, but not so much that it creates a soggy mess. One by one, place each drumstick into the seasoned flour mixture. Dredge each side, pressing gently with your hands to really adhere the flour to the wet surface. Ensure there are no bare spots. Once fully coated, lift the drumstick and give it a gentle shake over the dish to knock off any excess flour. Too much loose flour can lead to a pasty coating in the fryer. Set the coated drumsticks aside on a plate or tray as you work through the rest.
Heating the Frying Oil: Now for the frying. Choose a large, heavy-bottomed pot or a Dutch oven. Heavy-bottomed pots are best because they retain heat more consistently. Pour in your chosen frying oil (vegetable or peanut are recommended) to a depth of about 1 ½ to 2 inches. Place the pot over medium-high heat. This is where a thermometer becomes your best friend – clip a deep-fry thermometer to the side of the pot and monitor the oil temperature. You’re aiming for a steady 325 degrees F (160 degrees C). Getting the oil to the correct temperature before adding the chicken is crucial for achieving a crispy exterior without overcooking or undercooking the inside. Too low, and the chicken will absorb too much oil and be greasy; too high, and the outside will burn before the inside is cooked through.
Frying the Chicken (In Batches!): Once the oil is at 325°F, it’s frying time! Carefully, using tongs, gently lower 3-4 coated drumsticks into the hot oil. Be extremely cautious to avoid splashing. It’s absolutely vital NOT to overcrowd the pot. Adding too many cold drumsticks at once will dramatically drop the oil temperature, leading to that undesirable greasy, less crispy result. You want the oil to stay as close to 325°F as possible. Fry the drumsticks for approximately 10-12 minutes per side. Use your tongs to gently turn them halfway through the cooking time to ensure even browning. The chicken is done when it’s a beautiful golden brown and crispy on the outside, and the internal temperature in the thickest part of the drumstick (avoiding the bone) reaches a safe 165 degrees F (74 degrees C). A quick-read thermometer is essential here for accuracy.
Draining for Ultimate Crispness: As each batch finishes frying, use tongs to carefully lift the drumsticks from the hot oil. Transfer them immediately to a wire rack that you’ve placed over a baking sheet. The baking sheet catches any excess oil that drips off, and the wire rack allows air to circulate around the chicken. This airflow is key to keeping the coating crispy as the chicken rests; placing them directly on paper towels can trap steam and make the bottom soggy.
Repeat & Maintain Temperature: Repeat the frying process with the remaining drumsticks. Before adding the next batch, take a moment to let the oil temperature climb back up to that crucial 325 degrees F (160 degrees C). This helps ensure consistent results across all batches.
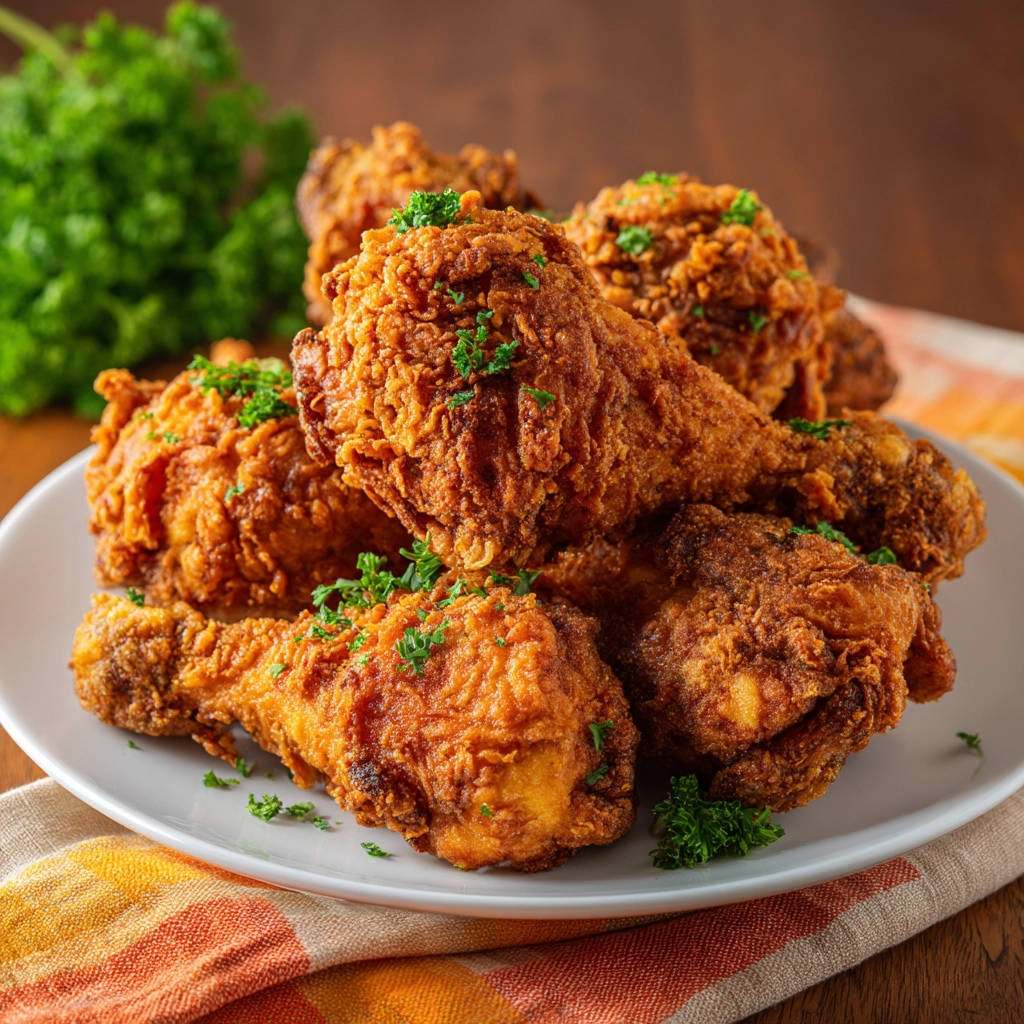
Serve Hot and Enjoy!: Once all the drumsticks are fried and drained, serve them immediately while they are hot and at their absolute crispiest! Gather your loved ones and enjoy the fruits of your labor – juicy, flavorful, perfectly classic crispy fried chicken drumsticks!
Tips for the Most Perfect Crispy Fried Chicken Drumsticks Ever
Achieving fried chicken perfection is within reach! Here are a few extra tips and tricks to make sure your classic crispy fried chicken drumsticks turn out amazing:
- Don’t Skip the Soak Time: Seriously, this buttermilk soak is the MVP of the recipe for juicy chicken. Plan ahead!
- Temperature Control is Key: I cannot stress this enough. Invest in a good deep-fry thermometer and use it. Consistently maintaining 325°F is the biggest factor in avoiding greasy or burnt chicken.
- Use a Heavy Pot: A Dutch oven or heavy-bottomed pot distributes and holds heat much better than thinner pots, leading to more even cooking and less temperature fluctuation.
- Don’t Overcrowd: Frying in batches is essential. Patience here pays off in crispiness!
- Shake Off Excess Flour: While you want a good coating, too much loose flour can fall off and burn in the oil, affecting the flavor and cleanliness of your oil.
- Drain Properly: The wire rack isn’t just for aesthetics; it keeps the bottom from getting soggy.
- Resting Isn’t Required: Unlike larger cuts or whole chickens, drumsticks don’t need a significant resting period after frying. They’re best enjoyed hot and fresh.
- Spice it Up (or Down): The spice blend is a suggestion. Feel free to adjust the cayenne for heat preference or add other favorites like smoked paprika or a pinch of dried thyme.
What to Serve With Your Crispy Drumsticks
Classic crispy fried chicken drumsticks are fantastic on their own, but they truly shine when paired with the right sides. Think comforting, complementary flavors and textures. Creamy sides like creamy mac and cheese or creamy scalloped potatoes are always a hit. Crisp salads like creamy broccoli salad or a fresh coleslaw offer a nice contrast. Don’t forget classics like mashed potatoes and gravy, or some fluffy biscuits! For something different, try them alongside our Easy Crispy Oven Potato Wedges.
Your Crispy Fried Chicken Drumsticks Questions Answered (FAQ)
Even with a simple recipe, questions pop up! Here are some common ones about making classic crispy fried chicken drumsticks:
Can I use other chicken pieces like thighs or wings?
Yes, you can definitely use this method for other bone-in, skin-on chicken pieces! Thighs work beautifully and have a similar cooking time to drumsticks. Wings fry faster, usually within 8-10 minutes total. Breasts (bone-in, skin-on) will take longer and are trickier to keep juicy due to their leanness; they might require a lower oil temperature or finishing in the oven after frying to ensure they cook through without burning the crust. Always use a meat thermometer to check for a safe internal temperature of 165°F (74°C).
What’s the best oil for frying chicken?
Oils with high smoke points are best for frying, as they can reach the necessary temperature without breaking down and imparting off-flavors. Vegetable oil, peanut oil, canola oil, and corn oil are all good choices. Peanut oil is often favored for its classic flavor profile.
Can I reuse the frying oil?
Yes, you can reuse frying oil. After frying, let the oil cool completely. Strain it through a fine-mesh sieve lined with cheesecloth to remove any food particles. Store the strained oil in an airtight container in a cool, dark place. You can typically reuse oil a few times, but discard it if it smells rancid, looks cloudy, or foams excessively when heated.
How do I store and reheat leftover fried chicken?
Store leftover fried chicken in an airtight container in the refrigerator for 3-4 days. The best way to reheat it to regain some crispiness is in the oven or an air fryer. Preheat your oven to 375°F (190°C) or air fryer to 350°F (175°C). Place the chicken on a wire rack over a baking sheet (in the oven) or directly in the air fryer basket. Reheat for 10-15 minutes, or until heated through and the skin is crispy again. Microwaving is not recommended as it makes the chicken soggy.
Why did my chicken turn out greasy?
Greasy fried chicken is usually a result of the oil temperature being too low. When the oil isn’t hot enough, the coating takes longer to crisp up, and the chicken absorbs more oil instead of quickly sealing the exterior. Make sure your oil reaches and stays around 325°F (160°C) and don’t overcrowd the pot, as adding cold chicken lowers the temperature.
Can I make this recipe gluten-free?
You can experiment with a gluten-free flour blend designed for frying or baking. Some gluten-free flour blends work better than others for creating a crispy coating. Ensure the blend contains starches (like rice flour, potato starch, or tapioca starch) as these contribute to crispiness.
Enjoy Your Homemade Juicy Classic Crispy Fried Chicken Drumsticks!
There you have it! The simple secret to achieving those incredibly juicy, perfectly crispy classic fried chicken drumsticks you’ve been dreaming of. It might take a little time for the buttermilk soak, but the active cooking is straightforward and incredibly rewarding. The aroma alone is enough to make your mouth water!
Gather your family, set out your favorite sides, and prepare for rave reviews. This recipe is sure to become a go-to in your home. Give it a try and let me know how it turned out in the comments below! Did you add extra cayenne? What sides did you pair it with? Share your fried chicken adventures!
Fried Chicken Drumsticks
Course: Main CourseCuisine: AmericanDifficulty: medium650
kcalUnlock the secret to juicy classic crispy fried chicken drumsticks with this easy recipe! Say goodbye to dry chicken forever.
Ingredients
8-10 bone-in, skin-on chicken drumsticks
2 cups buttermilk
2 cups all-purpose flour
2 teaspoons salt
1 teaspoon black pepper
1 teaspoon paprika
1 teaspoon garlic powder
1 teaspoon onion powder
1/2 teaspoon cayenne pepper (optional)
Oil for frying (such as vegetable or peanut oil)
Directions
- Place the chicken drumsticks in a large bowl or resealable bag. Pour the buttermilk over the drumsticks, ensuring they are well coated. Refrigerate for at least 2 hours, or up to 4 hours. This is the crucial step that locks in moisture and tenderizes the meat, preventing dryness.
- In a shallow dish or large plate, whisk together the flour, salt, black pepper, paprika, garlic powder, onion powder, and cayenne pepper (if using).
- Remove chicken drumsticks from the buttermilk, letting excess drip off slightly. Dredge each drumstick in the flour mixture, pressing gently to ensure it’s fully coated. Shake off any excess flour.
- Heat about 1 1/2 to 2 inches of oil in a large heavy-bottomed pot or Dutch oven over medium-high heat until it reaches 325 degrees F (160 degrees C). Use a thermometer to monitor the temperature; maintaining the correct temperature is key to crispy coating and juicy chicken.
- Carefully add 3-4 drumsticks to the hot oil, making sure not to overcrowd the pot. Overcrowding will lower the oil temperature and result in greasy, less crispy chicken. Fry for about 10-12 minutes per side, or until the internal temperature of the thickest part of the drumstick reaches 165 degrees F (74 degrees C) and the outside is golden brown and crispy.
- Use tongs to transfer the fried chicken to a wire rack set over a baking sheet to drain off excess oil. This helps keep the coating crispy.
- Repeat with the remaining drumsticks, allowing the oil temperature to come back up to 325 degrees F (160 degrees C) between batches.
- Serve hot.


