Is there anything more disappointing than a snowball cookie that crumbles into dust the second you try to take a bite? I’ve been there, and it’s a holiday baking tragedy! That’s why I’m so excited to share this recipe for melt-in-your-mouth snowball cookies that actually stay together. After years of tweaking, I’ve discovered the secret to the perfect texture. Get ready to experience snowball cookie bliss!
Why You’ll Love These Snowball Cookies
These aren’t your average snowball cookies. Here’s why you’ll be making them year after year:
- Perfect Texture: They truly melt in your mouth, not in your hands.
- Easy to Make: The ingredient list is simple, and the steps are straightforward.
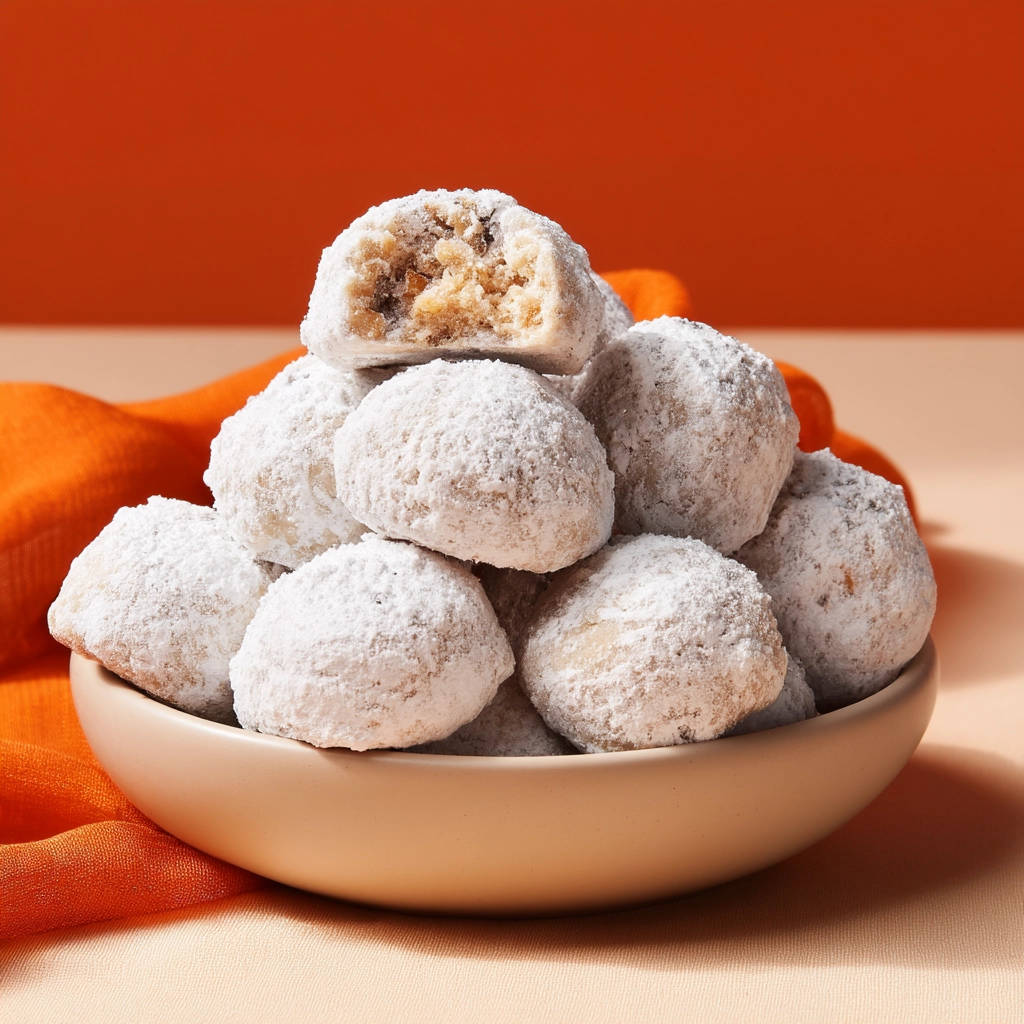
- Festive and Fun: Rolling them in powdered sugar twice creates a beautiful, snowy effect.
- Make-Ahead Friendly: You can make the dough ahead of time and bake them when you’re ready.
Gathering Your Ingredients for Melt-in-Your-Mouth Snowball Cookies
Let’s talk ingredients! The beauty of these snowball cookies lies in their simplicity. We’re aiming for a nutty, buttery, and subtly sweet flavor profile, and each ingredient plays a crucial role in achieving that perfect melt-in-your-mouth texture. Here’s what you’ll need:
- Unsalted Butter: You’ll need 1 cup (2 sticks) of unsalted butter, softened to room temperature. The butter provides richness and tenderness to the cookies. Make sure it’s properly softened – not melted – for the best results.
- Powdered Sugar: We use powdered sugar both in the dough and for coating the cookies. In the dough, it contributes to the cookies’ delicate texture. For the coating, it creates that signature snowy look and adds a touch of sweetness. You’ll need about 1/2 cup for the dough, plus extra for coating.
- Vanilla Extract: A teaspoon of vanilla extract enhances the overall flavor of the cookies. Use pure vanilla extract for the best taste.
- All-Purpose Flour: 2 1/4 cups of all-purpose flour provide the structure for the cookies. Be careful not to overmix the dough once you add the flour, as this can lead to tough cookies.
- Salt: Just 1/4 teaspoon of salt balances the sweetness and enhances the other flavors.
- Finely Chopped Pecans or Walnuts: 1 cup of finely chopped pecans or walnuts adds a nutty flavor and a bit of texture to the cookies. You can use either one, or even a combination of both! Make sure the nuts are finely chopped so they distribute evenly throughout the dough.
Crafting Your Melt-in-Your-Mouth Snowball Cookies: Step-by-Step
Ready to bake? Don’t be intimidated by the name – these snowball cookies are surprisingly easy to make! The key to preventing them from crumbling lies in chilling the dough. This simple step allows the gluten to relax and the butter to firm up, resulting in a much more stable and tender cookie. Let’s get started!
- Preheat the Oven: Begin by preheating your oven to 350°F (175°C). This ensures that the cookies bake evenly.
- Cream Butter and Sugar: In a large bowl, cream together the softened butter and 1/2 cup of powdered sugar until light and fluffy. This incorporates air into the dough, which helps create a tender crumb. Use an electric mixer for best results, but you can also do it by hand with a wooden spoon.
- Add Vanilla: Stir in the vanilla extract until it’s well combined. This adds a lovely depth of flavor to the cookies.
- Whisk Dry Ingredients: In a separate bowl, whisk together the flour and salt. This ensures that the salt is evenly distributed throughout the flour, which is important for proper flavor balance.
- Combine Wet and Dry Ingredients: Gradually add the dry ingredients to the wet ingredients, mixing until just combined. Be careful not to overmix! Overmixing develops the gluten in the flour, which can lead to tough cookies. Mix until the flour is just incorporated, and then stop.
- Stir in Nuts: Stir in the chopped nuts until they’re evenly distributed throughout the dough.
- The Key Step: Chill the Dough: This is the most important step to prevent crumbling! Cover the dough and chill it in the refrigerator for at least 30 minutes (or even up to an hour). This allows the gluten to relax and the butter to firm up, resulting in a less crumbly cookie. Trust me, this step is worth the wait!
- Roll into Balls: Remove the dough from the refrigerator and roll it into 1-inch balls. The chilled dough should be much easier to handle and less sticky.
- Bake: Place the cookies on ungreased baking sheets. Bake for 12-15 minutes, or until the bottoms are lightly golden. The tops of the cookies will still be pale, but the bottoms should be a light golden brown.
- First Powdered Sugar Coating: Let the cookies cool slightly on the baking sheets before rolling them in powdered sugar. This first coating helps the powdered sugar adhere better.
- Second Powdered Sugar Coating: Roll the cookies in powdered sugar again while they are still warm. This second coating creates a thicker, more beautiful snowy effect.
- Cool Completely: Let the cookies cool completely on a wire rack. This allows the powdered sugar to set and prevents the cookies from sticking together.
Tips for Perfect Snowball Cookies Every Time
Want to guarantee snowball cookie success? Here are a few extra tips to keep in mind:
- Don’t Overmix: Overmixing is the enemy of tender cookies. Mix the dough until just combined.
- Chill the Dough: I can’t stress this enough! Chilling the dough is crucial for preventing crumbling.
- Use Softened Butter: Make sure your butter is properly softened, but not melted. It should be soft enough to easily cream with the sugar.
- Double Coat with Powdered Sugar: This creates a beautiful snowy effect and ensures that the cookies are properly coated.
- Store Properly: Store the cooled cookies in an airtight container at room temperature for up to a week.
- Nut Allergies?: If you have nut allergies, you can omit the nuts entirely or substitute them with finely shredded coconut for a similar texture and subtle sweetness.
What to Serve With Snowball Cookies
These snowball cookies are perfect on their own, but they also pair well with other holiday treats. Consider serving them alongside a steaming mug of hot chocolate or a festive spiced tea. They also make a beautiful addition to a holiday dessert platter. For another dessert option, you might consider our recipe for easy caramel nut dessert jars recipe that offers a great combination of flavors and textures for all to enjoy.
Your Snowball Cookies Questions Answered (FAQ)
Why are my snowball cookies crumbling?
The most common reason for crumbling snowball cookies is not chilling the dough long enough. Chilling allows the gluten to relax and the butter to firm up, which helps the cookies hold their shape. Overmixing the dough can also contribute to crumbling. Another thing to consider is the moisture content. If you want to make this a really moist experience, maybe try our decadent chocolate topped cream cake recipe if you want a moist baking.
Can I use a different type of nut?
Yes, you can substitute the pecans or walnuts with other nuts, such as almonds, macadamia nuts, or even pistachios. Just make sure to chop them finely.
Can I make the dough ahead of time?
Absolutely! You can make the dough up to 2 days in advance and store it in the refrigerator. Just be sure to bring it to room temperature slightly before rolling it into balls.
Can I freeze snowball cookies?
Yes, you can freeze baked snowball cookies. Let them cool completely, then place them in an airtight container or freezer bag. They can be stored in the freezer for up to 2 months. Thaw them at room temperature before serving.
Enjoy Your Homemade Melt-in-Your-Mouth Snowball Cookies!
These melt-in-your-mouth snowball cookies are the perfect treat for any occasion. With their delicate texture, nutty flavor, and beautiful snowy coating, they’re sure to be a hit with everyone. Now that you’ve got the secret to preventing crumbling, you can bake these cookies with confidence. Give this recipe a try and leave a comment below to let me know how yours turned out. Don’t forget to share your baking creations on social media!
Melt-in-Your-Mouth Snowball Cookies (Stops Them Crumbling!)

Ingredients
- 1 cup (2 sticks) unsalted butter, softened
- 1/2 cup powdered sugar, plus more for coating
- 1 teaspoon vanilla extract
- 2 1/4 cups all-purpose flour
- 1/4 teaspoon salt
- 1 cup finely chopped pecans or walnuts
Directions
- Preheat oven to 350°F (175°C).
- In a large bowl, cream together the softened butter and 1/2 cup powdered sugar until light and fluffy.
- Stir in the vanilla extract.
- In a separate bowl, whisk together the flour and salt.
- Gradually add the dry ingredients to the wet ingredients, mixing until just combined. Do not overmix.
- Stir in the chopped nuts.
- **The Key Step (Stops Them Crumbling!): Instead of immediately rolling the dough into balls, chill the dough in the refrigerator for at least 30 minutes. This allows the gluten to relax and the butter to firm up, resulting in a less crumbly cookie.**
- Remove the dough from the refrigerator. Roll into 1-inch balls.
- Place the cookies on ungreased baking sheets.
- Bake for 12-15 minutes, or until the bottoms are lightly golden.
- Let the cookies cool slightly on the baking sheets before rolling them in powdered sugar.
- Roll the cookies in powdered sugar again while they are still warm.
- Let cool completely on a wire rack.