Have you ever been disappointed when slicing layered bars? The chocolate cracks, the crust crumbles, and those perfect squares seem impossible to achieve. Well, fret no more! These No-Bake Chocolate Layer Bars are not only incredibly delicious but also surprisingly easy to slice into beautiful, clean squares. The secret lies in one simple trick that will transform your dessert presentation from a disaster to a dazzling success. Get ready for a dessert that’s as pleasing to the eye as it is to the taste buds!
Why You’ll Love These No-Bake Chocolate Layer Bars
These bars are a guaranteed crowd-pleaser! Here’s why:
- No Baking Required: Perfect for hot days or when you just don’t feel like turning on the oven.
- Easy to Make: Simple steps and readily available ingredients make this recipe a breeze.
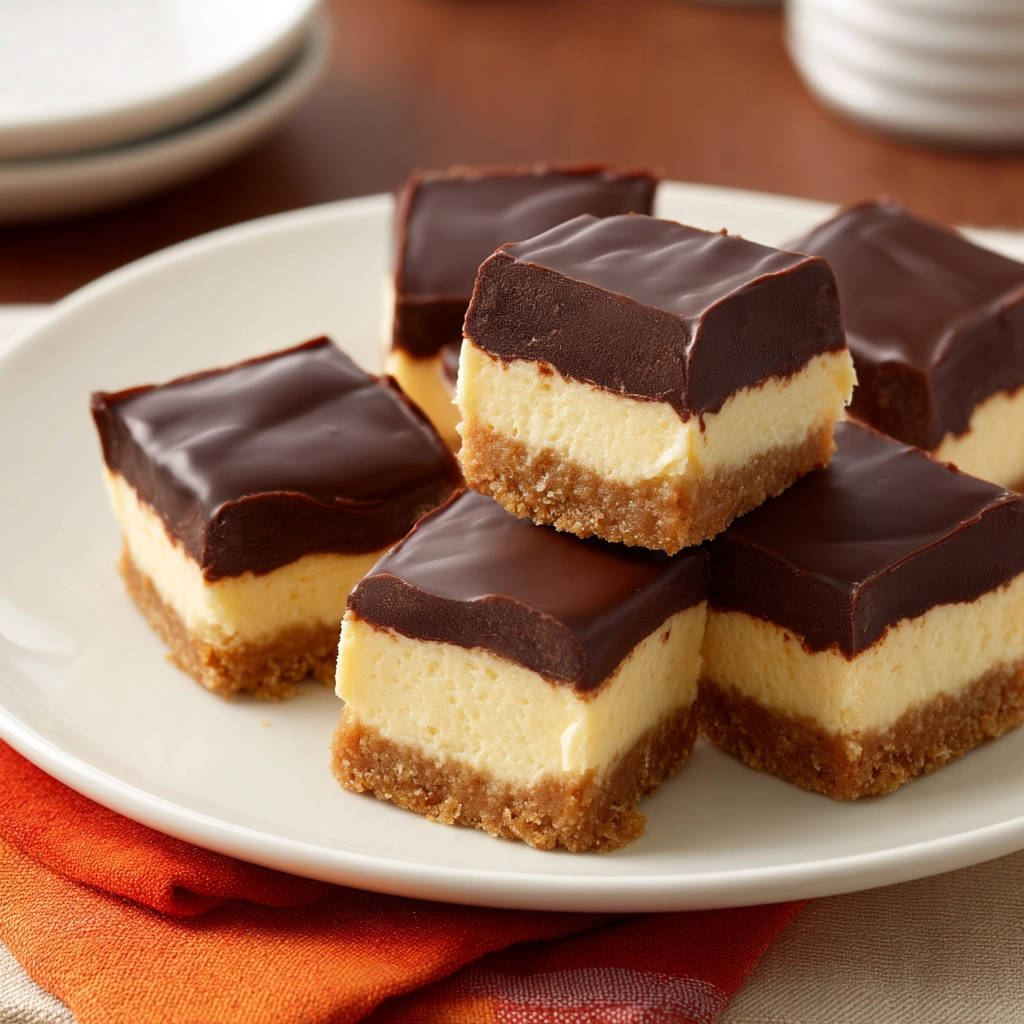
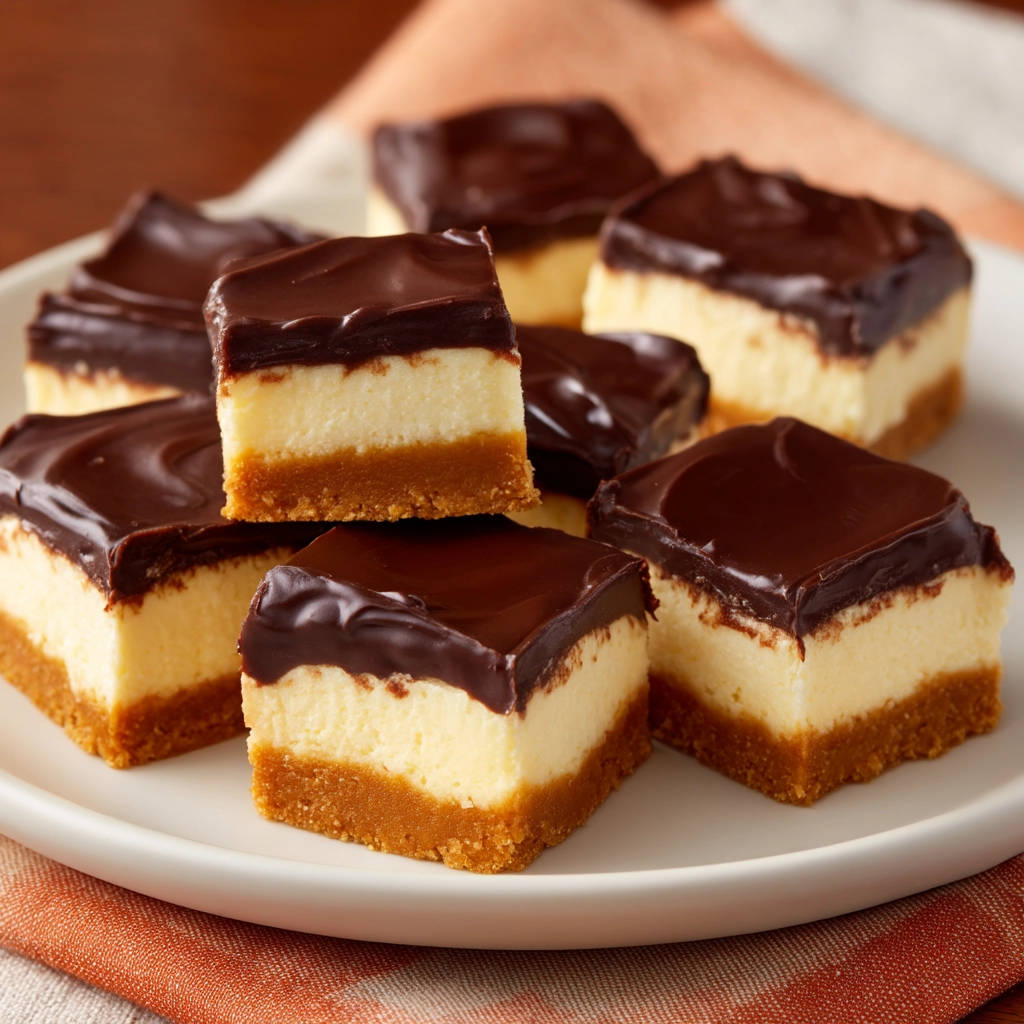
- Incredibly Delicious: The combination of a buttery graham cracker crust, creamy filling, and rich chocolate topping is simply irresistible.
- Impressive Presentation: That clean-cut trick really works! Prepare to wow your friends and family.
- Make-Ahead Friendly: These bars are best made ahead of time, making them perfect for parties and gatherings.
Gathering Your Ingredients for No-Bake Chocolate Layer Bars
The key to exceptional No-Bake Chocolate Layer Bars lies in using quality ingredients. Each element plays a vital role in creating the perfect balance of textures and flavors. Let’s break down what you’ll need:
For the Irresistible Graham Cracker Crust:
The crust forms the foundation of these delectable bars. We are using graham crackers for that classic, slightly sweet, and subtly spiced flavor. The buttery goodness binds it all together, creating a sturdy yet tender base.
The Creamy Dream Filling:
This creamy layer is where the magic truly happens. We are using cream cheese, which offers a tangy richness that beautifully contrasts with the sweet crust and chocolate topping. The powdered sugar blends seamlessly, creating a smooth and velvety texture.
Decadent Chocolate Bliss Topping:
A smooth, rich chocolate topping is the perfect finishing touch. Semi-sweet chocolate chips provide a balance of sweetness and bitterness, while the butter adds shine and ensures a smooth, clean cut.
Crafting Your No-Bake Chocolate Layer Bars: Step-by-Step
Ready to create these stunning bars? Follow these simple steps, paying attention to the details, and you’ll be enjoying perfectly sliced bars in no time!
- Prepare the Graham Cracker Crust: In a medium bowl, combine the graham cracker crumbs, granulated sugar, and melted butter. Stir until the mixture is evenly moistened, resembling wet sand. This is crucial for the crust to hold together properly.
- Press and Chill the Crust: Press the crumb mixture firmly into the bottom of an 8×8 inch or 9×9 inch baking pan. Use the bottom of a glass or a flat measuring cup to create an even, compact layer. This ensures a uniform thickness and prevents the crust from crumbling. Chill in the refrigerator for at least 30 minutes. The chilling process allows the butter to solidify, creating a firm base for the filling.
- Whip Up the Creamy Filling: In a large bowl, beat the softened cream cheese until smooth. This is best achieved with an electric mixer. Gradually beat in the powdered sugar until fully incorporated, ensuring there are no lumps. Stir in the vanilla extract and heavy cream until the mixture is smooth and creamy. The gradual addition of powdered sugar prevents it from clouding up in the mixture, giving a very smooth and uniform texture.
- Layer and Set the Filling: Spread the cream cheese mixture evenly over the chilled crust. Cover the pan tightly and refrigerate for at least 4 hours, or preferably overnight, until the filling is completely set and firm. Patience is key here! The longer the chilling time, the better the filling will hold its shape.
- Melt the Chocolate Topping: For the chocolate topping, combine the semi-sweet chocolate chips and 2 tablespoons of butter in a microwave-safe bowl. Heat in the microwave in 30-second intervals, stirring between each interval, until the chocolate is completely melted and smooth. Be extra careful not to overheat the chocolate, as it can seize up and become grainy. Alternatively, you can melt the chocolate in a double boiler over simmering water.
- Top and Chill Again: Pour the melted chocolate mixture over the chilled cream cheese layer, spreading it evenly to the edges. Refrigerate for another 1 to 2 hours, or until the chocolate layer is firm. This final chilling step is essential for achieving those clean cuts.
- The Secret to Clean Cuts: This is the moment you’ve been waiting for! Fill a tall glass or container with hot water. Dip a sharp knife blade into the hot water, letting it warm up for a few seconds. Wipe the blade completely dry with a paper towel. Slice the bars using the hot, dry knife, pressing straight down. Repeat the process of dipping the knife in hot water and wiping it dry before each cut. This warms the blade just enough to slide through the chocolate and filling cleanly without cracking or dragging. This trick works wonders!
- Serve and Enjoy: Once cut, keep the bars refrigerated until ready to serve. They’re best enjoyed cold!
Tips for Perfect No-Bake Chocolate Layer Bars Every Time
Want to take your No-Bake Chocolate Layer Bars to the next level? Here are a few extra tips and tricks:
- Use a hot, dry knife: The key to clean cuts is a hot, dry knife. Make sure to wipe the blade completely dry after each dip in hot water. Any water on the blade can cause the chocolate to streak or crack.
- Line the pan with parchment paper: For easy removal, line the baking pan with parchment paper, leaving an overhang on two sides. This allows you to lift the bars out of the pan easily before slicing.
- Get creative with toppings: While the plain chocolate topping is delicious, feel free to experiment with other toppings. A sprinkle of sea salt, chopped nuts, or cocoa powder can add extra flavor and visual appeal.
- Storage: These bars can be stored in an airtight container in the refrigerator for up to 5 days.
What to Serve With No-Bake Chocolate Layer Bars
These bars are fantastic on their own, but they also pair well with other desserts or as part of a dessert platter. If you are looking for an additional dessert recipe, why not check out our easy caramel nut dessert jars recipe? The caramel and nuttiness will be the perfect combination with your chocolate layer bars!
Your No-Bake Chocolate Layer Bars Questions Answered (FAQ)
Can I use a different type of chocolate?
Absolutely! Feel free to experiment with different types of chocolate, such as dark chocolate, milk chocolate, or even white chocolate. Just keep in mind that the sweetness level will vary depending on the type of chocolate you use.
Can I make these bars ahead of time?
Yes, in fact, these bars are best made ahead of time! They need to chill for several hours to allow the filling and chocolate to set properly. You can make them up to 2 days in advance and store them in the refrigerator.
Can I freeze these bars?
Yes, you can freeze these bars for up to 2 months. Wrap them tightly in plastic wrap and then place them in a freezer-safe container. Thaw them overnight in the refrigerator before serving. Also, check out our delicious chocolate covered apple dessert cups recipe for an alternative idea!
My chocolate is seizing up when I melt it. What am I doing wrong?
Chocolate can seize up if it comes into contact with even a small amount of water. Make sure your bowl and utensils are completely dry. Also, avoid overheating the chocolate. Melt it in short intervals, stirring frequently, until it is just melted and smooth.
Enjoy Your Homemade No-Bake Chocolate Layer Bars!
There you have it – the perfect recipe for No-Bake Chocolate Layer Bars that cut cleanly every time! With their simple ingredients, easy preparation, and impressive presentation, these bars are sure to become a new favorite. Now it’s your turn to try this recipe! Don’t forget to leave a comment below and let me know how they turned out. Share your creations on social media and tag us – we can’t wait to see your perfectly sliced bars!