Have you ever dreamed of baking a cheesecake that’s not only incredibly creamy but also boasts a perfectly smooth, crack-free top? It’s a common baking challenge – that dreaded sunken center or those unsightly cracks. But I’m here to tell you that you can achieve cheesecake perfection! This recipe isn’t just about delicious flavors; it’s about technique, ensuring your Perfect Creamy Cheesecake turns out beautifully every single time. Get ready to impress your friends and family with a dessert that looks as amazing as it tastes.
Why You’ll Love This Cheesecake
This isn’t just any cheesecake recipe; it’s a game-changer! Here’s why you’ll fall in love with it:
- Unbelievably Creamy Texture: The secret lies in the ingredients and gentle baking process.
- No More Cracks: The water bath method and slow cooling guarantee a smooth, even surface.
- Perfectly Balanced Sweetness: Just the right amount of sugar to complement the tangy cream cheese.
- Impressive Presentation: This cheesecake is a showstopper!
- Surprisingly Simple: Despite the sophisticated results, the recipe is straightforward and easy to follow.
Gathering Your Ingredients for Perfect Creamy Cheesecake
Before we dive into baking, let’s talk about the ingredients. The quality of your ingredients directly impacts the final result, so choose wisely. We’re aiming for a harmonious blend of sweet, tangy, and creamy, all working together to create an unforgettable dessert. Remember, softened cream cheese is key – it ensures a smooth, lump-free batter. Let’s break down what you’ll need:
- For the Crust:
- 1 1/2 cups Graham Cracker Crumbs: These provide a slightly sweet, subtly spiced base. Look for finely ground crumbs for a smoother crust.
- 1/3 cup Granulated Sugar: Adds a touch of sweetness to balance the buttery flavor.
- 6 tablespoons Unsalted Butter, Melted: This binds the crumbs together, creating a sturdy base for the creamy filling.
- For the Filling:
- 32 ounces Cream Cheese, Softened: This is the star of the show! Make sure it’s completely softened to room temperature for a smooth, lump-free filling. Using full-fat cream cheese is crucial for that signature rich flavor and creamy texture.
- 1 1/2 cups Granulated Sugar: Provides the necessary sweetness and helps create a smooth, glossy texture.
- 1 teaspoon Vanilla Extract: Enhances the overall flavor profile and adds a touch of warmth. Use pure vanilla extract for the best results.
- 4 Large Eggs: These bind the filling together and contribute to the cheesecake’s structure. Add them one at a time and beat well after each addition to ensure even distribution.
- 1/2 cup Heavy Cream: Adds richness and moisture to the filling, contributing to its creamy texture.
- Pinch of Salt: Balances the sweetness and enhances the other flavors.
- For Topping:
- Whipped Cream: A classic topping that adds a light and airy contrast to the rich cheesecake.
- Cinnamon: Adds a warm, inviting aroma and a subtle spice.
Crafting Your Perfect Creamy Cheesecake: Step-by-Step
Now for the fun part: putting it all together! Don’t be intimidated by the water bath – it’s the secret weapon for preventing cracks and ensuring even baking. Each step is designed to build flavor and texture, so follow along carefully, and you’ll be rewarded with a truly exceptional cheesecake. Remember, patience is key, especially during the cooling process!
- Preheat and Prep: Start by preheating your oven to 350°F (175°C). This is crucial for even baking. Also, grab your 9-inch springform pan – it’s essential for easy removal of the cheesecake after baking.
- Craft the Crust: In a medium bowl, combine the graham cracker crumbs, 1/3 cup of granulated sugar, and melted butter. Mix until well combined and the mixture resembles wet sand. Press this mixture firmly and evenly into the bottom of the springform pan. A flat-bottomed measuring cup can help achieve an even surface.
- Bake the Crust: Bake the crust in the preheated oven for 10 minutes. This helps to set the crust and prevent it from becoming soggy. Let it cool slightly while you prepare the filling.
- Cream the Cheese: In a large bowl, using an electric mixer (stand mixer or hand mixer), beat the softened cream cheese and 1 1/2 cups of granulated sugar until smooth and creamy. This is where completely softened cream cheese is vital! If there are lumps, the final cheesecake won’t be as smooth. Beat until light and fluffy, scraping down the sides of the bowl as needed.
- Add Vanilla and Salt: Beat in the vanilla extract and a pinch of salt. These seemingly small additions enhance all the other flavors.
- Incorporate the Eggs: Add the eggs one at a time, beating well after each addition. This ensures that each egg is fully incorporated into the batter, contributing to the cheesecake’s smooth texture. Be careful not to overmix at this stage.
- Stir in the Cream: Gently stir in the heavy cream until just combined. This adds richness and moisture. Avoid overmixing the batter after adding the cream, as this can lead to a denser cheesecake.
- Pour and Prepare for the Water Bath: Pour the cheesecake batter over the cooled crust, smoothing the top with a spatula. Now for the secret weapon: the water bath!
- The Water Bath: This is crucial for preventing cracks! Wrap the bottom of the springform pan tightly with heavy-duty aluminum foil (double layer). This prevents water from seeping into the crust. Place the wrapped springform pan inside a larger baking pan (a roasting pan works well). Carefully pour hot water into the larger pan until it reaches halfway up the sides of the springform pan. This creates a humid environment that promotes even baking and prevents the cheesecake from drying out and cracking.
- Bake: Carefully transfer the entire setup (baking pan with water and springform pan) to the preheated oven. Bake for 55-70 minutes, or until the edges are set but the center still has a slight wobble. The slight wobble is important; it means the cheesecake is perfectly baked and will continue to set as it cools.
- The Crucial Cooling Process: Turn off the oven and crack the oven door slightly. Let the cheesecake cool in the oven for 1 hour. This gradual cooling is essential to prevent sinking and cracking. Resist the urge to take it out too soon!
- Cool Completely: Remove the cheesecake from the water bath and let it cool completely on a wire rack. Once cool, refrigerate for at least 4 hours, or preferably overnight. This allows the cheesecake to fully set and develop its flavors.
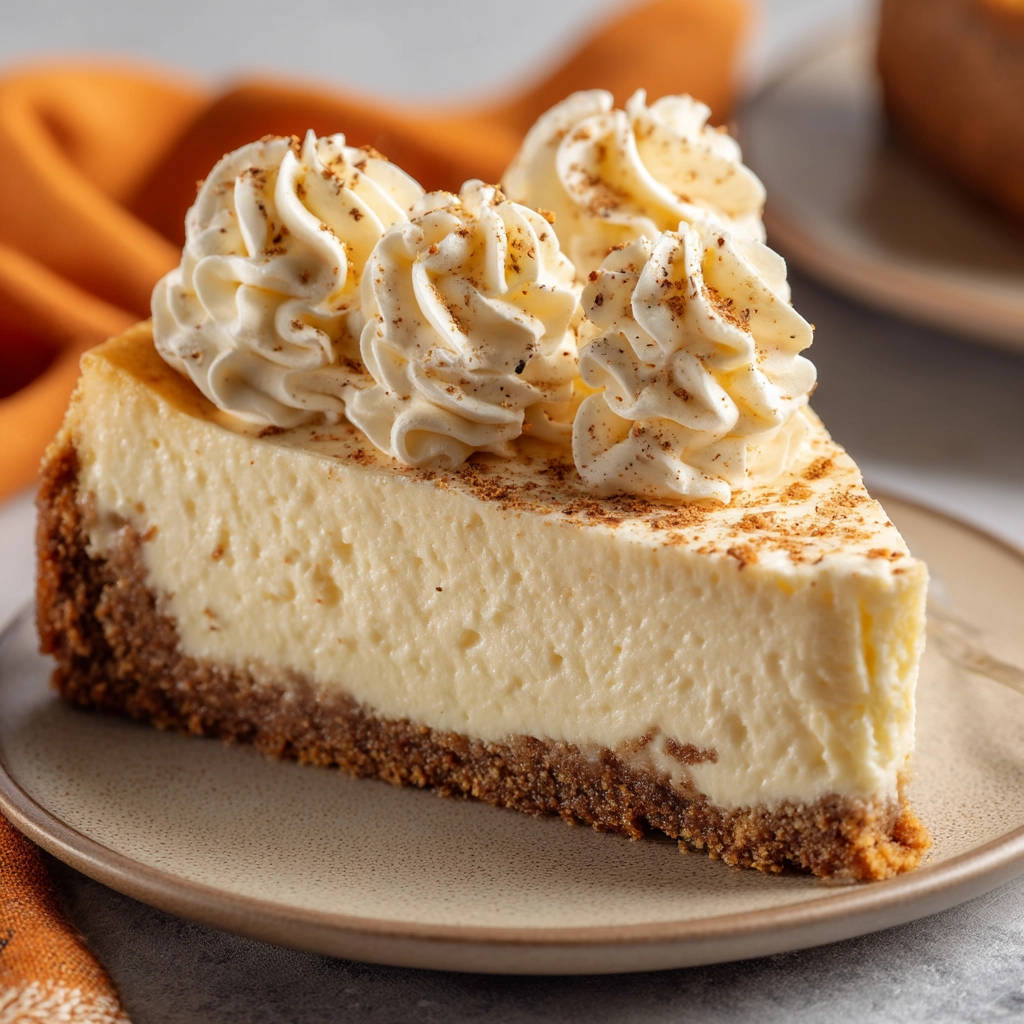
- Garnish and Serve: Before serving, top with whipped cream and a dusting of cinnamon. The whipped cream adds a light and airy contrast to the rich cheesecake, while the cinnamon adds a warm and inviting aroma.
Tips for Perfect Cheesecake Every Time
Want to guarantee cheesecake success? Here are a few extra tips to keep in mind:
- Softened Cream Cheese is Key: Seriously, don’t skip this step! It’s the single most important factor in achieving a smooth, lump-free filling. Leave the cream cheese out at room temperature for at least an hour, or even longer if your kitchen is cool.
- Don’t Overmix: Overmixing the batter incorporates too much air, which can cause the cheesecake to puff up and then sink as it cools. Mix until just combined, especially after adding the heavy cream.
- Water Bath is Your Friend: Don’t skip the water bath! It’s the key to preventing cracks and ensuring even baking. Make sure to wrap the springform pan tightly with aluminum foil to prevent water from seeping in.
- Patience is a Virtue: The cooling process is just as important as the baking process. Let the cheesecake cool gradually in the oven and then completely on a wire rack before refrigerating. This prevents drastic temperature changes that can cause cracking.
- Get Creative with Toppings: While whipped cream and cinnamon are classic, feel free to get creative with your toppings! Fresh berries, chocolate shavings, or a drizzle of caramel sauce are all delicious options. You can also try some of our other dessert recipes such as easy caramel nut dessert jars.
- Serving Tip: For clean slices, use a long, thin knife and wipe it clean with a damp cloth between each cut.
What to Serve With Perfect Creamy Cheesecake
This Perfect Creamy Cheesecake is a showstopper on its own, but it also pairs beautifully with a variety of accompaniments. Think fresh fruit, a simple sauce, or even a scoop of ice cream. Its richness can be balanced with something light and refreshing. For instance, consider serving it after a satisfying meal like a roasted sweet potato and chicken power bowl to contrast flavors and textures. The possibilities are endless!
Your Cheesecake Questions Answered (FAQ)
Why did my cheesecake sink in the middle?
The most common reason for a sunken cheesecake is a rapid temperature change. This is why the gradual cooling process in the oven is so important. Overbaking can also contribute to sinking, as can overmixing the batter.
How do I prevent cracks in my cheesecake?
The water bath is the most effective way to prevent cracks. It creates a humid environment that promotes even baking and prevents the cheesecake from drying out. Also, make sure to cool the cheesecake gradually in the oven.
Can I use a different type of crust?
Yes, you can! While graham cracker crust is classic, you can also use a shortbread crust, a chocolate crust, or even a gluten-free crust. Just adjust the baking time accordingly. Consider using our similar dessert recipe for some inspiration like decadent chocolate topped cream cake.
How long does cheesecake last in the refrigerator?
Cheesecake will last for up to 5 days in the refrigerator, stored in an airtight container. It can also be frozen for up to 2 months. Thaw it overnight in the refrigerator before serving.
Can I freeze cheesecake?
Yes, you can freeze cheesecake! Wrap it tightly in plastic wrap and then in aluminum foil. Thaw it overnight in the refrigerator before serving. For best results, freeze individual slices.
Enjoy Your Homemade Perfect Creamy Cheesecake!
Congratulations, you’ve just created a masterpiece! This Perfect Creamy Cheesecake is more than just a dessert; it’s an experience. The rich, creamy texture, the perfectly balanced sweetness, and the smooth, crack-free top are sure to impress. So go ahead, savor every bite and share this delightful creation with your loved ones. Don’t forget to leave a comment below and let me know how your cheesecake turned out! And if you loved this recipe, be sure to share it with your friends on social media.
Perfect Creamy Cheesecake (Stops Cakes Sinking!)

Ingredients
- 1 1/2 cups graham cracker crumbs
- 1/3 cup granulated sugar
- 6 tablespoons unsalted butter, melted
- 32 ounces cream cheese, softened
- 1 1/2 cups granulated sugar
- 1 teaspoon vanilla extract
- 4 large eggs
- 1/2 cup heavy cream
- Pinch of salt
- Whipped cream (for topping)
- Cinnamon (for dusting)
Directions
- Preheat oven to 350°F (175°C).
- Combine graham cracker crumbs, 1/3 cup sugar, and melted butter in a bowl. Press firmly into the bottom of a 9-inch springform pan.
- Bake crust for 10 minutes. Let cool slightly.
- In a large bowl, beat cream cheese and 1 1/2 cups sugar until smooth and creamy.
- Beat in vanilla extract and salt.
- Add eggs one at a time, beating well after each addition.
- Gently stir in heavy cream until just combined. Do not overmix.
- Pour batter over the crust.
- **The Secret Step: Water Bath:** Wrap the bottom of the springform pan tightly with aluminum foil (double layer). Place the pan inside a larger baking pan. Carefully pour hot water into the larger pan until it reaches halfway up the sides of the springform pan.
- Bake for 55-70 minutes, or until the edges are set but the center still has a slight wobble.
- Turn off the oven and crack the oven door slightly. Let the cheesecake cool in the oven for 1 hour. This gradual cooling is essential to prevent sinking.
- Remove cheesecake from the water bath and let cool completely on a wire rack.
- Refrigerate for at least 4 hours, or preferably overnight, before serving.
- Top with whipped cream and a dusting of cinnamon before serving.