Oh, red velvet. That stunning deep red hue, that hint of cocoa, that signature tangy cream cheese frosting. It’s a classic for a reason! But let’s be honest, we’ve all been there. You take a hopeful bite of a beautiful-looking cupcake, only to discover it’s dry, crumbly, and utterly disappointing. It’s one of the biggest letdowns in the world of baking! But what if I told you I finally cracked the code? What if you could make moist red velvet cupcakes that are tender, flavourful, and absolutely show-stopping every single time? This recipe is the answer.
I tested batch after batch, tweaking ratios and techniques, and I finally landed on a few simple tricks that guarantee a moist, velvety crumb. Paired with a dreamy, not-too-sweet cream cheese frosting, these cupcakes are pure perfection. Get ready to bake a batch that will disappear faster than you can frost them!
Why You’ll Love This Red Velvet Cupcake Recipe
There are countless reasons to fall in love with these moist red velvet cupcakes. Here are just a few:
- They live up to their name – say goodbye to dry baked goods!
- The texture is incredibly tender and velvety, just like classic red velvet should be.
- The subtle cocoa flavor is perfectly balanced by the tangy cream cheese frosting.
- The recipe is straightforward and uses common pantry ingredients.
- They are perfect for any occasion, from birthdays and holidays to just because!
Gathering Your Ingredients for Moist Red Velvet Cupcakes
Creating that perfect red velvet crumb and luscious frosting starts with the right ingredients. While the list might look standard, the quality and state of a few key items make all the difference in achieving that coveted moistness and signature flavor.
For the cake batter, you’ll need everyday pantry staples like all-purpose flour, granulated sugar, baking soda, and salt. These provide the structure and basic lift. The subtle chocolate flavor comes from unsweetened cocoa powder – just a couple of tablespoons give that classic red velvet hint without overpowering the color.
The real heroes for moisture in these cupcakes are vegetable oil, room temperature buttermilk, and room temperature large eggs. Using oil instead of all butter contributes significantly to a moister cake because oil is liquid at room temperature, unlike butter. Buttermilk provides necessary acidity that reacts with the baking soda for leavening and tenderizes the crumb, while also lending a slight tang. Ensuring your eggs and buttermilk are at room temperature is crucial; it helps them emulsify better with the oil and sugar, leading to a smoother batter and a more uniform, tender texture.
White vinegar works alongside the buttermilk and baking soda to boost the leavening and react with the red food coloring to intensify the color (though its primary role here is chemical leavening and tenderizing). Vanilla extract, of course, adds warmth and depth to the flavor. And for that iconic red color, you’ll need red food coloring – liquid or gel both work, but gel is often more concentrated and vibrant.
- 1 and 1/2 cups all purpose flour
- 1 cup granulated sugar
- 1 teaspoon baking soda
- 1/2 teaspoon salt
- 2 tablespoons unsweetened cocoa powder
- 1/2 cup vegetable oil
- 1 cup buttermilk room temperature
- 2 large eggs room temperature
- 1 teaspoon white vinegar
- 1 teaspoon vanilla extract
- 2 tablespoons red food coloring liquid or gel
Now, onto the frosting! The classic pairing for red velvet is a rich, tangy cream cheese frosting. This recipe calls for softened cream cheese and unsalted butter as the base. Using softened ingredients is absolutely non-negotiable for a smooth, lump-free frosting. Powdered sugar provides sweetness and structure, while vanilla extract enhances the flavor. A tablespoon or two of milk or heavy cream is optional but allows you to fine-tune the consistency to perfect piping or spreading perfection.
- 8 ounces cream cheese softened
- 1/2 cup unsalted butter softened
- 4 cups powdered sugar
- 1 teaspoon vanilla extract
- 1 to 2 tablespoons milk or heavy cream (optional for consistency)
Crafting Your Red Velvet Cupcakes: Step-by-Step
Ready to turn those simple ingredients into baking magic? Follow these steps carefully, paying attention to the ‘why’ behind each action, and you’ll be rewarded with the best red velvet cupcakes you’ve ever made.
- Get your oven ready and prepare your baking pan. Preheat your oven to a steady 350 degrees F (175 degrees C). This consistent temperature is vital for even baking and preventing dry edges. While the oven heats, line a standard 12-cup muffin tin with cupcake liners. This not only makes cleanup easy but also helps the cupcakes maintain their shape.
- Combine the dry ingredients. In a large mixing bowl, measure out your all-purpose flour, granulated sugar, baking soda, salt, and unsweetened cocoa powder. Use a whisk to thoroughly combine them. Whisking helps aerate the flour slightly, removes any small lumps, and ensures the leavening agents and cocoa are evenly distributed throughout the dry mix.
- Prepare the wet ingredients. In a separate medium bowl, whisk together the vegetable oil, room temperature buttermilk, room temperature eggs, white vinegar, vanilla extract, and red food coloring. Remember our earlier chat about room temperature ingredients? This is where it pays off! Whisk until the mixture is well combined and the red color is uniform and vibrant.
- Combine wet and dry ingredients. Pour the wet mixture into the bowl with the dry ingredients. Now, mix gently! You can use a spatula or your stand mixer fitted with the paddle attachment on the lowest speed. Mix just until the dry streaks disappear and everything is barely combined. Do not be tempted to overmix! Overmixing develops the gluten in the flour, which leads directly to tough, dry cupcakes. A few small lumps in the batter are perfectly normal and preferred over overmixing.
- Fill the cupcake liners. Carefully divide the batter evenly among the prepared cupcake liners. Fill each liner about two-thirds full. This allows room for the cupcakes to rise nicely without overflowing, ensuring a beautiful dome top.
- Bake until just done. Place the muffin tin in the preheated oven and bake for 18 to 20 minutes. The key to preventing dryness is to bake just until they are done. How to tell? Insert a toothpick into the center of a cupcake. It should come out clean or with just a few moist crumbs attached. If it comes out with wet batter, they need a little more time. If it comes out completely clean and dry, they might be slightly overbaked, so pull them immediately.
- Cool properly. Once baked, remove the muffin tin from the oven. Let the cupcakes cool in the tin for just a few minutes – about 5-10 minutes is usually sufficient. This initial cooling in the tin helps them firm up slightly before you move them. Then, carefully transfer the cupcakes to a wire rack to cool completely. Frosting warm cupcakes will result in a melty, sliding mess, so be patient and wait until they are entirely cool to the touch.
- Make the cream cheese frosting. While the cupcakes cool, make your frosting. In a large bowl (or the bowl of your stand mixer), beat together the softened cream cheese and softened unsalted butter. Beat on medium speed until the mixture is smooth and creamy, with no lumps of butter or cream cheese remaining.
- Add powdered sugar and vanilla. Gradually add the powdered sugar to the cream cheese and butter mixture, one cup at a time, beating on low speed initially to avoid a cloud of sugar dust, then increasing speed until well combined after each addition. Once all the sugar is incorporated, add the vanilla extract and beat again until smooth.
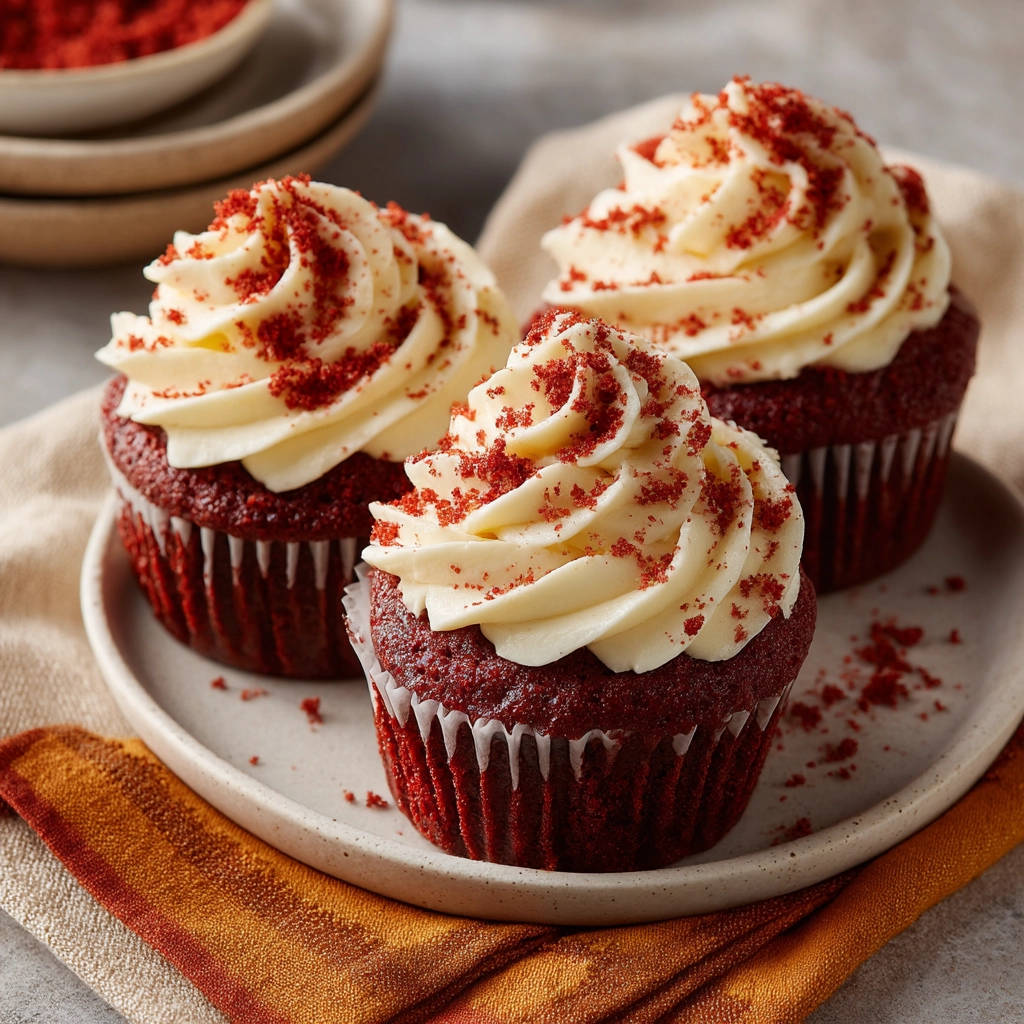
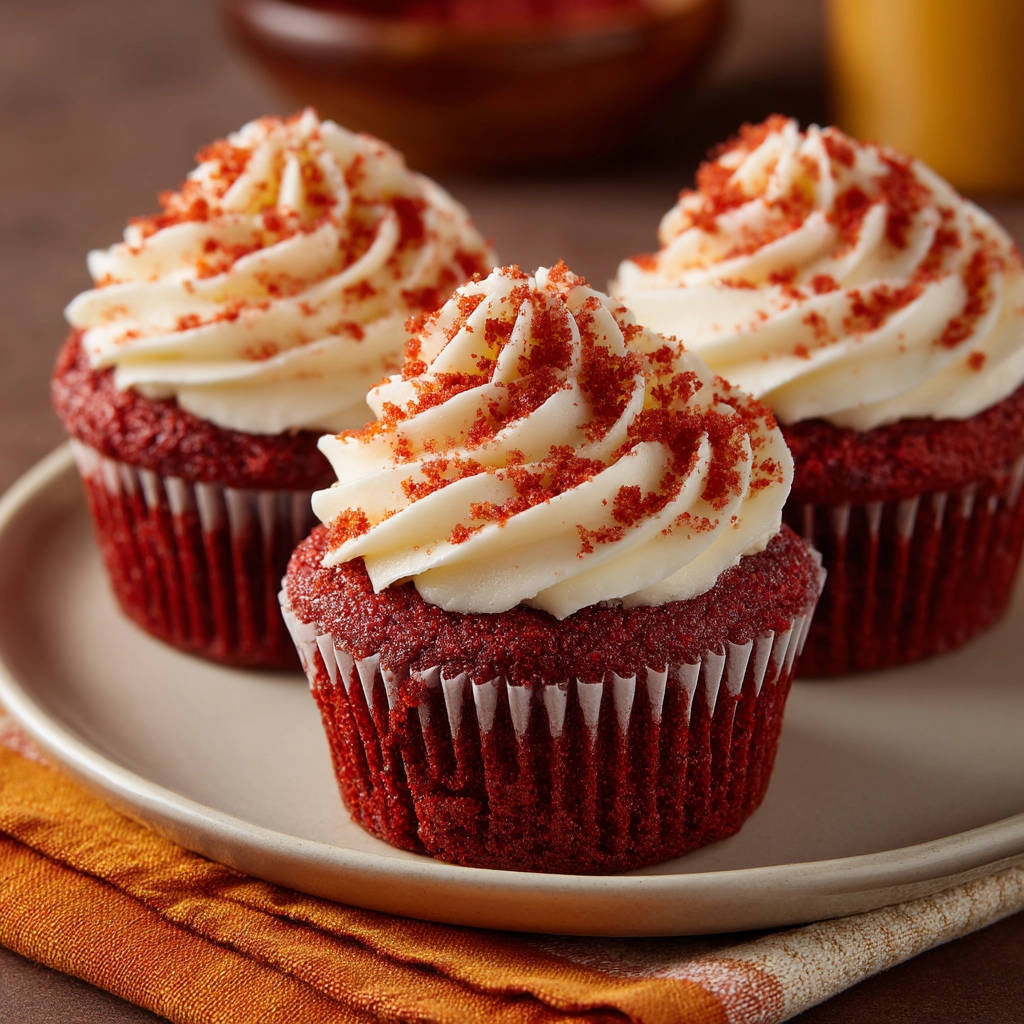
- Adjust consistency and frost. If your frosting seems too thick for piping or spreading smoothly, beat in a tablespoon or two of milk or heavy cream. Add just a little at a time until it reaches your desired consistency – thick enough to hold its shape, but spreadable. Once the cupcakes are completely cool, use a piping bag or an offset spatula to generously frost each one. For an extra touch of classic red velvet decoration, crumble one extra cupcake or save a little bit of the raw batter crumbs and sprinkle them over the frosting.
Tips for Perfect Red Velvet Cupcakes Every Time
Beyond the steps, a few extra tips can elevate your red velvet cupcake game and truly ensure they are never dry.
Don’t Substitute Buttermilk: Buttermilk isn’t just about tang; its acidity is crucial for reacting with baking soda to provide lift and tenderize the cake. Regular milk won’t give you the same result. If you don’t have buttermilk, you can make a substitute: measure 1 cup of milk (dairy or non-dairy) and stir in 1 tablespoon of white vinegar or lemon juice. Let it sit for 5-10 minutes until it curdles slightly, then use it as directed.
Room Temperature Matters: We mentioned this in the ingredients and steps, but it’s worth repeating! Cold ingredients don’t emulsify well with fats, leading to a less smooth batter and a potentially tougher, less moist cake. Plan ahead and take your eggs and buttermilk out of the fridge about 30-60 minutes before you start baking.
Measure Your Flour Correctly: Too much flour is a common culprit for dry baked goods. The most accurate way to measure flour is by weight using a kitchen scale. If you don’t have a scale, use the spoon-and-level method: gently spoon flour into your measuring cup until it’s overflowing, then level off the excess with a straight edge (like the back of a knife) without packing it down.
Avoid Overmixing: This is critical for any cake or cupcake. Once the wet and dry ingredients are combined, mix only until no dry streaks remain. Overmixing develops gluten, which creates a chewy, tough texture – the opposite of the tender crumb we want.
Don’t Overbake: Keep a close eye on your cupcakes in the last few minutes of baking time. As soon as the toothpick test indicates they are done (clean or with moist crumbs), take them out. Even a minute or two too long in a hot oven can dry them out.
Serving Suggestions
These moist red velvet cupcakes are wonderful all on their own, but they also make a fantastic addition to a dessert spread. Serve them at parties, potlucks, or simply as a special treat at home.
For a festive occasion, arrange them alongside other delightful baked goods like a Classic Baked Cheesecake, some Fudgy Brownies, or maybe even some cheerful Funfetti Frosted Cookies.
Your Red Velvet Cupcake Questions Answered (FAQ)
Why do red velvet cupcakes sometimes turn out dry?
The most common reasons for dry red velvet cupcakes are overmixing the batter (which develops too much gluten, leading to toughness), overbaking (drying out the crumb), or incorrect ingredient measurements, particularly too much flour or not enough fat/liquid.
What gives red velvet its flavor?
Red velvet cake gets its unique flavor from a combination of cocoa powder, buttermilk, and vinegar. These ingredients react to create a subtle tanginess and a hint of chocolate that is distinct from a standard chocolate cake.
Do I have to use red food coloring?
Technically, no, but without it, your cupcakes won’t have the signature vibrant red color that defines red velvet. The flavor profile would still be similar to a mild chocolate cake with a tangy twist, but they wouldn’t look like classic red velvet.
Can I make the cupcakes or frosting ahead of time?
Yes! You can bake the cupcakes a day in advance. Let them cool completely, then store them in an airtight container at room temperature. The frosting can also be made a day or two ahead and stored in the refrigerator. Before frosting, let the frosting sit at room temperature for about 30 minutes to soften slightly, then beat it briefly to restore its smooth consistency.
How should I store leftover red velvet cupcakes?
Because the frosting contains cream cheese, frosted red velvet cupcakes should be stored in an airtight container in the refrigerator. They will keep well for 3-4 days. Let them sit at room temperature for 15-20 minutes before serving for the best texture and flavor.
Can I freeze red velvet cupcakes?
Yes, you can freeze them. It’s best to freeze the unfrosted cupcakes. Once they are completely cool, wrap each cupcake tightly in plastic wrap, then place them in a freezer-safe container or bag. They can be frozen for up to 3 months. Thaw them overnight in the refrigerator, then bring to room temperature before frosting.
Enjoy Your Homemade Red Velvet Cupcakes!
There you have it! My go-to recipe for making perfectly moist red velvet cupcakes that will win over everyone who tries them. No more dry crumbly disappointments – just tender, flavorful cake topped with rich, tangy cream cheese frosting. These are truly a treat worth making.
Give this recipe a try for your next celebration or simply when you need a little baking joy. I promise you won’t be disappointed! Did you make them? I’d love to hear how they turned out! Leave a comment below and let me know your favorite part of these classic beauties!
Red Velvet Cupcakes

Ingredients
- For the Cupcakes:
- 1 and 1/2 cups all purpose flour
- 1 cup granulated sugar
- 1 teaspoon baking soda
- 1/2 teaspoon salt
- 2 tablespoons unsweetened cocoa powder
- 1/2 cup vegetable oil
- 1 cup buttermilk room temperature
- 2 large eggs room temperature
- 1 teaspoon white vinegar
- 1 teaspoon vanilla extract
- 2 tablespoons red food coloring liquid or gel
- For the Cream Cheese Frosting:
- 8 ounces cream cheese softened
- 1/2 cup unsalted butter softened
- 4 cups powdered sugar
- 1 teaspoon vanilla extract
- 1 to 2 tablespoons milk or heavy cream (optional for consistency)
Directions
- Preheat your oven to 350 degrees F (175 degrees C). Line a muffin tin with cupcake liners.
- In a large bowl whisk together the flour sugar baking soda salt and cocoa powder.
- In a separate medium bowl whisk together the oil buttermilk eggs vinegar vanilla extract and red food coloring. Make sure your wet ingredients especially the buttermilk and eggs are at room temperature this helps the batter emulsify correctly for a tender crumb.
- Pour the wet ingredients into the dry ingredients. Mix with a spatula or a stand mixer on low speed just until combined. Do not overmix. Overmixing develops gluten which leads to a tough dry cupcake. A few small lumps are okay.
- Divide the batter evenly among the prepared cupcake liners filling each about two thirds full.
- Bake for 18 to 20 minutes or until a toothpick inserted into the center of a cupcake comes out clean or with just a few moist crumbs attached. Baking just until done is key to preventing dryness.
- Let the cupcakes cool in the muffin tin for a few minutes then transfer them to a wire rack to cool completely before frosting.
- To make the frosting beat the softened cream cheese and butter together in a large bowl until smooth and creamy.
- Gradually add the powdered sugar beating until well combined. Add the vanilla extract and beat again. If the frosting is too thick add a tablespoon or two of milk or cream until it reaches your desired consistency.
- Once the cupcakes are completely cool pipe or spread the cream cheese frosting onto each one. If desired crumble one extra cupcake or save some batter crumbs to sprinkle on top for decoration as shown in the image.