
There’s something utterly charming about a homemade strawberry cake. It evokes images of sunny afternoons, fresh berries, and simple pleasures. The aroma filling your kitchen as it bakes is simply divine. But if you’ve ever baked a strawberry cake before, you might have encountered a common frustration: those beautiful, juicy berries sinking straight to the bottom of the pan.
It happened to me countless times! I’d slice into what I hoped would be a lovely, fruit-studded crumb, only to find all the goodness concentrated in the very last bite, if it wasn’t stuck to the bottom of the pan entirely. It was disheartening, to say the least. But fear not, fellow bakers, because I discovered a simple, game-changing trick that ensures your fresh strawberries stay perfectly suspended throughout the cake, resulting in a beautiful slice every single time.
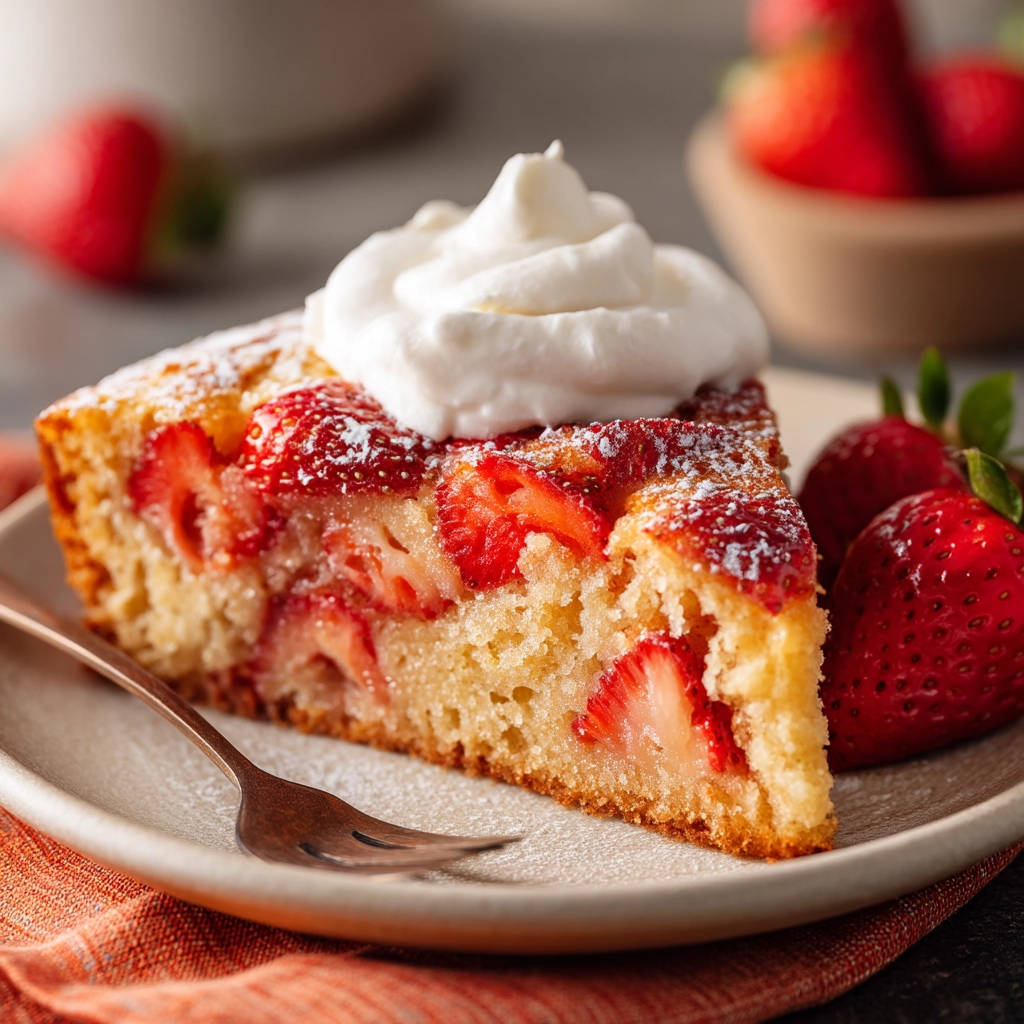
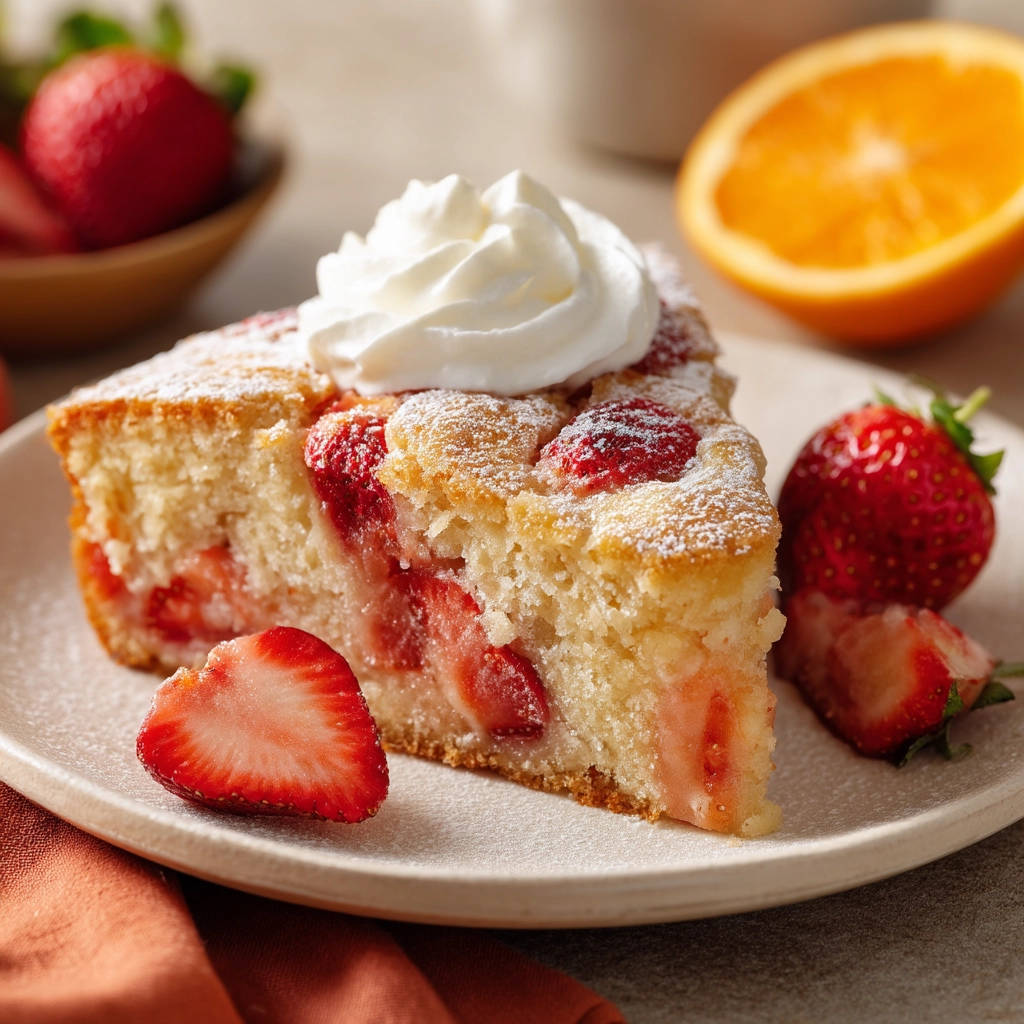
This Strawberry Cake recipe isn’t just delicious; it’s reliable. It’s moist, tender, and packed with the sweet taste of summer, with strawberries distributed beautifully from top to bottom. Get ready to say goodbye to sunken fruit disasters!
Reasons This Strawberry Cake is a Keeper
Why should this particular strawberry cake recipe become your new favorite? Beyond the guaranteed even distribution of fruit, it boasts several qualities that make it a winner in my book:
- Incredibly moist and tender crumb.
- Highlights the fresh flavor of strawberries.
- Uses simple, everyday ingredients.
- Relatively quick and easy to prepare.
- Absolutely beautiful presentation, especially when dusted with powdered sugar.
- Perfect for any occasion, from casual gatherings to afternoon tea.
Gathering Your Ingredients for Perfect Strawberry Cake
Creating this delightful strawberry cake starts with bringing together a few basic baking staples and, of course, those star ingredients: fresh strawberries. Quality matters here, so aim for ripe, fragrant berries. Let’s walk through what you’ll need and why each component plays a crucial role in achieving that perfect texture and flavor, including the secret to keeping those lovely strawberries suspended.
- All-Purpose Flour (1 and 1/2 cups plus 1 tablespoon): Standard all-purpose flour provides the structure for our cake. The bulk of it forms the cake’s backbone, while that extra tablespoon is vital for our non-sinking fruit trick!
- Baking Powder (1 and 1/2 teaspoons): This chemical leavener is what helps the cake rise and gives it a light, airy texture. Make sure yours isn’t expired for the best results.
- Salt (1/4 teaspoon): A touch of salt might seem odd in a sweet cake, but it’s essential for balancing the sweetness and enhancing the overall flavors.
- Unsalted Butter, softened (1/2 cup): Using unsalted butter allows you to control the salt content. Ensure it’s properly softened (leaving a slight indent when pressed gently) so it creams properly with the sugar, incorporating air for a tender cake.
- Granulated Sugar (1 cup): Sweetness is key, of course, but sugar also contributes to the cake’s moisture and helps create that light texture when creamed with butter.
- Large Eggs (2): Eggs bind the ingredients together, add richness, and contribute to the cake’s structure and tenderness. Make sure they are at room temperature for optimal emulsification with the butter and sugar.
- Vanilla Extract (1 teaspoon): Vanilla is a classic flavor enhancer in baked goods, complementing the sweetness and fruit notes beautifully.
- Milk (dairy or non-dairy) (1/2 cup): Milk adds necessary moisture to the batter, ensuring the cake isn’t dry. Using room temperature milk helps everything mix together smoothly.
- Fresh Strawberries, hulled and diced (2 cups): The star! Choose ripe, sweet berries. Dicing them into roughly uniform pieces (about 1/2 inch) is ideal so they distribute well and bake evenly.
- Powdered Sugar, for dusting (optional): An easy way to add a touch of sweetness and a beautiful finishing touch.
- Whipped Cream, for serving (optional): A dollop of fresh whipped cream is the perfect pairing for warm strawberry cake, adding a cool, creamy contrast.
Crafting Your Strawberry Cake: Step-by-Step Guide
Ready to banish sunken strawberries forever? This process is straightforward and incredibly rewarding. Follow these steps carefully, paying special attention to that key fruit preparation!
- Prepare Your Oven and Pan: Begin by setting your oven temperature to 350°F (175°C). Giving the oven time to preheat ensures the cake bakes evenly from the moment it enters. While the oven heats, prepare your 8 or 9-inch round cake pan. Generously grease the inside of the pan (butter or non-stick spray works well) and then dust it with a light coating of flour, tapping out any excess. This dual-action preparation is crucial for preventing the cake from sticking and ensuring a clean release.
- Combine the Dry Ingredients: In a medium-sized bowl, measure out your 1 and 1/2 cups of all-purpose flour, baking powder, and salt. Use a whisk to combine these ingredients thoroughly. Whisking helps to aerate the flour mixture and ensures that the baking powder and salt are evenly distributed, which is important for consistent rising and flavor throughout the cake.
- Cream the Wet Ingredients Base: Grab a large mixing bowl. Add your softened unsalted butter and granulated sugar. Using an electric mixer (handheld or stand mixer), beat these together on medium speed until the mixture becomes light in color and fluffy in texture. This creaming process is vital as it whips air into the batter, contributing significantly to the cake’s final texture and tenderness. Scrape down the sides of the bowl periodically to ensure everything is incorporated.
- Incorporate the Eggs and Vanilla: Once the butter and sugar are light and fluffy, add the large eggs one at a time, beating well after each addition until fully incorporated. Adding them one at a time helps maintain the emulsification and prevents the batter from separating. Finally, beat in the teaspoon of vanilla extract. The aroma will already start to become enticing!
- The Game-Changing Strawberry Trick: Now for the crucial step! Take your diced fresh strawberries and place them in a small bowl. Sprinkle the remaining 1 tablespoon of all-purpose flour over the berries. Gently toss the strawberries with the flour until each piece is lightly coated. This thin layer of flour adheres to the fruit and helps it “grip” onto the cake batter during baking. It prevents the heavy, juicy berries from sinking through the less dense batter as the cake rises, ensuring they stay distributed beautifully.
- Combine Wet and Dry Mixtures: This step requires a bit of care to avoid overmixing. You will alternately add the whisked dry ingredients and the milk to the wet ingredients (the creamed butter, sugar, eggs, and vanilla). Begin by adding about one-third of the dry ingredients and mixing on low speed just until barely combined. Then, add half of the milk and mix until just incorporated. Repeat, adding the second third of the dry ingredients, then the remaining milk, and finally the last third of the dry ingredients. Mix only until the last streaks of flour disappear. Overmixing at this stage can develop the gluten too much, resulting in a tough cake.
- Fold in the Floured Strawberries: With the batter just combined, it’s time to add our specially prepared strawberries. Gently fold the floured diced strawberries into the batter using a spatula. Do this by scraping down the sides and lifting the batter from the bottom, folding it over the berries. Continue until the strawberries appear evenly distributed throughout the batter. Avoid vigorous stirring, which can bruise the berries or deflate the air you’ve incorporated.
- Fill the Pan: Carefully pour the batter into your prepared cake pan. Use the spatula to spread the batter evenly, ensuring it reaches the edges and has a relatively flat top. This helps the cake bake level.
- Time to Bake: Place the pan in the preheated oven. Bake for approximately 30 to 35 minutes. The exact time can vary depending on your oven, so start checking around the 30-minute mark. You’ll know the cake is done when the edges look golden brown and pull slightly away from the sides of the pan, and when a wooden skewer or toothpick inserted into the center of the cake comes out clean, with no wet batter attached (a few moist crumbs are fine).
- Cooling Down: Once baked, remove the cake from the oven. Let it cool in the cake pan, still sitting on a wire rack, for about 10 minutes. This allows the cake to set slightly before you attempt to remove it, reducing the risk of it breaking. After 10 minutes, carefully invert the cake onto the wire rack to cool completely. Cooling on a rack allows air to circulate around the entire cake, preventing the bottom from becoming soggy.
- Finish and Serve: Wait until the cake is fully cooled before adding any finishing touches. Once cool, you can generously dust the top with powdered sugar for a simple, elegant look. Slice and serve the strawberry cake as is, or with optional dollops of fresh whipped cream. It’s truly delightful served slightly warm or at room temperature.
Tips for Perfect Strawberry Cake Every Time
Even with the non-sinking trick, a few extra tips can elevate your strawberry cake from good to absolutely spectacular:
- Room Temperature Ingredients are Key: Ensure your butter, eggs, and milk are at room temperature. This helps them emulsify properly, creating a smoother batter and a better-textured cake. If you forget to take them out in advance, there are quick tricks online for gently warming eggs and milk.
- Don’t Overmix: As mentioned in the steps, overmixing after adding the dry ingredients develops gluten, which leads to a tough cake. Mix only until the ingredients are just combined.
- Prep the Pan Properly: Taking the extra minute to grease and flour your pan well is essential for preventing your beautiful cake from sticking.
- Test Your Baking Powder: To check if your baking powder is still active, put a teaspoon of it in a bowl and pour about 1/4 cup of hot water over it. If it fizzes immediately and vigorously, it’s good to go. If not, it’s time for a new container.
- Use Ripe, Flavorful Strawberries: The taste of the cake relies heavily on the quality of your fruit. Choose strawberries that are bright red, fragrant, and sweet.
- Precision in Measuring: Especially with flour, it’s best to use the “spoon and level” method: gently spoon flour into your measuring cup until it’s overflowing, then level off the excess with a straight edge. Scooping directly from the bag can pack too much flour into the cup, resulting in a dry cake.
Recipe Variations and Add-ins
While this classic strawberry cake is perfect as is, you can certainly play around with variations. Consider adding a teaspoon of lemon zest to the batter for a bright, citrusy note that pairs wonderfully with strawberries. You could also experiment with other berries, like raspberries or blueberries, using the same flour-coating trick. If you enjoy desserts with a twist, you might even explore adding a streusel topping before baking for added texture, or swirling in a bit of cream cheese mixture before adding the berries, similar to techniques used in classic baked cheesecake or some berry bar recipes like raspberry dream bars.
Serving Suggestions for Your Strawberry Cake
This cake is delicious warm from the oven (after cooling slightly, of course!) or at room temperature. A simple dusting of powdered sugar is elegant and easy. For something a little more decadent, serve slices with a dollop of fresh whipped cream or a scoop of vanilla ice cream. A homemade strawberry sauce or a drizzle of melted white chocolate would also be fantastic additions. It’s a wonderful treat for dessert after any meal, or simply with a cup of tea or coffee in the afternoon.
Your Strawberry Cake Questions Answered (FAQ)
Let’s address some common questions that might come up when baking this delicious fresh strawberry cake.
Why do strawberries (or other fruit) sink in cake batter?
Fresh fruit, especially juicy berries like strawberries, is heavier and denser than cake batter. As the cake bakes and the batter sets, the fruit’s weight can cause it to sink through the relatively lighter batter and pool at the bottom of the pan. This is especially true in recipes with thinner batters.
How does coating the strawberries in flour prevent them from sinking?
Coating the diced strawberries in a thin layer of flour (or sometimes cornstarch or a bit of the dry cake mix itself) before adding them to the batter creates a slight barrier. This barrier helps the fruit adhere to the surrounding batter as it bakes. The flour absorbs a little of the berry’s moisture, and its dry particles provide a surface for the wet batter to cling to, effectively “suspending” the fruit throughout the cake as it rises and sets.
Can I use frozen strawberries instead of fresh?
You can, but fresh strawberries are highly recommended for the best flavor and texture in this specific recipe. If you must use frozen, thaw them completely and drain them very well to remove excess liquid. Pat them dry with paper towels before tossing them with the tablespoon of flour. Keep in mind that frozen berries can still release more moisture during baking than fresh ones, which might slightly affect the cake’s texture.
How should I store the strawberry cake?
Once the cake has cooled completely, store it in an airtight container at room temperature for up to 2-3 days. If you live in a very warm or humid climate, or if you want to keep it longer, you can store it in the refrigerator for up to 5 days. The texture is best at room temperature, so if refrigerating, let a slice sit out for 15-20 minutes before serving.
Can this recipe be made into cupcakes or a loaf cake?
Yes, this batter is versatile! You can bake it as cupcakes, adjusting the baking time to around 18-25 minutes, or until a toothpick inserted comes out clean. For a loaf cake, use a standard loaf pan (9×5 inches) and increase the baking time significantly, likely 50-60 minutes or even longer, again testing for doneness with a skewer. Remember to prepare any alternative pans by greasing and flouring them well.
Can I add other ingredients, like chocolate chips?
Absolutely! Strawberries pair well with white chocolate chips or even a small amount of dark chocolate chips. If adding them, fold them in gently along with the floured strawberries. Just don’t add too many, or they could also contribute to sinking!
Enjoy Your Homemade Strawberry Cake!
There you have it – a simple trick and a fantastic recipe for a beautiful, moist, and flavorful strawberry cake where every slice delivers that perfect bite of cake and berry goodness. It’s a recipe that brings a little bit of sunshine indoors, no matter the weather. Give it a try, share it with loved ones, and enjoy the simple pleasure of homemade baking.
Did you make this cake? What did you think of the non-sinking trick? Leave a comment below and let me know! Happy Baking!
Strawberry Cake

Ingredients
- 1 and 1/2 cups all-purpose flour
- 1 and 1/2 teaspoons baking powder
- 1/4 teaspoon salt
- 1/2 cup unsalted butter, softened
- 1 cup granulated sugar
- 2 large eggs
- 1 teaspoon vanilla extract
- 1/2 cup milk (dairy or non-dairy)
- 2 cups fresh strawberries, hulled and diced
- 1 tablespoon all-purpose flour (for coating)
- Powdered sugar, for dusting (optional)
- Whipped cream, for serving (optional)
Directions
- Preheat your oven to 350°F (175°C). Grease and flour an 8 or 9-inch round cake pan.
- In a medium bowl, whisk together 1 and 1/2 cups flour, baking powder, and salt.
- In a large bowl, cream together the softened butter and granulated sugar until light and fluffy.
- Beat in the eggs one at a time, then stir in the vanilla extract.
- In a small bowl, toss the diced strawberries with the remaining 1 tablespoon of flour until they are lightly coated. This is the key step to prevent sinking!
- Add the dry ingredients to the wet ingredients alternately with the milk, beginning and ending with the dry ingredients. Mix until just combined; do not overmix.
- Gently fold the floured strawberries into the batter, distributing them as evenly as possible.
- Pour the batter into the prepared cake pan and spread evenly.
- Bake for 30 to 35 minutes, or until a wooden skewer inserted into the center comes out clean.
- Let the cake cool in the pan for 10 minutes before inverting it onto a wire rack to cool completely.
- Dust with powdered sugar and serve with whipped cream, if desired.


