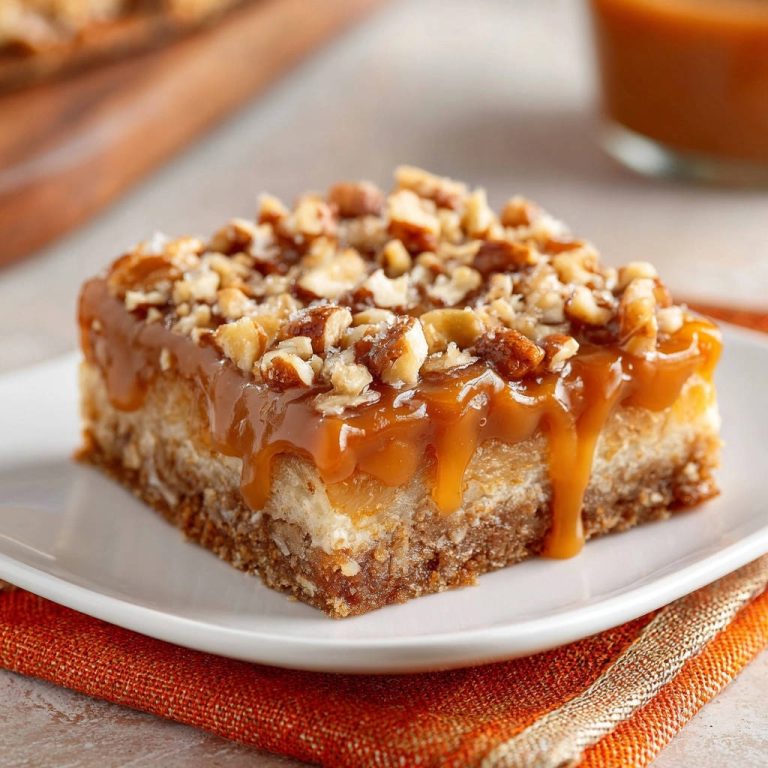
Is there anything quite as comforting as a warm, freshly baked biscuit? For years, I chased the perfect biscuit – one that was tall, tender, and flaky, not flat, dense, or tough. The journey involved many trials and errors, but I’m excited to share a simple yet transformative folding technique that guarantees biscuit perfection every single time. Get ready to bake some seriously amazing tall and tender biscuits!
Why You’ll Love These Tall and Tender Biscuits
These aren’t your average biscuits; they’re truly special. Here’s why you’ll be making them again and again:
- Unbelievably Flaky: The secret folding technique creates incredible layers of buttery goodness.
- Tall and Proud: Say goodbye to flat biscuits! These rise beautifully in the oven.
- Melt-in-Your-Mouth Tender: A perfect balance of ingredients and gentle handling ensures a tender crumb.
- Surprisingly Easy: Despite their impressive results, these biscuits are simple to make.
- Versatile: Enjoy them plain, with butter and jam, or as a side to your favorite meal.
Gathering Your Ingredients for Tall & Tender Biscuits
The key to exceptional biscuits lies in using high-quality ingredients and understanding their role in the baking process. We’re aiming for a delicate balance of structure, tenderness, and rich flavor. Let’s explore what you’ll need.
The Foundation:
- 2 cups all-purpose flour, plus more for dusting: Flour provides the structure for our biscuits. All-purpose flour strikes a good balance between protein content and tenderness. For even lighter biscuits, you could experiment with using a portion of cake flour, but all-purpose works beautifully. Remember to have extra on hand for dusting your work surface!
- 1 tablespoon baking powder: This is our leavening agent, responsible for the biscuits’ rise. Ensure your baking powder is fresh (check the expiration date!) for optimal results.
- 1 teaspoon salt: Salt enhances the flavors of all the other ingredients and helps to control the yeast activity, if any.
The Key to Tenderness and Flavor:
- 1/2 cup (1 stick) cold unsalted butter, cut into cubes: The cold butter is absolutely crucial for creating those flaky layers! As the butter melts during baking, it releases steam, which creates pockets of air and results in a light, flaky texture. Make sure the butter is very cold right up until you incorporate it into the flour.
Bringing It All Together:
- 3/4 cup cold milk: Cold milk helps to keep the butter cold and prevents the gluten in the flour from developing too much, which would lead to tough biscuits. You can use whole milk or 2% milk for this recipe.
The Finishing Touch:
- 2 tablespoons melted butter, for brushing: Brushing the tops of the biscuits with melted butter before baking adds a beautiful golden-brown color and a rich, buttery flavor.
Crafting Your Tall & Tender Biscuits: Step-by-Step
Now for the fun part! These biscuits come together quickly, but it’s important to follow the steps carefully to achieve the best results. The folding technique is the star of the show, creating those amazing layers we’re after. Don’t be intimidated – with a little practice, you’ll be a biscuit pro in no time!
- Preheat your oven to 450°F (232°C): This high temperature is essential for creating a rapid rise and a golden-brown crust. Make sure your oven is fully preheated before you put the biscuits in.
- Whisk together the dry ingredients: In a large bowl, whisk together the 2 cups of all-purpose flour, 1 tablespoon of baking powder, and 1 teaspoon of salt. Whisking ensures that the baking powder is evenly distributed throughout the flour, which will result in a more even rise.
- Cut in the cold butter: Add the 1/2 cup (1 stick) of cold, cubed butter to the flour mixture. Using a pastry blender or your fingertips, cut the butter into the flour until the mixture resembles coarse crumbs. The butter should be in small pieces. Remember, keeping the butter cold is key! If you’re using your fingertips, work quickly to prevent the butter from melting.
- Add the cold milk: Make a well in the center of the flour mixture and pour in the 3/4 cup of cold milk.
- Combine gently: Use a fork to gently mix the milk into the flour until just combined. Do not overmix! The dough will be shaggy and a little sticky – that’s perfectly fine. Overmixing develops the gluten in the flour, which will result in tough biscuits.
- Turn out the dough: Turn the dough out onto a lightly floured surface. This prevents sticking and makes it easier to work with.
- Pat into a rectangle: Gently pat the dough into a 1-inch thick rectangle. Try to keep the rectangle as even as possible.
- The Secret Folding Technique: This is where the magic happens! Fold the dough in thirds, like a letter. Turn the dough 90 degrees and pat it into a 1-inch thick rectangle again. Repeat this folding process 3-4 times. Each fold creates more layers of butter, resulting in a flakier biscuit.
- Pat to final thickness: After the last fold, pat the dough to about 3/4 inch thickness.
- Cut out the biscuits: Use a 2-inch biscuit cutter (or a sharp knife) to cut out the biscuits. When cutting, press straight down and lift up. Twisting the cutter seals the edges and prevents the biscuits from rising as high.
- Place on baking sheet: Place the biscuits onto an ungreased baking sheet. Placing them close together encourages them to rise straight up.
- Brush with melted butter: Brush the tops of the biscuits with the 2 tablespoons of melted butter. This adds flavor and helps them brown beautifully.
- Bake: Bake for 12-15 minutes, or until golden brown. Keep an eye on them, as baking times may vary depending on your oven.
- Cool and serve: Let the biscuits cool slightly before serving. Enjoy them warm with your favorite toppings!
Tips for Perfect Tall & Tender Biscuits Every Time
Want to guarantee biscuit success? Here are a few extra tips and tricks to keep in mind:
- Keep it cold: I can’t stress this enough – cold ingredients are crucial! The colder the butter, the flakier the biscuits. Consider chilling your flour and bowl beforehand as well, especially on warm days.
- Don’t overmix: Overmixing develops gluten, leading to tough biscuits. Mix the dough just until the ingredients are combined. A shaggy dough is perfectly fine.
- Handle with care: Be gentle when patting and folding the dough. Avoid pressing down too hard, as this will compress the layers.
- Use a sharp cutter: A sharp biscuit cutter will create clean edges and allow the biscuits to rise properly.
- Don’t twist the cutter: Twisting the cutter seals the edges and prevents the biscuits from rising as high.
- Bake in a hot oven: A high oven temperature is essential for creating a rapid rise and a golden-brown crust.
- Experiment with flavors: Once you’ve mastered the basic recipe, feel free to experiment with different flavors. Add grated cheese, herbs, or spices to the dough for a savory twist. You can also brush the tops with honey or maple syrup for a sweeter treat. Or, for something a little different, try using some of these biscuits as the base for our savory sausage and bread bake.
What to Serve With Tall & Tender Biscuits
These biscuits are incredibly versatile and pair well with a wide variety of dishes. Here are a few suggestions:
- With butter and jam: A classic combination that’s always a winner.
- With honey or maple syrup: A simple and delicious breakfast or snack.
- As a side to soup or stew: Perfect for soaking up all the delicious broth. A hearty stew like our cheesy chicken and broccoli casserole would be a fantastic match.
- As a base for breakfast sandwiches: Top with eggs, cheese, and your favorite fillings.
- With gravy: A Southern classic that’s sure to satisfy.
Your Tall & Tender Biscuits Questions Answered (FAQ)
Why are my biscuits flat?
Flat biscuits are usually caused by one of the following: using old baking powder, overmixing the dough, using warm ingredients, or not baking in a hot enough oven. Make sure your baking powder is fresh, avoid overmixing, use cold ingredients, and preheat your oven to the correct temperature.
Can I use self-rising flour instead of all-purpose flour?
No, I don’t recommend using self-rising flour in this recipe. Self-rising flour already contains baking powder and salt, so you would need to adjust the other ingredients accordingly. It’s best to stick with all-purpose flour for the best results.
Can I make the dough ahead of time?
Yes, you can make the dough ahead of time and store it in the refrigerator for up to 24 hours. Wrap the dough tightly in plastic wrap to prevent it from drying out. When you’re ready to bake, simply pat the dough into a rectangle, fold, cut out the biscuits, and bake as directed. You might like to try the same make-ahead technique with our golden cottage cheese fritters.
Can I freeze the biscuits?
Yes, you can freeze the biscuits before or after baking. To freeze unbaked biscuits, place them on a baking sheet and freeze until solid. Then, transfer them to a freezer bag or container. Bake from frozen, adding a few extra minutes to the baking time. To freeze baked biscuits, let them cool completely and then wrap them tightly in plastic wrap or foil. Reheat in a 350°F (175°C) oven until warmed through.
Can I use a different kind of milk?
While whole milk or 2% milk works best, you can experiment with other types of milk, such as almond milk or soy milk. However, the results may vary slightly. Keep in mind that the fat content in the milk contributes to the tenderness of the biscuits.
Enjoy Your Homemade Tall & Tender Biscuits!
There you have it – a simple yet transformative technique for creating tall, tender, and flaky biscuits every time. This recipe is a testament to how a few simple ingredients and a little bit of technique can create something truly special. So, gather your ingredients, preheat your oven, and get ready to bake some seriously amazing biscuits. Don’t forget to leave a comment below and let me know how they turn out! And if you love this recipe, be sure to share it with your friends and family!
Tall & Tender Biscuits (Secret Folding Technique)
Ingredients
- 2 cups all-purpose flour, plus more for dusting
- 1 tablespoon baking powder
- 1 teaspoon salt
- 1/2 cup (1 stick) cold unsalted butter, cut into cubes
- 3/4 cup cold milk
- 2 tablespoons melted butter, for brushing
Directions
- Preheat oven to 450°F (232°C).
- In a large bowl, whisk together the flour, baking powder, and salt.
- Add the cold, cubed butter to the flour mixture. Using a pastry blender or your fingertips, cut the butter into the flour until the mixture resembles coarse crumbs. It’s crucial that the butter stays cold!
- Make a well in the center of the flour mixture and pour in the cold milk.
- Use a fork to gently mix the milk into the flour until just combined. Do not overmix. The dough will be shaggy.
- Turn the dough out onto a lightly floured surface.
- Gently pat the dough into a 1-inch thick rectangle.
- Now for the secret: Fold the dough in thirds, like a letter. Turn the dough 90 degrees and pat it into a 1-inch thick rectangle again. Repeat this folding process 3-4 times. This creates layers of butter that result in flaky biscuits.
- After the last fold, pat the dough to about 3/4 inch thickness.
- Use a 2-inch biscuit cutter (or a sharp knife) to cut out the biscuits. Do not twist the cutter, press straight down to maintain the layers.
- Place the biscuits onto an ungreased baking sheet.
- Brush the tops of the biscuits with melted butter.
- Bake for 12-15 minutes, or until golden brown.
- Let cool slightly before serving.

