There’s a special kind of magic that happens when warm, homemade cookies come out of the oven. But let’s be honest, baking cookies, especially with fresh fruit, can sometimes feel like a gamble. Will they spread too much? Will they be tough? Or worse, dense and cakey instead of wonderfully soft and chewy?
I’ve been there! For years, I chased that elusive perfect texture when baking with berries. Fruit adds moisture, which is fantastic for flavor, but can sometimes weigh down a cookie dough, leading to disappointment. I experimented, I failed, and I learned. And finally, I discovered a simple approach that guarantees these strawberry crumble cookies turn out unbelievably fluffy and tender every single time.
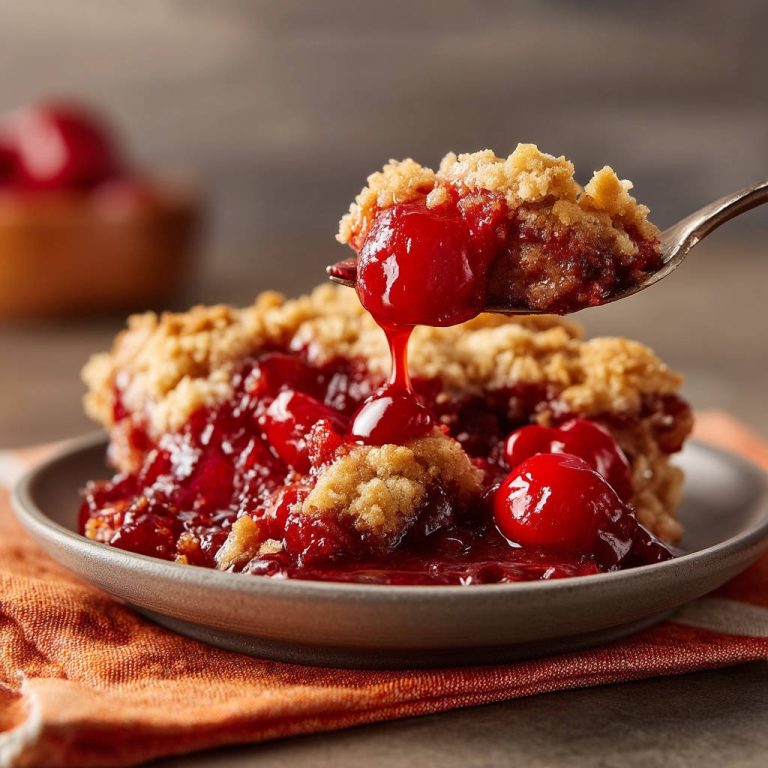
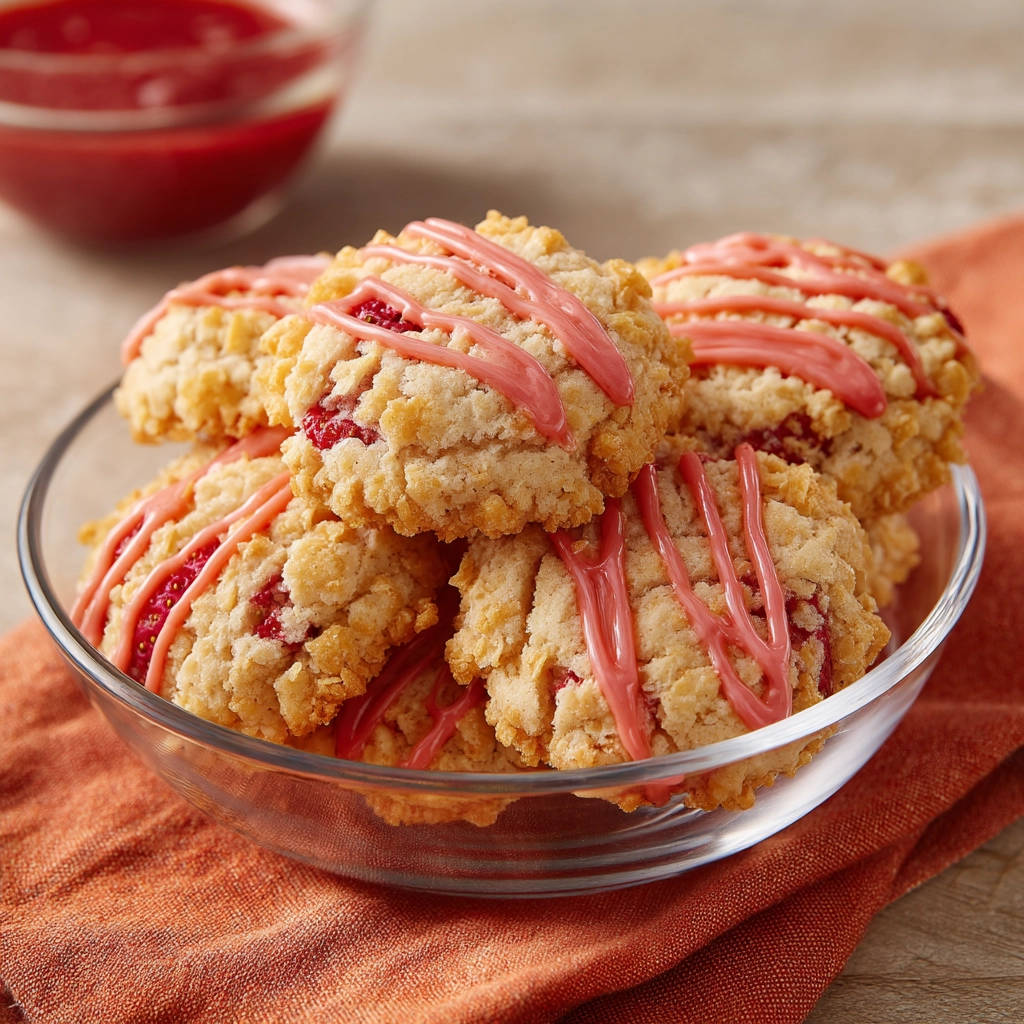
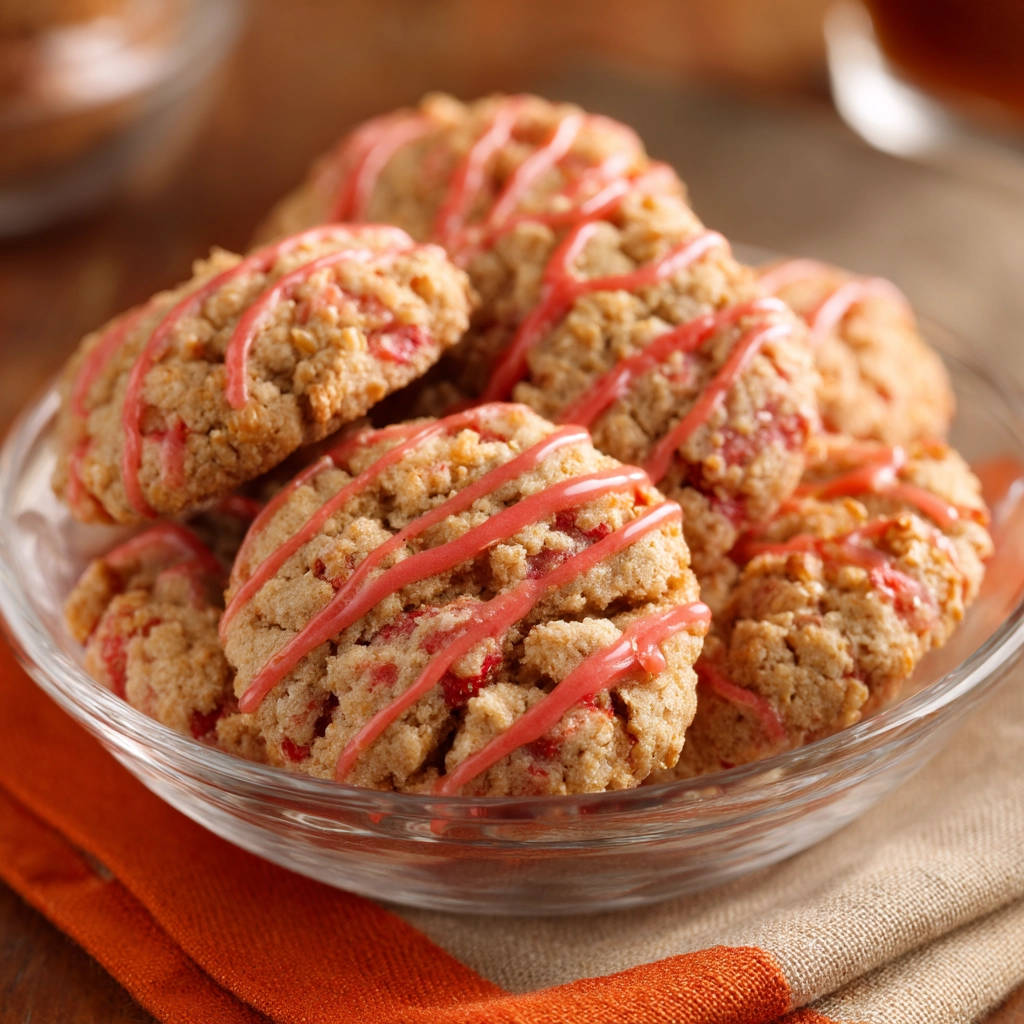
These aren’t your average cookie. They boast a slightly rustic, “crumble-like” edge contrasted with a soft, pillowy center bursting with sweet, juicy strawberries, all finished with a delightful drizzle. They capture the essence of a fresh strawberry crumble but in a portable, cookie form! Ready to bake up a batch of pure, fluffy joy? Let’s dive in!
Why These Strawberry Cookies Are the BEST
So, what makes these fluffy strawberry crumble cookies stand out from the crowd? It’s more than just the irresistible flavor combination of sweet berries and tender cookie dough. There are several reasons why this recipe is about to become your new favorite:
- Unmatched Fluffiness: This recipe focuses on techniques that maximize air incorporation and leavening, resulting in a consistently light and airy texture that truly lives up to the “fluffy” promise. Say goodbye to flat, hard cookies!
- Bursting with Fresh Flavor: Using fresh strawberries means every bite is punctuated with bright, summery sweetness. The simple cookie base is the perfect canvas for the fruit to shine.
- Easy to Make: Despite their impressive texture and flavor, these cookies are surprisingly straightforward. No complicated techniques or chilling required – just simple steps for baking success.
- Perfectly Glazed Finish: The simple powdered sugar glaze adds just the right touch of sweetness and a beautiful finish, complementing the fruit without overpowering it.
- A Crowd-Pleaser: Who can resist a soft cookie loaded with fresh fruit? These are always a hit, whether you’re sharing them with family, friends, or keeping them all to yourself (we won’t tell!).
If you’re a fan of baking with fresh fruit, these strawberry crumble cookies are a must-try. They offer all the charm of a fruit-filled dessert like caramel apple crumble bars but are ready much faster!
What You’ll Need for Fluffy Strawberry Crumble Cookies
One of the best things about this recipe is that it relies on simple, pantry-staple ingredients, elevated by the star: fresh strawberries! Gathering your components is the first step towards cookie bliss. Let’s look at what plays a role in creating these tender, berry-filled delights.
Our base is built on the classic foundation of butter, sugar, and flour. The way we handle these simple items is key to achieving that sought-after fluffy texture. Here’s a look at the lineup and why each element is important:
- Unsalted Butter, Softened: Using unsalted butter gives you control over the saltiness of the cookies. Ensuring it’s properly softened (but not melted!) is crucial for the creaming process, where we beat air into the dough – a major player in achieving fluffiness.
- Granulated Sugar: Provides sweetness and also works with the butter during creaming to create tiny air pockets that expand as the cookies bake.
- Large Egg: Acts as a binder, holding everything together, and also contributes to the richness and structure of the cookie. Make sure it’s at room temperature for better incorporation into the batter.
- Vanilla Extract: A touch of vanilla enhances all the other flavors, adding a warm, classic cookie note that pairs beautifully with the strawberries. Use good quality vanilla for the best results.
- All Purpose Flour: The structural base of our cookie. Measuring correctly is vital – spoon the flour into your measuring cup and level it off with a straight edge, don’t scoop directly from the bag, as this can pack too much flour and lead to dense cookies.
- Baking Powder: This is our primary leavening agent for fluffiness. It creates carbon dioxide bubbles when wet and exposed to heat, giving the cookies lift. Ensure your baking powder is fresh!
- Salt: A little salt balances the sweetness and brings out the flavors of the other ingredients, especially the strawberries.
- Chopped Fresh Strawberries: The heart of these cookies! Use ripe, sweet strawberries. Chop them into roughly quarter-inch pieces. Patting them dry with a paper towel, especially if they seem particularly juicy, can help manage moisture in the dough.
- Powdered Sugar: Forms the base of our simple, sweet glaze.
- Milk or Strawberry Juice: This is the liquid component for the glaze. Start with just a tablespoon and add more drop by drop until you reach a smooth, drizzling consistency. Using strawberry juice (collected from chopping, or a tiny bit of store-bought) can give an extra punch of berry flavor!
Having all your ingredients measured and ready before you start mixing is a great way to ensure baking success. It makes the process smooth and prevents you from forgetting anything important!
How to Make Strawberry Crumble Cookies: Step-by-Step
Alright, you’ve gathered your ingredients and you’re ready to transform them into a batch of irresistibly fluffy strawberry crumble cookies. The process is simple, but paying attention to a few key moments will make all the difference in achieving that perfect texture. Here’s your detailed guide:
-
Prepare Your Workspace: Begin by preheating your oven to 375 degrees Fahrenheit (190 degrees Celsius). Getting the oven to the correct temperature before the cookies go in ensures they bake evenly and the leavening agents activate properly right from the start. While the oven heats, line your baking sheets with parchment paper. This prevents the cookies from sticking, makes cleanup a breeze, and helps the bottoms bake evenly.
-
Creaming the Foundation: In a large mixing bowl, add your softened unsalted butter and granulated sugar. Beat them together using an electric mixer (or a sturdy whisk and some elbow grease!) on medium speed for 2-3 minutes. You’re looking for the mixture to become noticeably lighter in color and fluffy in texture. This step is absolutely crucial for incorporating air into the dough, which is the primary secret to our cookies’ fluffiness. Don’t rush this!
-
Add Wet Ingredients: Crack the large egg into the creamed butter and sugar mixture, then add the vanilla extract. Continue beating on medium speed until the egg and vanilla are fully incorporated and the mixture looks smooth and homogenous. Scrape down the sides of the bowl with a spatula to make sure everything is mixed in.
-
Combine Dry Ingredients: In a separate, medium-sized bowl, whisk together the all purpose flour, baking powder, and salt. Whisking ensures that the baking powder and salt are evenly distributed throughout the flour. This prevents pockets of unmixed leavening or salt and helps the cookies rise uniformly.
-
Mix Dry into Wet: Gradually add the dry ingredient mixture to the wet ingredients. Mix on low speed with your electric mixer, or stir gently by hand, just until the flour streaks disappear and the dough comes together. Stop mixing as soon as it’s combined. Overmixing at this stage develops the gluten in the flour too much, which can result in tough, less fluffy cookies. A few small lumps are perfectly fine!
-
Fold in the Fruit: Add the chopped fresh strawberries to the dough. Using a spatula, gently fold the strawberries in until they are just distributed throughout the dough. Be careful not to overwork the dough or mash the strawberries excessively. Handling the dough lightly helps maintain the air pockets we created earlier.
-
Shape and Place: Drop rounded tablespoons of the dough onto the prepared baking sheets, leaving about 2 inches of space between each cookie. The dough will be relatively soft due to the fruit, and the cookies are meant to have a slightly rustic, “crumble-like” appearance, so don’t worry about rolling them into perfect balls. The shape will naturally spread and settle as they bake.
-
Bake to Perfection: Place the baking sheets in the preheated oven. Bake for 12 to 15 minutes. The cookies are done when the edges are lightly golden brown and the centers still look slightly soft. This is another critical step for fluffiness – do not overbake! Overbaking will result in a harder, drier cookie. Start checking around 12 minutes, especially if your oven runs hot.
-
Cooling Process: Once baked, remove the baking sheets from the oven and let the cookies cool on the sheets for 5-10 minutes. This allows them to set up slightly before moving. Then, carefully transfer the cookies to a wire rack to cool completely. Cooling on a wire rack ensures air circulation, preventing the bottoms from getting soggy.
-
Prepare the Glaze: While the cookies are cooling completely on the wire rack, make the simple glaze. In a small bowl, whisk together the powdered sugar and 1 tablespoon of milk or strawberry juice. Mix until it’s smooth and lump-free. If it seems too thick to drizzle, add a few more drops of liquid at a time, whisking after each addition, until you reach a nice drizzling consistency.
-
Glaze and Set: Once the cookies are completely cooled, drizzle the glaze over them using a spoon or fork. You can make simple stripes or a more random pattern. Allow the glaze to set for about 15-20 minutes at room temperature before stacking or serving the cookies. This prevents the glaze from smearing.
And there you have it! Beautiful, fluffy strawberry crumble cookies ready to be enjoyed. The aroma alone is enough to make your kitchen feel like the happiest place on earth.
Expert Tips for Perfect Fluffy Cookies Every Time
Achieving perfect, fluffy cookies isn’t just about following the steps; it’s also about understanding the nuances. Here are some pro tips to ensure your strawberry crumble cookies turn out wonderfully light and tender with every batch:
- Master the Butter: Your butter needs to be truly softened, not melted or greasy. It should yield slightly when you gently press it with your finger, but still hold its shape. Cold butter won’t cream properly, and melted butter will result in flat, greasy cookies. If you forget to take butter out, you can cut it into small pieces and let it sit for 15-20 minutes, or gently warm it in the microwave for just a few seconds (no more!).
- Precise Flour Measurement is Key: As mentioned in the ingredients section, properly measuring your flour is vital. Scooping directly from the bag can compact the flour, adding too much by weight, which leads to dense, heavy cookies instead of light, fluffy ones. Spoon and level for accuracy!
- Don’t Skimp on Creaming Time: Beating the butter and sugar until light and fluffy is not just a suggestion, it’s a non-negotiable step for fluffy cookies. This incorporates air, which acts as leavening and creates tenderness. Set a timer if needed!
- Handle the Dough Gently: Once the dry ingredients are added and especially when folding in the strawberries, mix only until just combined. Overmixing develops gluten, making the cookies tough. The goal is a tender, melt-in-your-mouth texture, not a chewy one (unless that’s what you’re aiming for, but not for this recipe!).
- Don’t Overbake!: This is the trick referenced in the introduction! The cookies might look slightly underdone in the center when you take them out, but they continue to cook as they cool on the hot baking sheet. Baking until they are fully golden or brown around the edges will result in a drier, less fluffy cookie. Aim for lightly golden edges and centers that appear set but still soft.
- Cooling is Part of the Process: Letting the cookies cool on the baking sheet for a few minutes before transferring to a wire rack is important. It allows them to firm up enough to handle without breaking. Cooling completely on a wire rack prevents condensation and ensures they cool evenly.
- Experiment with Other Berries: While strawberries are wonderful, you could try substituting other berries like blueberries or raspberries, or even a mix! Just be mindful of their moisture content. For instance, frozen berries often release too much liquid unless properly thawed and drained/patted dry. If you enjoy baking with various fruits, you might also like exploring classic peach crumble tart or other fruit-forward recipes.
- Add a Touch of Citrus: A little lemon or orange zest added to the cookie dough along with the vanilla can brighten the flavor profile and complement the strawberries beautifully.
Serving Suggestions
These fluffy strawberry crumble cookies are delightful on their own, fresh from the cooling rack (after the glaze sets!). However, they pair wonderfully with a few simple additions:
- Enjoy them with a glass of cold milk or a warm cup of tea or coffee. For a special treat, they’re perfect alongside a cozy homemade pumpkin spice latte.
- Warm them slightly and serve with a scoop of vanilla ice cream for a mini cookie crumble dessert.
- Pack them in lunchboxes or enjoy them as a sweet afternoon snack.
Your Strawberry Crumble Cookie Questions Answered (FAQ)
Got questions about making the best strawberry cookies? Here are some common queries and helpful answers to guide you to baking success.
Why are my strawberry cookies tough or dense?
This is often due to overmixing the dough after adding the dry ingredients. Too much mixing develops gluten, which makes baked goods tough. Ensure you mix only until the flour is just incorporated. Also, adding too much flour (often from scooping directly from the bag) can make cookies dense. Make sure to spoon and level your flour measurement.
Can I use frozen strawberries instead of fresh?
Fresh strawberries are highly recommended for this recipe. Frozen strawberries hold a lot more water, which can make the dough too wet and result in cookies that spread excessively or are soggy. If you must use frozen, thaw them completely, drain off all the liquid, and pat them very dry with paper towels before chopping and folding them into the dough. You still might need to adjust the baking time slightly.
How do I store these cookies?
Store cooled and glazed strawberry crumble cookies in an airtight container at room temperature for up to 3-4 days. Placing a piece of parchment paper between layers can help prevent sticking.
Can I freeze the cookie dough or baked cookies?
Freezing the baked cookies is the easiest option. Once completely cooled and glazed, place them in a single layer on a baking sheet in the freezer until firm, then transfer to a freezer-safe airtight container or bag for up to 2-3 months. Thaw at room temperature.
Freezing the dough is a bit trickier due to the fresh fruit’s moisture content. You could try dropping scoops of dough onto a parchment-lined baking sheet, freezing until solid, then transferring to a freezer bag. When ready to bake, bake from frozen, adding a couple of extra minutes to the baking time, but results may vary compared to using fresh dough.
What’s the real trick to making these cookies fluffy?
The main secrets are: 1) Proper creaming of butter and sugar to incorporate air, 2) Using baking powder as the leavening agent, 3) Mixing the dry ingredients into the wet just until combined to avoid gluten development, and most importantly, 4) NOT overbaking! Taking them out when the edges are just lightly golden ensures the centers stay soft and contributes to that perfect fluffy texture.
Bake Up Some Sweet Strawberry Joy!
There you have it – the keys to baking fluffy, delicious strawberry crumble cookies right in your own kitchen. This recipe is perfect for showcasing fresh seasonal strawberries and delivers a tender, flavorful treat that’s miles away from those dense, disappointing cookies of the past.
Whether you’re baking for a special occasion, a weeknight treat, or just because you have a surplus of beautiful berries, these cookies are guaranteed to bring a smile to your face. Give them a try, and you’ll see just how simple achieving cookie perfection can be.
Did you make these fluffy strawberry cookies? I’d love to hear how they turned out! Leave a comment below and let me know your favorite part. Happy baking!
Strawberry Crumble Cookies

Ingredients
- 1/2 cup unsalted butter softened
- 3/4 cup granulated sugar
- 1 large egg
- 1 teaspoon vanilla extract
- 1 and 3/4 cups all purpose flour
- 1 teaspoon baking powder
- 1/4 teaspoon salt
- 1 cup chopped fresh strawberries
- 1/2 cup powdered sugar
- 1-2 tablespoons milk or strawberry juice
Directions
- Preheat your oven to 375 degrees F. Line baking sheets with parchment paper.
- In a large bowl, beat the softened butter and granulated sugar together until light and fluffy. This creaming step is important for incorporating air!
- Beat in the egg and vanilla extract until well combined.
- In a separate medium bowl, whisk together the all purpose flour, baking powder, and salt. Using the right amount of leavening and combining dry ingredients evenly helps ensure a proper rise.
- Gradually add the dry ingredients to the wet ingredients, mixing on low speed or by hand until just combined. Be careful not to overmix at this stage as it can develop the gluten too much and lead to tougher cookies.
- Gently fold in the chopped fresh strawberries. Handle the dough carefully to keep it light.
- Drop rounded tablespoons of dough onto the prepared baking sheets. The texture is meant to be slightly rustic and crumble-like, so they dont need to be perfectly shaped balls.
- Bake for 12 to 15 minutes, or until the edges are lightly golden. Do not overbake if you want them fluffy!
- Let the cookies cool on the baking sheets for a few minutes before transferring them to a wire rack to cool completely.
- While cookies cool, whisk together the powdered sugar and 1 tablespoon of milk or strawberry juice until smooth. Add more liquid a few drops at a time if needed to reach a drizzling consistency.
- Drizzle the glaze over the cooled cookies. Let the glaze set before serving.