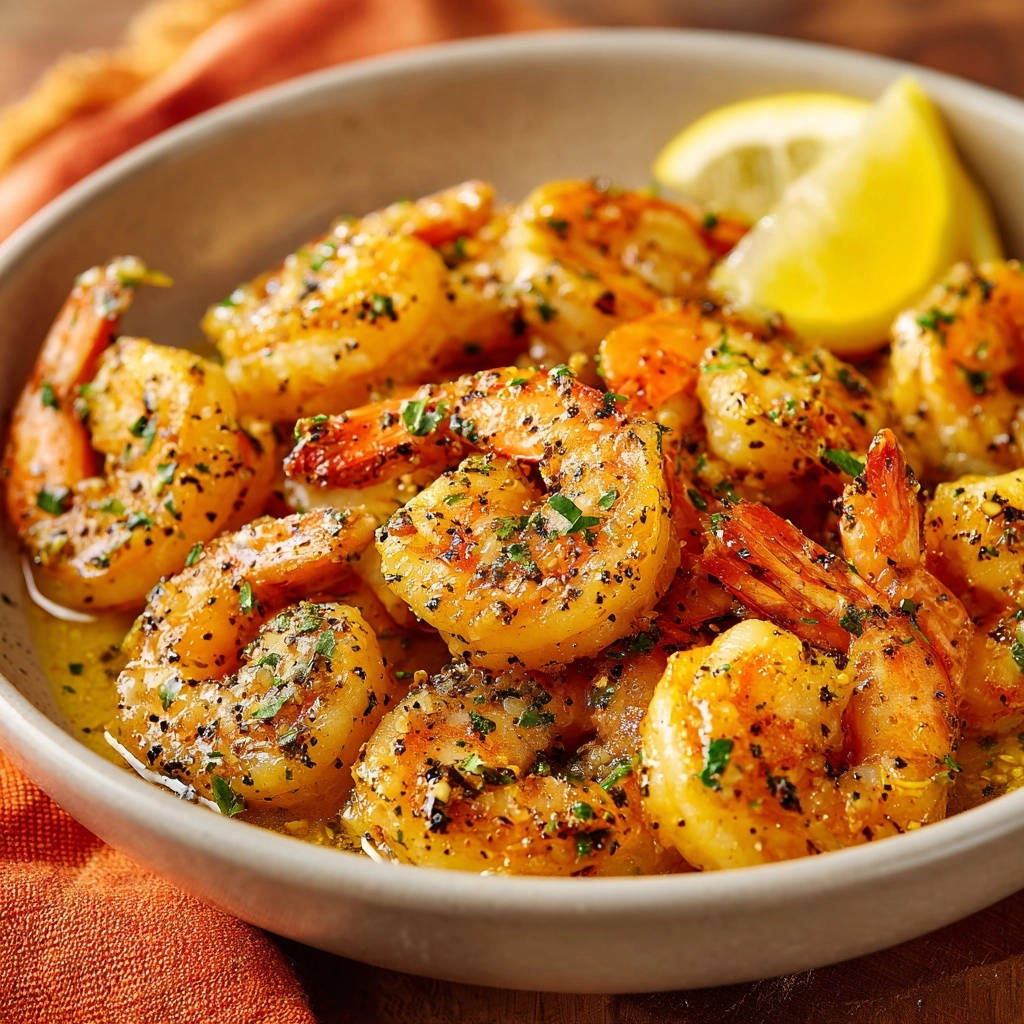
There’s nothing more frustrating than looking forward to a delicious shrimp dish, only to bite into tough, rubbery seafood. I’ve personally experienced that disappointment countless times, which is why I perfected this recipe for Golden Garlic Butter Shrimp – a foolproof method that guarantees incredibly tender, juicy results every single time.
This isn’t just another shrimp recipe; it’s a game-changer that delivers succulent shrimp bathed in a rich, aromatic garlic butter sauce, ready to elevate any weeknight meal with minimal effort.
Why This Golden Garlic Butter Shrimp Recipe Is Your New Favorite
The “Never-Rubbery” Guarantee
The dreaded rubbery shrimp is a common kitchen heartbreak. This recipe directly addresses that issue by focusing on crucial techniques that prevent overcooking and promote a perfect sear.
You’ll discover the simple secrets to achieving that ideal tender bite, ensuring your shrimp is always juicy and flavorful, never tough.
Speedy Deliciousness: Ready in Just 10 Minutes!
Imagine a gourmet-quality meal on your table in under 15 minutes. This Golden Garlic Butter Shrimp recipe makes that a reality.
Its remarkable speed makes it the ultimate solution for busy weeknights, last-minute cravings, or when you simply want something incredibly delicious without the fuss.
Simple Ingredients, Incredible Flavor
You don’t need a pantry full of exotic ingredients to create something spectacular. This dish relies on a handful of accessible, high-quality components.
The magic truly happens as butter, fresh garlic, and plump shrimp unite, creating a harmonious and deeply satisfying flavor profile that speaks for itself.
Gathering Your Essentials: Simple Ingredients for Superb Shrimp
The success of any great dish begins with quality ingredients. For this Golden Garlic Butter Shrimp, simplicity is key, allowing each component to shine.
The Star of the Show: Selecting Your Shrimp
For the best results, start with one pound of large raw shrimp.
Ensure they are already peeled and deveined to save you prep time. Using raw shrimp is crucial for controlling the cooking process and achieving optimal tenderness.
Building the Butter & Garlic Foundation
You’ll need a quarter cup of unsalted butter.
Using unsalted butter allows you to control the overall saltiness of the dish, preventing it from becoming too salty as the sauce reduces.
Two cloves of fresh garlic, minced, are non-negotiable for that signature aromatic depth. Freshly minced garlic provides a much more potent and vibrant flavor than pre-minced versions.
Seasoning Essentials: Salt & Pepper
Half a teaspoon of black pepper and a quarter teaspoon of salt are your baseline seasonings.
These quantities can be adjusted to your personal taste. Proper seasoning enhances the natural sweetness of the shrimp and balances the richness of the butter sauce.
Fresh Herbs for Brightness
One tablespoon of fresh chopped parsley or chives adds a crucial element of freshness and a pop of color to the finished dish.
These delicate herbs provide a clean, herbaceous finish that brightens the rich garlic butter.
Essential Tools for Your Golden Garlic Butter Shrimp Adventure
Having the right equipment ensures your cooking process is smooth and your results are outstanding.
The Right Pan: Cast Iron or Stainless Steel
A large, heavy-bottomed skillet is paramount for this recipe.
Cast iron or stainless steel are ideal choices because they retain heat exceptionally well. This consistent high heat is crucial for achieving a proper sear on the shrimp, preventing them from steaming and becoming rubbery.
Basic Prep Tools
You’ll need paper towels for drying the shrimp – a step so important it deserves its own dedicated tool mention!
Measuring spoons will ensure accuracy for your seasonings. Finally, a lemon wedge for serving provides a bright, essential counterpoint to the rich sauce.
Your Path to Golden Garlic Butter Shrimp Perfection: A Step-by-Step Guide
Following these steps precisely will guarantee succulent, flavorful Golden Garlic Butter Shrimp every time.
Step 1: The Crucial “Pat Dry” Method
The single most important step for tender, non-rubbery shrimp is ensuring they are bone dry. Thoroughly pat your peeled and deveined shrimp dry with several layers of paper towels.
Any moisture on the surface will cause the shrimp to steam rather than sear, leading to that undesirable rubbery texture. Once dry, season them evenly with salt and black pepper.
Step 2: Heating the Pan for Optimal Searing
Place your large skillet over medium-high heat. Allow the pan to preheat for about two minutes until it’s properly hot.
A hot pan creates an immediate sizzle and sear when the shrimp hit the surface, which is vital for locking in juices and developing a golden crust. Add the unsalted butter to the hot pan and let it melt until it just begins to foam slightly.
Step 3: Infusing Butter with Fragrant Garlic
Once the butter is melted and foamy, add the minced garlic to the pan.
Cook the garlic for only about 30 seconds, stirring constantly. You want it to become wonderfully fragrant, but it’s crucial not to let it brown or burn, as burnt garlic will impart a bitter, unpleasant flavor to your sauce.
Step 4: Searing Without Overcrowding
Add the seasoned shrimp to the hot skillet in a single layer. Resist the urge to overcrowd the pan!
Overcrowding drastically lowers the pan’s temperature, causing the shrimp to steam in their own liquid rather than getting that beautiful, quick sear. If necessary, cook your shrimp in two or more batches to ensure each piece has direct contact with the hot pan.
Step 5: Master the Quick Cook: Watch for the Pink
Cook the shrimp for just 1 to 2 minutes per side. Shrimp cook incredibly quickly, and timing is everything.
You’ll know they’re done when they turn opaque pink and curl slightly into a “C” shape. The moment the last shrimp piece changes color and becomes opaque, remove the skillet from the heat immediately. Even a few extra seconds can lead to a rubbery texture.
Step 6: Finishing Touches and Immediate Enjoyment
Stir in the fresh chopped parsley or chives directly into the skillet with the cooked shrimp and their luscious garlic butter sauce.
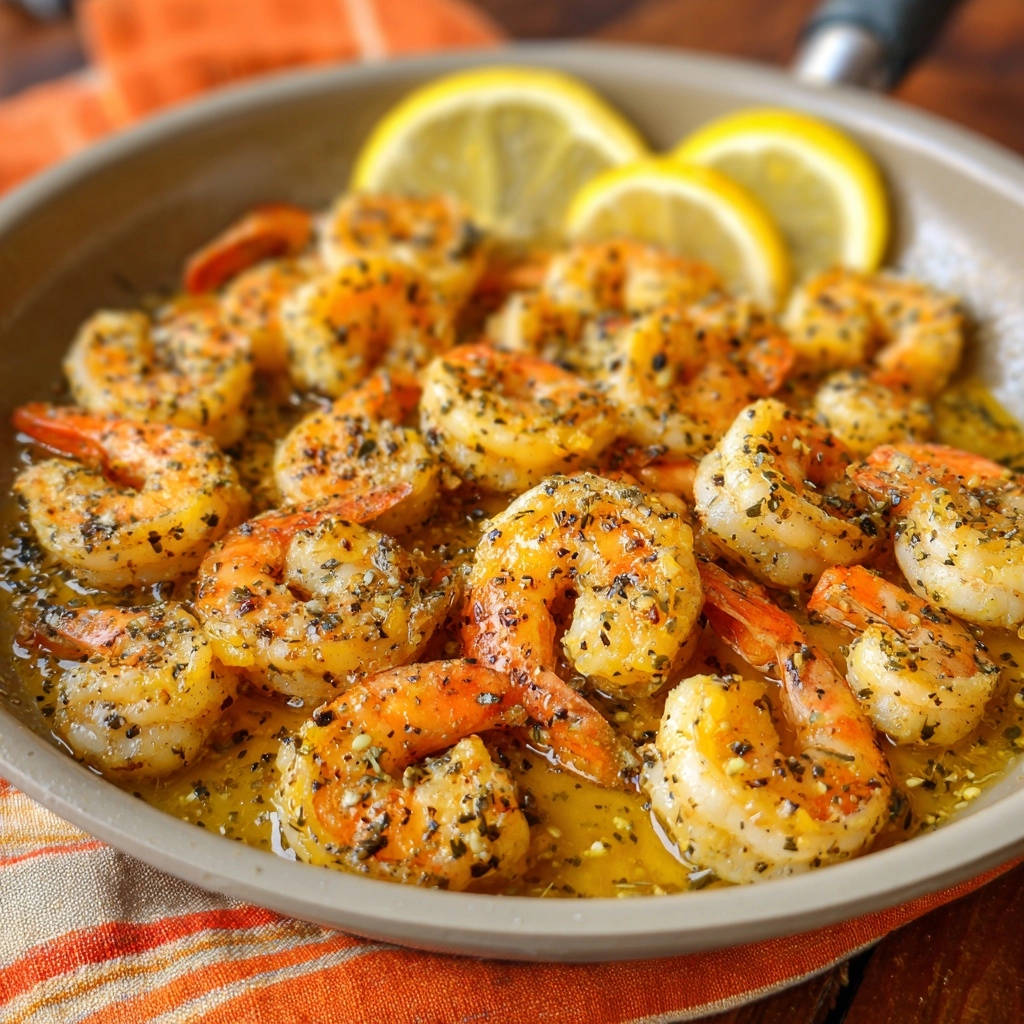
Transfer the golden, tender shrimp and all that delicious sauce to a serving bowl. Garnish with an extra sprinkle of fresh herbs and serve immediately with a lemon wedge for squeezing over the top, adding a bright, zesty finish.
Chef’s Secrets for Unforgettable Shrimp
Beyond the basic steps, these professional insights will help you master your Golden Garlic Butter Shrimp every time.
Why Dry Shrimp is Non-Negotiable
The goal is a perfect sear, not a steam. When moisture is present on the surface of the shrimp, the pan’s energy is spent evaporating that water rather than browning the protein.
By patting them completely dry, you allow the Maillard reaction (the browning that creates rich flavor) to occur almost instantly, yielding a superior texture and taste.
The Perfect Pan Temperature
To ensure your pan is hot enough, a quick test is to flick a few drops of water onto the dry pan. If they sizzle and evaporate instantly, you’re ready.
If they sit there, the pan needs more time. Too low a temperature means steaming; too high means burning the butter or garlic.
Visual Cues to Prevent Overcooking
Perfectly cooked shrimp will go from translucent gray to opaque pink-orange. They will also curl into a gentle ‘C’ shape.
If your shrimp forms a tight ‘O’ shape, it’s likely overcooked. Trust your eyes; color change is your best indicator.
To Tail On or Off? Your Choice
Keeping the tails on the shrimp is mostly for presentation and can make them easier to pick up, especially if serving as an appetizer.
However, for a main course or if you prefer a less messy eating experience, feel free to remove the tails before cooking. The cooking time and flavor will remain the same.
Batch Cooking for Consistent Results
Resist the urge to dump all the shrimp into the pan at once, even if your pan seems large enough. Overcrowding is the enemy of perfectly seared shrimp.
Cooking in batches ensures each piece gets adequate space and direct heat, leading to consistent browning and tender results throughout.
What to Serve with Your Golden Garlic Butter Shrimp
This versatile Golden Garlic Butter Shrimp pairs beautifully with a variety of sides, making it easy to create a complete and satisfying meal.
Classic Pairings for a Satisfying Meal
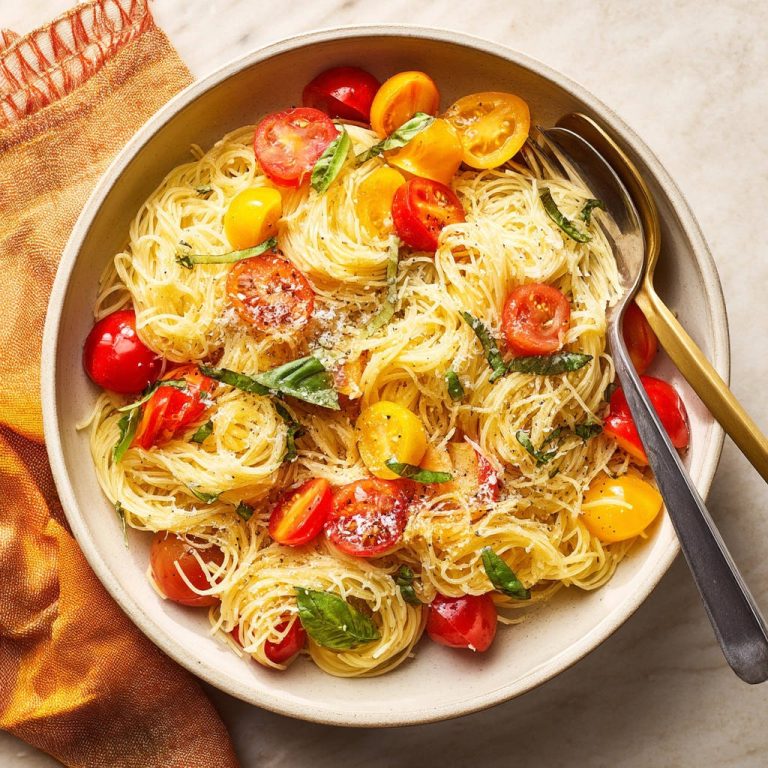
For a hearty meal, serve your shrimp over a bed of al dente pasta, like linguine or angel hair, allowing the garlic butter sauce to coat every strand. Fluffy white rice or even a flavorful toasted coconut rice makes an excellent base.
Don’t forget some crusty bread or warm garlic naan bread to sop up every last drop of that incredible sauce.
Lighter & Low-Carb Options
If you’re looking for a lighter or low-carb option, zucchini noodles (zoodles) or cauliflower rice are fantastic substitutes for traditional grains.
Steamed or lightly sautéed vegetables like asparagus, broccoli, or our vibrant sautéed vegetables make a healthy and delicious accompaniment, allowing the shrimp to remain the star.
Making it a Complete Meal
To round out your dish, a simple crisp green salad with a light vinaigrette adds freshness and crunch.
You could also add some roasted cherry tomatoes or a side of creamy mashed potatoes for extra comfort.
Troubleshooting Common Shrimp Woes
Even with a great recipe, sometimes things go awry. Here’s how to fix common issues with shrimp.
Why is my shrimp rubbery?
Rubbery shrimp is almost always a sign of overcooking. Shrimp cooks incredibly fast, often in just a minute or two per side.
Another culprit could be overcrowding the pan, which lowers the temperature and causes the shrimp to steam instead of sear. Always ensure your shrimp are patted very dry before cooking, as excess moisture also leads to steaming.
My garlic burned! What happened?
Garlic is delicate and burns quickly, turning bitter. This usually happens if the heat is too high or the garlic is cooked for too long.
Ensure you add the minced garlic only after the butter is fully melted and foamy, and cook it for just 30 seconds, stirring constantly, until it’s fragrant but still light in color.
The sauce is too thin/oily.
If your garlic butter sauce seems too thin or overly oily, it might be due to a few factors. Not allowing the pan to get hot enough before adding butter can prevent it from slightly emulsifying with the garlic.
Also, if the shrimp weren’t dried thoroughly, the excess moisture released during cooking can thin out the sauce. Ensure proper pan heat and thoroughly dry shrimp for a richer sauce.
Frequently Asked Questions About This Recipe
Can I use frozen shrimp?
Absolutely, you can use frozen shrimp! The key is to thaw them completely before cooking.
Transfer them to the refrigerator overnight, or for a quicker method, place them in a colander under cold running water for 5-10 minutes. Once thawed, it is extremely important to pat them bone dry with paper towels before seasoning and cooking.
How can I make this dairy-free?
To make this Golden Garlic Butter Shrimp dairy-free, simply substitute the unsalted butter with a high-quality plant-based butter alternative.
Look for brands that are known for their rich, buttery flavor and good browning properties. The overall taste and texture will be very similar, though subtly different based on the specific butter substitute used.
What other herbs can I use?
While fresh parsley and chives are fantastic, you can certainly experiment with other fresh herbs to alter the flavor profile.
Fresh dill or cilantro would lend a different, yet delicious, character. If using dried herbs like oregano or thyme, add them along with the garlic for about 15-20 seconds to allow their flavors to bloom in the hot butter.
Is it spicy? Can I add heat?
As written, this Golden Garlic Butter Shrimp recipe is not spicy at all; it’s purely savory and rich.
If you enjoy a bit of heat, you can easily add a kick! Simply sprinkle in a quarter to half a teaspoon of red pepper flakes along with the minced garlic during Step 3. This will infuse the butter with a pleasant warmth without overpowering the other flavors.
Storage & Reheating Tips for Your Delicious Leftovers
Cooked shrimp are best enjoyed fresh, but leftovers can be stored. Transfer any remaining Golden Garlic Butter Shrimp to an airtight container and refrigerate promptly.
They will keep well for up to 1-2 days. When reheating, do so gently and quickly to prevent the shrimp from becoming rubbery. A quick sauté in a non-stick pan over medium heat for just a minute or two, or a brief warm-up in the microwave, is usually sufficient.
Ready to Impress? Share Your Golden Garlic Butter Shrimp Success!
Now that you have all the secrets to perfectly tender, incredibly flavorful Golden Garlic Butter Shrimp, it’s time to bring this dish to life in your own kitchen.
This recipe consistently delivers restaurant-quality results with minimal effort, making it a true weeknight champion or an impressive dish for entertaining. Give it a try, savor every golden bite, and don’t forget to share your culinary triumphs with us!
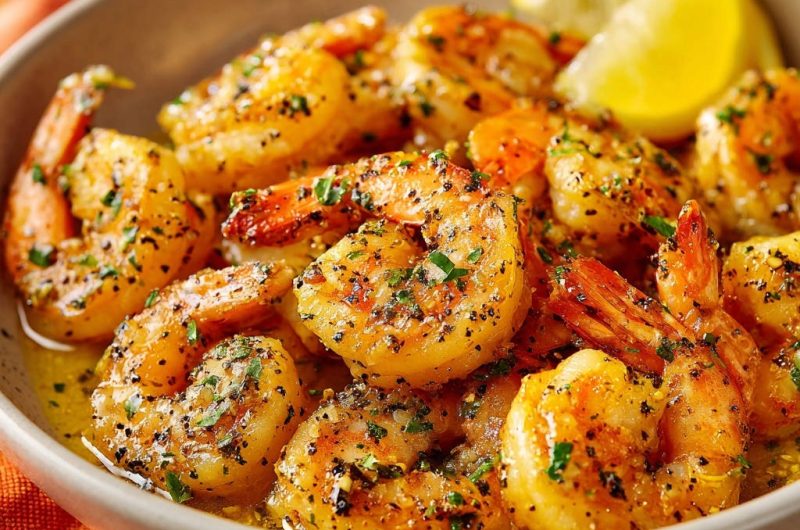
Golden Garlic Butter Shrimp
Course: Main CourseCuisine: American CuisineDifficulty: easy2
servings5
minutes5
minutes10
minutesAmerican Cuisine
Ingredients
1 pound large raw shrimp, peeled and deveined, tails on (or off if preferred)
1/4 cup unsalted butter
2 cloves garlic, minced
1/2 teaspoon black pepper, or to taste
1/4 teaspoon salt, or to taste
1 tablespoon fresh parsley or chives, chopped (plus more for garnish)
1 lemon wedge, for serving
Directions
- Prepare the Shrimp for Success: The absolute key to tender shrimp is making sure they are as dry as possible before cooking. Pat the peeled and deveined shrimp thoroughly dry with paper towels. This step is crucial for achieving a beautiful sear and preventing steaming, which leads to rubbery texture. Season the dried shrimp evenly with salt and black pepper.
- Heat the Pan: Place a large skillet (cast iron or stainless steel works best) over medium-high heat. Allow the pan to get hot, about 2 minutes. Add the unsalted butter to the hot pan and let it melt until it starts to foam slightly.
- Quick Garlic Infusion: Add the minced garlic to the melted butter and cook for only about 30 seconds, stirring constantly, until fragrant. Do not let the garlic brown or burn, as this will add a bitter flavor.
- Sear, Do Not Overcrowd: Add the seasoned shrimp to the hot skillet in a single layer. It’s important not to overcrowd the pan; cook in batches if necessary to ensure all the shrimp have direct contact with the hot surface. Overcrowding will lower the pan temperature and cause the shrimp to steam instead of sear.
- Cook Quickly: Cook the shrimp for 1-2 minutes per side. Shrimp cook very quickly, and the moment they turn pink and opaque, they are done. You’ll see them curl slightly. As soon as the last shrimp turns opaque, remove the skillet from the heat immediately. Any additional cooking will lead to that dreaded rubbery texture.
- Finish and Serve: Stir in the fresh chopped parsley or chives. Transfer the golden, tender shrimp and their delicious garlic butter sauce to a serving bowl. Garnish with an extra sprinkle of herbs and serve immediately with a lemon wedge for squeezing. Enjoy your perfectly cooked, never-rubbery shrimp!
Notes
- The key to tender shrimp is making sure they are as dry as possible before cooking and not overcrowding the pan.