

Oh, apple crumble bars. They conjure up images of cozy kitchens, warm spices, and sweet, comforting desserts. But let’s be honest, who hasn’t bitten into what they hoped would be a perfect bar, only to be met with a disappointing, soggy bottom crust? It’s a culinary crime! That mushy layer just ruins the whole experience, making the bar fall apart and leaving you wishing you’d just eaten the crumble topping with a spoon.
I was on a mission to conquer the dreaded soggy bottom after one too many less-than-ideal baking adventures. I experimented, I tested, I sighed over countless sunken crusts. And then, I discovered a simple, game-changing trick that ensures a perfectly firm, buttery, delightfully crisp base every single time. This recipe for apple crumble bars isn’t just delicious; it’s engineered for structural integrity and maximum flavor.
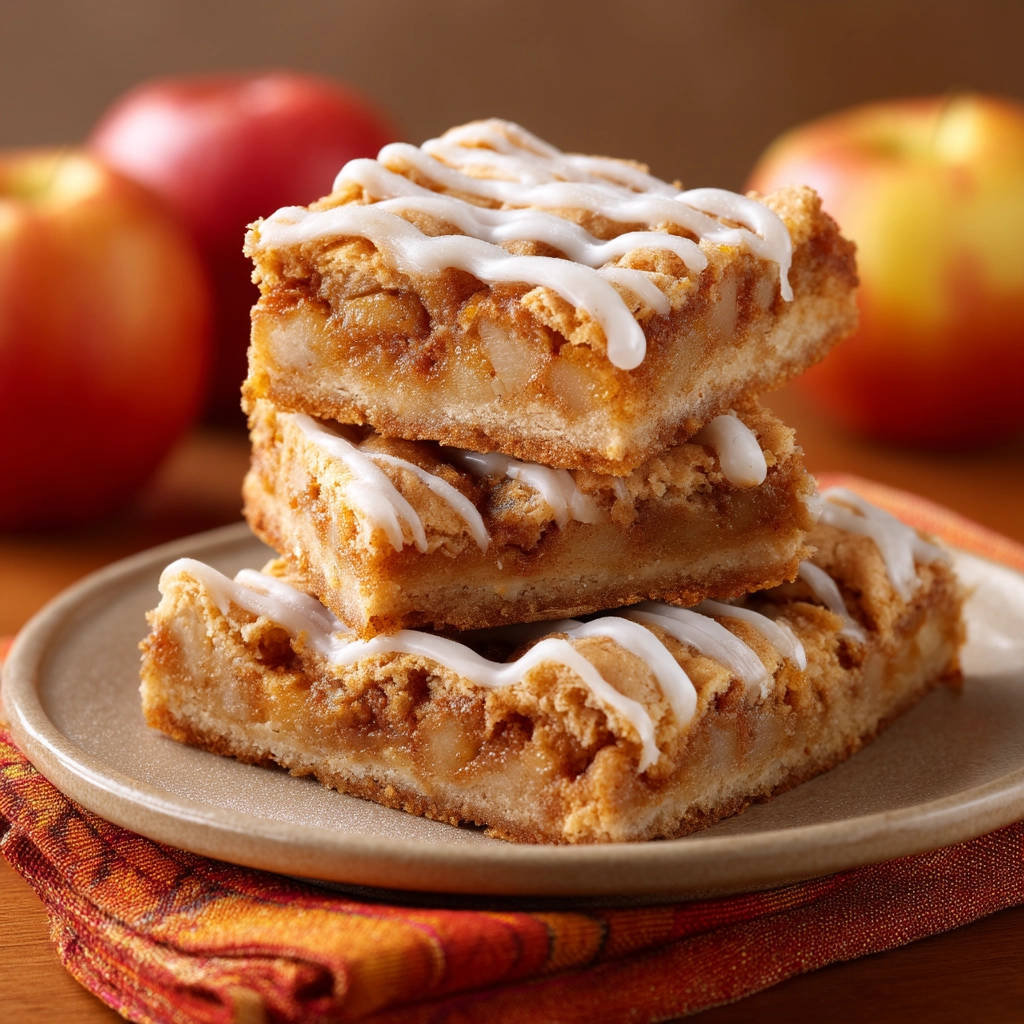
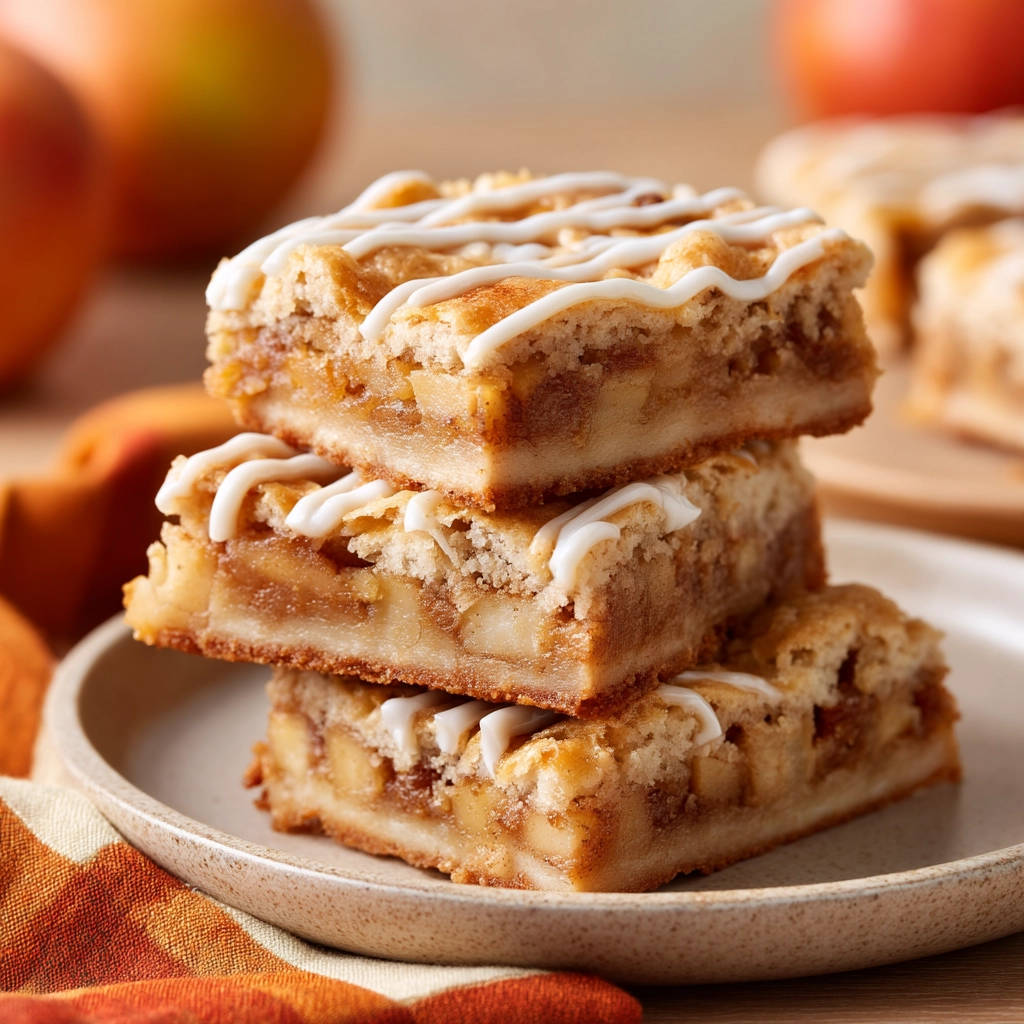
Say goodbye to flimsy, sad bottoms and hello to bar perfection! This recipe delivers that classic, comforting apple crumble flavor in a convenient, handheld format, all while guaranteeing a sturdy, delicious crust that stands up to the sweet, tender apple filling and drizzled glaze. Get ready to bake a batch that will disappear faster than you can say “no more soggy bottom!”
Why You’ll Adore This Apple Crumble Bar Recipe
Aside from the monumental victory over the soggy bottom, there are so many reasons these apple crumble bars will become your new favorite fall (or anytime!) treat. They are incredibly easy to make, requiring no fancy techniques or equipment.
The ingredient list is simple, relying on pantry staples and fresh apples. Plus, the combination of a rich, buttery oat crumble and a sweet, slightly tart apple filling is simply irresistible. They’re perfect for parties, potlucks, lunchboxes, or just enjoying with a cup of tea. They transport beautifully, assuming you can resist eating them all before they leave your kitchen!
Gathering Your Ingredients for Perfect Apple Crumble Bars
Creating the ideal balance in apple crumble bars requires a thoughtful combination of textures and flavors. We need sturdy components for the base and crumble topping, and sweet, spiced goodness for the apple filling.
Let’s walk through the essential elements you’ll need to gather from your pantry and local market. Each ingredient plays a specific role in achieving that coveted crisp bottom and perfectly cooked apple layer.
- All-Purpose Flour: This forms the structural backbone of our crumble mixture, both for the pressed crust and the crumb topping. We’ll also use a small amount mixed with the apples – this is the key to preventing that dreaded soggy bottom!
- Rolled Oats: Old-fashioned rolled oats (not quick oats) add a lovely chewy texture and nutty flavor to the crumble, making it more substantial and satisfying than a plain flour crust.
- Packed Light Brown Sugar: Brown sugar brings moisture and a wonderful caramel-like depth of flavor to the crumble. Packing it ensures you get the right amount for sweetness and texture.
- Ground Cinnamon & Nutmeg: These classic spices are the perfect partners for apples, adding warmth and that signature cozy fall flavor. Adjust the amounts to your personal preference.
- Salt: A pinch of salt in the crumble balances the sweetness and enhances all the other flavors. Don’t skip it!
- Cold Unsalted Butter: Using cold butter cut into pieces is crucial for creating that perfect crumb texture. As it melts in the oven, it creates steam, which helps form flaky layers in the crust and crispiness in the topping. Unsalted butter allows you to control the salt level precisely.
- Fresh Apples: You’ll need about 5 medium apples, peeled and thinly sliced. Choosing the right apple variety is important – a mix of sweet and tart apples like Honeycrisp, Gala, Fuji, Granny Smith, or Braeburn works beautifully, offering complex flavor and holding their shape well during baking.
- Granulated Sugar: A little granulated sugar sweetens the apple filling and helps draw out some of the apple’s natural juices.
- Cornstarch or All-Purpose Flour (The Secret Weapon!): This is the crucial ingredient for our anti-soggy bottom trick. Tossing the sliced apples with just a couple of tablespoons of cornstarch or flour before baking helps absorb the excess liquid released by the fruit as it cooks, ensuring that juice doesn’t seep down and make the bottom crust soggy. It’s a simple step with a dramatic impact!
- Lemon Juice: A splash of lemon juice brightens the flavor of the apples and prevents them from browning too quickly before baking.
- Powdered Sugar: The base for our simple, sweet glaze.
- Milk or Water: Used to thin the powdered sugar into a smooth, drizzle-able glaze. You can use milk for a richer glaze or water for a slightly clearer one.
Crafting Your Anti-Soggy Apple Crumble Bars: Step-by-Step
Ready to bake? Follow these detailed steps to ensure your apple crumble bars turn out perfectly, from the crispy bottom up!
Prepare Your Baking Haven: Begin by preheating your oven to 375 degrees F (190 degrees C). This ensures the oven is at the correct temperature from the moment your bars go in, promoting even baking and that lovely crisp bottom crust. Next, prepare your 8×8 inch baking pan. Greasing it lightly with butter or baking spray helps prevent sticking, and a dusting of flour ensures the crust releases cleanly after cooling. This makes cutting the finished bars much easier.
Mixing the Magical Crumb Mixture: Grab a large bowl. In goes the foundation of our bars: 1 and 1/2 cups of all-purpose flour, 1 cup of hearty rolled oats, 1 cup of packed light brown sugar for that wonderful moisture and caramel note, 1 teaspoon of warming ground cinnamon, a 1/4 teaspoon of pungent ground nutmeg, and a 1/4 teaspoon of salt to balance everything out. Now, it’s time for the cold butter. Add the 3/4 cup of cold, unsalted butter cut into small pieces. Use a pastry blender or your clean fingertips to work the butter into the dry ingredients. The goal is for the mixture to resemble coarse crumbs, like bumpy sand. There should be some pea-sized pieces of butter still visible; these will melt in the oven and create pockets of tenderness and crispiness.
Building the Indestructible Base: Take about two-thirds of the crumb mixture you just made. Pour this portion into your prepared 8×8 inch pan. Now, press it down firmly and evenly across the bottom of the pan. You can use the bottom of a glass, a flat spatula, or your hands. Pressing firmly is essential! This compacts the crumbs, ensuring the base holds together beautifully and provides a sturdy layer for the apples, resisting any moisture that tries to sneak through.
Prepping the Flavorful Filling (The Anti-Soggy Secret!): Get another bowl ready for your apple filling. Add the 5 cups of thinly sliced peeled apples. Sprinkle in the 1/4 cup of granulated sugar, the all-important 2 tablespoons of either all-purpose flour or cornstarch (this is your secret weapon!), and the 1 tablespoon of lemon juice. Toss everything gently together until the apple slices are evenly coated. This step is critical for preventing a soggy bottom crust. The flour or cornstarch will mix with the apple juices released during baking, creating a slightly thickened sauce around the apples instead of a watery liquid that soaks into the crust below. Don’t skip this!
Layering the Deliciousness: Carefully spoon the coated apple mixture evenly over the pressed crumb crust you created in the pan. Spread it out so it forms a relatively flat layer. Ensure the apples go all the way to the edges of the pan.
Adding the Signature Crumble Topping: Take the remaining one-third of your crumb mixture. Generously crumble this mixture evenly over the top of the apple layer. This provides that classic crumble texture and flavor that complements the soft apples below.
Baking to Golden Perfection: Place the pan in your preheated oven. Bake for 40 to 50 minutes. You’ll know they’re ready when the crumble topping is lightly golden brown and the apples underneath are tender. You can test the apples by gently piercing one with a fork through the crumble topping. If the fork goes in easily, they’re done. The aroma filling your kitchen will be another great sign!
Cooling is NON-Negotiable: This is another crucial step for successful bars! Once baked, remove the pan from the oven and place it on a wire rack. Let the apple crumble bars cool completely in the pan. This takes at least 2-3 hours, sometimes longer. Cooling allows the apple filling to set and the crust to firm up completely. Trying to cut them warm will result in a gooey, crumbly mess. Patience is a virtue here!
Whipping Up the Sweet Glaze: Once the bars are fully cooled, it’s time for the finishing touch. In a small bowl, whisk together the 1/2 cup of powdered sugar with 1 tablespoon of milk or water. Stir until it’s smooth and has a nice, drizzling consistency. If it’s too thick, add a tiny splash more liquid (a teaspoon at a time) until you reach your desired thickness. Drizzle the glaze back and forth over the cooled bars in the pan.
Slice and Serve: After glazing, you can let the glaze set for a few minutes if you like, or dive right in. Use a sharp knife to cut the cooled bars into squares directly in the pan. Lift them out gently. Serve and enjoy! Store any leftover cooled bars in an airtight container at room temperature for a few days, or in the refrigerator for longer storage.
Tips for Perfect Apple Crumble Bars Every Time
Achieving perfect apple crumble bars is easy with this recipe, but a few extra tips can elevate your baking game and ensure consistent success.
- Choose the Right Apples: As mentioned earlier, a mix of sweet and tart apples is ideal. Avoid apples that turn mushy quickly, like Red Delicious. Varieties like Granny Smith, Honeycrisp, Fuji, Gala, and Braeburn hold up well and provide great flavor.
- Thin and Even Slices: Try to slice your apples thinly and uniformly. This ensures they cook evenly and become tender at the same rate.
- Don’t Skimp on the Crumble Base Pressing: The firmer you press the bottom layer, the sturdier your crust will be. This is key to preventing the soggy bottom, along with the flour/cornstarch trick in the apples.
- Cooling is Critical: I can’t stress this enough! Hot or warm bars will fall apart when you try to cut them because the filling hasn’t set. Patience here is rewarded with perfectly formed bars.
- Adjust Spices: Feel free to play with the spices in the crumble and apple layers. A pinch of ground ginger or cardamom can add another dimension.
- Adding Nuts: For extra crunch, you could add about 1/2 cup of chopped pecans or walnuts to the crumb mixture. They toast beautifully as the bars bake.
- Storage: Cooled bars can be stored in an airtight container at room temperature for 2-3 days, or in the refrigerator for up to a week. For longer storage, they can be frozen (without the glaze, add glaze after thawing) for up to 2-3 months.
- Different Pan Size: While an 8×8 inch pan is specified, you could use a different size. A 9×13 inch pan would yield thinner bars requiring less baking time (check around 30-35 minutes). A smaller pan would require more time. Always bake until the top is golden and apples are tender. If baking in a larger pan and looking for other easy dessert ideas, you might like our Classic Blueberry Scones or perhaps some Fudgy Brownies!
Serving Suggestions
These apple crumble bars are absolutely delightful on their own, but a few simple additions can make them even more special.
They are heavenly served warm with a scoop of vanilla ice cream or a dollop of whipped cream. A drizzle of caramel sauce is also a fantastic addition. For a simpler approach, enjoy them with a cup of coffee or tea for a perfect afternoon treat.
Your Apple Crumble Bars Questions Answered (FAQ)
Let’s tackle some common questions about making the best apple crumble bars.
What kind of apples are best for apple crumble bars?
A mix of sweet and tart apples works best. Tart apples like Granny Smith offer a nice contrast to the sweetness, while sweeter, firmer apples like Honeycrisp, Gala, Fuji, or Braeburn hold their shape well during baking. Using only one type of apple is fine, but variety adds complexity. Just make sure they aren’t varieties that turn to mush too quickly.
Can I use quick oats instead of rolled oats?
While you technically can use quick oats, they will give the crumble a different texture – less chewy and more fine. For the best, most satisfying crumble texture, we recommend sticking with old-fashioned rolled oats.
Is the flour/cornstarch step really necessary?
>
Absolutely! This is the star of our anti-soggy bottom strategy. Apples release a lot of juice as they bake. Without the flour or cornstarch mixed in, that juice would pool at the bottom of the pan and soak into the crust, making it soggy. The starch absorbs that excess moisture, creating a thicker, saucier filling and protecting your precious bottom crust. It’s a simple trick that makes all the difference.
How can I tell if the bars are done baking?
Look for a few signs: the crumble topping should be golden brown, the edges of the bars might be pulling slightly away from the pan, and most importantly, the apples should be tender when pierced with a fork. The baking time can vary slightly depending on your oven and how thinly you sliced the apples, so checking the apples is the most reliable indicator.
Why do the bars need to cool completely before cutting?
Cooling is essential for the bars to set properly. The apple filling is hot and liquidy when it comes out of the oven. As it cools, it thickens and solidifies, binding the bars together. The crust also continues to crisp up as it cools. Cutting warm bars will likely result in the filling oozing out and the crust crumbling apart. Think of it like a Classic Baked Cheesecake or Perfected Fruit Tart – cooling time is key to structural integrity and the best texture.
Can I skip the glaze?
Yes, you can definitely skip the glaze if you prefer! The bars are delicious without it. The glaze adds an extra touch of sweetness and a pretty finish, but it’s not essential for the structure or flavor of the bar itself.
Enjoy Your Homemade Apple Crumble Bars!
There you have it – the secret to apple crumble bars with a perfectly crispy, buttery bottom, bursting with tender, spiced apple flavor, and finished with a sweet glaze. This recipe solves the age-old problem and delivers pure comfort in bar form.
Whether you’re making them for a special occasion or just because you have a craving, these bars are sure to impress. Give them a try and experience the joy of a truly non-soggy apple crumble bar!
If you bake these, I’d love to hear about it! Leave a comment below and let me know what you think. Happy baking!
Apple Crumble Bars
Ingredients
- 1 and 1/2 cups all purpose flour
- 1 cup rolled oats
- 1 cup packed light brown sugar
- 1 teaspoon ground cinnamon
- 1/4 teaspoon ground nutmeg
- 1/4 teaspoon salt
- 3/4 cup cold unsalted butter cut into pieces
- 5 cups thinly sliced peeled apples (about 5 medium)
- 1/4 cup granulated sugar
- 2 tablespoons all purpose flour or cornstarch (This is key!)
- 1 tablespoon lemon juice
- For the Glaze:
- 1/2 cup powdered sugar
- 1 to 2 tablespoons milk or water
Directions
- Preheat oven to 375 degrees F (190 degrees C). Grease and flour an 8×8 inch baking pan.
- In a large bowl, combine the 1 and 1/2 cups flour, oats, brown sugar, cinnamon, nutmeg, and salt. Cut in the cold butter with a pastry blender or your fingers until the mixture resembles coarse crumbs.
- Press about 2/3 of the crumb mixture firmly into the bottom of the prepared pan for the crust.
- In another bowl, combine the sliced apples, granulated sugar, 2 tablespoons flour or cornstarch, and lemon juice. Toss gently to coat the apples evenly. This step is crucial! The flour or cornstarch will absorb the juices released by the apples during baking, preventing a soggy bottom crust.
- Spread the apple mixture evenly over the pressed crust in the pan.
- Crumble the remaining 1/3 of the oat mixture evenly over the apple layer.
- Bake for 40 to 50 minutes, or until the topping is lightly browned and the apples are tender when pierced with a fork.
- Let the bars cool completely in the pan on a wire rack. Cooling is essential for the bars to set properly before cutting.
- Once cooled, make the glaze: Whisk together the powdered sugar with 1 tablespoon milk or water until smooth. Add more liquid if needed to reach desired drizzling consistency. Drizzle over the cooled bars.
- Cut into squares before serving. Store cooled bars in an airtight container.


