
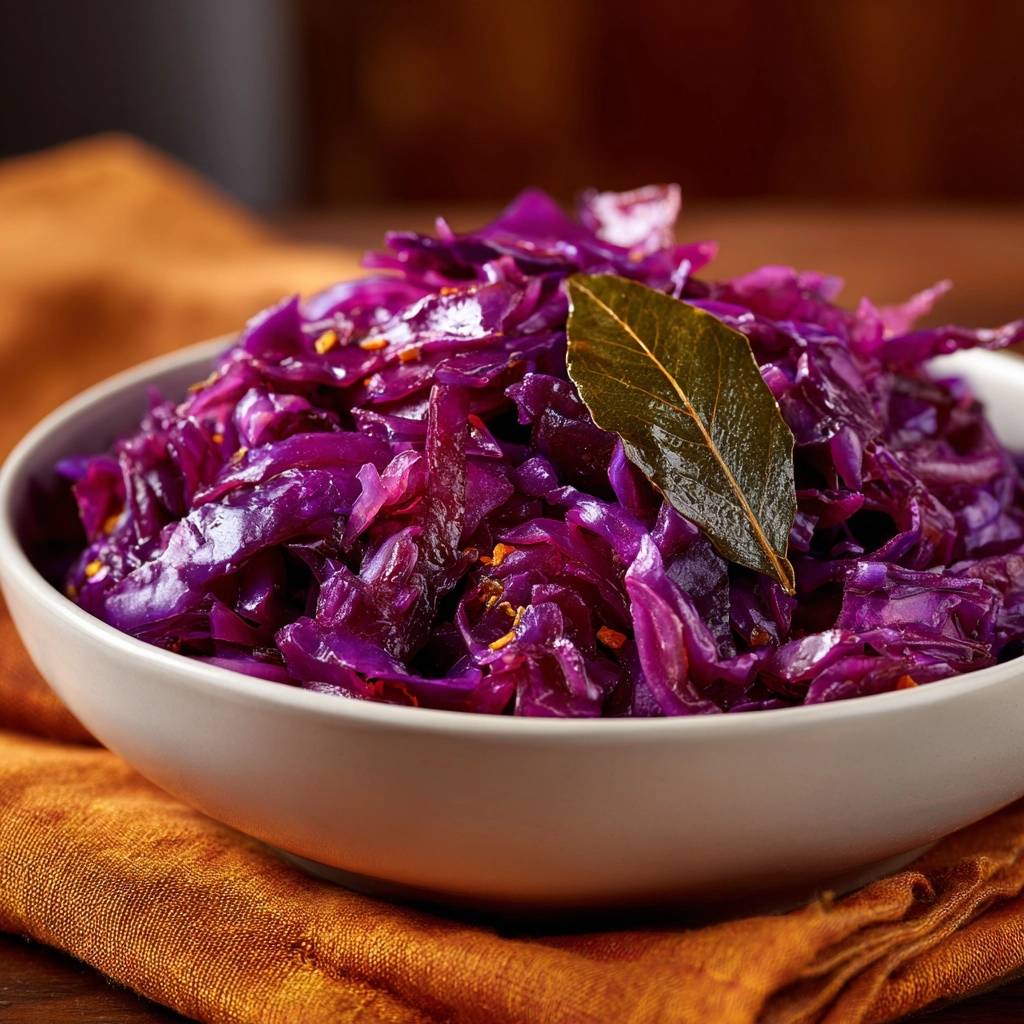
Ever pulled braised red cabbage off the heat, only to find it swimming in a puddle of watery blah? You’re not alone. This recipe fixes that frustration fast with a simple salting, rinsing, and squeezing trick. You’ll get glossy, tender shreds that hold their vibrant purple punch and bold flavor.
Here’s why it works every time. That initial salt draws out excess moisture through osmosis, so the cabbage braises in concentrated goodness instead of diluting itself. In addition, the vinegar keeps the color popping while adding a tangy lift.
The real secret? Squeeze that cabbage super dry in a kitchen towel after rinsing. It locks in the perfect texture, no sogginess allowed. Trust me, this step turns a side dish dud into a glossy star.
Why Braised Red Cabbage Transforms Meals
Signature Glossy Texture Secret
Pre-salting the shredded cabbage pulls water from its cells, preventing the soggy mess most braised versions suffer. You’ll see liquid pool in just 10 minutes, proving it’s working. Rinse it off, then squeeze hard for shreds ready to soak up flavors.
Traditional braising skips this, so you end up with diluted taste and faded color. However, this method delivers tender bites with a shiny finish. Check doneness when a fork glides through easily, still holding shape.
Versatile Side Dish Appeal
This braised red cabbage brings vivid color and a tangy kick to any plate. It cuts through rich proteins perfectly. Plus, its seasonal vibe shines at holiday tables.
Therefore, pair it with roasts or grains for balance. The subtle heat from red pepper flakes adds excitement without overwhelming.
Core Ingredients for Braised Red Cabbage
Red Cabbage: Shredding Thinly Matters
Grab a firm medium head, about 2 pounds. Core it tightly, then shred into thin ribbons for even cooking. Red cabbage beats green with anthocyanins, those antioxidants giving it that purple pop and extra nutrition.
Thin shreds wilt faster and braise uniformly. If yours are chunky, they’ll stay tough. Use a sharp knife or mandoline for speed.
Olive Oil and Spice Infusion Base
Olive oil heats up to bloom the aromatics without burning. It carries the red pepper flakes’ subtle heat and bay leaves’ earthy depth. In addition, extra-virgin adds a fruity note that complements the cabbage.
Don’t swap for neutral oils; they miss that flavor base. Start with 2 tablespoons for nonstick sautéing.
Seasonings: Salt Strategy and Vinegar Lift
Divide the 2 teaspoons salt: one for wilting moisture out, the rest for final seasoning. This avoids bland or overly salty results. Apple cider vinegar brightens everything with its mild acidity, preserving that red hue.
Black pepper adds a gentle bite. Taste before serving and adjust if needed.
Science of Moisture Control in Braised Red Cabbage
Osmosis: Salting Draws Out Water
Salt triggers osmosis, where water rushes out of cabbage cells to balance the salty outside. Toss shreds with 1 teaspoon and wait 10 minutes. You’ll spot clear liquid pooling, a sign excess moisture’s gone.
Longer than 10 minutes risks toughness; shorter leaves it watery. This step concentrates natural sugars for deeper flavor. It’s the foolproof fix for glossy results.
Rinse and Squeeze for Texture Lock
Rinse under cold water to wash away drawn-out salt, preventing bitterness. Then, pile into a clean kitchen towel and twist firmly from the top down. The pressure extracts every drop, leaving dry shreds primed for braising.
This mimics pro techniques. Skip it, and you’ll steam instead of braise. Test dryness by squeezing; no drips means you’re set.
Low Heat Braising Builds Gloss
Covered low heat steams the cabbage tender from the inside. Uncover for the last 10 minutes so evaporation reduces any liquid, creating that craveable shine. Vinegar’s acidity stabilizes the pH, locking in purple vibrancy.
Too high heat toughens it. Stir occasionally for even cooking.
Equipment Essentials for Braised Red Cabbage
Skillet Size and Lid Fit
Choose a wide 12-inch skillet for even heat spread. A tight-fitting lid traps steam for tender results. Cast iron holds heat well but needs oil; nonstick eases stirring.
Avoid small pans; they’ll crowd and steam unevenly.
Kitchen Towel vs. Salad Spinner
A sturdy kitchen towel twisted tight extracts more liquid than a salad spinner. It’s cheap and effective. Rinse the towel first for hygiene, and use a fresh one each time.
Colanders drain but don’t squeeze dry. Towel wins for texture.
Step-by-Step Braised Red Cabbage Method
Phase 1: Salt Shreds to Wilt
Toss 1 medium shredded head with 1 teaspoon salt in a big bowl. Let it sit 10 minutes. Look for wilting and water pooling; that’s your cue the moisture’s releasing.
Don’t rush this. It prevents the watery pitfall.
Phase 2: Rinse and Extract Liquid
Run cold water over the cabbage to rinse salt away. Gather in a towel, hold over the sink, and twist from top to bottom with firm pressure. Squeeze until no liquid drips out.
It’ll feel almost dry to the touch. This step’s your texture insurance.
Phase 3: Infuse Oil with Aromatics
Heat 2 tablespoons olive oil over medium in your skillet. Add 1 teaspoon red pepper flakes and 2 bay leaves; stir 30 seconds. You’ll hear a sizzle and smell the fragrance blooming.
Don’t let them brown or they’ll turn bitter.
Phase 4: Braise Covered to Tender
Dump in the dry cabbage, 1/2 teaspoon black pepper, remaining salt, and 1 tablespoon vinegar. Stir to coat everything evenly. Cover and cook on low for 30 minutes, stirring every 10.
The cabbage softens and aromas fill your kitchen. Pro tip: low heat builds flavor without scorching.
Phase 5: Uncover for Final Reduction
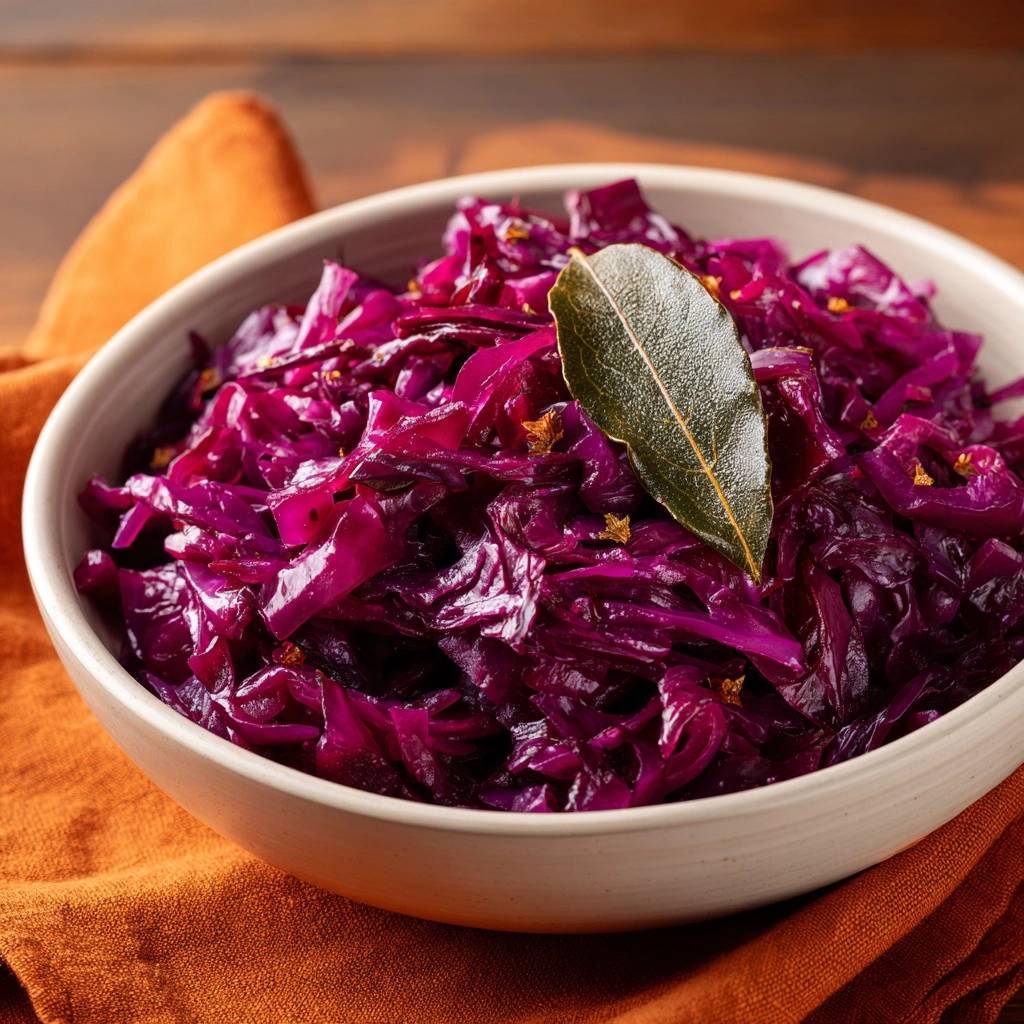
Uncover for the last 10 minutes. Stir a couple times as liquid evaporates to a glossy sheen. Test with a fork; it should pierce tenderly. Fish out bay leaves before serving.
That shine screams success.
Avoiding Braised Red Cabbage Pitfalls
Preventing Watery Texture Disasters
Skipping the salt step leaves you with a puddle. Over-rinsing dilutes flavor, so do it quick. If heat’s too high, it steams tough; dial it low from the start.
Always squeeze dry post-rinse.
Color Fading and Flavor Fixes
Add vinegar early to hold that purple hue; it fights fading from heat. Fresh bay leaves prevent bitter notes. If color dulls, a splash more vinegar revives it.
Store airtight to maintain vibrancy.
Scaling for Batch Cooking Errors
For bigger batches, use 1/2 teaspoon salt per pound of cabbage. Don’t overcrowd the pan; cook in shifts. Smaller heads? Halve everything evenly.
Adjust time slightly for volume.
Flavor Variations for Braised Red Cabbage
Add Apples for Sweet Tang
Slice 1 Granny Smith apple thin and toss in during Phase 4. They caramelize with the cabbage for sweet-tart balance. Use 1 apple per head; more overpowers.
It amps up the cozy factor.
Herb and Citrus Swaps
Swap flakes for 1 teaspoon thyme or caraway seeds for earthiness. Lemon juice works for vinegar if you want brighter zing. Add at the same time.
Fresh herbs elevate it.
Spice Level Adjustments
Mild version? Cut flakes to 1/2 teaspoon. Boost with smoked paprika or grated ginger for warmth. Taste midway and tweak.
Family-friendly every time.
Perfect Pairings with Braised Red Cabbage
Roast Poultry Matches
Its tang cuts the richness of roast chicken or turkey perfectly. Pile it beside for holiday plates. The color pops against golden skin.
Instant plate upgrade.
Grilled Protein Complements
Grilled plant-based sausages or tenderloin love the warm contrast. Serve hot off the grill with cabbage’s glossy side. Temp play shines here.
Grain Bowl Integrations
Mix into quinoa or farro bowls for color and bite. Top with nuts for crunch. It’s a hearty base layer.
Make-Ahead Braised Red Cabbage Guide
Storage and Reheating Best Practices
Store in an airtight container in the fridge up to 5 days. Flavors meld beautifully overnight. Reheat on stovetop low with a splash of water; microwave works but stir midway for evenness.
Stovetop keeps the gloss best.
Freezing for Long-Term Use
Portion into freezer bags, flat for quick thaw. Freeze up to 3 months. Thaw overnight in fridge and reheat gently; avoid refreezing to prevent mush.
Great for holiday prep.
Braised Red Cabbage Troubleshooting
Still Too Crunchy?
Shreds too thick or braise time short? Extend covered cooking 5-10 minutes. Check for enough moisture; add a tablespoon water if dry.
Lacking Shine or Vibrancy?
Didn’t reduce enough uncovered. Uncover longer next time or boost vinegar. Fridge storage can dull color; reheat with a splash to revive.
Too Salty or Bland?
Didn’t rinse thoroughly? Balance with extra vinegar or lemon. Taste after Phase 4 and adjust salt before final cook.
Overcooked to Mush?
Heat crept up or stirred too much. Next time, monitor closely. Rescue by stir-frying uncovered on medium for crisp edges.
FAQ
How do I store braised red cabbage leftovers?
Keep it in an airtight container in the fridge for up to 5 days. Flavors deepen over time, so it’s even better day two. For freezing, portion into zip-top bags, squeeze out air, and freeze flat for up to 3 months. Thaw in the fridge overnight, then reheat on the stovetop over low heat with a tiny splash of water to restore gloss and tenderness. Avoid microwaving from frozen to prevent uneven texture. Pro tip: label bags with dates for easy rotation.
Why is my braised red cabbage still watery?
The most common culprit is skipping or rushing the salting, rinsing, and squeezing steps. Salt for exactly 10 minutes to draw out excess moisture, rinse quickly under cold water, and twist firmly in a kitchen towel until no liquid drips. If it’s still pooling during braising, uncover earlier and cook on medium-low to evaporate. High heat early on traps steam instead of releasing it. Always start with dry shreds for concentrated flavor and shine.
Can I substitute apple cider vinegar in braised red cabbage?
Yes, use fresh lemon juice or white wine vinegar at a 1:1 ratio for similar brightness and color retention. Lemon adds a fresher zing, while white wine vinegar keeps it mild. Avoid balsamic; it’s too sweet and darkens the purple hue. Add it in Phase 4 regardless to stabilize pH and prevent fading. Taste-test after stirring in, as citrus can vary in acidity.
What if I don’t have red pepper flakes?
Swap with 1/2 teaspoon ground cayenne for heat or smoked paprika for smoky depth without spice. Fresh minced chili works too, about 1/2 teaspoon. Add during the oil infusion phase so flavors bloom. For mild, skip entirely and rely on black pepper and bay. This keeps the dish balanced and versatile for kids.
How thin should I shred the cabbage?
Aim for 1/8-inch thin ribbons, like coleslaw. Use a sharp chef’s knife, mandoline, or food processor with a slicing blade for uniformity. Thick shreds stay crunchy and cook unevenly, while too fine turns mushy. After coring, stack leaves and slice steadily. Uniformity ensures every bite braises to tender perfection in 30-40 minutes.
Oh man, that first glossy forkful? Pure holiday magic without the hassle.

Braised Red Cabbage
Course: Side DishCuisine: AmericanDifficulty: easy6
servings20
minutes40
minutes60
Minutes120
kcalAmerican
Ingredients
1 medium head red cabbage (about 2 pounds), cored and thinly shredded
2 tablespoons olive oil
1 teaspoon red pepper flakes
2 bay leaves
2 teaspoons salt, divided
1/2 teaspoon black pepper
1 tablespoon apple cider vinegar
Directions
- In a large bowl, toss shredded cabbage with 1 teaspoon salt. Let sit 10 minutes until wilted and water pools at bottom. This key step releases excess moisture to prevent watery cabbage.
- Rinse cabbage under cold water to remove salt. Squeeze very dry in a clean kitchen towel, twisting firmly to extract all liquid. This locks in perfect texture.
- Heat olive oil in large skillet over medium heat. Add red pepper flakes and bay leaves, stirring 30 seconds for infused flavor.
- Add squeezed cabbage, black pepper, remaining 1 teaspoon salt, and vinegar. Stir to coat evenly.
- Cover and cook on low heat 30 minutes, stirring occasionally, until tender. Uncover last 10 minutes to reduce any remaining liquid for glossy shine.
- Remove bay leaves. Serve hot. Perfect side for any meal.
Notes
- Perfect side for any meal. Remove bay leaves before serving. Store leftovers in an airtight container in the fridge for up to 4 days.


