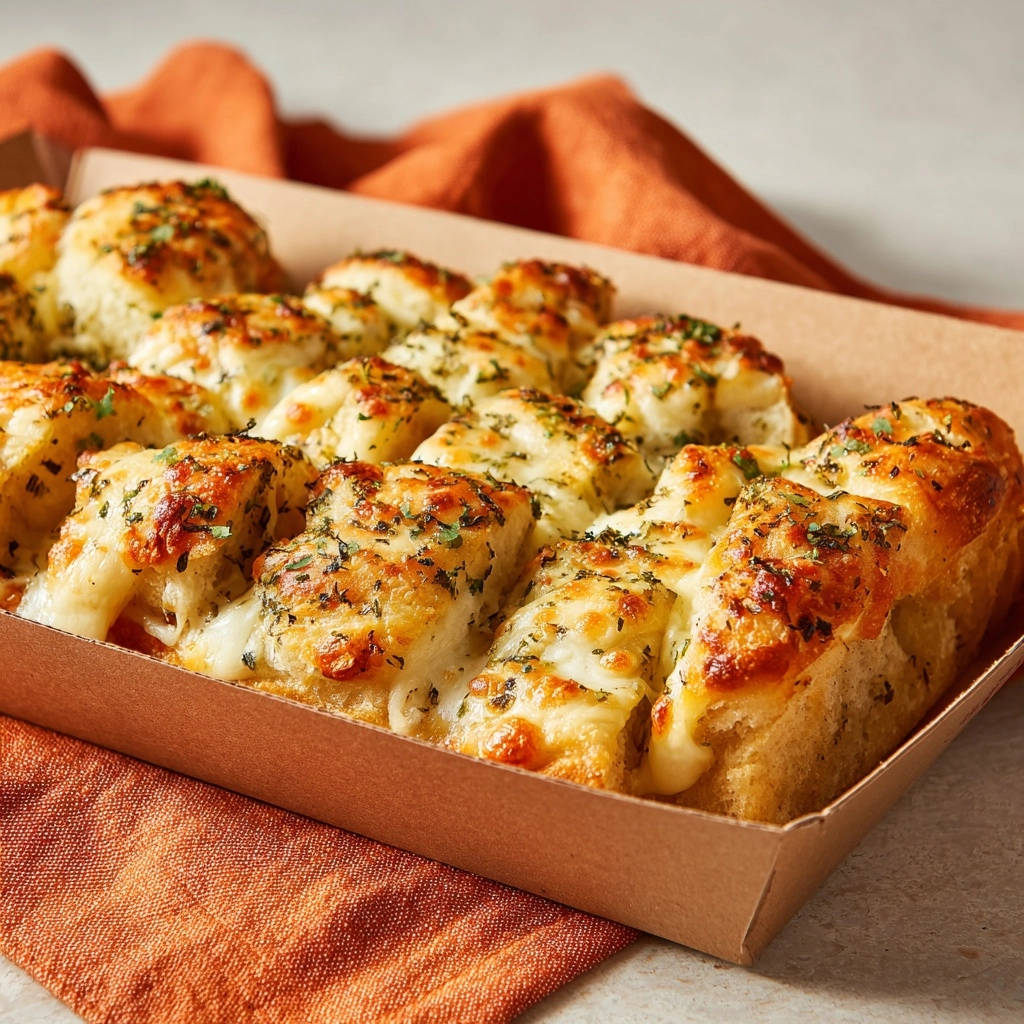
There’s nothing quite like warm, cheesy garlic bread, but achieving that perfect gooey, flavor-packed bite every time can be a challenge. I’ve been there, facing unevenly melted cheese or bread that’s not quite “pull-apart” enough!
Through countless experiments, I’ve finally perfected this incredibly easy Cheesy Garlic Pull-Apart Bread recipe that guarantees incredible melty cheese and robust garlic flavor in every single delicious pull. This method ensures cheese is infused throughout the entire loaf, making it truly special.
Why This Cheesy Garlic Pull-Apart Bread Stands Out
The Biscuit Dough Advantage: Quick & Never Dense
Using refrigerated biscuit dough is an absolute game-changer for this recipe. It eliminates the need for yeast, kneading, and rising time, making this a lightning-fast dish to prepare.
This convenience also ensures a consistently light and fluffy texture, bypassing common issues like dense or overly chewy results often associated with traditional homemade bread.
Melty Cheese in Every Single Bite: Our Signature Trick
The secret to achieving truly gooey, cheese-infused Cheesy Garlic Pull-Apart Bread lies in integrating the cheese directly with the cut biscuit pieces before baking. This “crucial step” ensures cheese is thoroughly distributed throughout the dough, not just sprinkled on top.
As it bakes, the cheese melts into every nook and cranny, creating irresistible pockets of gooey goodness in every single pull-apart section. You’ll never have a bite without that essential cheesy bliss.
Unbeatable Flavor with Minimal Effort
The garlic butter mixture in this recipe is deceptively simple yet incredibly potent. It requires only a few pantry staples, quickly transforming into an aromatic coating for the biscuit dough.
This easy preparation means you get maximum savory garlic flavor without any complex techniques, proving that extraordinary taste doesn’t have to demand extraordinary effort.
Gather Your Flavorful Components for Pull-Apart Perfection
The Dough Base: Convenience Meets Deliciousness
For this recipe, opt for a 16.3-ounce can of refrigerated biscuit dough, typically containing 8 large biscuits. These provide the ideal base for a quick rise and tender crumb.
Their pre-portioned nature simplifies preparation, ensuring consistent results without the fuss of from-scratch dough.
Aromatic Garlic & Herb Blend
Fresh Garlic: Minced fresh garlic offers a pungent, authentic flavor that cooked garlic transforms into something sweet and mellow.
Dried Parsley: This adds a subtle herbaceous note and a pop of color, enhancing the visual appeal and classic savory profile.
Onion Powder: A touch of onion powder provides an underlying savory depth, complementing the garlic without overpowering it.
Salt & Black Pepper: Essential for seasoning, these elevate all the other flavors, ensuring a well-balanced and satisfying taste.
The Double Cheese Duo: Mozzarella & Cheddar
Our choice of a double cheese duo is strategic for ultimate deliciousness. Mozzarella delivers that iconic, stretchy, irresistible melt and incredible gooeyness.
Sharp cheddar, on the other hand, contributes a rich, tangy flavor that beautifully balances the mildness of the mozzarella. For the best melting and flavor, I always recommend shredding your own cheese from blocks rather than using pre-shredded varieties, which often contain anti-caking agents.
Essential Tools for Seamless Baking
Must-Have Kitchen Gadgets
Medium Mixing Bowl: Crucial for comfortably tossing the biscuit pieces with the garlic butter and cheese, ensuring everything is evenly coated.
Measuring Spoons & Cups: For precise quantities of butter, herbs, and cheese, guaranteeing consistent flavor every time.
Kitchen Shears or Sharp Knife: Makes quick work of cutting the biscuit dough into uniform quarters, which is key for even baking and easy pulling.
Choosing the Right Baking Dish
An 8×8 inch baking pan or a similar size oven-safe dish is ideal for this recipe. Its dimensions allow the biscuit pieces to be arranged in a single, somewhat tightly packed layer.
This tight arrangement is crucial for encouraging the “pull-apart” effect, as the pieces bake together, becoming soft and interconnected while still being easy to separate.
Crafting Your Cheesy Garlic Pull-Apart Bread: A Foolproof Step-by-Step Guide
Prep & Aromatic Butter Infusion
- Preheat & Prep Pan:
Set your oven to a precise 375°F (190°C) and lightly grease an 8×8 inch baking pan or similar dish.
This ensures a consistent bake from the moment your bread enters the oven and prevents sticking.
- Craft the Garlic Butter:
In a medium bowl, melt the unsalted butter. Stir in the minced garlic, 1 teaspoon dried parsley, onion powder, salt, and black pepper.
This aromatic mixture forms the flavorful backbone of your pull-apart bread, infusing every bite with savory goodness.
Transforming Dough & Layering Cheese
- Quarter the Biscuits:
Open the can of biscuit dough. Using kitchen shears or a sharp knife, cut each biscuit into four equal pieces (quarters).
This simple step creates the perfect bite-sized nuggets for pulling apart and maximizes the surface area for coating.
- Coat the Dough:
Add the biscuit pieces to the bowl with the melted butter mixture. Toss gently to coat all the dough pieces evenly.
Ensuring every piece is thoroughly coated is vital for maximum flavor absorption and a consistent texture.
- Integrate the Cheese:
Add 1 cup of the shredded mozzarella cheese and all of the cheddar cheese to the bowl with the coated biscuit pieces. Toss gently again to distribute the cheese thoroughly among the dough pieces.
This crucial step ensures cheese is infused throughout, creating pockets of gooey goodness in every pull, not just on top. This is the secret to truly spectacular Cheesy Garlic Pull-Apart Bread.
- Arrange in Pan:
Arrange the coated, cheesy biscuit pieces in a single layer in the prepared baking pan. They should be somewhat tightly packed.
This packing encourages the signature pull-apart effect, allowing the bread to bake together into a cohesive, yet easily separable, loaf.
- Top with More Cheese:
Sprinkle the remaining 1/2 cup of shredded mozzarella cheese evenly over the top of the assembled bread.
This final layer of cheese creates an extra crispy, bubbly, and beautifully golden crust.
The Crucial Bake & Reveal
- Initial Covered Bake:
Cover the baking pan loosely with aluminum foil. Bake for 15 minutes.
Covering helps trap steam, which is key to ensuring the cheese melts thoroughly and evenly while keeping the bread soft and preventing the top from browning too quickly before the cheese is perfectly gooey.
- Uncovered Golden Finish:
Remove the foil and bake for another 8 to 12 minutes, or until the top is golden brown and bubbly.
The cheese should be completely melted and luxuriously gooey, signaling perfect readiness and that irresistible pull-apart texture.
- Garnish & Serve:
Garnish with a little extra dried parsley, if desired, for a fresh look and aroma. Serve warm directly from the pan for maximum gooey cheese enjoyment and the best flavor.
Expert Tips for Unforgettable Results
Mastering the Melty Cheese
Always shred your own cheese from a block. Pre-shredded cheeses often contain cellulose, which can prevent them from melting as smoothly and becoming as gooey as desired.
Don’t skip the initial covered bake. This step is fundamental for creating a steamy environment that ensures the cheese melts completely and evenly without drying out or burning the top of the bread.
Achieving Perfect Texture (Soft & Pull-Apart)
Ensure your oven temperature is accurate. An oven that’s too hot can dry out the bread quickly, while one that’s too cool might result in a soggy or undercooked center.
The biscuit dough’s innate lightness contributes significantly to the fluffy, pull-apart texture. Avoid over-handling the dough pieces, as this can make them tough.
Customizing Your Garlic Bread
Herb Variations: Experiment with fresh herbs like chopped chives or finely chopped rosemary for a different aromatic twist.
Spice It Up: For a hint of heat, add a pinch of red pepper flakes to the garlic butter mixture. If you love a bit of a kick, you might also enjoy our recipe for Cheesy Bacon Jalapeño Pull-Apart Bread for another exciting flavor adventure.
Cheese Blends: Beyond mozzarella and cheddar, consider adding Parmesan for a salty, nutty bite, or a touch of Monterey Jack for extra meltiness. A blend like this also goes well with hearty dishes such as a comforting Cheesy Beef Pasta Bake.
Common Questions & Quick Solutions
Troubleshooting Your Cheesy Garlic Pull-Apart Bread
Problem: My bread is dry or tough.
Solution: This often happens from overbaking. Ensure you’re baking only until golden brown and bubbly, not longer. Also, verify your oven temperature with an oven thermometer to prevent excessively high heat.
Problem: The cheese isn’t fully melted or gooey.
Solution: The initial covered bake is crucial for melting the cheese evenly. If it’s still not gooey enough after the suggested time, cover it again for an additional 3-5 minutes, then uncover and continue baking until perfect.
Problem: The bottom burned before the top was golden.
Solution: Your oven might have hot spots, or the pan might be too dark. Try moving the pan to a higher rack in the oven, or placing a baking sheet on the rack below to deflect some direct heat from the bottom.
Frequently Asked Questions (FAQs)
Can I use homemade biscuit dough?
While this recipe is designed for refrigerated biscuit dough for convenience, you can certainly use your favorite homemade biscuit dough. Just ensure it’s cut into similar quarter-sized pieces for the pull-apart effect.
Can I make this ahead of time?
It’s best to bake and serve this Cheesy Garlic Pull-Apart Bread fresh for optimal gooiness and texture. However, you can mix the garlic butter and cut the biscuits a few hours ahead, storing them separately until you’re ready to assemble and bake.
What are some alternative cheese combinations?
Beyond mozzarella and cheddar, popular combinations include a blend of provolone and fontina for a richer, more complex flavor, or even a smoked gouda for a distinct smoky note. Feel free to experiment with your favorites!
Is this recipe spicy?
No, the base recipe for this Cheesy Garlic Pull-Apart Bread is not spicy. It relies on the classic savory flavors of garlic, onion, and herbs. If you prefer a spicy kick, you can add red pepper flakes to the butter mixture, as suggested in our customization tips.
Serving Suggestions & Storage Secrets
The Best Ways to Enjoy Your Pull-Apart Bread
This Cheesy Garlic Pull-Apart Bread is a fantastic appetizer, perfect for sharing at parties or family gatherings. It also makes an incredible side dish for Italian meals, soups, or any hearty comfort food.
Serve it warm directly from the pan, allowing everyone to pull off their own cheesy, garlicky pieces. It pairs wonderfully with a simple marinara dipping sauce or as an accompaniment to a fresh green salad.
Storing Leftovers for Freshness
While best enjoyed fresh, you can store any leftover Cheesy Garlic Pull-Apart Bread in an airtight container at room temperature for up to 2 days, or in the refrigerator for up to 4 days.
To reheat, loosely cover with foil and warm in a 350°F (175°C) oven for about 10-15 minutes, or until the cheese is melted and bubbly again. Avoid microwaving, as it can make the bread tough.
Make-Ahead Magic: Prep Tips for Busy Cooks
To save time on a busy day, you can prep your ingredients in advance. Mince the garlic and shred the cheeses the day before, storing them in separate airtight containers in the refrigerator.
The garlic butter mixture can also be prepared ahead and stored in the fridge; simply gently reheat it before tossing with the biscuits and cheese for assembly.
Ready to Impress? Share Your Cheesy Creation!
Now that you have all the insider tips and a foolproof guide, you’re ready to create the most incredible Cheesy Garlic Pull-Apart Bread that will disappear faster than you can say “more cheese!” It’s a true crowd-pleaser, guaranteed to bring smiles to every face.
Don’t just take my word for it-whip up a batch, experience the magic of that gooey, savory pull, and share your delicious success with us!
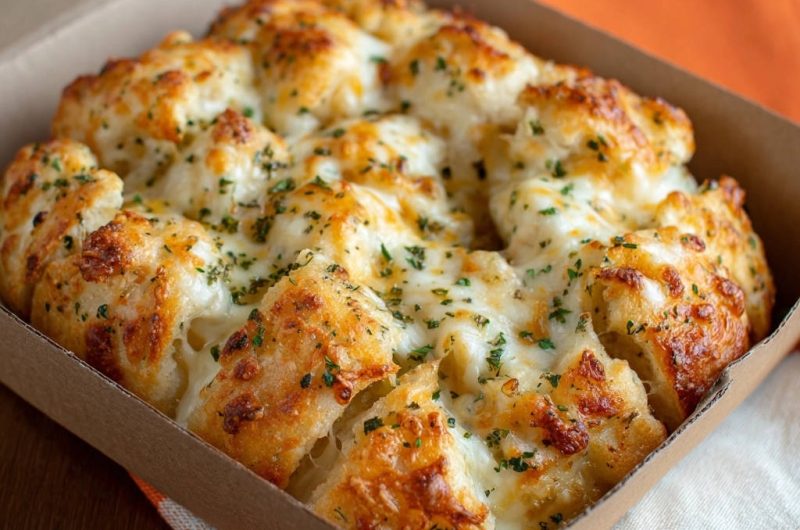
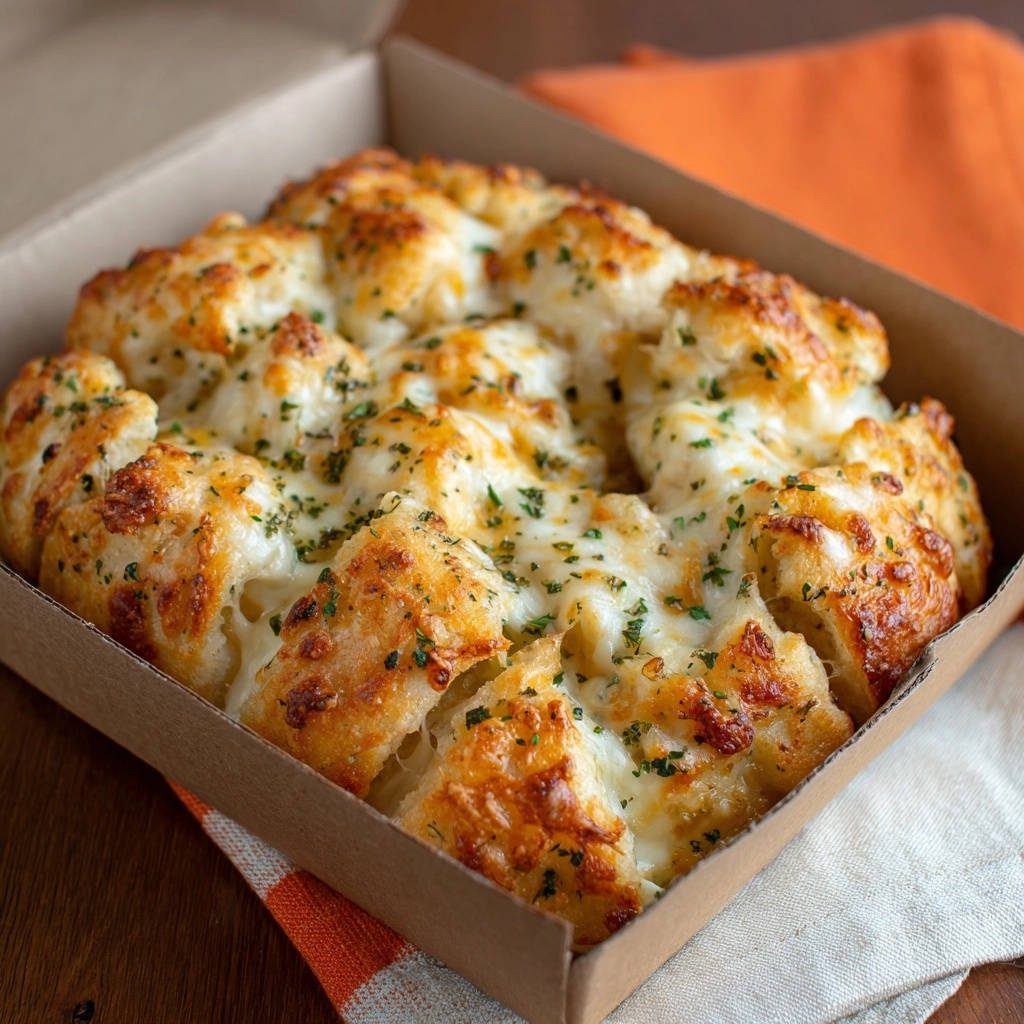
Cheesy Garlic Pull-Apart Bread
Course: BreadCuisine: American CuisineDifficulty: easy6
servings15
minutes25
minutes40
minutesAmerican Cuisine
Ingredients
1 (16.3 ounce) can refrigerated biscuit dough (8 count, large biscuits)
1/2 cup unsalted butter, melted
3 cloves garlic, minced
1 teaspoon dried parsley, plus more for garnish
1/2 teaspoon onion powder
1/4 teaspoon salt
Pinch black pepper
1 1/2 cups shredded mozzarella cheese
1/2 cup shredded sharp cheddar cheese
Directions
- Preheat oven to 375°F (190°C). Lightly grease an 8×8 inch baking pan or a similar size oven-safe dish.
- In a medium bowl, melt the unsalted butter. Stir in the minced garlic, 1 teaspoon dried parsley, onion powder, salt, and black pepper.
- Open the can of biscuit dough. Using kitchen shears or a knife, cut each biscuit into four equal pieces (quarters).
- Add the biscuit pieces to the bowl with the melted butter mixture. Toss gently to coat all the dough pieces evenly.
- Add 1 cup of the shredded mozzarella cheese and all of the cheddar cheese to the bowl with the coated biscuit pieces. Toss gently again to distribute the cheese thoroughly among the dough pieces. This crucial step helps ensure cheese is infused throughout and not just on top, creating pockets of gooey goodness in every pull.
- Arrange the coated, cheesy biscuit pieces in a single layer in the prepared baking pan. They should be somewhat tightly packed to encourage the pull-apart effect.
- Sprinkle the remaining 1/2 cup of shredded mozzarella cheese evenly over the top of the assembled bread.
- Cover the baking pan loosely with aluminum foil. Bake for 15 minutes. Covering helps trap steam, which is key to ensuring the cheese melts thoroughly and evenly while keeping the bread soft and preventing the top from browning too quickly before the cheese is perfectly gooey.
- Remove the foil and bake for another 8 to 12 minutes, or until the top is golden brown and bubbly. The cheese should be completely melted and luxuriously gooey.
- Garnish with a little extra dried parsley, if desired. Serve warm directly from the pan for maximum gooey cheese enjoyment.