
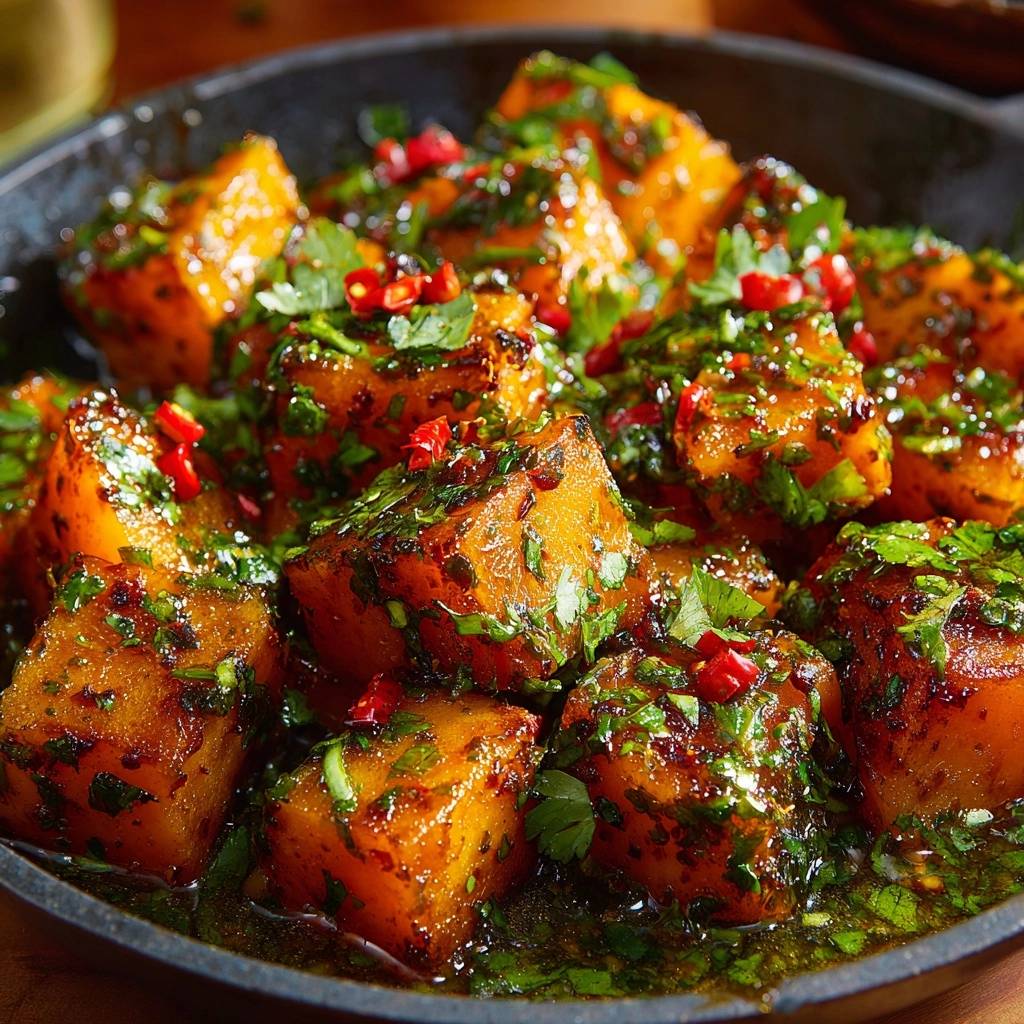
Why Chili-Glazed Butternut Squash Transforms Fall Meals
Ever bite into butternut squash that collapses into a watery mush? You’re not alone. This chili-glazed butternut squash fixes that with a sear-first trick. Dinner’s ready in under 30 minutes, no soggy disappointment.
Here’s why it works so well. The high-heat sear evaporates moisture fast. Therefore, you get caramelized edges that hold firm under the sticky chili-honey glaze. In addition, fresh chilies bring just-right heat to balance the squash’s natural sweetness.
Oh man, the secret’s in patting those cubes bone-dry first. That dry surface browns perfectly. No more steam-trapped mush in your chili-glazed butternut squash.
Key Ingredients for Perfect Chili-Glazed Butternut Squash
You’ll need 2 pounds butternut squash, peeled and cubed into 1-inch pieces. Fresh squash gives the best firmness and sweet flavor. However, pick heavy ones with smooth skins for top results in chili-glazed butternut squash.
Olive oil splits into 3 tablespoons. The first 2 tablespoons sear for crisp crusts. Then, the last one builds the glossy glaze.
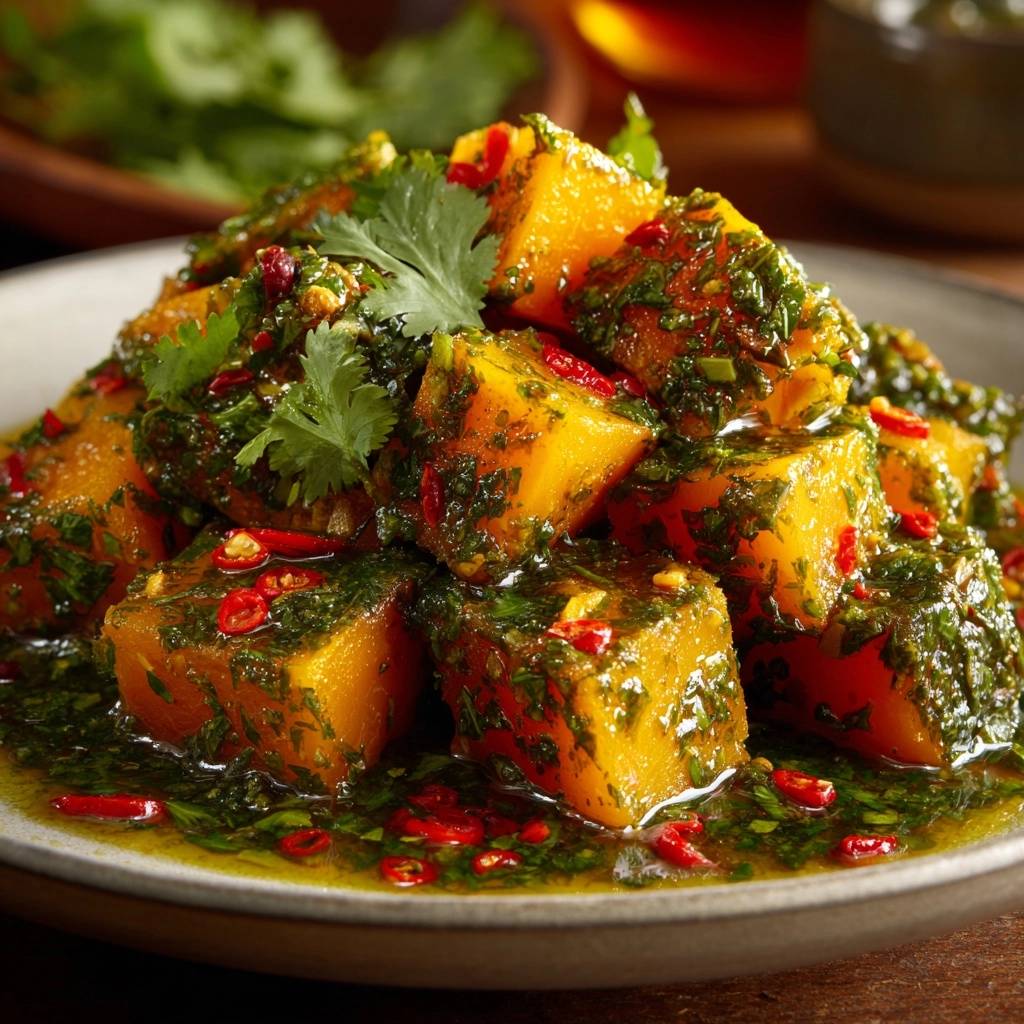
Fresh red chilies, 3 to 4 sliced thin, deliver even heat. Remove seeds if you want milder kick. Honey, 1/4 cup, caramelizes everything sticky-sweet. Salt and pepper season sharp, while cilantro’s fresh chop cuts through at the end.
Selecting Prime Butternut Squash
Grab a butternut squash that feels heavy for its size. Look for unblemished tan skin and a deep orange interior when cut. These traits ensure sweet, firm chili-glazed butternut squash that sears without falling apart.
Chilies and Honey Glaze Ratio
Slice 3-4 fresh red chilies thin for heat that spreads evenly. Pair with 1/4 cup honey to create that shiny, clinging glaze. This ratio coats every cube perfectly in chili-glazed butternut squash.
Science of Searing Butternut Squash Firm
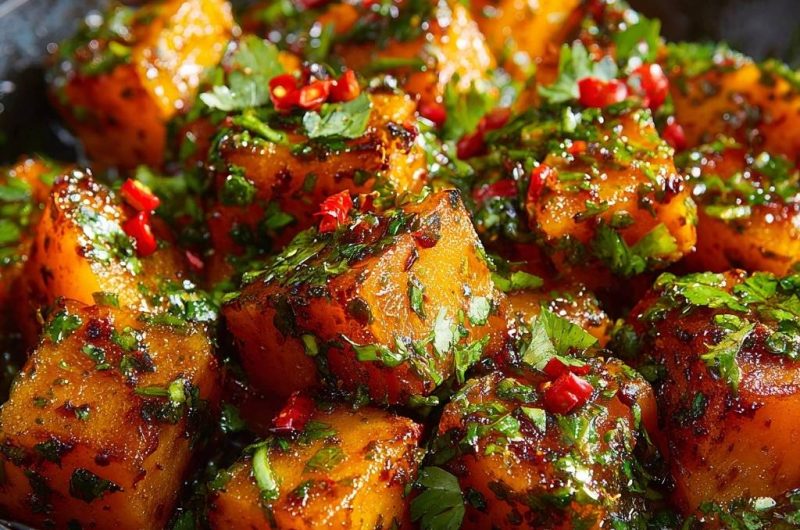
Searing triggers the Maillard reaction. That golden crust on chili-glazed butternut squash builds deep flavor. High heat first evaporates water inside the cubes.
Pat dry before anything. Therefore, no steam forms to soften them. Boiling or steaming? They turn mushy every time.
Picture it like this: dry outside meets hot pan, moisture flees. In addition, the crust locks in firmness for perfect chili-glazed butternut squash.
Moisture Removal for Crisp Results
Press paper towels firmly on squash cubes. This pulls out surface water fast. A dry exterior sears crisp, keeping your chili-glazed butternut squash textured right.
Equipment Choices for Flawless Chili-Glazed Butternut Squash
Use a large 12-inch skillet with high sides. It fits a single layer of squash without crowding. Cast iron holds heat steady for even browning in chili-glazed butternut squash.
Heat until oil shimmers. Tongs flip cubes gently. Nonstick works too, but cast iron gives superior crust.
Skillet Size and Heat Control
A 12-inch cast iron skillet browns evenly for batches of chili-glazed butternut squash. High sides contain the glaze. Control heat to avoid burning the honey.
Step-by-Step: Searing Chili-Glazed Butternut Squash
Start with patting 2 pounds of 1-inch squash cubes super dry. Press hard with paper towels. This step prevents steaming for firm chili-glazed butternut squash.
Heat 2 tablespoons olive oil in your skillet over medium-high until it shimmers. Add cubes in one layer. Sear undisturbed 4-5 minutes for golden bottoms.
Flip with tongs. Sear the other side 3-4 minutes till tender-firm. Fork should pierce with slight give.
Lower heat to medium. Push squash aside, add 1 tablespoon oil, honey, chilies, salt, pepper. Stir into bubbling glaze, then toss cubes 2-3 minutes.
Off heat, mix in chopped cilantro. Serve hot. Pro tip: batch sear if your pan’s small to keep it crisp.
Phase 1: Drying Squash Cubes Thoroughly
Pat and press squash cubes dry. Skip this, and they’ll steam mushy. It’s non-negotiable for chili-glazed butternut squash texture.
Phase 2: High-Heat Initial Sear
Oil shimmers hot. Sear undisturbed till golden. This builds the crust for firm chili-glazed butternut squash.
Phase 3: Glaze Formation and Toss
Reduce heat, combine honey, chilies, seasonings into glossy glaze. Toss seared squash till coated and bubbling. Perfection.
Avoiding Mushy Texture in Chili-Glazed Butternut Squash
Top mistake? Skipping the dry pat. Moisture steams everything soft. Always press firm first.
Don’t overcrowd the pan. It drops temp, traps steam. Batch it for crisp chili-glazed butternut squash.
Low heat fails too. No crust forms. Use medium-high. Overcook? They’ll mush. Stop at fork-tender.
Overcrowding Pan Fixes
Sear in two batches for 2 pounds. Space lets heat work. Even golden chili-glazed butternut squash every time.
Flavor Variations for Chili-Glazed Butternut Squash
Tone down heat with milder chilies or swap for gochujang paste. Maple works for honey if you want earthier sweet.
Add minced garlic or ginger during glaze. Swap cilantro for mint or parsley. All keep chili-glazed butternut squash vegan and gluten-free.
Heat Level Adjustments
Use 3 chilies for medium, 4 for spicy in chili-glazed butternut squash. Remove seeds for mild. Taste glaze before tossing.
Pairing Sides with Chili-Glazed Butternut Squash
Grilled chicken or tofu balances the sweet heat. Quinoa salad adds chew. Creamy yogurt dip cools the spice.
Leafy greens cut richness. For meal prep, mix into bowls with grains. Pro tip: reheat in oven to crisp.
Protein and Grain Matches
Pair chili-glazed butternut squash with grilled fish or lentils. Quinoa or farro soaks up glaze flavors perfectly.
Storage Guide for Chili-Glazed Butternut Squash
Store leftovers in an airtight container in the fridge up to 4 days. Reheat in a hot oven at 400°F for 10 minutes to crisp.
Freeze seared cubes before glazing up to 2 months. Thaw, then glaze fresh. Don’t freeze glazed; honey gets icy.
Common Questions on Chili-Glazed Butternut Squash
Can You Bake Chili-Glazed Butternut Squash?
Baking works at 425°F for 25-30 minutes, but skillet sears faster with better crust. Toss midway for even chili-glazed butternut squash.
Freezing and Reheating Tips
Freeze plain seared cubes in bags for 2 months. Reheat oven-style at 400°F, 10-12 minutes. Keeps chili-glazed butternut squash firm.
Why Is My Chili-Glazed Butternut Squash Mushy?
You likely skipped drying or overcrowded the pan. Pat dry firmly and sear in batches. High heat evaporates moisture for firm texture.
Can I Substitute Frozen Squash for Chili-Glazed Butternut Squash?
Frozen releases too much water, leading to mush. Thaw and dry extra well if you must, but fresh gives best sear and glaze hold.
Can I Reduce the Honey in Chili-Glazed Butternut Squash?
Yes, drop to 3 tablespoons for less sweet. It’ll still glaze, but add a splash of water if too thick. Balances chili heat nicely.
Can I Make Chili-Glazed Butternut Squash Ahead?
Sear cubes up to 2 days ahead, store fridge. Glaze right before serving. Reheats crisp in skillet over medium heat.
Chili-Glazed Butternut Squash
Course: Side DishCuisine: AmericanDifficulty: easy4
servings15
minutes15
minutes30
Minutes250
kcalAmerican
Ingredients
2 pounds butternut squash, peeled and cut into 1-inch cubes
3 tablespoons olive oil, divided
3-4 fresh red chilies, thinly sliced (seeds removed for less heat if desired)
1/4 cup honey
1 teaspoon salt
1/2 teaspoon black pepper
1 cup fresh cilantro, roughly chopped
Directions
- Pat the squash cubes completely dry with paper towels, pressing firmly to remove all surface moisturethis is the key step that prevents mushiness by creating a dry exterior for searing.
- Heat 2 tablespoons olive oil in a large skillet over medium-high heat until shimmering and almost smoking.
- Add squash cubes in a single layer (work in batches if needed to avoid crowding). Sear undisturbed for 4-5 minutes until golden-brown crust forms on the bottomthis locks in firmness and evaporates internal water.
- Flip cubes and sear the other side for 3-4 minutes more, until evenly browned and tender-firm when pierced with a fork.
- Reduce heat to medium. Push squash to one side, add remaining 1 tablespoon oil, honey, chilies, salt, and pepper to the pan. Stir to combine into a glossy glaze, then toss with squash for 2-3 minutes until coated and bubbling.
- Remove from heat, stir in cilantro, and serve hot. The cubes stay perfectly textured!
Notes
- Pat the squash cubes completely dry with paper towels before searing to prevent mushiness. Remove chili seeds for less heat.


