
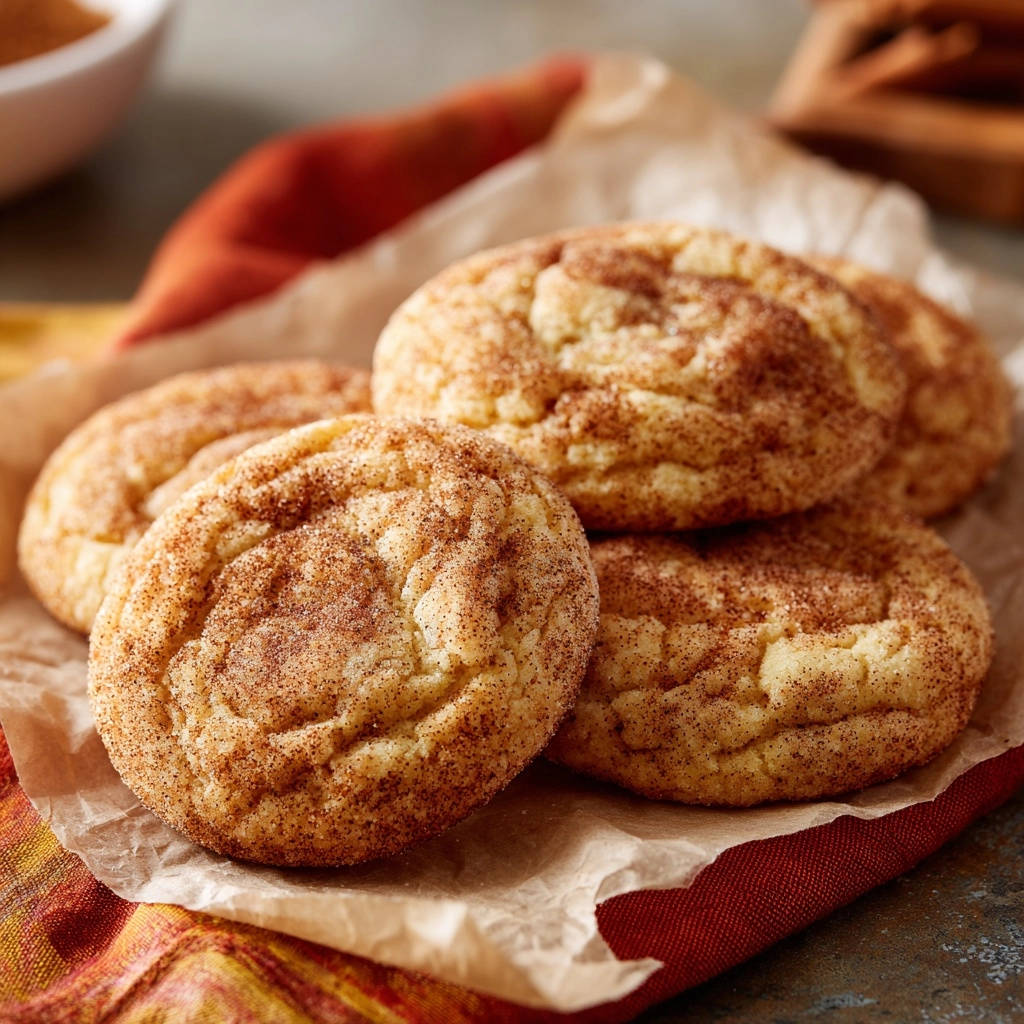
There’s nothing quite as disappointing as expecting soft, perfectly puffed snickerdoodles and pulling a tray of flat, sad discs from the oven. I’ve certainly been there too many times!
But after years of perfecting my technique, I’ve finally unlocked the secret to consistently chewy, beautifully crinkled Classic Snickerdoodles that hold their shape every single time.
This recipe ensures that signature tangy sweetness and a delightful texture, guaranteed to become a family favorite.
Why This Classic Snickerdoodles Recipe Becomes Your New Favorite
This recipe isn’t just about mixing ingredients; it’s about understanding the subtle science behind achieving cookie perfection. We tackle common baking frustrations head-on, ensuring a truly exceptional result.
The Magic of the “Crucial Chilling” Step
The 2-hour minimum chilling step is a game-changer for these Classic Snickerdoodles. It’s the primary guard against spreading, allowing the butter to firm up and the flour to fully hydrate.
This process also deepens the flavor and creates a more tender, chewy texture that’s simply irresistible.
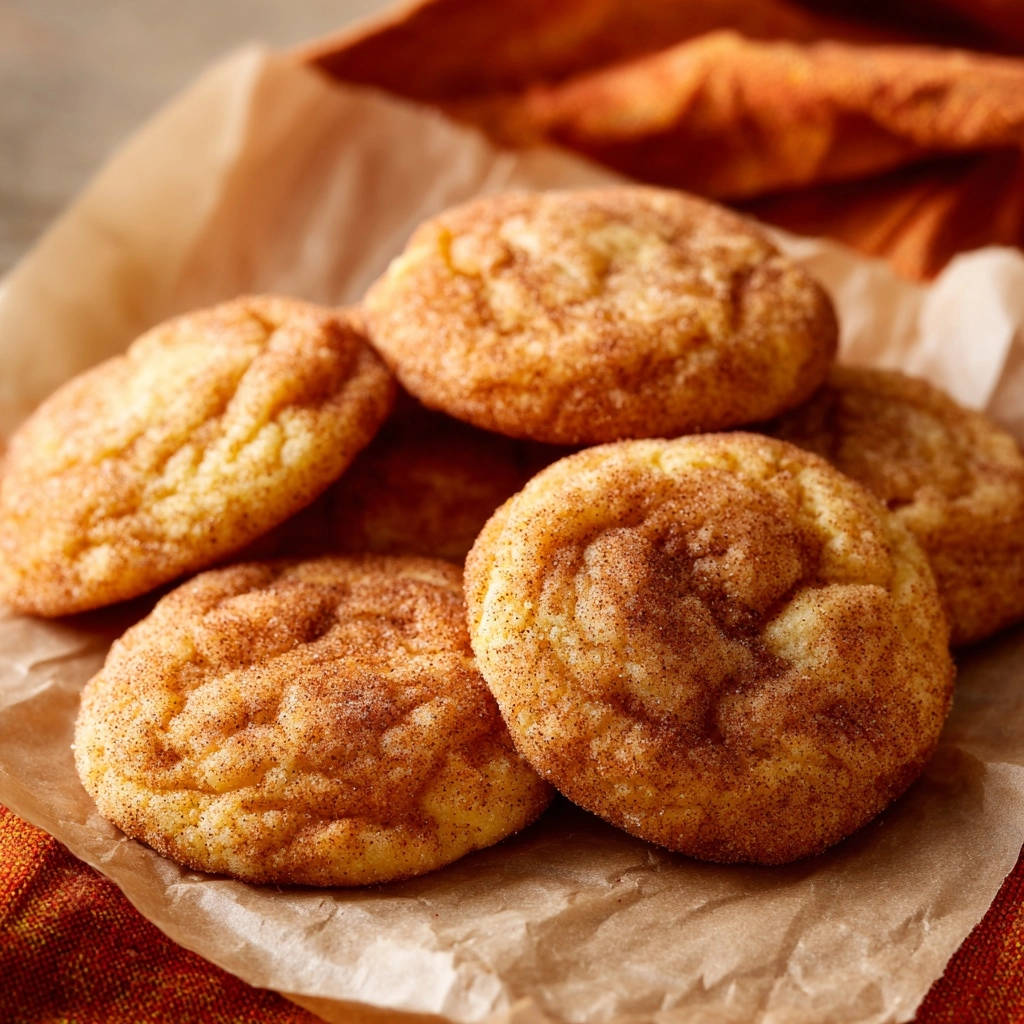
Achieving That Signature Crinkled Top & Chewy Center
Our recipe ensures the ideal crinkled surface and a perfectly soft, chewy interior, never dense or flat. The magic lies in the precise balance of leavening agents and the essential cream of tartar.
Cream of tartar provides the distinctive tangy note and reacts with baking soda to create those beautiful cracks and a tender bite.
Effortless Baking, Unforgettable Flavor
Despite the crucial chilling time, the active baking process for these Snickerdoodles is straightforward and enjoyable. The result is a comforting, nostalgic flavor profile that transports you back to childhood.
Each cookie offers a delightful balance of sweet, spiced, and tangy notes, making them truly unforgettable.
Gather Your Goodies: Building Blocks for Delicious Classic Snickerdoodles
Selecting quality ingredients is the first step towards baking success. Here’s a closer look at what makes these Snickerdoodles shine.
The Creamy Foundation: Butter, Sugar, Eggs & Vanilla
Unsalted Butter, Softened: Using unsalted butter allows you to control the salt content in your baking. Softened butter is key for proper creaming, incorporating air for a lighter texture.
Granulated Sugar, Divided: Sugar not only sweetens but also tenderizes the cookies. Dividing it ensures some is incorporated into the dough, and the rest creates that iconic cinnamon-sugar coating.
Large Eggs: Eggs provide structure, moisture, and richness to the dough. Using large eggs ensures consistent results for the overall balance of the recipe.
Vanilla Extract: Quality vanilla extract enhances all the other flavors. Don’t skimp on a good vanilla; it makes a noticeable difference in the final taste.
The Dry Ensemble: Flour, Cream of Tartar, and Leavening Agents
All-Purpose Flour: This forms the primary structure of your cookies. Measuring it correctly, by weight if possible, prevents dry or dense results.
Cream of Tartar: This is the secret ingredient for Classic Snickerdoodles. It contributes a characteristic tangy flavor, prevents sugar crystallization, and is essential for achieving the signature crinkled top and chewy texture.
Baking Soda: Working in conjunction with cream of tartar, baking soda provides the necessary lift, making the cookies puff up beautifully before they crinkle.
Salt: A small amount of salt balances the sweetness and enhances all the other flavors in the cookie dough.
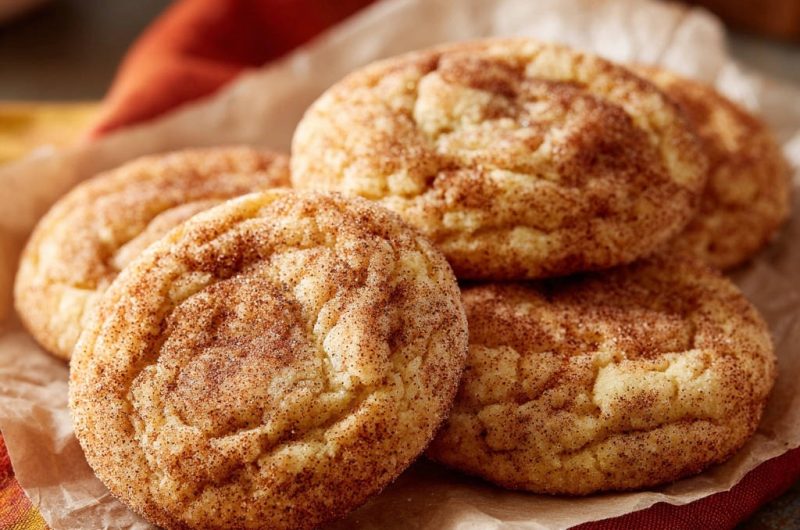
The Signature Finish: Cinnamon-Sugar Coating
This simple combination of granulated sugar and ground cinnamon is what truly defines a Classic Snickerdoodle. It provides a delightful texture, aromatic spice, and that visual appeal we all love.
Tools for Snickerdoodle Success: What You’ll Need
Having the right equipment ensures a smooth baking process and the best possible results for your Classic Snickerdoodles.
Essential Kitchen Gadgets
Electric Mixer (Stand or Handheld): Essential for creaming butter and sugar until light and fluffy.
Large and Medium Mixing Bowls: For combining wet and dry ingredients separately.
Measuring Cups and Spoons: Accurate measurements are crucial for baking success.
Parchment Paper: Prevents sticking and ensures even baking; highly recommended for easy cleanup.
Baking Sheets: Sturdy baking sheets promote consistent heat distribution.
Wire Rack: For cooling cookies completely, preventing them from becoming soggy on the bottom.
Your Step-by-Step Guide to Baking Perfect Classic Snickerdoodles
Follow these detailed instructions to create truly amazing Classic Snickerdoodles every time.
- Cream Butter & Sugar:
In a large bowl, cream together the softened butter and 1 1/4 cups of the granulated sugar until light and fluffy.
This process, taking about 3 to 5 minutes with an electric mixer, is crucial for incorporating air, which contributes significantly to the cookie’s texture and prevents a dense result.
- Incorporate Wet Ingredients:
Beat in the eggs one at a time, mixing well after each addition. Stir in the vanilla extract.
Ensure each egg is fully combined and integrated into the mixture before adding the next; this helps maintain a smooth, emulsified batter.
- Whisk Dry Ingredients:
In a separate medium bowl, whisk together the flour, cream of tartar, baking soda, and salt.
Whisking thoroughly ensures that the leavening agents and salt are evenly distributed throughout the flour mixture, guaranteeing consistent rise and flavor in every cookie.
- Combine Wet & Dry:
Gradually add the dry ingredients to the wet ingredients, mixing on low speed until just combined.
It’s important not to overmix the dough, as this can develop too much gluten, leading to a tough cookie. The dough will feel soft, which is perfectly normal.
- Chill the Dough:
Cover the dough tightly with plastic wrap and refrigerate for at least 2 hours, or up to overnight.
This chilling step is absolutely crucial for preventing the cookies from spreading too much during baking and is the key to achieving that signature chewy texture and defined crinkles. Don’t skip it!
- Prepare for Baking:
When ready to bake, preheat your oven to 375°F (190°C). Line baking sheets with parchment paper.
Parchment paper prevents sticking, promotes even baking by insulating the bottom of the cookies, and makes cleanup incredibly easy.
- Create Cinnamon-Sugar Coating:
In a small, shallow bowl, combine the remaining 1/4 cup granulated sugar and the 2 tablespoons of ground cinnamon.
This mixture is what gives Classic Snickerdoodles their characteristic spiced, sugary crust and contributes to the beautiful crinkled finish.
- Roll Dough Balls:
Remove the chilled dough from the refrigerator. Roll spoonfuls of dough (about 1.5 tablespoons each) into smooth balls.
Using a cookie scoop helps create uniform ball sizes, which in turn ensures consistent baking times for all your cookies on the tray.
- Coat in Cinnamon-Sugar:
Roll each dough ball thoroughly in the cinnamon sugar mixture, ensuring it is completely coated on all sides.
A generous coating is essential for both the iconic flavor and that classic crinkled appearance.
- Arrange on Baking Sheet:
Place the coated dough balls about 2 inches apart on the prepared baking sheets.
Allowing adequate space prevents the cookies from spreading into one another as they bake, ensuring distinct, perfectly shaped cookies.
- Bake to Perfection:
Bake for 8 to 10 minutes, or until the edges are set but the centers are still slightly soft.
The cookies will puff up significantly in the oven and then crinkle beautifully as they cool. The cream of tartar contributes significantly to this signature texture and prevents them from becoming flat.
- Cool & Enjoy:
Let the cookies cool on the baking sheets for a few minutes before transferring them to a wire rack to cool completely.
This allows them to set fully without breaking or losing their shape, and they will continue to firm up and develop their chewiness as they cool.
Chef’s Secrets: Elevating Your Classic Snickerdoodles
Even with a great recipe, a few expert tips can take your Snickerdoodles from good to truly exceptional.
Mastering the Dough: Mixing & Chilling
Don’t Overmix the Dough: Once the dry ingredients are added, mix only until just combined. Overmixing develops gluten, which can lead to a tough, less tender cookie texture.
Embrace the Chill: Resist the urge to skip or shorten the chilling time. It’s truly vital for managing spread, developing flavor, and achieving that perfect chewy texture that defines Classic Snickerdoodles.
Baking to Perfection: Temperature & Timing
Watch for Visual Cues: Don’t rely solely on the timer. Look for edges that are just set and centers that still appear slightly soft, as they will continue to bake and firm up as they cool on the baking sheet.
Rotate Baking Sheets: If your oven has hot spots, rotating your baking sheets halfway through the baking time ensures even golden-brown results across all your cookies.
The Cream of Tartar Conundrum
Understand its Role: Cream of tartar isn’t just for leavening; it’s a key ingredient for the characteristic tangy flavor, helps prevent sugar crystallization, and contributes significantly to the classic snickerdoodle crinkle and chewy texture.
Snickerdoodle Troubleshooting: Common Challenges & Solutions
Even seasoned bakers encounter hiccups. Here are solutions to common snickerdoodle problems.
Flat Cookies? Here’s Why!
Flat cookies are often caused by butter that’s too soft, insufficient dough chilling, or overmixing the dough. Ensure your butter is softened but still cool to the touch, and strictly adhere to the chilling time.
Cookies Spreading Too Much?
If your cookies spread excessively, it’s likely due to dough that wasn’t chilled long enough, an oven that isn’t preheated to the correct temperature, or incorrect flour measurement (too little flour). Always ensure dough is thoroughly chilled and your oven is accurate.
Hard or Dry Snickerdoodles?
Hard or dry Classic Snickerdoodles are usually the result of overbaking. Pull them from the oven when the edges are set but the centers are still slightly soft. Overmixing the dough can also lead to a tougher texture, so mix just until combined.
Beyond the Bake: Serving, Storage & Make-Ahead Tips
Once your irresistible Classic Snickerdoodles are baked, here’s how to enjoy them best and keep them fresh.
Creative Serving Suggestions
Classic Snickerdoodles are delightful on their own, but also pair wonderfully with a scoop of vanilla ice cream. They are also fantastic with a hot cup of coffee or tea, or as part of a varied dessert platter.
Storing Your Freshly Baked Delights
To maintain peak freshness, store your Classic Snickerdoodles in an airtight container at room temperature. They will remain soft and delicious for up to 3-5 days.
Can You Make Classic Snickerdoodles Ahead?
Absolutely! This recipe is perfect for making ahead. You can prepare the dough and refrigerate it overnight, or even roll the dough balls in cinnamon sugar and freeze them on a baking sheet. Once frozen, transfer to a freezer bag for up to 3 months.
When ready to bake from frozen, simply place them on a parchment-lined baking sheet and add an extra minute or two to the baking time. For more make-ahead baking ideas, explore our easy cinnamon rolls recipe.
Your Classic Snickerdoodles Questions, Answered! (FAQ)
We’ve compiled answers to the most common questions about baking these beloved cookies.
What is Cream of Tartar and can I skip it?
Cream of tartar is an acidic salt that is a byproduct of winemaking. In Snickerdoodles, it provides the characteristic tangy flavor, prevents sugar crystallization for a chewier texture, and helps create those signature crinkles. While you might try a substitution like lemon juice or white vinegar (1/2 tsp for every 1 tsp cream of tartar), skipping it entirely will result in a different cookie – flatter, less chewy, and without the classic tangy note. It’s truly essential for authentic Classic Snickerdoodles.
Can I use gluten-free flour for Classic Snickerdoodles?
Yes, you can often substitute a 1:1 gluten-free baking flour blend for the all-purpose flour. However, the texture might vary slightly, sometimes requiring a bit more liquid or a longer chilling time. Always choose a blend designed for baking for the best results.
How long do Snickerdoodles last?
Stored in an airtight container at room temperature, Classic Snickerdoodles will stay fresh and delicious for about 3 to 5 days. For longer storage, freezing is an excellent option.
Why is chilling the dough so important?
Chilling the dough is paramount for several reasons: it prevents the cookies from spreading too much in the oven, allows the flavors to meld, and helps create that wonderful chewy texture. Cold butter in the dough melts slower, promoting less spread and a better rise.
Can I freeze baked Snickerdoodles?
Yes, baked Snickerdoodles freeze beautifully! Allow them to cool completely, then place them in an airtight freezer-safe container or bag, separating layers with parchment paper to prevent sticking. They will last for up to 2-3 months. Thaw them at room temperature for a quick treat, or gently warm them for that fresh-from-the-oven experience. This tip also applies to other sweet treats, like our classic apple crumble bars.
Ready to Bake Your Best Classic Snickerdoodles Yet?
With these expert tips and a meticulously crafted recipe, you’re now equipped to bake the most irresistible Classic Snickerdoodles your kitchen has ever seen. Get ready to enjoy perfectly soft, chewy, and beautifully crinkled cookies that will disappear as quickly as they’re made.
Don’t forget to share your baking triumphs with us!
Classic Snickerdoodles
Course: DessertCuisine: American CuisineDifficulty: easy24
cookies20
minutes10
minutes180
minutesAmerican Cuisine
Ingredients
1 cup (2 sticks) unsalted butter, softened
1 1/2 cups granulated sugar, divided
2 large eggs
2 teaspoons vanilla extract
2 3/4 cups all-purpose flour
2 teaspoons cream of tartar
1 teaspoon baking soda
1/2 teaspoon salt
2 tablespoons ground cinnamon
Directions
- In a large bowl, cream together the softened butter and 1 1/4 cups of the granulated sugar until light and fluffy. This should take about 3 to 5 minutes, ensuring air is well incorporated.
- Beat in the eggs one at a time, mixing well after each addition. Stir in the vanilla extract.
- In a separate medium bowl, whisk together the flour, cream of tartar, baking soda, and salt.
- Gradually add the dry ingredients to the wet ingredients, mixing on low speed until just combined. Do not overmix. The dough will be soft.
- Cover the dough tightly with plastic wrap and refrigerate for at least 2 hours, or up to overnight. This chilling step is crucial for preventing the cookies from spreading too much and ensures a chewy texture.
- When ready to bake, preheat your oven to 375°F (190°C). Line baking sheets with parchment paper.
- In a small, shallow bowl, combine the remaining 1/4 cup granulated sugar and the 2 tablespoons of ground cinnamon.
- Remove the chilled dough from the refrigerator. Roll spoonfuls of dough (about 1.5 tablespoons each) into smooth balls.
- Roll each dough ball thoroughly in the cinnamon sugar mixture, ensuring it is completely coated.
- Place the coated dough balls about 2 inches apart on the prepared baking sheets.
- Bake for 8 to 10 minutes, or until the edges are set but the centers are still slightly soft. The cookies will puff up and then crinkle beautifully as they cool. The cream of tartar contributes to this signature texture and prevents them from becoming flat.
- Let the cookies cool on the baking sheets for a few minutes before transferring them to a wire rack to cool completely.
Notes
- Chilling the dough for at least 2 hours is crucial for preventing spread and ensuring a chewy texture. Cream of tartar gives these cookies their signature crinkled appearance.


