There’s a special kind of comfort found in a warm, cheesy bowl of mac and cheese. It’s a classic for a reason! However, if you’ve ever ended up with a grainy, separated sauce instead of the velvety dream you were hoping for, you know how frustrating it can be. I’ve been there! For years, I chased that elusive perfect creamy mac and cheese sauce, only to sometimes be met with disappointment.
But guess what? I cracked the code! I discovered a simple technique that guarantees a smooth, luscious cheese sauce every single time, without fail. This recipe for creamy stovetop mac & cheese is not only quick to make, coming together in just about 25 minutes, but it also delivers that rich, comforting texture that clings beautifully to every single noodle. Say goodbye to grainy sauce forever!
Why You’ll Love This Creamy Stovetop Mac & Cheese
Beyond solving the grainy sauce problem, this mac and cheese recipe has a lot going for it. It’s become a weeknight hero and a weekend indulgence all in one. Here’s why it deserves a spot in your regular rotation:
- Speedy Comfort: From start to finish, you’re looking at roughly 25 minutes. Faster than takeout, and infinitely more satisfying.
- Foolproof Creaminess: The method for the sauce is truly the game-changer. No more lumps, no more separation – just pure, silky smooth goodness.
- Simple Ingredients: You likely have most of what you need in your pantry and fridge right now.
- Versatile Base: This incredibly creamy mac and cheese is perfect as is, but also serves as a fantastic base for adding your favorite mix-ins.
- Ultimate Comfort Food: It’s warm, it’s cheesy, it’s pasta. Need I say more? It’s the definition of cozy in a bowl.
Gathering Your Ingredients for the Creamiest Mac & Cheese
Making spectacular creamy stovetop mac & cheese starts with understanding the role each ingredient plays. While the list is short and sweet, choosing the right quality ingredients will elevate your dish from good to absolutely unforgettable. We’re building layers of flavor and texture here, ensuring that perfect consistency is within reach.
Here’s what you’ll need to create this magic:
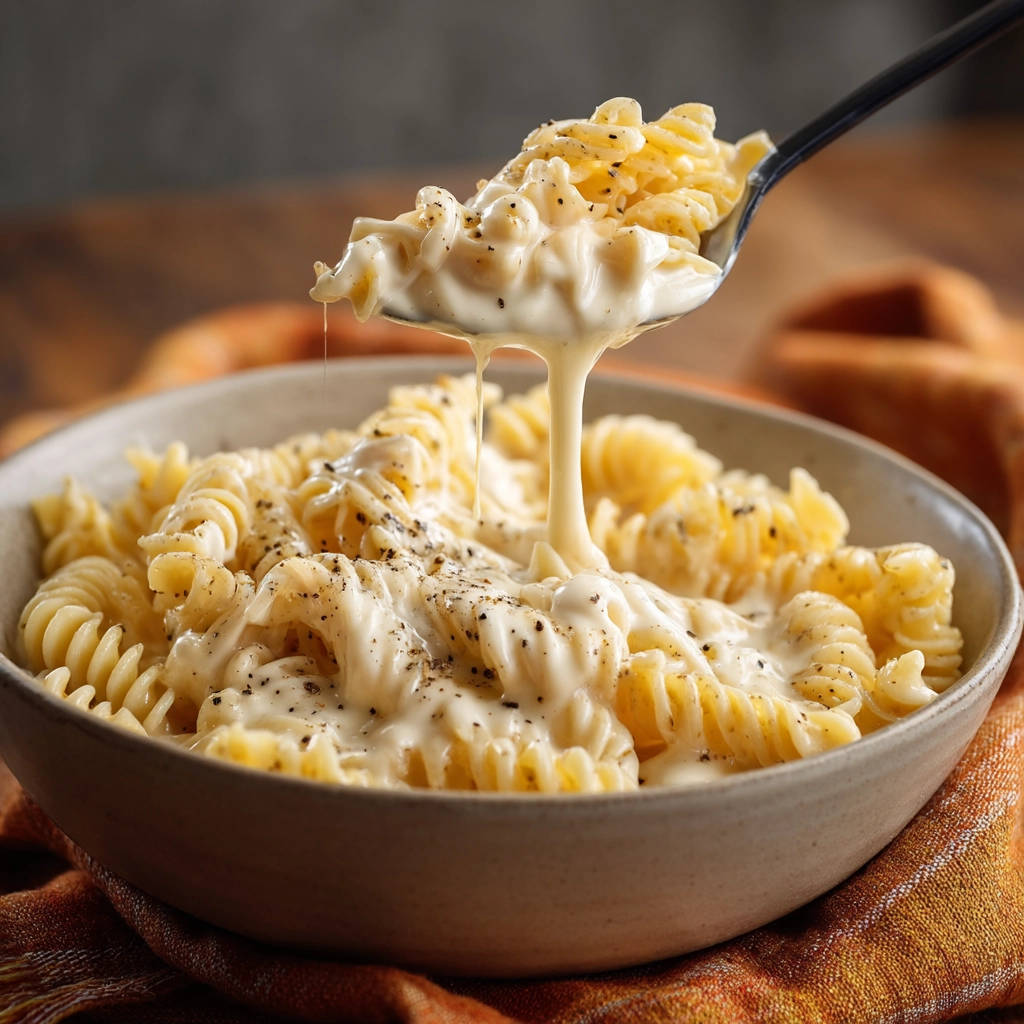
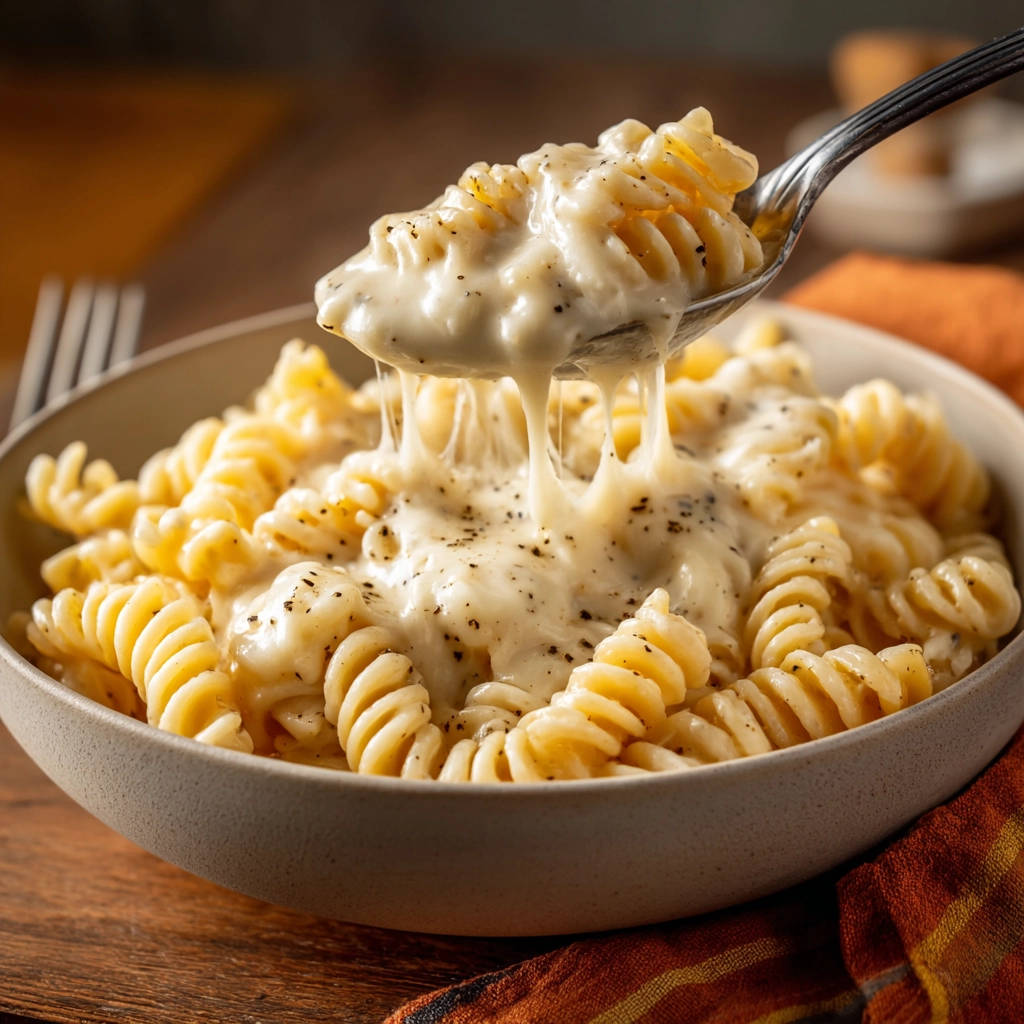
- 8 ounces Fusilli Pasta: I love how the spirals of fusilli pasta grab onto the creamy sauce, ensuring every bite is packed with cheesy goodness. Elbow macaroni is the classic choice and works beautifully too, as do other short pasta shapes like cavatappi or shells. The key is choosing a pasta that the sauce can really cling to.
- 4 tablespoons Unsalted Butter: Butter forms the base of our roux, which is essential for thickening the sauce smoothly. Using unsalted butter gives you control over the final saltiness of the dish.
- 4 tablespoons All-Purpose Flour: This is the other half of our thickening agent, the roux. All-purpose flour is standard and reliable for creating a stable, smooth sauce.
- 3 cups Milk (Whole or 2 percent works best): The fat content in whole or 2 percent milk is crucial for a rich and creamy sauce. Skim milk tends to make the sauce thinner and less luxurious. Make sure your milk isn’t ice cold; letting it sit out for a few minutes while you prep other ingredients helps it incorporate more smoothly into the hot roux.
- 2 cups Shredded Sharp Cheddar Cheese: Sharp cheddar brings that quintessential mac and cheese flavor – tangy, rich, and utterly satisfying. Shredding it yourself from a block is highly recommended for the best melting results. Pre-shredded cheeses often contain anti-caking agents that can slightly affect the smoothness of your sauce.
- 1/2 cup Shredded Monterey Jack Cheese: Monterey Jack is a melting superstar! Its smooth texture and mild flavor complement the sharp cheddar without overpowering it, contributing significantly to that desired velvety consistency. Other good melting cheeses like Gruyère, Fontina, or even a mild Colby Jack can also work well here.
- Salt to taste: Essential for enhancing the flavors of the pasta and cheese. You’ll add it at the end, seasoning to perfection.
- Freshly Ground Black Pepper to taste: A non-negotiable finisher! Black pepper adds a wonderful little bite and aromatic depth that cuts through the richness of the cheese.
Having everything measured and ready before you start is a great way to ensure the process flows smoothly, especially when you get to the sauce-making stage.
Crafting Your Creamy Stovetop Mac & Cheese: Step-by-Step
Alright, let’s get down to the nitty-gritty! Making this ultra-creamy sauce is simple once you know the technique. Follow these steps, and you’ll be rewarded with a mac and cheese masterpiece in no time.
- Start the Pasta: Bring a large pot of generously salted water to a rolling boil. Add your 8 ounces of fusilli or elbow macaroni and cook according to the package directions until it’s perfectly al dente. Al dente means it’s cooked through but still has a slight bite to it. This is important because the pasta will finish cooking slightly in the hot cheese sauce. Overcooked pasta can become mushy. Once it’s cooked, drain it thoroughly in a colander and set it aside. Give it a little shake in the colander to remove as much water as possible – excess water can thin out your beautiful sauce.
- Melt the Butter: While your pasta is happily boiling away, grab a large saucepan or a Dutch oven. This is where our magical sauce will come to life! Place the pan over medium heat. Add the 4 tablespoons of unsalted butter and let it melt completely. Swirl the pan or use a whisk to ensure the butter is evenly melted across the bottom.
- Whisk in the Flour to Make a Roux: Once the butter is melted and slightly bubbly, sprinkle the 4 tablespoons of all-purpose flour into the pan. Grab your whisk and start whisking immediately and constantly. You’ll want to whisk this flour and butter mixture (this is your roux!) for 1 to 2 minutes. This cooks out the raw flour taste. The mixture will look like a thick paste and may turn a very pale blonde color, but don’t let it brown significantly for a cheese sauce unless you’re aiming for a nuttier flavor profile, which isn’t needed here. Just keep whisking to prevent sticking.
- The Smooth Sauce Secret: Gradually Add Milk: This is the most crucial step for a velvety, non-grainy sauce, and it’s where many traditional methods go wrong by adding all the milk at once. The key is gradual incorporation. Begin by whisking in just about 1/2 cup of your milk into the roux. Whisk vigorously until this small amount of milk is completely smooth and incorporated into the roux, creating a thick paste again. Then, add another 1/2 cup and repeat the process. Continue adding the milk about 1/2 cup at a time, whisking until smooth after each addition, before adding the next batch. This technique prevents lumps from forming and allows the starch in the flour to properly hydrate and thicken the sauce evenly. Keep whisking continuously as you add all the milk. The sauce will gradually get smoother and thicker as you incorporate the milk. It should take about 5 to 7 minutes total for all the milk to be incorporated and for the sauce to thicken to a lovely, pourable consistency. Bring the sauce to a gentle simmer – you’ll see small bubbles just breaking the surface – but absolutely do NOT let it come to a rolling boil. Boiling can destabilize the sauce and potentially make it grainy.
- Melt the Cheese Off the Heat: Once your sauce is thick and smooth and has reached a gentle simmer, remove the pan from the heat immediately. This is the second crucial technique for preventing grainy sauce. Adding cheese to a sauce that is too hot or still boiling is a common culprit for separation and graininess. Now, add your shredded sharp cheddar and Monterey Jack cheeses, a handful at a time. After adding a handful, stir constantly with a whisk or a wooden spoon until that cheese is completely melted and incorporated into the sauce before adding the next handful. This ensures the cheese melts smoothly and evenly into the warm sauce. Continue stirring constantly until all the cheese is melted and you have a luxurious, creamy sauce that coats the back of a spoon beautifully. The residual heat from the sauce is perfectly adequate to melt the cheese without overheating it.
- Season Your Sauce: Now that your velvety cheese sauce is ready, it’s time to season it! Taste your sauce. Add salt and freshly ground black pepper to taste. Cheese is salty, so start with a little salt, stir, and taste again. You’ll likely need more salt than you think to bring out the best flavors. Don’t be shy with the black pepper – it’s a classic pairing for a reason!
- Combine Pasta and Sauce: Add your cooked and well-drained pasta directly into the pot with the glorious cheese sauce. Use a spoon or spatula to gently stir the pasta, ensuring every piece is coated generously with that rich, creamy sauce.
- Serve Immediately: Mac and cheese is best enjoyed right away when the sauce is at its peak creaminess and the pasta is perfectly coated. Ladle it into bowls and serve! You can add a little extra black pepper on top for garnish if you like.
See? Making a truly creamy sauce is all about controlling temperature and gradually incorporating your liquids and cheese. You’ve got this!
Tips for Perfect Creamy Mac & Cheese Every Time
Mastering mac and cheese is a journey, and these tips can help ensure every batch is a winner, ultra creamy and delicious:
- Shred Your Own Cheese: Seriously, this makes a difference. Pre-shredded cheese contains anti-caking agents (like cellulose or potato starch) that can prevent it from melting as smoothly as block cheese you grate yourself. For the creamiest results, buy blocks of cheese and shred them just before you start cooking.
- Don’t Overcook the Pasta: Remember, it finishes cooking in the sauce. Al dente is your friend here.
- Room Temperature Milk: While not strictly necessary, using milk that isn’t straight from the fridge can sometimes help it incorporate more smoothly into the hot roux. Let it sit out for 10-15 minutes before you start.
- Be Patient with the Roux: Cooking the flour for 1-2 minutes isn’t just about mixing; it’s about cooking out that raw flour taste. Don’t rush this step.
- Gradual Milk Addition is Key: I cannot stress this enough! Adding milk bit by bit and whisking until smooth each time is the secret to preventing lumps and ensuring a silky sauce.
- Cheese Off the Heat: Melting the cheese once the pan is removed from direct heat prevents the cheese proteins from seizing up and becoming grainy or oily. Trust the residual heat!
- Season Adequately: Don’t forget the salt! Cheese is salty, but pasta needs seasoning too, and the sauce needs enough salt to make the flavors pop. Taste and adjust.
- Experiment with Cheese: While cheddar and Monterey Jack are a winning combo, feel free to play! Try adding a little smoked gouda for depth, some Gruyère for nutty notes, or a touch of Parmesan for extra sharpness. Always ensure they are good melting cheeses.
Recipe Variations to Try
Once you have this perfect creamy base, you can easily add other ingredients to change things up:
- Add Protein: Stir in cooked chicken, sausage, or even some crispy bacon bites for a heartier meal. For chicken ideas, you could try cubing up some grilled lemon herb chicken.
- Sneak in Veggies: Mix in steamed broccoli florets, peas, sautéed mushrooms, or roasted Brussels sprouts. Adding a link to our crispy roasted Brussels sprouts could be a great way to incorporate some greens!
- Spicy Kick: Add a pinch of cayenne pepper, a dash of hot sauce, or some diced jalapeños to the sauce along with the cheese.
What to Serve With Your Creamy Mac & Cheese
This creamy stovetop mac & cheese is hearty enough to be a main course, but it also makes an incredible side dish. If you’re looking to round out the meal, here are a few simple ideas:
- A Simple Green Salad: A fresh, crisp salad with a light vinaigrette is the perfect counterpoint to the richness of the mac and cheese. Something like our easy kale salad could offer a lovely texture contrast.
- Roasted Vegetables: Asparagus, broccoli, or green beans roasted with a little garlic and olive oil make a healthy and flavorful side.
- Garlic Bread: A classic pairing! Warm, buttery garlic bread for dipping into that creamy sauce is always a crowd-pleaser.
- Grilled Chicken or Steak: Serve it alongside your favorite grilled meat for a more substantial dinner.
Your Creamy Stovetop Mac & Cheese Questions Answered (FAQ)
Got questions? I’ve got answers! Here are some common queries about making stovetop mac and cheese super creamy and delicious.
Why is my cheese sauce grainy?
The most common reasons for grainy cheese sauce are overheating the cheese or adding the milk to the roux too quickly. Cheese is a protein and fat emulsion. High, direct heat or boiling can cause the proteins to seize and the fat to separate, resulting in a grainy or oily texture. Adding milk gradually to the roux allows the starch to thicken evenly, preventing lumps and creating a stable base before the cheese is introduced off the heat.
Can I use pre-shredded cheese?
While you can use pre-shredded cheese, it contains anti-caking agents (like cellulose or starches) that can interfere with smooth melting. For the absolute creamiest, silkiest sauce, shredding block cheese yourself is always the best option.
Can I use different kinds of cheese?
Absolutely! The cheddar and Monterey Jack blend provides a classic flavor and excellent melt. However, you can substitute other good melting cheeses. Try Gruyère, Fontina, Colby Jack, Provolone, or even a touch of smoked Gouda. Avoid hard, dry cheeses that don’t melt well on their own, or mix them with a good melting cheese.
What kind of milk is best?
Whole milk or 2 percent milk work best because their fat content contributes significantly to the richness and creaminess of the sauce. Skim milk tends to make the sauce thinner and less luxurious. Heavy cream or half-and-half can also be added for an even richer sauce, but start with the milk base as directed.
How do I reheat leftover mac and cheese?
Reheating can sometimes be tricky, as the sauce can tighten up. The best way to reheat stovetop mac and cheese is gently on the stovetop over low heat. Add a splash of milk (about 1-2 tablespoons per serving) before heating, stirring frequently until it’s hot and creamy again. You can also reheat it in the microwave, adding a splash of milk first and stirring halfway through.
Can I add other things to the mac and cheese?
Yes, this is a fantastic base for additions! Cooked meats like chicken, ground beef, or bacon are popular. Cooked vegetables like broccoli, peas, corn, or spinach are also great additions. Just stir them in during the last minute or two of cooking, right before serving, to heat them through.
Enjoy Your Homemade Creamy Stovetop Mac & Cheese!
There you have it! A foolproof method for achieving the creamy, dreamy stovetop mac and cheese you’ve always craved. No more grainy sauces or sad, separated cheese. This recipe is quick enough for a busy weeknight but comforting enough for a special occasion. It’s a bowl of pure, unadulterated cheesy bliss.
Give it a try tonight and see for yourself how wonderfully simple it is to make perfect mac and cheese. I can’t wait to hear how much you love it!
If you make this recipe, leave a comment below and let me know what you think! Did you add any fun mix-ins? Your feedback helps other home cooks, and I love hearing from you.
Creamy Stovetop Mac & Cheese

Ingredients
- 8 ounces fusilli pasta (or elbow macaroni)
- 4 tablespoons unsalted butter
- 4 tablespoons all purpose flour
- 3 cups milk (whole or 2 percent works best)
- 2 cups shredded sharp cheddar cheese
- 1/2 cup shredded Monterey Jack cheese (or other good melting cheese)
- Salt to taste
- Freshly ground black pepper to taste
Directions
- Cook the pasta according to package directions until al dente. Drain well and set aside.
- While the pasta cooks, melt the butter in a large saucepan or Dutch oven over medium heat.
- Add the flour to the melted butter and whisk constantly for 1 to 2 minutes. This creates a roux.
- This is the key to a smooth sauce: Gradually whisk in the milk, about 1/2 cup at a time, whisking until smooth after each addition before adding more. Keep whisking until all the milk is incorporated and the sauce is smooth and thickened, about 5 to 7 minutes. Bring the sauce to a gentle simmer, but do not boil.
- Remove the pan from the heat. Add the shredded cheeses, a handful at a time, stirring until completely melted and smooth before adding the next handful. Stir constantly until all the cheese is melted and fully incorporated into a luxurious, creamy sauce. The residual heat will melt the cheese perfectly without overheating.
- Season generously with salt and black pepper.
- Add the cooked and drained pasta to the cheese sauce and stir gently to coat evenly.
- Serve immediately, with extra black pepper on top if desired.