Oh, hello there, fellow food lover! Have you ever craved that perfect sweet treat with an absolutely irresistible crunch, but found that frying desserts at home often leads to a greasy, sad outcome? I know the feeling! For years, I struggled to get that ideal golden, crispy coconut fried bites exterior without the inside becoming an oily mess. It felt like chasing a culinary unicorn! But guess what? I finally cracked the code, and it’s simpler than you think.
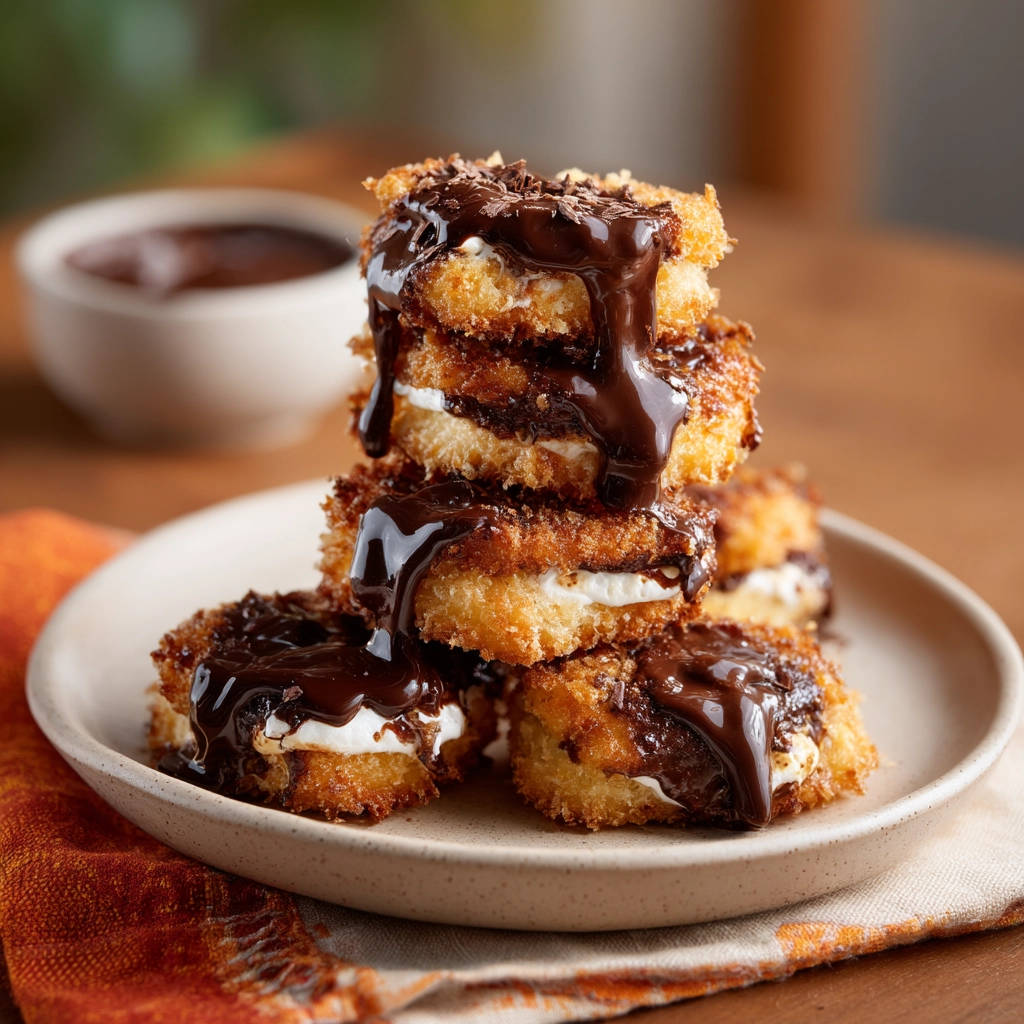
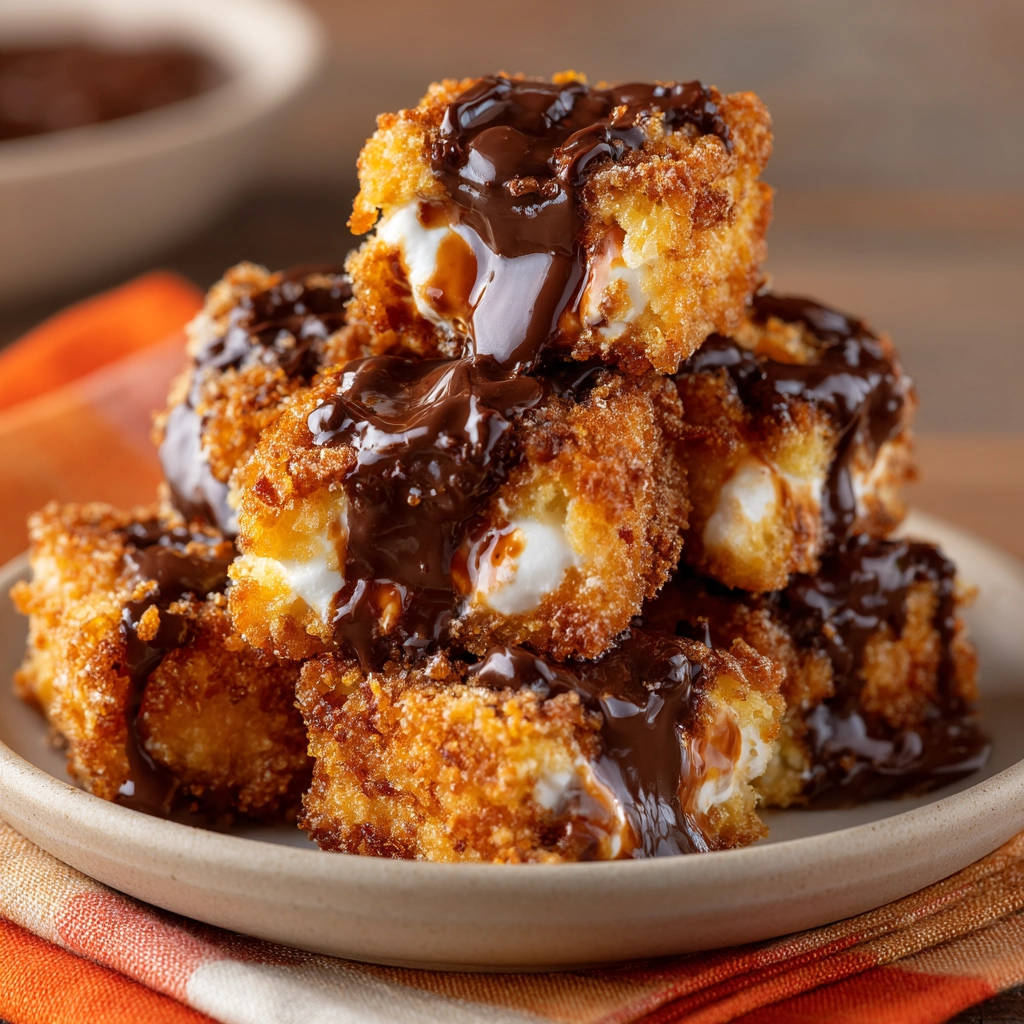
These aren’t just any fried sweets; they’re little squares of joy filled with gooey marshmallow fluff and coated in a thick layer of sweet, toasted coconut, then finished with a decadent chocolate drizzle. They’re quick to make, incredibly satisfying, and thanks to one little trick I discovered, they come out beautifully golden and shatteringly crispy every single time. No more greasy disappointment, I promise! Ready to make some magic?
Reasons These Crispy Coconut Fried Bites Are a Keeper
Why should these delightful little bites earn a spot in your recipe repertoire? Let me count the ways:
- Guaranteed Crispiness: That secret step truly works wonders, ensuring a non-greasy, perfectly crunchy coating.
- Quick & Easy: With minimal prep and a super short cook time, you can whip these up on a whim.
- Sweet & Satisfying: The combination of sweet filling, nutty coconut, and rich chocolate is simply divine.
- Versatile: While chocolate is classic, you can easily switch up the drizzle or dipping sauce.
- Crowd-Pleaser: Perfect for parties, dessert tables, or just a fun afternoon snack. Kids and adults alike adore them!
Gathering Your Simple Ingredients for Crispy Coconut Fried Bites
Part of the beauty of this recipe is how few ingredients you actually need! Most of these are likely staples you already have on hand, making it super easy to decide to make crispy coconut fried bites on a moment’s notice. Let’s look at what you’ll need and why each component is important for achieving that perfect result.
The base of our bites is simple sliced bread. For this recipe, we’re using white bread, and you’ll need 8 slices. The key here is to remove the crusts; this makes the bread easier to flatten and seal, preventing any filling from escaping during frying. White bread works best because it’s soft and pliable enough to flatten thinly without tearing, creating a sturdy base for our sweet sandwiches.
For the delightful, gooey center, you’ll need 1 cup of marshmallow fluff or a thick white frosting. Marshmallow fluff gives you that classic, stretchy, melted marshmallow experience, while a good quality thick white frosting offers a creamier, slightly more stable filling. Both work wonderfully, providing a sweet contrast to the crispy exterior. Choose whichever you prefer or have on hand!
The coating is where the magic really happens! It starts with a standard 1/2 cup of all-purpose flour. This initial dredge helps create a dry surface for the egg to adhere to. Next, we use 2 large eggs, beaten. These act as the glue, binding the flour layer to our final, crucial coating. And that star of the show? 1 cup of shredded sweetened coconut. Sweetened coconut adds flavor and, most importantly, provides that fantastic texture that fries up golden and crispy.
Of course, you’ll need vegetable oil for frying. You’ll want enough to create about 2 inches of depth in your pot. Vegetable oil is a good choice because it has a high smoke point, making it suitable for the required frying temperature without burning.
Finally, for drizzling and garnish, grab some chocolate syrup or melted chocolate and chocolate shavings. This finishing touch adds richness and makes these crispy bites even more decadent and visually appealing.
Crafting Your Crispy Coconut Fried Bites: A Detailed Process
Making these crispy coconut fried bites involves a few simple steps, but paying attention to the details, especially the secret weapon, is what guarantees that glorious crunch! Here’s how we transform those simple ingredients into dessert perfection.
-
Your first step is to prepare the bread slices. Take each of the 8 slices of white bread, with the crusts already removed, and place one slice on a clean surface. Use a rolling pin to flatten each slice slightly. You don’t need to make it paper-thin, but just compact it enough to make it a bit denser and easier to work with. This also helps the edges seal better later on.
-
Now, let’s add the sweet surprise inside. Take four of the flattened bread slices. On each of these four slices, spread a generous layer of your marshmallow fluff or thick white frosting. Be mindful to leave a small border, perhaps about half an inch, clear around the edges. This clean border is essential for ensuring a good seal and preventing the filling from oozing out during assembly and frying.
-
To complete the sweet sandwiches, place the remaining four flattened bread slices directly on top of the four slices with the filling. Gently press the edges of each sandwich together. You want to create a good seal all the way around to keep that delicious filling locked inside. Take a moment to really pinch or press firmly along the border you left.
-
Now, transform your sandwiches into bite-sized pieces. Using a sharp knife, carefully cut each sealed sandwich into four smaller, roughly equal squares. A sharp knife will give you clean cuts, which again helps with sealing and appearance. You’ll end up with a total of 16 little squares.
-
Set up your breading station. This is a standard three-stage process that builds our crispy layers. Grab three separate shallow dishes or plates. In the first dish, place the all-purpose flour. In the second dish, pour your beaten eggs. And in the third dish, spread out the shredded sweetened coconut. Having these ready to go makes the dipping process smooth and efficient.
-
Begin the breading process with the flour. Take one of the bread squares and lightly dredge it in the flour, ensuring all sides are covered. Gently shake off any excess flour. You want a thin, even coating, not a thick dusty layer.
-
Next, move the floured square to the second dish. Dip the square completely into the beaten egg, turning it to ensure all surfaces are coated. Lift it out and let any excess egg drip back into the dish before moving on.
-
The final layer is the coconut. Place the egg-dipped square into the dish with shredded coconut. Generously coat the square completely, turning and pressing gently with your fingers so that the coconut adheres well to all sides. You want a thick, consistent layer of coconut for maximum crunch and flavor.
-
As you bread each square, place them carefully on a plate or tray. Once all the squares are breaded, pop the plate into the freezer for at least 15 minutes. THIS IS THE SECRET WEAPON! Freezing the bites solidifies the filling, preventing it from leaking out when they hit the hot oil. It also helps the exterior breading set, allowing it to crisp up beautifully before the inside gets too hot. Do NOT skip this step – it truly makes all the difference between greasy disappointment and guaranteed crispiness!
-
While your breaded squares are getting nice and firm in the freezer, it’s time to heat your frying oil. Pour about 2 inches of vegetable oil into a heavy-bottomed pot or a deep fryer. A heavy pot helps maintain a consistent temperature. Heat the oil until it reaches 350 degrees Fahrenheit (175 degrees Celsius). Using a thermometer is crucial here; properly heated oil is key to crispiness without greasiness. Too cool, and the bites soak up oil; too hot, and they burn before the filling warms.
-
Once the oil is at temperature and the bites are frozen, it’s frying time! Carefully add the frozen squares to the hot oil. It’s important to fry these in small batches, only adding a few at a time. Do NOT overcrowd the pot. Crowding lowers the oil temperature significantly, which, as we just discussed, leads to greasy bites. Give them space to fry properly.
-
Fry each batch for about 2 to 3 minutes per side. Keep an eye on them – you’re looking for them to turn a beautiful, deep golden brown and appear visibly crispy on all sides. The time might vary slightly depending on your oil temperature and the size of your bites.
-
Use a slotted spoon or spider tool to carefully remove the perfectly fried bites from the hot oil. Transfer them immediately to a plate that you’ve lined with paper towels. The paper towels will help drain any excess oil, ensuring they stay wonderfully crispy.
-
Finally, arrange your crispy coconut fried bites on a serving plate. Now for the fun part – the chocolate! Drizzle them generously with chocolate syrup or melted chocolate. For an extra touch of elegance and texture, sprinkle some chocolate shavings over the top. Serve them warm and watch them disappear!
Tips for Perfect Crispy Coconut Fried Bites Every Time
Even though the recipe is straightforward, a few extra tips can help ensure your crispy coconut fried bites turn out absolutely perfect every single time. Think of these as little nudges towards fried dessert mastery!
- Don’t Skimp on Freezing Time: Seriously, that 15-minute minimum in the freezer is non-negotiable for preventing leaks and ensuring that ultra-crispy exterior. If you have time, you can even freeze them longer, up to an hour or two, before frying.
- Monitor Oil Temperature: A thermometer is your best friend here. Keeping the oil consistently at 350°F is the key to preventing greasy bites and achieving that beautiful golden color. If the oil gets too cool, pause frying and let it heat back up.
- Batch Fry Smartly: Resist the urge to dump all the squares in at once. Frying in small batches maintains the oil temperature and allows the bites to cook evenly and crisp up properly. Patience pays off!
- Press That Coconut: When coating in coconut, don’t just roll them. Gently press the coconut onto the surface to make sure it adheres well. A thicker, more compact coconut coating equals a crunchier bite.
- Sharp Knife for Cutting: Using a sharp knife when cutting the sandwiches into squares helps create clean edges. Clean edges seal better and reduce the chance of filling escaping during frying.
- Alternative Fillings: While marshmallow fluff and frosting are classic, feel free to experiment! Consider Nutella, peanut butter (if no allergies), or even a thick fruit jam for different flavor profiles. Just make sure the filling isn’t too runny.
- Serving Suggestions: Beyond the chocolate drizzle, consider serving these with a scoop of vanilla ice cream, a dollop of whipped cream, or even a simple raspberry coulis for a touch of tartness to balance the sweetness. If you’re looking for other sweet bites, you might enjoy our Cinnamon Sugar Puff Bites!
- Storage and Reheating: These are definitely best enjoyed fresh and warm for peak crispiness. If you have leftovers, store them in an airtight container at room temperature for a day or two. Reheat gently in a toaster oven or air fryer to attempt to regain some crispness, but avoid the microwave.
Pairing Your Crispy Coconut Fried Bites
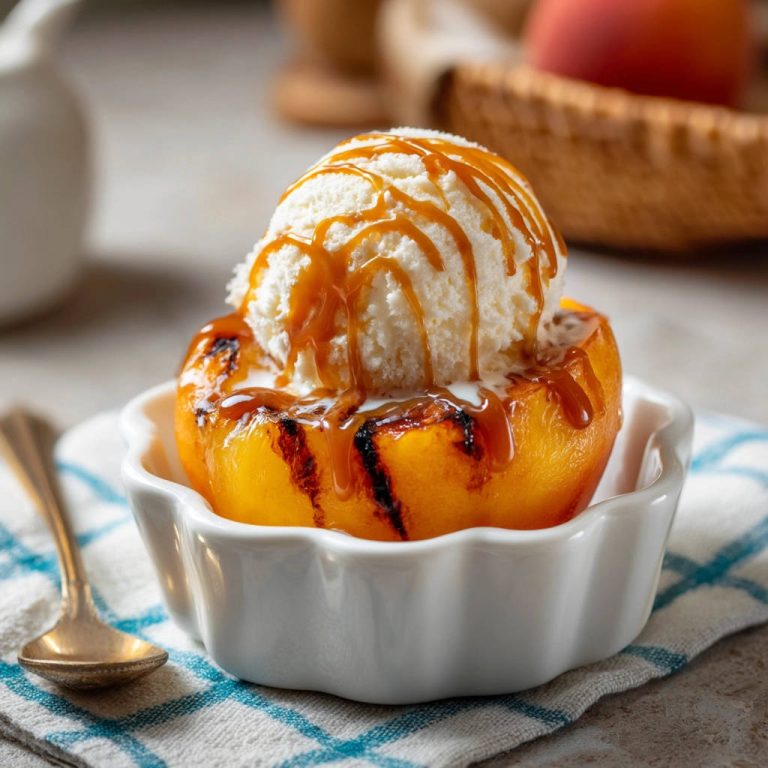
These delightful fried bites are a dessert in themselves, but they also pair wonderfully with a few simple additions to make the experience even more special. A scoop of classic vanilla ice cream melting slightly into the warm, crispy exterior is pure heaven. A simple dusting of powdered sugar instead of or in addition to the chocolate drizzle also works beautifully.
For a refreshing contrast, consider pairing them with some fresh berries or a fruit salad. The bright, slightly tart fruit cuts through the sweetness of the bites and the richness of the chocolate. And for a different kind of chocolatey treat, why not try our Easy Chocolate Clusters as another quick option?
Your Crispy Coconut Fried Bites Questions Answered (FAQ)
Got questions about these delicious bites? Here are some common ones I hear:
Can I bake these instead of frying?
You could attempt to bake them, but the texture will be quite different. Frying is what gives them that specific, shatteringly crispy coating and warm, gooey center quickly. Baking would likely result in a softer exterior and potentially a leaked filling if not sealed perfectly. If you’re looking for baked crispy options, maybe try our Crispy Baked Chicken Tacos for a savory twist on texture, or browse other baked goods on the site.
Can I use whole wheat bread?
Whole wheat bread is often denser and less pliable than white bread after the crusts are removed and it’s flattened. While you could try, it might be harder to seal the edges effectively, increasing the risk of filling leaks during frying. For best results and guaranteed crispiness, stick with white bread for this particular recipe.
My filling leaked while frying! What went wrong?
This is usually due to one of two things: not sealing the edges well enough when making the sandwiches, or not freezing the bites for the recommended time. Make sure you firmly press all around the border to create a tight seal, and absolutely ensure they are frozen solid for at least 15 minutes (or more!). Also, overcrowding the fryer can sometimes contribute to leaks as the temperature drops suddenly.
Why did my bites turn out greasy?
Greasy fried food is typically the result of the oil not being hot enough. If the oil temperature drops below 350°F, the food absorbs the oil instead of quickly cooking and forming a barrier. Always use a thermometer to ensure the oil is at the correct temperature before adding the bites, and fry in small batches to help maintain that temperature.
Can I prepare these ahead of time?
Yes, you can prepare the breaded squares ahead of time and keep them frozen until you’re ready to fry. This is a great strategy for entertaining! Just arrange them on a tray in a single layer until frozen solid, then transfer them to an airtight container or freezer bag. Fry them directly from frozen, adding a minute or two to the frying time if needed.
Can I use fresh coconut instead of shredded sweetened?
While fresh coconut would technically work, shredded sweetened coconut provides a much better texture for frying and gives that classic sweet tropical flavor that pairs so well with the filling and chocolate. It also toasts up beautifully in the hot oil. I recommend sticking to shredded sweetened coconut for the best results.
Enjoy Your Homemade Crispy Coconut Fried Bites!
There you have it – the secret to making incredibly crispy coconut fried bites right in your own kitchen! That simple freezing step really does elevate these from a potentially greasy mess to a golden, crunchy, sweet dream. They’re quick, easy, and absolutely delightful for satisfying that sweet craving or sharing a fun dessert with loved ones.
Give them a try, and I just know they’ll become a favorite. Don’t forget the chocolate drizzle – it’s the perfect finishing touch! If you make them, please come back and leave a comment below to let me know how they turned out. Happy frying!
Crispy Coconut Fried Bites

Ingredients
- 8 slices white bread, crusts removed
- 1 cup marshmallow fluff or thick white frosting
- 1/2 cup all purpose flour
- 2 large eggs, beaten
- 1 cup shredded sweetened coconut
- Vegetable oil, for frying
- Chocolate syrup or melted chocolate, for drizzling
- Chocolate shavings, for garnish
Directions
- Flatten each slice of bread slightly using a rolling pin.
- Spread a layer of marshmallow fluff or frosting on four of the bread slices, leaving a small border around the edges.
- Top with the remaining four bread slices to create sandwiches. Press the edges gently to seal.
- Cut each sandwich into four smaller squares.
- Place the flour, beaten eggs, and shredded coconut in three separate shallow dishes.
- First, dredge each square lightly in the flour, shaking off excess.
- Next, dip each floured square into the beaten egg, letting excess drip off.
- Finally, generously coat each square completely in the shredded coconut, pressing gently so it adheres well.
- Place the breaded squares on a plate or tray and freeze for at least 15 minutes. This is key for keeping the filling stable and getting that super crispy exterior.
- While the squares are freezing, heat about 2 inches of vegetable oil in a heavy-bottomed pot or deep fryer to 350 degrees Fahrenheit. Use a thermometer to check the temperature.
- Carefully add the frozen squares to the hot oil, frying only a few at a time to avoid crowding the pot. Do not overcrowd, as this lowers the oil temperature and can result in greasy bites.
- Fry for 2 to 3 minutes per side, or until golden brown and crispy on all sides.
- Use a slotted spoon to remove the fried bites from the oil and place them on a plate lined with paper towels to drain any excess oil.
- Stack the crispy fried bites on a serving plate. Drizzle generously with chocolate syrup or melted chocolate and sprinkle with chocolate shavings before serving warm.