

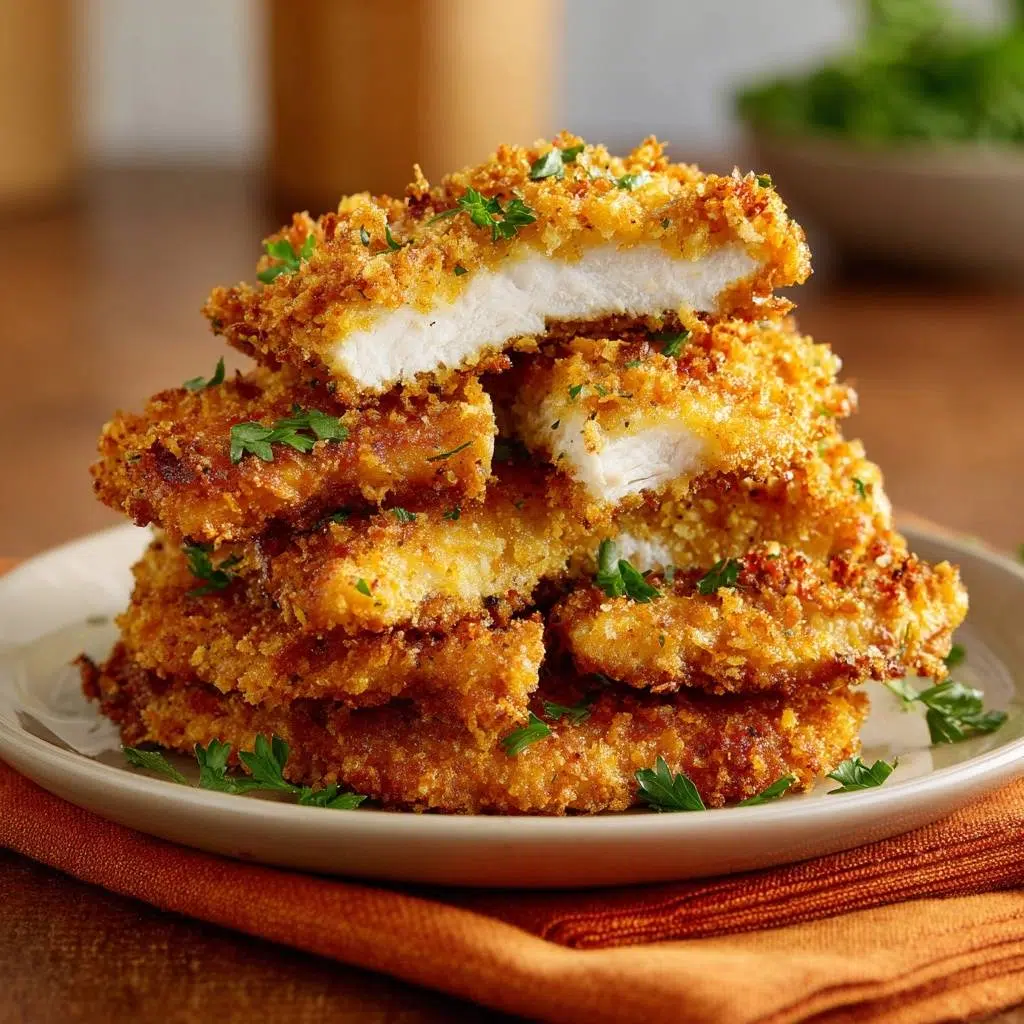
Ever bitten into a panko chicken cutlet only to watch the breading slide right off? It happens all the time because most recipes skip the key adhesion steps. But these crispy panko chicken cutlets fix that with a double-press and chill method. You’ll get juicy chicken wrapped in unbreakable crunch that survives every bite.
Therefore, this isn’t just any breaded chicken. Panko’s airy flakes trap steam during frying, creating superior crispiness over regular breadcrumbs. In addition, the technique ensures the coating sticks through cuts or dips into sauce.
Here’s the pro tip that proves it works: after pressing into panko, chill the cutlets for 10 minutes. This firms up the egg proteins, locking everything in place so you never deal with peeling again.
Why Panko Delivers Superior Crunch
Panko beats traditional breadcrumbs hands down. Its larger, irregular flakes hold more air, which turns into steam pockets during frying. That gives you light, shatteringly crisp crispy panko chicken cutlets without any sogginess.
Originally from Japan, panko suits chicken cutlets perfectly because it doesn’t compact like fine breadcrumbs. However, flour-only coatings absorb too much oil and turn greasy. Panko stays golden and dry on the outside while keeping the meat moist inside.
Plus, the flake size means better oil drainage. You end up with crunch that lasts longer on the plate and in your mouth.
Panko Flake Size Impact
Panko’s jagged shapes create tiny steam vents when you fry. Regular breadcrumbs? They just go dense and chewy. Therefore, your crispy panko chicken cutlets pop with texture every time.
Imagine that first crackle. It’s all from those air gaps expanding just right.
Juiciness Balance in Cutlets
Pounding chicken to 1/4-inch keeps it juicy because heat penetrates evenly. Panko acts as a shield, locking in moisture. In addition, thin cutlets cook fast without drying out.
The science? Even thickness means no overcooked edges. You get tender bites every time.
Essential Components for Crispy Panko Chicken Cutlets
Start with 4 boneless skinless chicken breasts, pounded thin. Then grab 1 cup all-purpose flour, 2 beaten eggs, and 2 cups panko breadcrumbs. Don’t forget 1 teaspoon salt, 1/2 teaspoon pepper, 1/2 teaspoon garlic powder, vegetable oil for frying, and parsley for garnish.
Pat the chicken dry first. Moisture repels breading, so this step ensures everything sticks. Eggs act as glue, while flour creates a base that absorbs the egg perfectly.
For shopping, pick fresh panko, not the dusty box stuff. It’s lighter and crunchier. If you’re gluten-free, swap in GF flour and panko, but press extra firm.
Protein Base: Pounded Breasts
Pound to 1/4-inch for even cooking. Use a meat mallet or rolling pin inside plastic wrap. This thickness fries up juicy without a raw center.
Seasoning Trio for Flavor Depth
Salt draws out excess moisture for better browning. Pepper and garlic powder add savoriness that shines through the crunch. Stick to these measures; more overpowers the chicken.
Breading Layers Explained
Flour grabs the egg, egg binds panko. Vegetable oil’s high smoke point prevents burning. Together, they build that perfect crispy panko chicken cutlet armor.
Science of Adhesion in Panko Chicken Cutlets
The magic happens with double-press and chill. Pressing compacts the gluten network in flour, while chilling sets the egg proteins. Frying triggers Maillard reaction for deep gold color and locked-on crunch.
No more peeling because the layers fuse tight. Therefore, your crispy panko chicken cutlets hold up to forks, knives, or saucing. It’s physics you can taste.
Pro tip: always shake excess flour. Clumps create weak spots that flake off later.
Double-Press Packing Method
Dredge in flour, dip in egg, then press firmly into panko with palms. Flip and press again for even coverage. Shake flour excess first, or it won’t adhere right.
Chill Step’s Molecular Magic
10 minutes in the fridge gelatinizes the egg starches. This seals the coating tight. Longer than 30 minutes dries it out, so time it right.
Equipment Choices for Perfect Crispy Results
Wire racks are non-negotiable. They let steam escape, keeping crispy panko chicken cutlets from going soggy. Skip paper towels; they trap moisture.
Use a large skillet for 1/2-inch oil depth. An instant-read thermometer hits 350F for oil and 165F inside the chicken. Air fryers work okay, but oil frying gives unmatched crunch.
Cast iron holds heat steady. That means consistent golden results every batch.
Skillet and Oil Heating Essentials
Heat 1/2-inch vegetable oil to 350F in a cast iron skillet. Test with a panko pinch; it should sizzle right away. Too shallow, and cutlets steam instead of fry.
Draining Racks Over Towels
Drain on a wire rack over a sheet. Air circulates underneath for max crisp. Set up one for breading, one for draining to streamline.
Mastering the Fry: Phase-by-Phase Guide
Pat chicken dry and season both sides evenly. This builds flavor foundation and preps for breading.
Prep and Seasoning Foundation
Dry pat removes surface water. Rub on salt, pepper, garlic powder. Let it sit 5 minutes for deeper flavor.
Dredging Station Assembly
Line up bowls: flour, egg, panko. Dredge, shake, dip, drip, press. Feel the panko stick under your palms; that’s the crunch guarantee.
Frying Batches Precisely
Heat oil to 350F. Fry 3-4 minutes per side in batches, no crowding. Flip when golden; check 165F inside. Overcrowd drops temp, steaming your crispy panko chicken cutlets.
Final Drain and Garnish
Drain on rack. Sprinkle parsley right away. Serve hot for peak crunch.
Avoiding Pitfalls in Panko Chicken Cutlets
Wet chicken kills adhesion. Overcrowding drops oil temp, turning coating soggy. Skipping chill lets breading peel mid-meal.
Oil too low? Greasy results. Too high? Burnt outside, raw inside. Follow the tests, and your crispy panko chicken cutlets shine.
Overcoming Breading Peel-Off
Root cause is moisture or loose press. Pat dry, double-press, chill 10 minutes. This seals it for good.
Oil Temperature Troubleshooting
Too low greases up; too high burns. Breadcrumb test: instant sizzle at 350F. Adjust heat as needed between batches.
Pairing Sides with Crispy Panko Chicken Cutlets
Contrast that crunch with tangy slaw or creamy mash. Acid from lemon wedges cuts the richness perfectly. Fresh greens add balance too.
These sides make your crispy panko chicken cutlets a full meal. Nutrition stays solid with veggies and starches.
Crunch-Enhancing Slaws
Shred cabbage, toss with vinegar, carrot, and a touch of sugar. Let sit 10 minutes. The tang bites back against the crisp.
Simple Starch Complements
Boil potatoes, mash with butter and herbs. Or steam rice with garlic. Both soak up juices without stealing the show.
Flavor Twists on Panko Chicken Cutlets
Swap spices for variety. Add paprika for smoke or herbs for earthiness. Keep the press and chill for crispy panko chicken cutlets every time.
Cheese like parmesan in the panko melts into glory. Global twists? Sesame for Asian vibe or Italian herbs.
Herb and Spice Upgrades
Mix 1 teaspoon paprika into panko for heat. Or 2 tablespoons fresh thyme for woodsy notes. Try onion powder instead of garlic. Each keeps crunch intact.
Global-Inspired Coatings
Sesame seeds in panko nod to Asia. Parmesan and oregano go Italian. Press firm; fry same way.
Common Queries on Crispy Panko Chicken Cutlets
Baking Instead of Frying?
Yes, preheat to 400F. Place on oiled rack, spritz tops with oil. Bake 20-25 minutes, flipping halfway. Crispier with convection, but oil fry wins.
Freezer Storage Tips?
Bread and freeze raw on a sheet, then bag. Fry straight from freezer, add 1-2 minutes. Cooked leftovers freeze okay but reheat in 350F oven for crisp.
Gluten-Free Adaptations?
Use GF 1:1 flour and GF panko. Same method. Press extra to compensate for less stickiness.
Scaling for Crowds?
Double ingredients, fry in more batches. Refresh oil if it darkens; strain and add fresh. Keeps temp steady for 8+ servings.
Nutrition Breakdown?
Per cutlet: about 350 calories, 30g protein, 15g fat. High protein, moderate carbs from panko. Frying adds controlled fat for satisfaction.

Crispy Panko Chicken Cutlets
Course: Main CourseCuisine: AmericanDifficulty: easy4
servings20
minutes15
minutes35
Minutes450
kcalAmerican
Ingredients
4 boneless skinless chicken breasts, pounded to 1/4-inch thickness
1 cup all-purpose flour
2 large eggs, beaten
2 cups panko breadcrumbs
1 teaspoon salt
1/2 teaspoon black pepper
1/2 teaspoon garlic powder
Vegetable oil, for frying
Fresh parsley, chopped for garnish
Directions
- Pat chicken dry with paper towels. Season both sides with salt, pepper, and garlic powder.
- Set up dredging station: flour in one shallow bowl, beaten eggs in second, panko in third.
- Dredge each cutlet in flour, shake off excess. Dip in egg, let excess drip. Press firmly into panko, coating both sides evenly use your palms to really pack it on for maximum adhesion.
- Place breaded cutlets on a wire rack over a baking sheet. Chill in fridge 10 minutes this seals the coating so it never peels off.
- Heat 1/2-inch vegetable oil in large skillet over medium-high to 350F (test with breadcrumb scrap it should sizzle immediately).
- Fry cutlets in batches, 3-4 minutes per side until golden and internal temp hits 165F. Do not overcrowd.
- Drain on clean wire rack to stay crispy no paper towels. Garnish with parsley. Serve hot.
Notes
- Chill the breaded cutlets for 10 minutes to seal the coating. Use a wire rack for draining to maintain crispiness.


