

Oh, the heartbreak of a dry, crumbly chocolate cake! We’ve all been there, haven’t we? You’re anticipating that rich, moist bite of pure chocolate bliss, only to be met with a texture that makes you reach for a glass of milk immediately. For years, I chased the perfect decadent chocolate cake recipe, trying countless variations, only to end up disappointed.
But I’m here to tell you, the search is over! I finally cracked the code to achieving that unbelievably rich, deeply flavored, and incredibly moist chocolate cake every single time. This isn’t just another chocolate cake recipe; it’s the recipe that will change your baking game. It takes simple, readily available ingredients and, with one simple trick, transforms them into a dessert that will have everyone asking for the recipe.
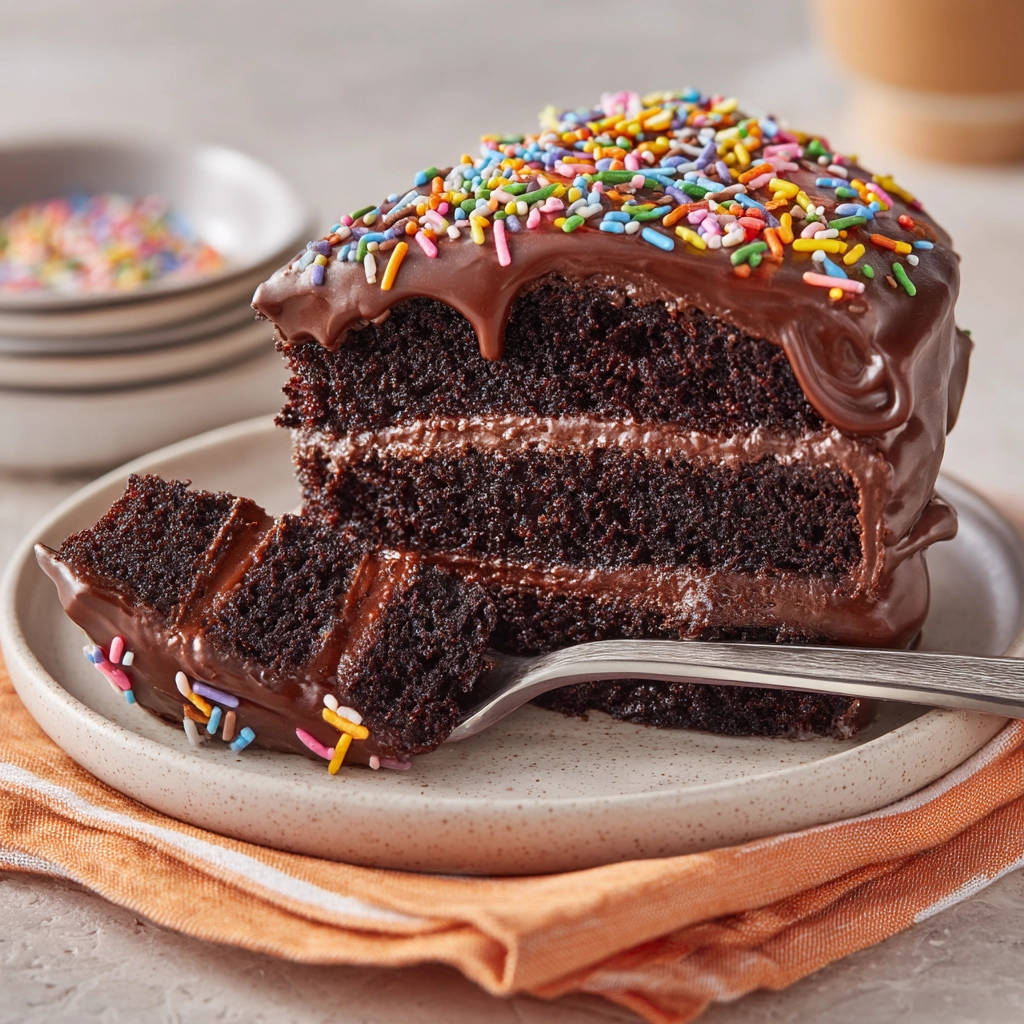
Whether you’re baking for a special occasion, a birthday, or just because you need a serious chocolate fix, this decadent chocolate cake delivers. Say goodbye to dry cake disasters and hello to your new favorite go-to chocolate indulgence!
Why You’ll Fall Head Over Heels for This Moist Chocolate Cake
So, what makes this particular Decadent Chocolate Cake stand out from the rest? It boils down to a few key factors that ensure a consistently perfect bake:
- Unmatched Moisture: This is the star. The specific technique we use ensures the cake stays wonderfully moist for days, thanks to a secret ingredient added at just the right time.
- Deep Chocolate Flavor: We’re not just getting moisture; we’re maximizing that rich, intense chocolate taste that defines true decadence.
- Surprisingly Simple: Despite its impressive results, the process is straightforward and doesn’t require fancy techniques or equipment beyond a standard mixer.
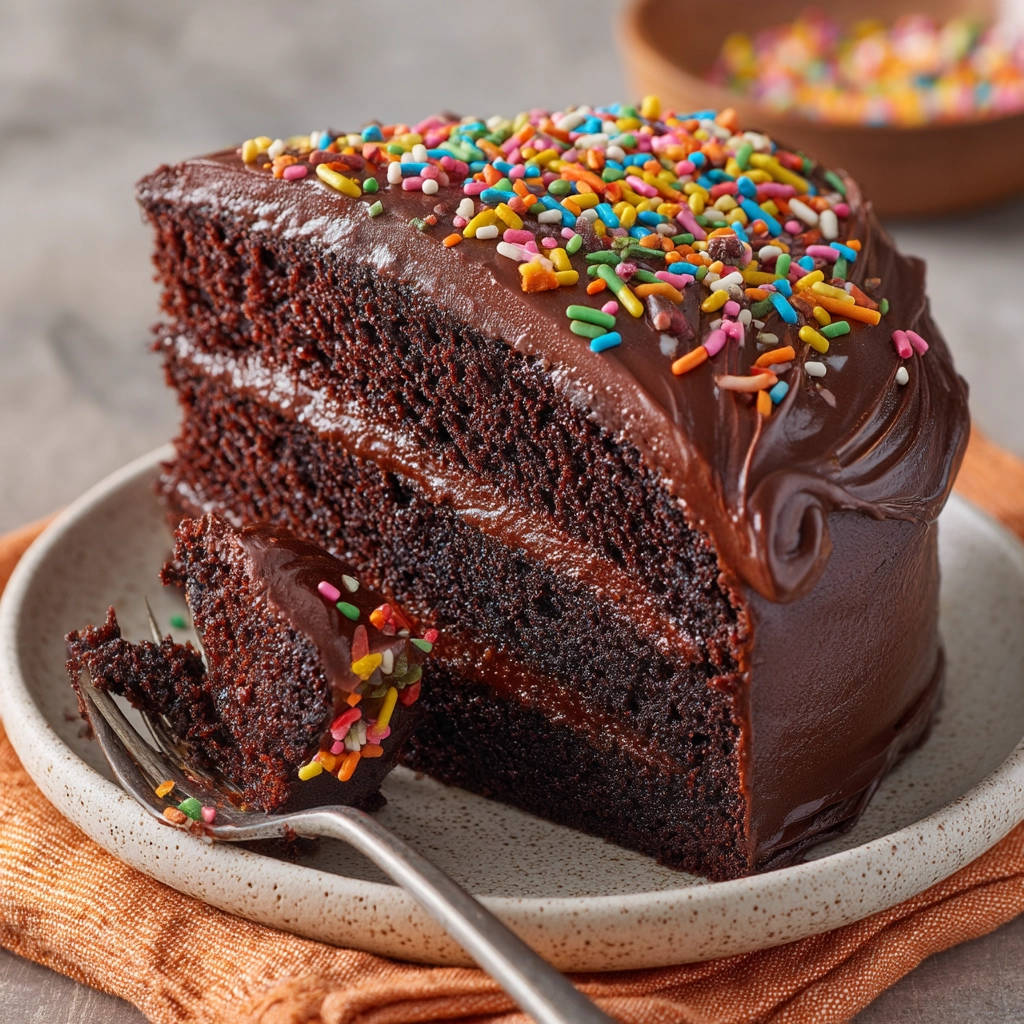
- Perfect Texture: It’s tender, soft, and fluffy, with a fine crumb – the opposite of that dreaded dryness.
- Reliable Results: Once you try this method, you’ll understand why it’s a game-changer. It works consistently.
This isn’t just a cake; it’s an experience. It’s the kind of cake that makes people close their eyes and sigh with happiness after the first bite.
Unlocking the Magic: The Simple Ingredients Needed
Creating this spectacular cake starts with gathering your components. We’re using standard pantry staples, but understanding how each one contributes to the final product helps appreciate the magic.
Think of these ingredients as the building blocks for chocolate perfection. They combine to create a batter that’s designed for maximum flavor and, most importantly, that signature moist crumb.
- All-Purpose Flour: Provides the structure for our cake. Two cups give us the right amount of body without making it dense.
- Granulated Sugar: This sweetness not only balances the cocoa’s bitterness but also contributes to the cake’s tenderness and moisture retention.
- Unsweetened Cocoa Powder: This is where our chocolate flavor comes from! Using a good quality unsweetened cocoa powder is key for a deep, rich taste. We use ¾ cup for a truly chocolatey experience.
- Baking Soda and Baking Powder: Our dynamic duo of leaveners. Baking soda reacts with the acid in the buttermilk (and cocoa) to create lift, while baking powder provides a secondary lift, ensuring a light and airy texture despite the richness.
- Salt: A pinch of salt (1 teaspoon) is crucial. It enhances the chocolate flavor and balances the sweetness.
- Large Eggs: Eggs bind the ingredients together, add richness, and contribute to the structure and moisture of the cake.
- Buttermilk: Ah, buttermilk! This is a secret weapon for moist cakes. Its acidity reacts with the baking soda, but more importantly, it breaks down gluten, resulting in a more tender crumb. It also adds a subtle tang that complements the chocolate. We need 1 cup.
- Vegetable Oil: Unlike solid fats like butter (used in the frosting), oil stays liquid at room temperature, which helps keep the cake incredibly moist and tender long after it cools. We’re using ½ cup.
- Vanilla Extract: Just a teaspoon of vanilla extract enhances and rounds out the chocolate flavor beautifully.
- Hot Coffee or Hot Water: And here is the critical ingredient for moisture and flavor depth! One cup of hot liquid is added to the batter. Hot liquid helps “bloom” the cocoa powder, releasing its full flavor potential. Coffee specifically enhances the chocolate notes without making the cake taste like coffee. This addition also creates a very thin batter consistency, which is essential for the moist result.
And of course, no decadent chocolate cake is complete without a luscious frosting! This classic chocolate buttercream is the perfect partner:
- Unsalted Butter: Make sure it’s softened! This is the base of our creamy frosting. We use 1 cup.
- Unsweetened Cocoa Powder: Adds chocolate flavor to the frosting. ½ cup works perfectly.
- Confectioners’ Sugar: Provides the sweetness and structure for the frosting. You’ll need 3-4 cups, depending on how thick you like it.
- Milk: Helps achieve the right consistency for a smooth, spreadable frosting. Start with ¼ cup and add more if needed.
- Vanilla Extract: A teaspoon of vanilla rounds out the frosting flavor.
- Sprinkles: Optional, but they add a fun, festive touch! Grab your favorites.
Having all your ingredients measured and ready before you start mixing makes the process smooth and enjoyable. It’s also a great time to preheat your oven and prepare your pans!
Baking Brilliance: Step-by-Step Guide to Your Moist Chocolate Cake
Ready to bake? Let’s walk through the simple steps to achieve chocolate cake perfection. Follow these directions carefully, paying special attention to the mixing stages, and you’ll be rewarded with an incredibly moist and flavorful cake.
- Prepare Your Workspace: Begin by preheating your oven to 350 degrees Fahrenheit (175 degrees Celsius). Properly prepare two 8-inch round cake pans by greasing them thoroughly (butter or shortening works well) and then flouring them. This creates a non-stick surface and helps ensure your beautiful cake layers release cleanly after baking.
- Combine the Dry Stars: In your largest mixing bowl, measure out your all-purpose flour, granulated sugar, unsweetened cocoa powder, baking soda, baking powder, and salt. Give them a good whisk together. This step isn’t just about mixing; it aerates the ingredients and ensures the leaveners and salt are evenly distributed, which is vital for an even rise and consistent flavor throughout the cake.
- Bring in the Wet Essentials (Phase 1): Now, add the wet ingredients – the eggs, buttermilk, vegetable oil, and vanilla extract – directly into the bowl with the dry ingredients. Using an electric mixer on medium speed, beat everything together. Mix for about 2 minutes, just until everything is well combined and you have a smooth batter. Be sure to stop and scrape down the sides and bottom of the bowl with a spatula occasionally to catch any dry pockets.
- The Moisture Secret Revealed: This is the game-changing step! With your mixer still on low speed (or even by hand, carefully), slowly pour in the 1 cup of hot coffee or hot water. Pour it in a steady stream while the mixer runs. Continue mixing until the batter is completely smooth. Don’t be alarmed – the batter will be quite thin, almost like thick chocolate milk. This is exactly what you want! The hot liquid blooms the cocoa, intensifying its flavor, and contributes significantly to the cake’s incredible moisture and tender crumb. Embrace the thinness!
- Fill Your Pans: Carefully divide the thin batter evenly between your two prepared cake pans. Give each pan a gentle tap on the counter to help level the batter and release any large air bubbles.
- Bake to Perfection: Place the pans in your preheated oven. Bake for 30 to 35 minutes. Baking time can vary depending on your oven, so start checking around the 30-minute mark. The cakes are done when a wooden skewer or toothpick inserted into the center comes out clean or with just a few moist crumbs attached. Avoid overbaking, as this is a primary cause of dry cake!
- Cooling is Crucial: Once baked, remove the cakes from the oven. Let them cool in their pans on a wire rack for about 10-15 minutes. This allows them to firm up slightly. After this initial cooling, carefully invert the cakes onto the wire rack to cool completely. Letting them cool entirely on the rack ensures air circulation, preventing soggy bottoms and allowing the structure to set properly before frosting.
- Whip Up the Dreamy Frosting (Part 1): While the cakes are cooling completely (and they MUST be completely cool before frosting!), start on your frosting. In a large bowl, beat the softened unsalted butter with an electric mixer until it’s light and creamy. This takes a couple of minutes. Gradually add the ½ cup of unsweetened cocoa powder, beating until it’s fully incorporated and the mixture is chocolatey.
- Frosting Perfection (Part 2): Now, alternately add the confectioners’ sugar and milk to the butter-cocoa mixture. Add about a cup of sugar, beat it in, then add a tablespoon of milk, beat it in, and repeat. Start with 3 cups of confectioners’ sugar. Beat until the frosting is smooth and reaches a spreadable consistency. If it seems too thick, add a tiny bit more milk (a teaspoon at a time). If it’s too thin, add a little more confectioners’ sugar. Finally, stir in the teaspoon of vanilla extract until combined.
- Assemble Your Masterpiece: Once the cake layers are completely cooled (seriously, wait until they’re room temperature!), place one layer onto your serving plate or cake stand. Spread a generous, even layer of your delicious chocolate frosting over the top of the first cake layer.
- Stack and Decorate: Carefully place the second cake layer on top of the first, aligning them as best you can. Use the remaining frosting to cover the top and sides of the entire cake. Get creative here! You can make swirls with your spatula or just smooth it out. Finish by decorating the top or sides with sprinkles if desired. Allow the frosting to set slightly before slicing.
Expert Tips for Decadent Chocolate Cake Success
Making this cake is straightforward, but a few simple tips can elevate your results from great to absolutely phenomenal:
- Measure Accurately: Especially with baking, precision is key. Use the spoon-and-level method for flour and cocoa powder (spoon the ingredient into the measuring cup and level off the excess with a straight edge) to avoid compacting, which can lead to a dry cake.
- Room Temperature Ingredients (Mostly): While the recipe calls for hot liquid, make sure your eggs and buttermilk are at room temperature before you start. Room temperature ingredients emulsify better, leading to a smoother batter and a finer crumb.
- Don’t Overmix: Once the dry and wet ingredients are just combined (before adding the hot liquid), and again after adding the hot liquid, mix only until smooth. Overmixing can develop too much gluten, resulting in a tougher cake.
- Coffee vs. Water: Using hot coffee enhances the chocolate flavor beautifully without making the cake taste like coffee. If you don’t have coffee or prefer not to use it, hot water works perfectly well and still performs the crucial blooming function. It’s really a matter of preference.
- Cooling is Non-Negotiable: Do not rush the cooling process! Trying to frost a warm cake is a recipe for disaster – melted frosting and broken layers. Patience is your friend here.
- Frosting Consistency: The amount of confectioners’ sugar and milk needed for the frosting can vary slightly based on humidity. Add the liquid a little at a time until you reach a thick, spreadable consistency. If it gets too thin, add more sugar; too thick, add more milk.
Perfect Pairings: What to Serve With Your Chocolate Masterpiece
While this decadent chocolate cake is divine all on its own, pairing it with a few simple additions can make it even more special. A scoop of good quality vanilla bean ice cream is a classic choice, melting slightly into the rich cake. Fresh raspberries or strawberries add a lovely contrast in both color and flavor, cutting through the richness with their slight tartness. For another delightful dessert pairing, consider something like a creamy chocolate mousse or perhaps a slice of a contrasting texture like our fudgy brownies for the ultimate chocolate lover’s plate.
Your Decadent Chocolate Cake Questions Answered (FAQ)
Got questions about this moist chocolate cake? Here are some common ones:
Can I substitute regular milk for buttermilk?
Yes, you can! To make a buttermilk substitute, pour 1 tablespoon of white vinegar or lemon juice into a liquid measuring cup. Add enough regular milk to reach the 1 cup line. Stir gently and let it sit for 5-10 minutes until it looks slightly curdled. Then, use this mixture as you would buttermilk. The acidity is important for reacting with the baking soda.
Why is the batter so thin after adding the hot liquid?
This thin consistency is intentional and key to the cake’s moisture! The hot liquid (coffee or water) serves two main purposes: it helps “bloom” the cocoa powder, intensifying the chocolate flavor, and it adds significant moisture in a way that contributes to the tender crumb structure. Don’t worry, it bakes up perfectly!
Can I make this recipe into cupcakes?
Absolutely! This batter works wonderfully for cupcakes. Fill cupcake liners about two-thirds full. The baking time will be shorter, typically 18-22 minutes. Start checking for doneness around 18 minutes using the toothpick test.
How should I store leftover chocolate cake?
Store the frosted cake loosely covered at room temperature for 1-2 days, or in an airtight container in the refrigerator for up to 5 days. For best texture, let refrigerated cake sit at room temperature for about 15-20 minutes before serving.
Can I freeze the cake layers?
Yes, you can! Make sure the layers are completely cooled. Wrap each layer tightly in plastic wrap, then again in aluminum foil. They can be frozen for up to 2-3 months. Thaw in the refrigerator overnight before unwrapping and frosting.
Indulge in Decadence!
Making a truly moist and decadent chocolate cake doesn’t have to be a baking mystery. With this recipe and its secret hot liquid step, you’re well on your way to creating a chocolate masterpiece that will impress everyone who takes a bite. It’s the perfect dessert for celebrating life’s big moments or simply treating yourself to something special.
Gather your ingredients, preheat that oven, and get ready to experience the rich, moist chocolate cake you’ve always dreamed of. Give it a try, and let me know what you think in the comments below!
Happy baking!
Decadent Chocolate Cake
Ingredients
- 2 cups all-purpose flour
- 1 3/4 cups granulated sugar
- 3/4 cup unsweetened cocoa powder
- 1 1/2 teaspoons baking soda
- 1 teaspoon baking powder
- 1 teaspoon salt
- 2 large eggs
- 1 cup buttermilk
- 1/2 cup vegetable oil
- 1 teaspoon vanilla extract
- 1 cup hot coffee or hot water
- For the Frosting:
- 1 cup unsalted butter, softened
- 1/2 cup unsweetened cocoa powder
- 3-4 cups confectioners’ sugar
- 1/4 cup milk
- 1 teaspoon vanilla extract
- Sprinkles, for decorating
Directions
- Preheat your oven to 350 degrees F (175 degrees C). Grease and flour two 8-inch round cake pans.
- In a large bowl, whisk together the flour, sugar, cocoa powder, baking soda, baking powder, and salt.
- Add the eggs, buttermilk, vegetable oil, and vanilla extract to the dry ingredients. Beat with an electric mixer on medium speed for about 2 minutes, until well combined and smooth. Scrape down the sides of the bowl as needed.
- Now for the secret to moisture: with the mixer on low speed, slowly pour the hot coffee or hot water into the batter. Continue mixing until the batter is smooth and quite thin. This step blooms the cocoa powder and adds incredible moisture and depth of flavor. Don’t be alarmed by the thin consistency; it’s key!
- Pour the batter evenly into the prepared cake pans.
- Bake for 30 to 35 minutes, or until a wooden skewer inserted into the center comes out clean.
- Let the cakes cool in the pans for about 10 minutes before inverting them onto a wire rack to cool completely.
- While the cakes cool, make the frosting. In a large bowl, beat the softened butter until creamy. Gradually beat in the cocoa powder.
- Alternately add the confectioners’ sugar and milk, beating until smooth and spreadable. Start with 3 cups of sugar, adding more if you prefer a thicker frosting. Stir in the vanilla extract.
- Once the cakes are completely cool, place one layer on your serving plate or stand. Spread a generous layer of frosting over the top. Carefully place the second cake layer on top.
- Frost the top and sides of the cake with the remaining frosting. Decorate with sprinkles. Slice and enjoy your perfectly moist chocolate cake!


