If you’ve ever stared down a plate of baked chicken breast, only to cut into it and find a dry, tough, disappointing experience, you are absolutely not alone. It’s one of the most common kitchen frustrations out there! For years, I struggled too, wondering why my chicken never turned out juicy and tender like the recipes promised.
But I finally unlocked the simple, game-changing secrets to baking boneless, skinless chicken breasts that are moist, flavorful, and perfect every single time. This easy baked chicken breast recipe is about to become your new favorite go-to for quick weeknight dinners, meal prep, or slicing onto salads.
Forget complicated techniques or weird ingredients. All you need are a few basics and a couple of simple steps that make all the difference. Let’s turn that dry chicken struggle into juicy chicken success!
Why You’ll Absolutely Love This Baked Chicken Breast Recipe
Beyond just solving the dry chicken dilemma, this method offers so many benefits:
- Effortless Prep: We’re talking just 10 minutes to get everything ready. Perfect for busy schedules!
- Quick Cooking Time: In about 20-25 minutes, dinner is ready. Fast food, but homemade and healthy.
- Reliably Juicy Results: The core techniques focus specifically on retaining moisture.
- Simple, Flavorful Seasoning: A classic blend of pantry staples gives you a delicious foundation.
- Incredibly Versatile: Use the finished chicken in countless ways!
It’s truly a game changer for anyone who relies on chicken breast as a healthy protein source but is tired of sacrificing flavor and texture.
Gathering Your Ingredients for Juicy Baked Chicken Breast
One of the beauties of this recipe is its simplicity. We’re using everyday ingredients that come together to create maximum flavor with minimal fuss. Each component plays a role in achieving that perfectly moist interior and delicious exterior.
You’ll need:
- Boneless, Skinless Chicken Breasts (4): The star of the show! Look for breasts of similar thickness if possible to ensure even cooking. If they vary greatly, you might need to remove the smaller ones sooner.
- Olive Oil (2 tablespoons): This isn’t just for preventing sticking; it helps the seasonings adhere beautifully and contributes moisture and flavor during baking. Any good quality olive oil will work.
- Salt (1 teaspoon) & Black Pepper (1/2 teaspoon): Essential flavor enhancers. Don’t skip the salt – it helps bring out the natural taste of the chicken.
- Dried Italian Seasoning Blend (1 teaspoon): This convenient mix typically includes herbs like oregano, basil, thyme, and rosemary, providing a wonderfully aromatic and savory base. If you don’t have a blend, using individual dried herbs works too!
- Garlic Powder (1/2 teaspoon): Adds that warm, pungent flavor we all love. It distributes more evenly than fresh minced garlic in a dry rub.
- Paprika (1/2 teaspoon, optional): While optional for flavor, paprika adds a beautiful reddish hue to the chicken, making it look even more appetizing straight out of the oven.
That’s it! Simple ingredients for spectacular results.
Crafting Your Perfect Baked Chicken Breast: Step-by-Step Mastery
Let’s walk through the process. Remember, the magic is in the details – especially step 6 and 7!
-
Prepare for Baking: First things first, let’s get that oven hot and ready. Preheat your oven to 400°F (200°C). This higher temperature helps the chicken cook relatively quickly, which is key to preventing it from drying out. While the oven heats, get your baking sheet ready.
-
Pat Them Dry: This might seem small, but it’s a mighty important step! Use paper towels to pat each chicken breast completely dry on all sides. Removing surface moisture helps the seasoning stick like a charm and can contribute to a better texture on the outside of the chicken. Wet chicken tends to steam rather than bake nicely.
-
Oil Up: Place the dry chicken breasts on your baking sheet. Drizzle the 2 tablespoons of olive oil over them. Use your hands (or a brush) to rub the oil evenly all over each breast. This provides a base for your seasoning and helps keep the chicken moist as it bakes.
-
Season Generously: In a small bowl, combine the salt, pepper, dried Italian seasoning blend, garlic powder, and paprika (if you’re using it for that lovely color). Give it a quick stir. Now, sprinkle this seasoning mixture generously and evenly over both sides of the oiled chicken breasts. Don’t be shy! Gently press the seasoning into the meat with your fingers to make sure it adheres well and doesn’t just fall off.
-
Into the Hot Oven: Place the baking sheet with the seasoned chicken breasts into your preheated 400°F (200°C) oven. Set a timer for 20 minutes. The total baking time will vary depending entirely on the thickness of your chicken breasts. Thinner ones might be done closer to 20 minutes, while thicker ones could take up to 25 minutes or slightly longer.
-
The MOST Important Step: Check the Temperature! This is the secret weapon against dry chicken. Around the 20-minute mark (or slightly before for very thin breasts), grab your instant-read thermometer. Insert it into the thickest part of the largest chicken breast, making sure you’re not hitting bone (if you were using bone-in, but we’re not!) or going all the way through to the pan. You are looking for an internal temperature of 165°F (74°C). As soon as the thermometer hits 165°F, it’s done! Pull that chicken out of the oven immediately. Do NOT let it cook past this temperature, or dryness is almost guaranteed.
-
Rest and Redistribute: Once the chicken reaches 165°F and you’ve taken it out of the oven, loosely tent the entire baking sheet with foil. Let the chicken breasts rest for a minimum of 5-10 minutes. This resting period is non-negotiable for juicy results! It allows the heat to finish cooking the chicken gently (the temperature might rise a few degrees, known as carryover cooking) and, critically, lets the juices redistribute throughout the meat. If you slice it too soon, all those lovely juices will run out onto the cutting board, leaving you with dry chicken.
-
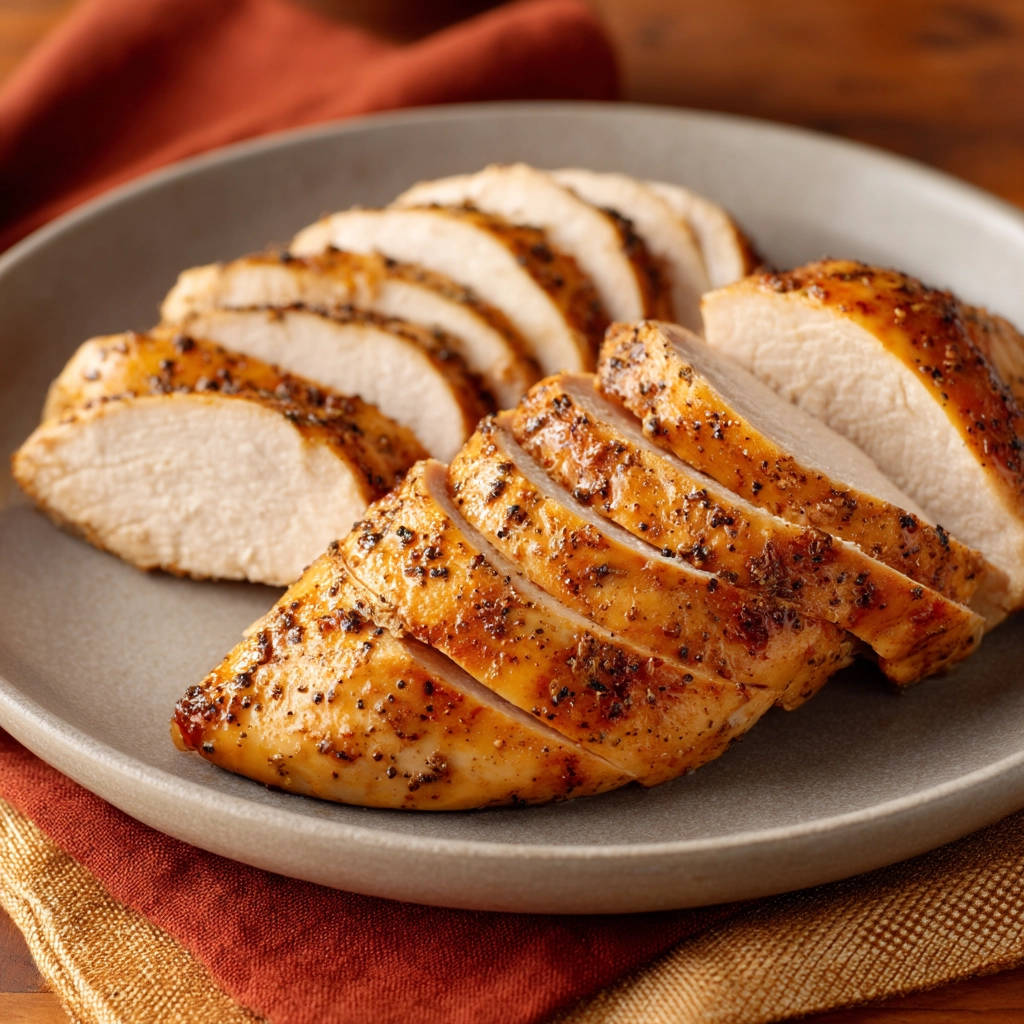
Slice and Serve Your Success: After the resting period, slice the chicken against the grain (this makes it more tender) and admire your perfectly baked, juicy chicken breasts! They are now ready to be enjoyed in countless ways.
Tips for Perfect Baked Chicken Breast Every Single Time
Mastering this technique is easy, but a few extra tips can ensure consistent success:
- Even Thickness is Key: If your chicken breasts are vastly different in size or thickness, consider pounding the thicker parts slightly with a meat mallet or heavy pan to make them more uniform. This ensures they all finish cooking at the same time.
- Don’t Crowd the Pan: Give each chicken breast a little space on the baking sheet. Overcrowding can cause them to steam instead of bake.
- Invest in a Thermometer: Seriously, an instant-read thermometer is the single best tool you can have to prevent dry chicken (and ensure food safety!). Eyeballing it or relying solely on time is unreliable.
- Seasoning Variations: This recipe uses a basic Italian blend, but feel free to get creative! Try smoked paprika and chili powder for a smoky rub, lemon zest and dried herbs for a brighter flavor (like in our grilled lemon herb chicken), or a simple mix of garlic powder, onion powder, and black pepper.
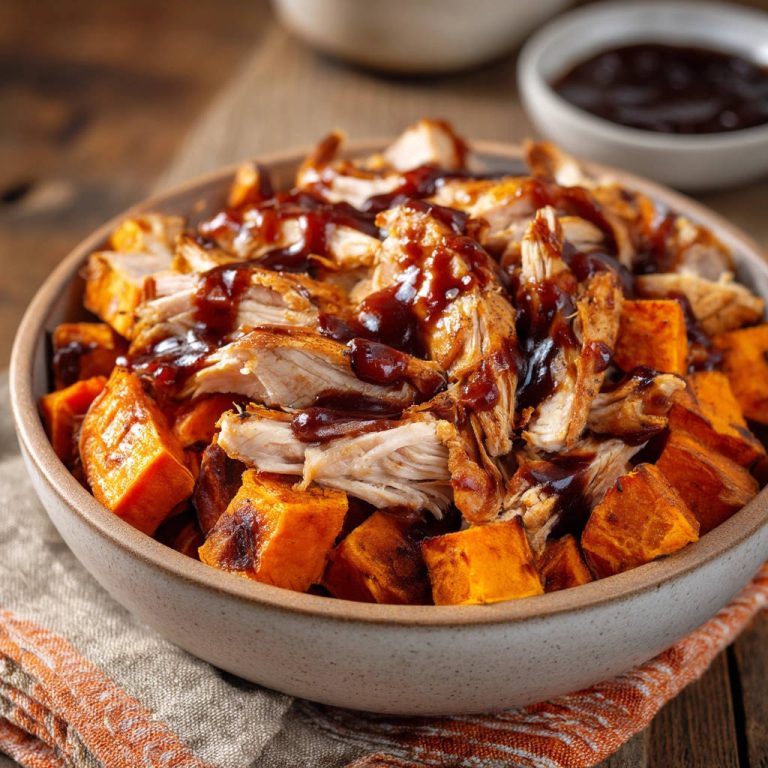
- Meal Prep Dream: Bake a batch of these juicy chicken breasts at the start of the week for easy lunches or dinners. They’re fantastic sliced for salads, diced for tacos, or added to pasta dishes.
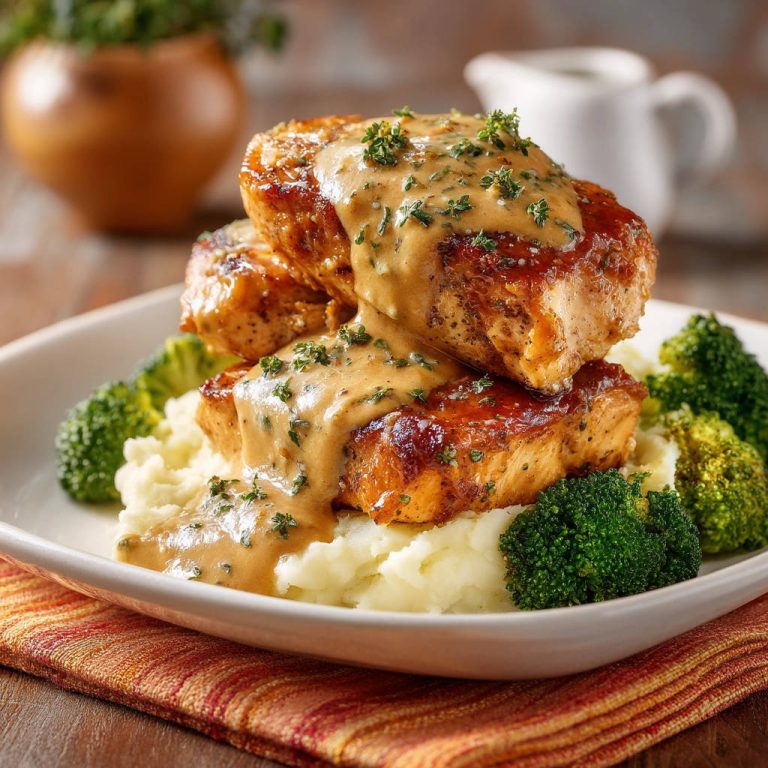
What to Serve With Your Juicy Baked Chicken Breast
This versatile chicken pairs beautifully with so many sides! Here are a few ideas:
- Roasted vegetables like crispy roasted potatoes, broccoli, or asparagus.
- A fresh green salad, perhaps with a simple vinaigrette. For something a little different, try our easy kale salad.
- Steamed rice or fluffy quinoa.
- Pasta with your favorite sauce.
- Corn on the cob or sauteed green beans.
It also works wonderfully sliced thin for sandwiches or wraps, or chopped and added to soups or casseroles.
Your Baked Chicken Breast Questions Answered (FAQ)
Why does my baked chicken breast always turn out dry?
The number one culprit is almost always overcooking! Chicken breast is very lean, meaning it doesn’t have a lot of fat to keep it moist. Cooking it even slightly past the safe internal temperature of 165°F (74°C) causes the muscle fibers to seize up and squeeze out moisture, resulting in that dreaded dry, tough texture. Not letting it rest is the second major cause.
Can I use frozen chicken breasts?
Yes, but make sure they are completely thawed before seasoning and baking. Baking from frozen will drastically change the cooking time and can lead to uneven cooking, increasing the risk of dryness. Thaw them safely in the refrigerator overnight or using the cold water method.
Do I need to pound the chicken breasts flat?
Only if they are significantly different in thickness. Pounding them ensures they cook evenly, so thinner breasts aren’t overcooked while thicker ones finish. If they are roughly the same size, it’s not necessary for this method.
Can I add more seasonings or a marinade?
Absolutely! This basic recipe is a fantastic canvas. You can add dried herbs like thyme or rosemary, onion powder, chili powder, smoked paprika, or even a pinch of cayenne for heat. If you want to use a marinade, ensure it doesn’t contain acid (like lemon juice or vinegar) for too long, as acid can start to “cook” the chicken, making it tough. Or, marinate for just 30 minutes to an hour. A simple oil-based marinade with herbs and garlic would work well.
How do I store leftover baked chicken breast?
Allow the chicken to cool completely, then store it in an airtight container in the refrigerator for 3-4 days. You can reheat it gently in the microwave or oven, though it’s best used cold in salads, sandwiches, or wraps to maintain moisture.
Enjoy Your Homemade, Perfectly Juicy Baked Chicken Breast!
See? No more fearing the dry, rubbery fate of chicken breast! With just a few simple steps, focusing on temperature and resting, you can achieve consistently juicy, flavorful results that are perfect for countless meals.
Give this recipe a try, and let me know how it turns out! Did you use a different seasoning blend? What did you serve it with? Share your experience in the comments below! Happy cooking!
Easy Baked Chicken Breast

Ingredients
- 4 boneless, skinless chicken breasts
- 2 tablespoons olive oil
- 1 teaspoon salt
- 1/2 teaspoon black pepper
- 1 teaspoon dried Italian seasoning blend (or a mix of dried oregano, basil, thyme, rosemary)
- 1/2 teaspoon garlic powder
- 1/2 teaspoon paprika (optional, for color)
Directions
- Preheat your oven to 400°F (200°C).
- Pat the chicken breasts completely dry with paper towels. This helps the seasoning stick and promotes even cooking.
- Place the chicken breasts on a baking sheet. Drizzle them with olive oil and rub it all over.
- In a small bowl, mix together the salt, pepper, dried Italian seasoning, garlic powder, and paprika (if using). Sprinkle this seasoning mixture evenly over both sides of the chicken breasts, pressing it gently to adhere.
- Bake the chicken breasts in the preheated oven for 20-25 minutes. The exact time will depend on the thickness of the breasts.
- This is the most important step for preventing dryness: Use an instant-read thermometer to check the internal temperature of the thickest part of the largest chicken breast. It should reach 165°F (74°C). Do not overcook past this temperature.
- Once the chicken reaches 165°F, remove the baking sheet from the oven. Loosely tent the chicken breasts with foil and let them rest for at least 5-10 minutes before slicing or serving. This resting period allows the juices to redistribute throughout the meat, ensuring it stays moist.
- Slice and serve your perfectly juicy chicken breasts.