
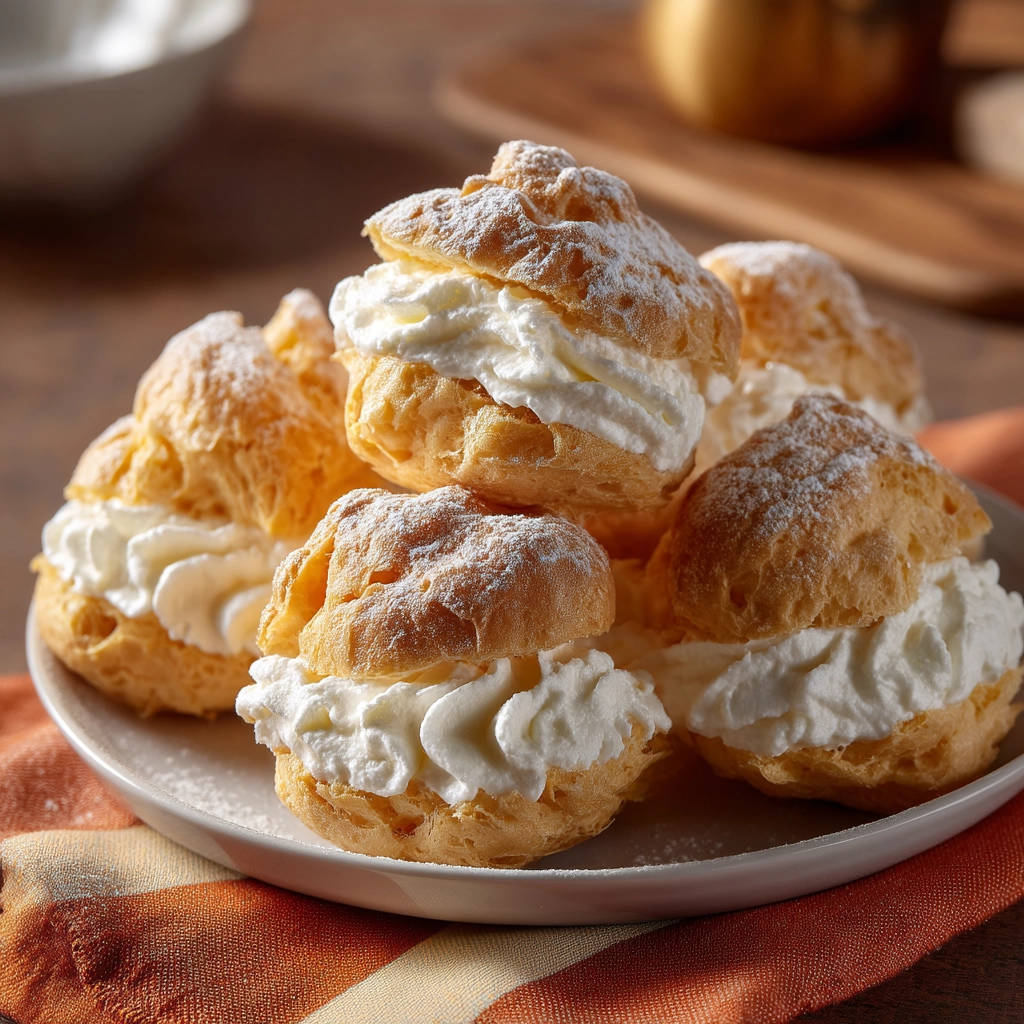
There’s nothing quite like biting into a perfectly light, airy shell filled with smooth, sweet whipped cream. It’s a classic dessert experience that feels both elegant and utterly comforting. However, if you’ve ever embarked on the journey of making these delightful pastries, known in the culinary world as choux pastry or Pâte à Choux, you might have encountered a common heartbreak: collapsed cream puffs. They look beautiful in the oven, puffed up and golden, only to sigh and deflate as they cool. It’s incredibly frustrating!
But don’t despair! I’ve spent years honing my techniques, and I’ve finally cracked the code to consistently achieving beautiful, puffed-up, non-collapsing Easy Cream Puffs. This recipe focuses on a few simple, yet critical, steps that make all the difference. Say goodbye to flat failures and hello to perfectly airy pastries ready to be filled with whatever your heart desires.
Why You’ll Love This Easy Cream Puff Recipe
This recipe isn’t just about avoiding deflated shells; it’s designed for success and enjoyment. Here’s why these cream puffs will become your go-to:
- Reliably Perfect Texture: The key steps ensure a hollow, airy interior ideal for filling.
- Straightforward Process: While Pâte à Choux has a reputation, this guide breaks it down into manageable, understandable stages.
- Versatile Base: Once you master the puff, the filling possibilities are endless – though classic whipped cream is pure heaven!
- Impressive Results: Despite the ‘easy’ in the title, these look and taste like something from a fancy bakery.
- No More Guesswork: Specific timing and temperature instructions take the uncertainty out of baking.
Gathering Your Ingredients for Perfect Pâte à Choux
Creating successful cream puffs starts with understanding the role each simple ingredient plays in the magic of Pâte à Choux. This dough relies on just a few pantry staples, transformed by heat and careful technique.
For the Pâte à Choux Dough:
- Water (1 cup): This is our base liquid. When heated and combined with fat, it creates steam during baking, which is the primary leavening agent for cream puffs.
- Unsalted Butter (1/2 cup): The fat component. Butter adds richness but, more importantly, helps create a tender crumb and works with the water to generate steam for that glorious puff. Using unsalted butter gives you control over the salt level.
- Salt (1/4 teaspoon): Just a pinch enhances the flavor of the dough, balancing the richness of the butter and the sweetness of the eventual filling.
- All-Purpose Flour (1 cup): The structural backbone. When added to the hot liquid mixture and cooked, the starch in the flour gelatinizes, creating a stable paste (the “panade”) that can absorb a lot of egg and hold its shape.
- Large Eggs (4): These are vital for creating the characteristic puff and rich texture. Eggs emulsify the dough, add structure, and contribute to the steam leavening. The exact number can sometimes vary slightly based on the dough’s consistency, but four large eggs are the standard for this amount of flour.
For the Classic Whipped Cream Filling:
- Heavy Whipping Cream (1 cup): This is the luscious, light, and airy filling. Ensure it’s very cold for optimal whipping.
- Powdered Sugar (1/4 cup plus more for dusting): Also known as confectioners’ sugar, this fine sugar sweetens the cream and helps stabilize it. The “more for dusting” is the final, pretty touch.
- Vanilla Extract (1 teaspoon): A touch of vanilla adds warmth and classic dessert flavor to the simple whipped cream, complementing the neutral pastry shell perfectly.
Having all your ingredients measured out and ready before you start is a key part of the smooth process, especially when working with the hot dough.
Crafting Your Easy Cream Puffs: Step-by-Step
Making Pâte à Choux is a process that requires attention to detail, but it’s incredibly rewarding. Follow these steps closely, and you’ll be on your way to perfect cream puffs that hold their shape every time.
Prepare Your Baking Environment: Begin by setting your oven to preheat to 400 degrees Fahrenheit (200 degrees Celsius). High heat is crucial initially to create steam and encourage a strong puff. Line a baking sheet with parchment paper. Parchment paper prevents sticking and makes cleanup a breeze.
Start the Dough Base: In a medium-sized, heavy-bottomed saucepan, combine the measured water, unsalted butter, and salt. Place this pan over medium heat. Your goal here is to bring the mixture to a full, rolling boil while ensuring all the butter is completely melted. The fat needs to be fully dispersed in the water before adding the flour.
Create the Panade: The moment the mixture reaches a rolling boil, remove the saucepan from the heat immediately. Add all of the all-purpose flour to the liquid mixture in one go. This might seem sudden, but it’s the correct technique. Grab a sturdy wooden spoon and stir vigorously and quickly. You’ll see the mixture come together surprisingly fast, forming a cohesive ball of dough that pulls cleanly away from the sides and bottom of the pan. Keep stirring for about 30 seconds off the heat to ensure it’s well combined.
Dry Out the Dough (The Secret Step!): This is perhaps the most critical step for preventing collapsed cream puffs. Return the saucepan containing the dough ball to low heat. Continue to cook the dough, stirring it constantly and scraping it from the bottom and sides of the pan, for about 1 to 2 minutes. You should see a thin film forming on the bottom of the pan. This process cooks out excess moisture from the dough, creating a stronger structure capable of supporting the puff developed in the oven.
Cool the Dough Slightly: Transfer the hot dough from the saucepan into a large mixing bowl. If you have a stand mixer, use its bowl fitted with the paddle attachment, as this makes the next step much easier. Let the dough sit and cool for about 5 minutes. It needs to cool enough so that when you add the eggs, they don’t scramble, but it should still be warm enough to incorporate them smoothly.
Incorporate the Eggs: Now comes the egg incorporation, which requires patience. If using a stand mixer, start mixing on medium-low speed. If mixing by hand (get ready for a workout!), use your sturdy wooden spoon. Add the large eggs one at a time. Beat thoroughly after each individual egg addition until it is fully absorbed into the dough before adding the next one. The dough will look curdled or separated and shiny at first – this is normal! Keep mixing. With each egg, the dough will become softer and glossier. After adding all four eggs and mixing thoroughly, you should have a smooth, thick, and pipeable batter. It should hold its shape when scooped but still be soft enough to fall slowly from a spoon or paddle in a “v” shape.
Shape the Puffs: You can either scoop mounds of dough onto the prepared baking sheet using two spoons, or for a more uniform and professional look, transfer the dough to a piping bag fitted with a large round or star tip. Pipe or scoop rounds or mounds of dough onto the parchment-lined sheet, leaving about 2 inches of space between each one to allow for expansion. If scooping, you can gently smooth the tops with a damp finger.
Bake with Controlled Heat: Place the baking sheet in the preheated 400°F (200°C) oven. Bake for 15 minutes at this high temperature. This initial blast of heat creates a rapid burst of steam inside the dough, forcing it to expand and puff up dramatically. Without opening the oven door (this is crucial!), reduce the oven temperature to 350 degrees Fahrenheit (175 degrees Celsius). Continue baking for another 20 to 25 minutes. During this second stage, the lower temperature allows the shells to dry out and crisp up, setting their structure. The puffs should be deeply golden brown and feel light when you gently try to lift one.
Cool Slowly in the Oven: This is the second secret weapon against collapse. Turn off the oven completely, but leave the oven door slightly ajar (you can prop it open with a wooden spoon). Let the cream puffs cool inside the oven for another 10 to 15 minutes. This slow cooling process prevents a sudden temperature shock that can cause the delicate, hot shells to deflate.
Make the Classic Filling: While the puffs are enjoying their slow cool-down, prepare the simple yet delicious filling. In a medium bowl, combine the cold heavy whipping cream, powdered sugar, and vanilla extract. Use an electric mixer or a whisk to beat the mixture until stiff peaks form. Be careful not to overbeat, or you’ll end up with butter!
Fill and Serve: Once the cream puff shells are completely cool to the touch (this is important – hot shells will melt the cream), slice them horizontally through the middle using a serrated knife. You should find a lovely hollow center. Generously fill the bottom half of each puff with the prepared whipped cream, using a spoon or a piping bag. Place the top half back on. For that classic finish, dust generously with additional powdered sugar just before serving.
Once your cream puffs are baked, consider trying these decadent chocolate lava cakes for a similarly rich dessert.
Tips for Consistently Perfect Cream Puffs
Mastering Pâte à Choux involves a few key details. Keep these tips in mind for the best results:
- Accurate Measuring: Baking is a science! Especially with flour and liquid, use measuring cups correctly (level dry ingredients, liquid in a liquid measuring cup at eye level).
- The Panade Stage: Don’t skip or rush the cooking on low heat after adding the flour. That 1-2 minutes is essential for drying the dough and building structure.
- Eggs at the Right Stage: Ensure the dough has cooled slightly (around 140-150°F or 60-65°C) before adding the eggs. If it’s too hot, the eggs cook. If it’s too cool, they won’t incorporate smoothly. Adding them one at a time and beating well is non-negotiable for a smooth, glossy dough.
- Dough Consistency: The final dough should be thick and smooth, pipeable but not runny. If it’s too stiff after 4 eggs, you might need to add a tiny bit of a fifth egg, whisked, bit by bit, beating well after each addition, until the correct consistency is reached.
- Resist Opening the Oven: Seriously, don’t open the oven door during the critical first 25-30 minutes of baking. Peeking releases the steam that makes them puff.
- Proper Cooling: The slow cool-down in the turned-off oven is your friend. It allows the shells to firm up gradually, preventing that dreaded deflation.
- Cool Completely Before Filling: Hot or even warm shells will make your beautiful whipped cream melt into a sad puddle. Be patient!
- Consider Pastry Cream: While whipped cream is classic, a homemade pastry cream is also a fantastic filling option for cream puffs. If you enjoy making fillings from scratch, you might enjoy making a simple no-bake chocolate cream filling for a different twist.
Beyond the Classic: Cream Puff Variations
Once you’ve mastered the basic shell, the possibilities for filling and flavoring are endless! Here are a few ideas to get you started:
- Chocolate Lovers: Fill with chocolate pastry cream, chocolate mousse (try this dreamy chocolate mousse recipe), or even a rich chocolate ganache.
- Fruity Fun: Fill with whipped cream and fresh berries, or a light fruit curd like lemon or raspberry. Serving them alongside a perfected fruit tart offers a lovely spread.
- Coffee or Caramel: Infuse the whipped cream with a little instant coffee powder or swirl in some caramel sauce.
- Savory Twist: Unfilled Pâte à Choux shells (gougeres) can be filled with savory ingredients like cheese, herbs, or even a creamy chicken salad (learn how to make classic chicken salad). Bake cheese into the dough itself for simple cheese puffs.
Experiment with different glazes or toppings too, like a simple powdered sugar glaze, a chocolate drizzle, or even a dusting of cocoa powder.
Your Easy Cream Puff Questions Answered (FAQ)
Why did my cream puffs collapse or go flat?
This is the most common issue! The primary reasons are usually not drying the dough enough during the panade stage (Step 4), opening the oven door too early during baking (releasing crucial steam), or not allowing them to cool slowly enough in the oven (sudden temperature change). Ensure you really cook that dough for 1-2 minutes after adding the flour and resist the urge to peek!
Can I make the Pâte à Choux dough ahead of time?
Yes! You can prepare the dough through Step 6. Once the eggs are incorporated, transfer the dough to an airtight container or wrap it tightly in plastic wrap. It can be stored in the refrigerator for 1-2 days. Let it come to room temperature for about 15-20 minutes before piping and baking.
Can I bake the cream puff shells ahead of time?
Absolutely. The baked shells can be stored unfilled in an airtight container at room temperature for a day. For longer storage, they freeze beautifully. Place cooled, unfilled shells in a single layer on a baking sheet and freeze until solid, then transfer to a freezer bag or container. Reheat frozen shells in a preheated oven at 350°F (175°C) for about 5-10 minutes to re-crisp them before filling.
How do I get uniform-sized cream puffs?
Using a piping bag is the easiest way to achieve consistent sizes. If you don’t have a piping bag, use a measuring spoon or a small cookie scoop to portion out the dough. You can also draw circles on the back of your parchment paper as a guide.
What temperature should the water and butter mixture be when I add the flour?
It needs to be at a full, rolling boil. This ensures the flour gelatinizes correctly and creates the proper base for the dough. Adding flour before it boils, or after it’s stopped boiling, can affect the final texture.
My dough looks curdled after adding the first egg. Is that normal?
Yes, perfectly normal! Keep beating. It will look separated and strange for a moment, but as you continue mixing and add more eggs, it will come together into a smooth, cohesive, and glossy batter. Patience is key here!
Enjoy Your Homemade Easy Cream Puffs!
There’s a real sense of accomplishment that comes with biting into a perfectly baked, beautifully puffed cream puff that you made yourself. This recipe, with its focus on the crucial drying and cooling steps, is designed to give you that success every time. Whether you fill them with classic whipped cream, experiment with flavored mousses, or even go savory, these light and airy pastries are sure to impress.
Give this Easy Cream Puffs recipe a try and experience the joy of non-collapsing success! If you make them, be sure to leave a comment below and let me know how they turned out. Happy baking!
Cream Puffs
Course: PastryCuisine: American/French-inspiredDifficulty: medium750
kcalMaster Easy Cream Puffs that won’t collapse! This simple recipe shares key techniques for perfect, airy Pâte à Choux filled with classic whipped cream.
Ingredients
1 cup water
12 cup unsalted butter
14 teaspoon salt
1 cup all purpose flour
4 large eggs
1 cup heavy whipping cream
14 cup powdered sugar plus more for dusting
1 teaspoon vanilla extract
Directions
- Preheat your oven to 400 degrees Fahrenheit 200 degrees Celsius. Line a baking sheet with parchment paper.
- In a medium saucepan, combine the water butter and salt. Bring the mixture to a rolling boil over medium heat ensuring the butter is fully melted.
- Once boiling remove the pan from the heat and add the flour all at once. Stir vigorously with a wooden spoon until the mixture forms a ball and pulls away from the sides of the pan.
- Return the pan to low heat and cook the dough stirring constantly for about 1 to 2 minutes to dry it out slightly. This step is crucial for preventing collapse.
- Transfer the dough to a large bowl or the bowl of a stand mixer fitted with the paddle attachment. Let it cool for 5 minutes.
- Add the eggs one at a time beating well after each addition until fully incorporated before adding the next. The dough will look separated at first but keep mixing until it becomes smooth glossy and pulls away from the sides. You should have a thick pipeable batter.
- Scoop or pipe mounds of dough onto the prepared baking sheet leaving about 2 inches between them.
- Bake for 15 minutes at 400 degrees Fahrenheit. Without opening the oven door reduce the temperature to 350 degrees Fahrenheit 175 degrees Celsius and bake for another 20 to 25 minutes until the puffs are golden brown and feel light when lifted. Do not open the oven door during the first 25-30 minutes of baking as this can cause them to collapse.
- Turn off the oven leaving the door slightly ajar and let the puffs cool inside for another 10 to 15 minutes. This slow cooling helps prevent shrinking.
- While the puffs cool make the filling. In a medium bowl beat the heavy cream powdered sugar and vanilla extract until stiff peaks form.
- Once completely cool slice the cream puffs horizontally fill generously with whipped cream and dust with powdered sugar before serving.


