
For years, I battled with homemade energy balls that either crumbled into a messy heap or were so sticky they adhered to everything but my plate. This frustration led me to perfect a recipe for truly reliable, easy no-bake energy balls that consistently hold their shape without being a sticky ordeal.
My simple secret ensures these wholesome bites are always perfectly firm yet tender, offering a grab-and-go solution for busy days and hungry moments.
Unlock the Secret to Perfect, Non-Sticky Energy Balls
Beyond Sticky Messes: Our Recipe’s Unique Texture
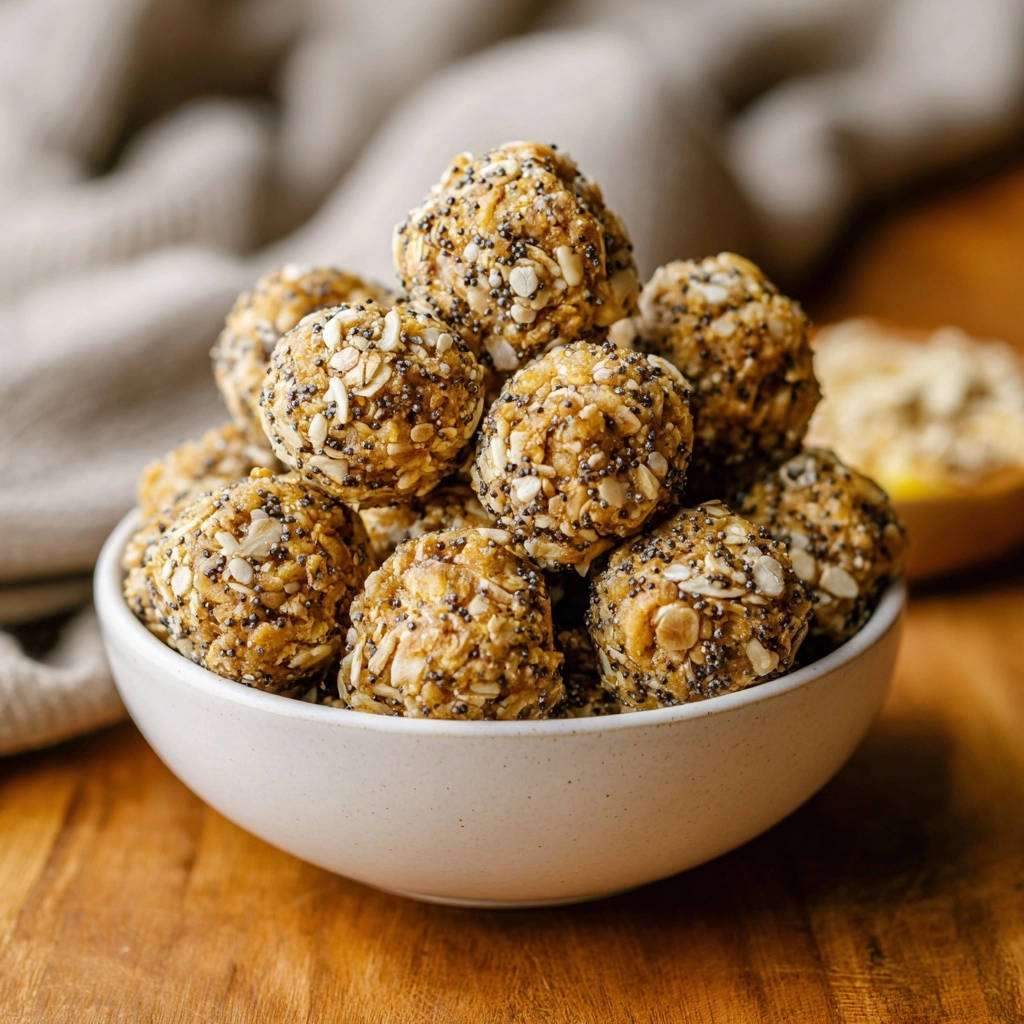
The biggest challenge with many no-bake energy ball recipes is achieving the right consistency. Our method focuses on precise ratios and a crucial chilling step that guarantees each ball holds its form beautifully.
You’ll enjoy a delightful texture that’s firm enough for travel, yet still soft and satisfying to bite into, completely free from stickiness.
Effortless & Quick: Perfect for Busy Lifestyles
In just 10 minutes of active prep, you can create a batch of these wholesome treats. There’s zero cooking time involved, making them an ideal solution for anyone needing a quick snack without the hassle of baking.
This recipe truly embodies convenience, fitting seamlessly into even the most hectic schedules.
Wholesome Ingredients, Satisfying Bites
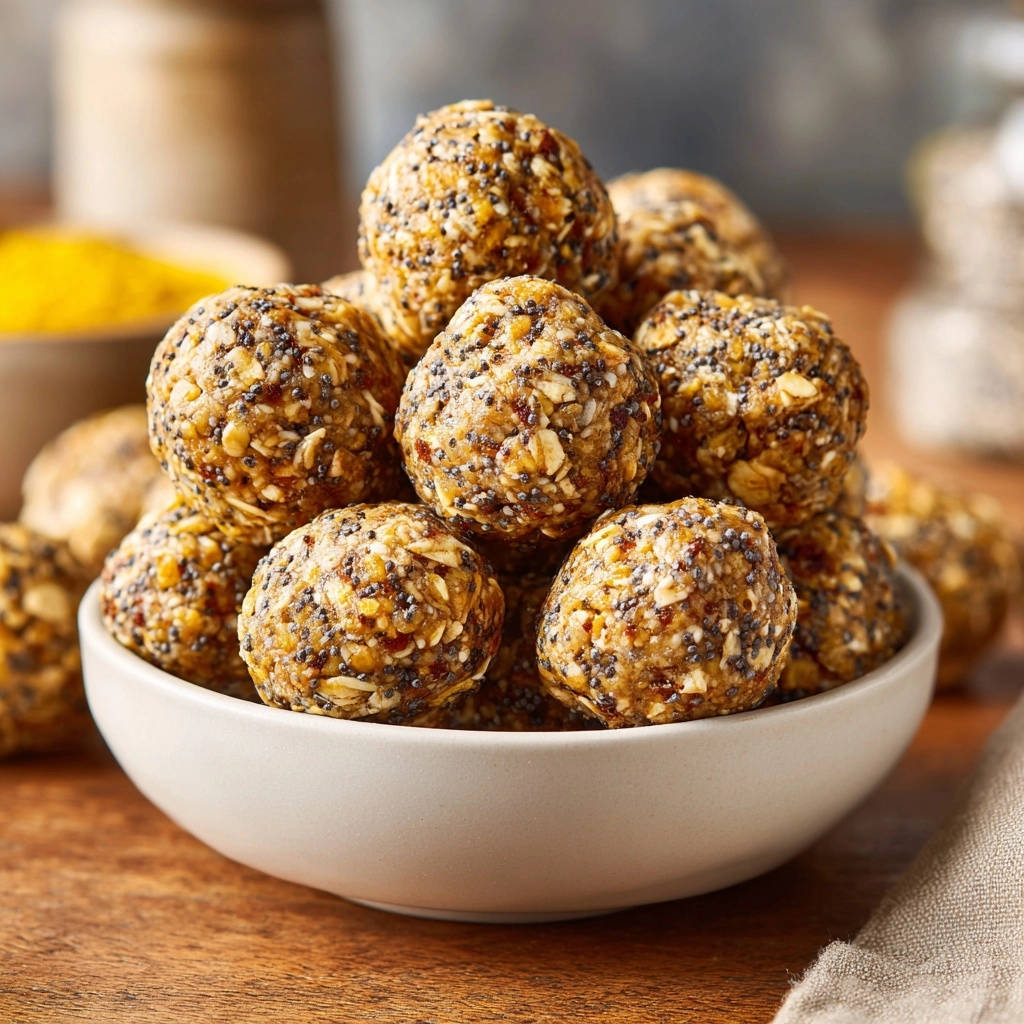
Beyond their ease, these energy balls are packed with nourishing ingredients that provide sustained energy. They offer a satisfying bite that curbs cravings and keeps you feeling full.
It’s the ultimate guilt-free treat, perfect for fueling your day naturally.
From Pantry to Perfection: Understanding Your Ingredients
Oats: The Foundation of Lasting Energy
Rolled oats form the robust base of these energy balls. Their larger flake size creates a pleasant chewiness and provides complex carbohydrates for sustained energy release.
They are essential for both structure and nutritional value in every bite.
Chia Seeds: The Unsung Binding Hero
Chia seeds are truly magical in this recipe, acting as the primary binding agent. When exposed to liquid, they form a gel-like consistency that perfectly holds all the ingredients together.
This ensures your energy balls maintain their shape, and they also contribute healthy omega-3 fatty acids, similar to what you find in a delicious chia seed pudding.
Nut Butter & Sweetener: Flavor, Fuel, and Form
Peanut butter (or any other nut butter you prefer) and honey or maple syrup play a dual role. They infuse the energy balls with rich flavor and essential moisture.
Crucially, they also act as additional sticky binders, contributing significantly to the final firm texture and delicious taste.
Optional Mix-Ins: Customize Your Crunch and Flavor
Adding a tablespoon of pumpkin or sunflower seeds introduces a delightful crunch and extra nutrients. These optional additions allow for endless customization.
Feel free to get creative and experiment with other favorite mix-ins to truly make these treats your own.
Gather Your Gear: Essential Tools for No-Bake Success
Basic Kitchen Essentials
You’ll need a medium-sized mixing bowl, which should be spacious enough to comfortably combine all your ingredients.
A sturdy spatula or a strong spoon is also crucial for thorough mixing, ensuring everything is well-incorporated.
Handy Extras for Perfect Portions
While optional, a small cookie scoop or an ice cream scoop can be incredibly useful. It helps create consistently sized energy balls, which is great for uniform portions.
This small tool makes the rolling process quicker and more efficient.
Your Step-by-Step Path to Energy Ball Bliss
Phase 1: Combining the Dry Elements
Start by adding the rolled oats, chia seeds, and any optional seeds you’ve chosen into your medium bowl.
Give them a good stir until they are evenly distributed. This ensures that the binding power of the chia seeds is spread throughout the mixture.
Phase 2: Introducing the Wet Binders
Now, add the peanut butter (or your chosen nut butter) and the honey or maple syrup to the bowl with the dry ingredients.
These wet ingredients will begin the process of binding everything together, providing essential moisture and flavor.
Phase 3: The Crucial Mixing and Chilling Steps
This is where the magic happens: mix everything very thoroughly. Use your spatula or spoon to press and fold until all the dry ingredients are completely coated and fully incorporated with the wet components.
The mixture should become uniformly sticky and cohesive when you press it firmly, which is vital for the balls to hold their shape later.
Once mixed, cover the bowl and refrigerate the mixture for at least 30 minutes. This chilling period is non-negotiable; it allows the binding agents, especially the chia seeds, to firm up significantly.
The chilled mixture will be much easier to handle and roll, ensuring your energy balls are perfectly firm and stable.
Phase 4: Forming Your Perfect Spheres
After chilling, scoop out small portions of the mixture using a spoon or cookie scoop. Roll each portion between your palms into bite-sized balls.
If the mixture feels too sticky to roll, return it to the fridge for another 15 minutes. If it seems a little dry and crumbly, add a tiny bit more peanut butter or syrup, mix it in, and then re-chill briefly.
Phase 5: The Final Chill & Storage
Arrange your perfectly formed energy balls in an airtight container. Place them back in the refrigerator immediately.
They will continue to firm up as they chill further, becoming even more resilient and ready for on-the-go enjoyment.
Mastering Your Energy Balls: Pro Tips & Troubleshooting
The Golden Rule of Mixing: Don’t Skimp!
Thorough mixing is absolutely critical for the success of these energy balls. Each oat flake and chia seed needs to be completely coated in the wet binders.
This uniform coating ensures consistent texture and maximum binding power, preventing crumbly or loose balls.
Chilling is Key: Why It Matters So Much
The chilling time isn’t just a suggestion; it’s essential. It allows the oats to fully absorb moisture and the chia seeds to properly gel.
This firming process makes the mixture easy to handle and guarantees your energy balls retain their perfect shape, even at room temperature.
Too Sticky? Or Too Dry? Quick Fixes!
If your mixture is too sticky to roll, it simply needs more time in the fridge-another 15-30 minutes can make all the difference.
Conversely, if it feels too dry and won’t hold together, add a very small amount (half a teaspoon at a time) of extra peanut butter or honey/maple syrup, mix well, and then re-chill before rolling.
Achieving Uniform Size & Shape
For consistent energy balls, use a cookie scoop or a measuring spoon to portion out the mixture. This ensures each ball is roughly the same size.
Roll them gently but firmly between your palms to create smooth, compact spheres that look as good as they taste.
Unleash Your Creativity: Exciting Flavor Variations
Chocolate Lover’s Dream Bites
Transform these into a rich, decadent treat by adding a tablespoon of unsweetened cocoa powder to the dry ingredients.
Stir in a quarter cup of mini chocolate chips or cacao nibs for an extra burst of chocolatey goodness, creating a delightful snack reminiscent of an easy no-bake chocolate cream loaf.
Fruity & Zesty Adventures
Incorporate finely chopped dried fruits like cranberries, apricots, or raisins for a chewy, sweet addition. You can also add a teaspoon of fresh orange or lemon zest.
This brightens the flavor profile and adds a lovely aromatic note.
Spiced & Cozy Comfort Bites
For a warm, comforting twist, mix in half a teaspoon of ground cinnamon, a pinch of nutmeg, or even a tiny amount of ground ginger.
These spices complement the oats and nut butter perfectly, creating a cozy flavor experience.
Nut-Free Options for Allergy Awareness
If allergies are a concern, easily substitute peanut butter with sunflower seed butter (SunButter), tahini, or even a seed butter blend.
Always ensure your oats are certified gluten-free if catering to gluten sensitivities.
Serving Suggestions & Smart Storage Solutions
When and How to Enjoy Your Energy Balls
These versatile energy balls are perfect for a pre-workout boost, a quick desk snack, or a wholesome addition to a kid’s lunchbox. They’re also a satisfying, healthier alternative to traditional desserts.
Keep a batch readily available for whenever hunger strikes or you need a little pick-me-up.
Optimizing Freshness: Refrigerator Storage
To maintain their optimal freshness and texture, store your easy no-bake energy balls in an airtight container in the refrigerator.
They will stay fresh and delicious for up to 1-2 weeks, making them ideal for meal prepping throughout the week.
Freezing for Longer Lasting Fuel
For an extended supply, energy balls freeze beautifully. Place them in a single layer on a baking sheet to freeze solid, then transfer them to a freezer-safe bag or container.
They can be stored in the freezer for up to 1-2 months, simply thaw them in the refrigerator for a few hours or on the counter for 15-20 minutes before enjoying.
Your Top Energy Ball Questions Answered
Can I Use Different Kinds of Oats?
While rolled oats are highly recommended for their texture and absorbency, quick oats can be used, but they might absorb liquid faster, potentially making the mixture drier. Steel-cut oats are not suitable as they won’t soften or bind adequately without cooking.
Are These Energy Balls Gluten-Free?
Yes, if you use certified gluten-free rolled oats, these energy balls are naturally gluten-free. Always check the labels of your oats and other ingredients to ensure they meet your dietary needs.
How Long Do They Last?
When stored in an airtight container in the refrigerator, these energy balls typically last for 1 to 2 weeks. If frozen, they can be kept for up to 1 to 2 months.
Can I Add Protein Powder?
Absolutely! Adding a scoop of your favorite protein powder can boost the nutritional content. Start with one scoop and if the mixture becomes too dry, add a tiny bit more wet binder (like nut butter or syrup) until the desired consistency is achieved.
Are They Suitable for Kids?
These energy balls are fantastic for kids! They are a healthier alternative to many processed snacks. Just be mindful of any nut allergies and choose a nut-free butter if necessary. You can also adjust the sweetness to your child’s preference.
Ready to Roll? Your Energy Ball Journey Awaits!
Making these easy no-bake energy balls is a rewarding experience, providing a simple yet powerful solution for healthy snacking. Their versatility means you can continually explore new flavors and enjoy them whenever you need a boost.
Don’t wait – whip up a batch today and discover the joy of perfectly portable, wholesome treats. What delicious variations will you create first?
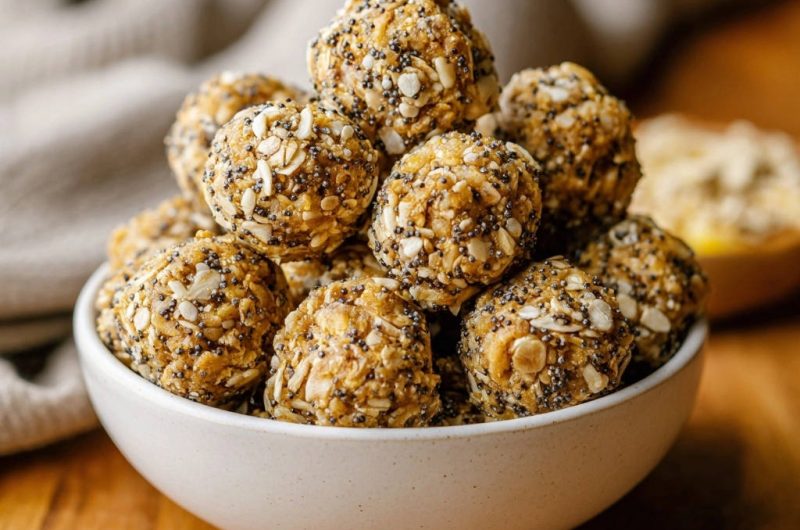
Easy No-Bake Energy Balls
Course: SnacksCuisine: American CuisineDifficulty: easy4
12 balls10
minutes10
minutesAmerican Cuisine
Ingredients
1 cup rolled oats
2 tablespoons chia seeds
1/4 cup peanut butter or other nut butter
1/4 cup honey or maple syrup
Optional: 1 tablespoon other seeds like pumpkin or sunflower seeds
Directions
- In a medium bowl, combine the rolled oats, chia seeds, and any optional seeds you are using. Stir everything together well.
- Add the peanut butter and honey or maple syrup to the bowl with the dry ingredients.
- Mix very thoroughly. Use a spatula or a sturdy spoon to make sure all the dry ingredients are fully coated and incorporated with the wet ingredients. The mixture should start to look sticky and hold together when you press it. This is the crucial step for ensuring they hold their shape later, making sure everything is uniformly combined and moist.
- Cover the bowl and refrigerate the mixture for at least 30 minutes. This chilling period is key the binding agents firm up, making the mixture much easier to roll and helping the balls hold their shape firmly once formed.
- After chilling, scoop the mixture using a small spoon or cookie scoop and roll it into bite-sized balls between your palms. If the mixture still feels too sticky, chill it for another 15 minutes. If it seems a little dry, add a tiny bit more peanut butter or syrup and mix again, then re-chill briefly.
- Place the finished energy balls in an airtight container and store them in the refrigerator. They will firm up even more as they continue to chill.
Notes
- Crucial chilling time ensures proper binding and shape retention.


