

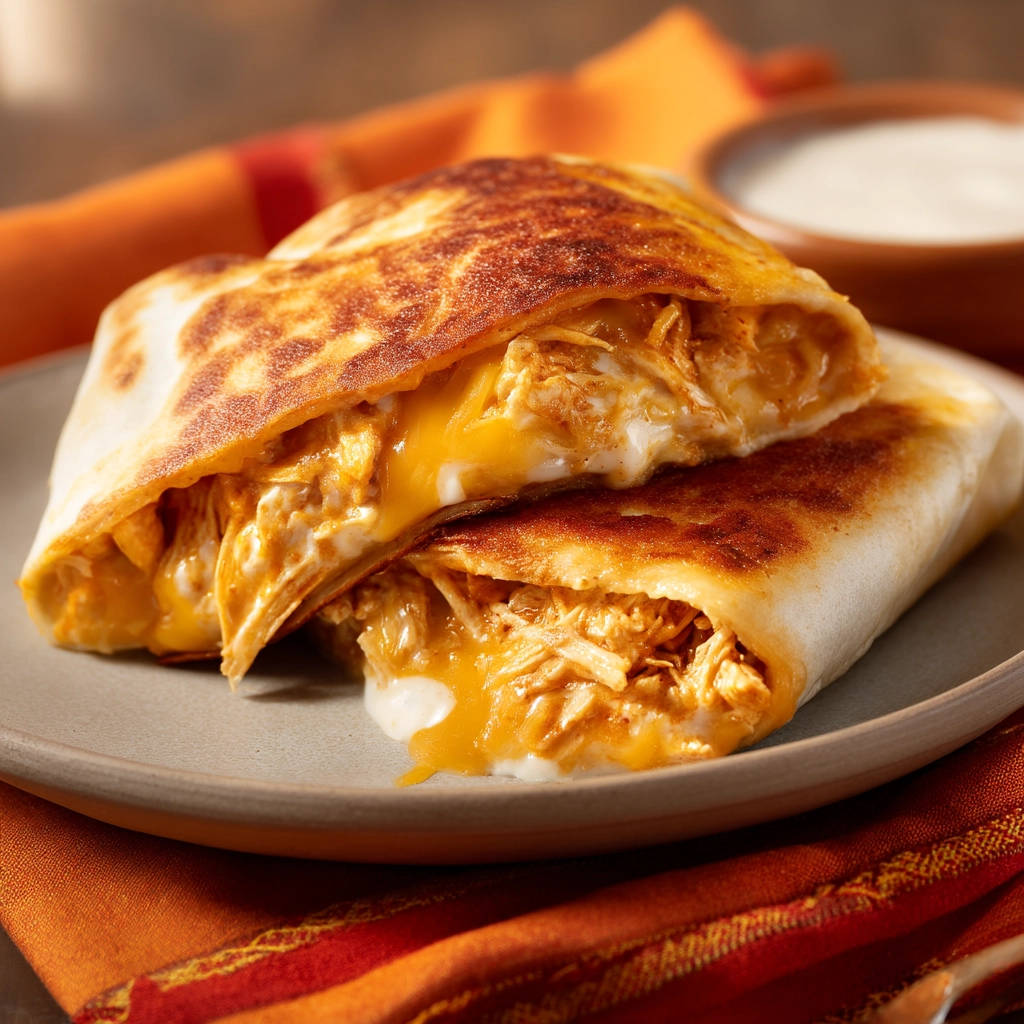
Ever craved a perfectly melty, cheesy bite wrapped in a crispy tortilla, but dreaded the inevitable cheese explosion all over your pan? I’ve been there! These Folded Chicken and Cheese Bites are the answer to your cheesy prayers. With a simple folding technique and a little pan-searing magic, you’ll achieve golden-brown perfection every time, with all that delicious filling staying exactly where it belongs. Prepare for a truly satisfying snack or light meal!
Why You’ll Love These Folded Chicken and Cheese Bites
These aren’t your average wraps! Here’s why they’re a game-changer:
- No More Mess: The folding technique prevents cheese oozing, keeping your pan clean and your bites intact.
- Quick and Easy: Ready in under 20 minutes, these are perfect for a fast lunch, snack, or even a light dinner.
- Customizable: Use your favorite cheese, add spices, or swap out the chicken for other cooked proteins. The possibilities are endless!
- Kid-Friendly: A guaranteed hit with picky eaters, these cheesy bites are a fun and approachable way to enjoy chicken and cheese.
- Satisfyingly Crispy: The pan-frying creates a delightful golden-brown crust that adds texture and flavor.
Gathering Your Ingredients for Folded Chicken and Cheese Bites
Let’s talk ingredients! The magic of these Folded Chicken and Cheese Bites lies in their simplicity. We’re aiming for a comforting, cheesy experience with a hint of savory chicken. The quality of your ingredients will shine through, so choose wisely! Also, make sure everything is ready to go before you start assembling; this will speed up the cooking process.
Here’s what you’ll need:
- Large Flour Tortillas: The foundation of our bites! Opt for the large, burrito-sized tortillas for ample filling space and easier folding. Whole wheat tortillas can add a nice nutty flavor, or even try a flavored tortilla for an extra dimension of taste.
- Shredded Cooked Chicken: This adds a protein punch and savory flavor. I often use leftover roasted chicken, which is perfect for this. You can also use rotisserie chicken for convenience, or even cook your own chicken breasts and shred them.
- Shredded Cheddar Cheese (or blend): The star of the show! Cheddar provides a classic, melty cheese flavor that pairs perfectly with the chicken. You can use a mild, medium, or sharp cheddar depending on your preference. A blend of cheddar and Monterey Jack is another good option for extra meltiness.
- Butter or Cooking Oil: For creating that golden-brown, crispy exterior. Butter adds a richer flavor, while oil provides a neutral taste.
- Sour Cream (for dipping, optional): A cool and tangy counterpoint to the cheesy bites. If you like, substitute with Greek yogurt for a similar taste with added protein.
Crafting Your Folded Chicken and Cheese Bites: Step-by-Step
Alright, let’s get cooking! The key to success with these Folded Chicken and Cheese Bites is the folding technique. It’s easier than it looks, I promise! Follow these simple steps, and you’ll be enjoying perfectly sealed, ooze-free cheesy goodness in no time. We are aiming for a tightly sealed package that prevents cheese from escaping during cooking.
- Prepare the Tortilla: Lay one of your large flour tortillas flat on a clean work surface. This provides the canvas for our delicious creation. Make sure the surface is dry so that the tortilla does not stick.
- Add the Chicken: Spread half of the shredded cooked chicken evenly over the center third of the tortilla. It’s important to leave some space around the edges – about an inch or so – to allow for proper sealing when folding. Think of it as creating a “filling zone” in the center of the tortilla.
- Sprinkle the Cheese: Next, sprinkle half of the shredded cheese over the chicken. This layering technique – chicken first, then cheese – is part of the secret to preventing leaks! By placing the cheese directly on top of the chicken, it helps to create a barrier that contains the cheese as it melts. Keep the cheese centered, just like the chicken.
- The Folding Technique: Sealing in the Goodness: This is where the magic happens! First, fold the bottom edge of the tortilla up and over the filling, covering it completely. Next, fold in both the left and right sides of the tortilla tightly over the folded bottom edge and the filling. This creates a sealed “pocket” that traps the cheese and prevents it from escaping. Finally, tightly roll the whole thing up from the bottom towards the top, creating a compact, sealed package with no open sides. It should resemble a small burrito. Repeat this process with the remaining tortilla and filling.
- Pan-Fry to Perfection: Heat the butter or cooking oil in a nonstick skillet over medium heat. Make sure the pan is hot before adding the folded wraps. This ensures a crispy, golden-brown exterior. Place the folded wraps seam-side down in the hot pan. Cooking the seam side first is crucial because it helps to seal it firmly before the cheese fully melts and creates pressure inside.
- Cook Until Golden: Cook for 3-4 minutes per side, or until each side is golden brown and crispy and the cheese is completely melted inside. Adjust the heat as needed to prevent burning while ensuring the inside heats through. If the wraps are browning too quickly, reduce the heat to medium-low.
- Rest and Serve: Carefully remove the Folded Chicken and Cheese Bites from the pan. Let them rest for a minute before cutting them in half. This allows the cheese to cool slightly and prevents it from oozing out when you cut into them. Serve immediately, optionally with sour cream for dipping. Enjoy the cheesy, crispy goodness!
Tips for Perfect Folded Chicken and Cheese Bites Every Time
Want to take your Folded Chicken and Cheese Bites to the next level? Here are a few pro tips and variations to ensure success:
- Don’t Overfill: Overfilling the tortillas is a recipe for disaster (and a cheesy mess!). Stick to the recommended amounts of chicken and cheese to ensure proper sealing and prevent leaks.
- Get Creative with Cheese: Experiment with different cheese blends! Pepper jack adds a spicy kick, while mozzarella creates a super-stretchy texture.
- Spice It Up: Add a pinch of chili powder, cumin, or paprika to the chicken and cheese mixture for extra flavor. A dash of hot sauce is also a great addition.
- Add Veggies: Sautéed onions, bell peppers, or spinach can be added to the filling for a boost of nutrients and flavor.
- Make it Gluten-Free: Use gluten-free tortillas to create a gluten-free version of these delicious bites.
- Press them down: Gently pressing down on the wraps with a spatula while they cook will help them to brown evenly and create a crispier exterior.
- Storage: Leftover Folded Chicken and Cheese Bites can be stored in the refrigerator for up to 2 days. Reheat them in a skillet or oven until warmed through. They may not be as crispy as when they were freshly made, but they’ll still be delicious.
What to Serve With Folded Chicken and Cheese Bites
These Folded Chicken and Cheese Bites are delicious on their own, but they also pair well with a variety of sides and dips. Consider serving them with:
- Sour cream or Greek yogurt
- Salsa or guacamole
- A side salad with a light vinaigrette
- A simple vegetable like steamed broccoli or carrots
Or, for a comforting and satisfying meal, serve them alongside a bowl of our slow cooker cheesy potatoes! The creamy potatoes complement the crispy, cheesy bites perfectly.
Your Folded Chicken and Cheese Bites Questions Answered (FAQ)
Still have questions about making these Folded Chicken and Cheese Bites? Here are some common questions and answers:
Why is my cheese still oozing out?
The most common reason for cheese oozing is overfilling the tortillas or not folding them tightly enough. Make sure to stick to the recommended amounts of filling and pay close attention to the folding technique. Cooking the seam side down first is also crucial for sealing the wrap.
Can I use different types of tortillas?
Yes! While flour tortillas are the classic choice, you can also use whole wheat tortillas, corn tortillas (though they may be more prone to tearing), or even flavored tortillas. Keep in mind that the cooking time may vary depending on the type of tortilla you use.
Can I make these ahead of time?
You can assemble the Folded Chicken and Cheese Bites ahead of time and store them in the refrigerator for up to 24 hours. However, it’s best to cook them just before serving for optimal crispiness.
Can I freeze these?
While you can freeze these, the texture of the tortillas may change slightly upon thawing. To freeze, wrap the cooked and cooled bites individually in plastic wrap and then place them in a freezer bag. Reheat in a skillet or oven until warmed through.
For an even more satisfying and complete meal, consider pairing these bites with something like our Golden Vegetable Rice Pilaf. The pilaf adds a wholesome, flavorful element to the meal, complementing the savory chicken and cheese.
Can I add bacon?
Yes, adding cooked, crumbled bacon is a fantastic way to elevate the flavor of these bites! Simply incorporate it into the chicken and cheese mixture before folding. The smoky, savory bacon pairs beautifully with the cheddar cheese and chicken.
Enjoy Your Homemade Folded Chicken and Cheese Bites!
There you have it – perfectly sealed, ooze-free Folded Chicken and Cheese Bites that are ready in minutes! These are a total crowd-pleaser and so versatile. What are you waiting for? Give this recipe a try and let me know what you think in the comments below! Don’t forget to rate the recipe and share it with your friends!
Folded Chicken and Cheese Bites (Stops Cheese Oozing Out)
Ingredients
- 2 Large flour tortillas
- 1 Cup shredded cooked chicken
- 1 Cup shredded cheddar cheese (or blend)
- 1 Tablespoon butter or cooking oil
- 1/4 Cup sour cream (for dipping, optional)
Directions
- Lay a tortilla flat. Spread half of the shredded chicken evenly over the center third of the tortilla, leaving space around the edges.
- Sprinkle half of the shredded cheese over the chicken. This filling technique is part of the secret to preventing leaks. Keep the filling centered.
- To fold and lock in the filling (this is the pain point solution!): Fold the bottom edge of the tortilla up over the filling. Then, fold in the sides of the tortilla tightly over the folded bottom edge and filling. Finally, roll the whole thing up tightly from the bottom towards the top, creating a compact, sealed package with no open sides. Repeat with the second tortilla and remaining filling.
- Heat butter or oil in a nonstick skillet over medium heat. Place the folded wraps seam-side down in the hot pan. Cooking the seam side first helps seal it firmly before the cheese fully melts and creates pressure.
- Cook for 3-4 minutes per side, or until each side is golden brown and crispy and the cheese is completely melted inside. Adjust heat as needed to prevent burning while ensuring the inside heats through.
- Carefully remove from the pan. Let rest for a minute before cutting in half. Serve immediately, optionally with sour cream for dipping.


