
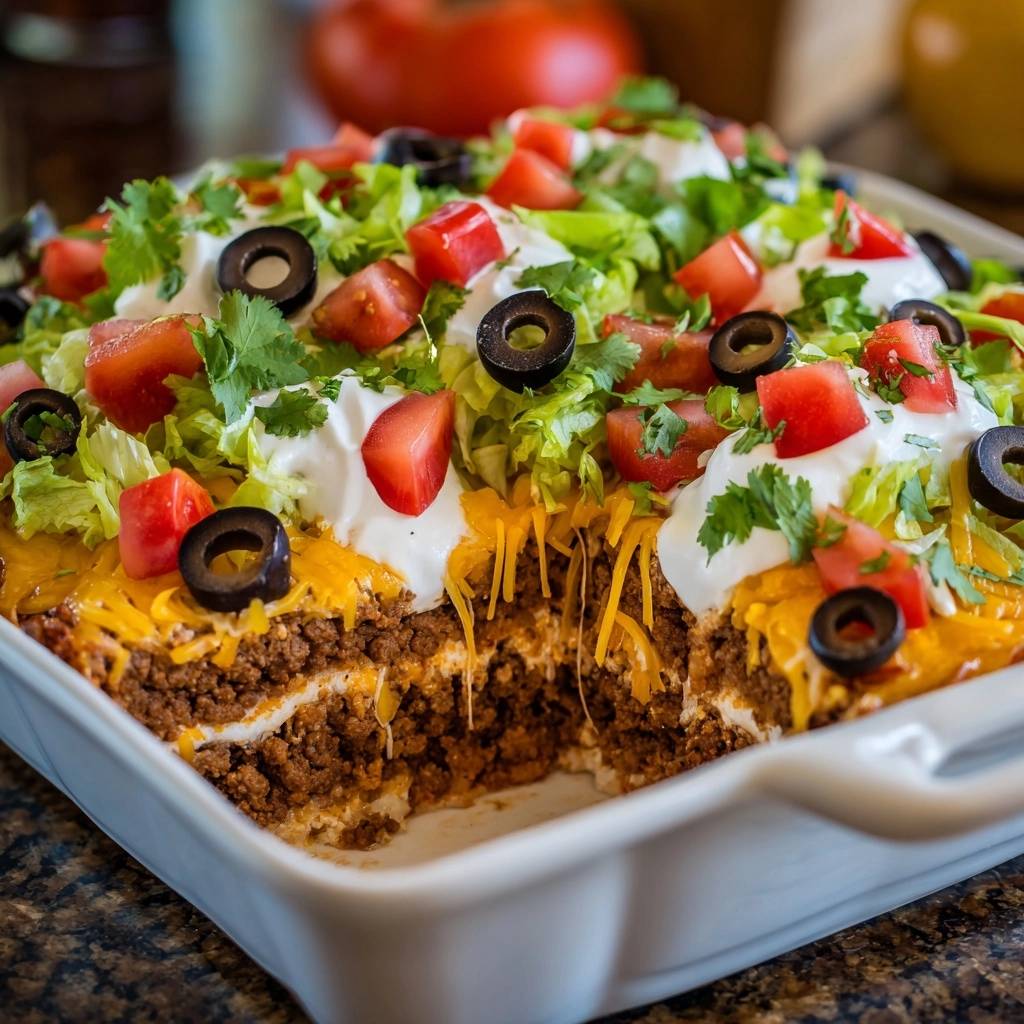
Ever bitten into a loaded taco casserole only to hit a mushy mess of soggy tortillas? You’re not alone. This loaded taco casserole fixes that frustration with a simple drain-and-dry trick that keeps every layer crisp and packed with flavor.
Therefore, you get bold taco taste without the disappointment. Fresh toppings go on at the end, so lettuce stays crunchy and tomatoes pop. It’s the casserole that actually tastes like tacos.
Here’s the expertise booster: after browning the beef, drain it in a colander and press hard with a spoon. That removes 90% of the juices, stopping moisture from wrecking your loaded taco casserole layers. Oh man, the difference is game-changing.
Why Loaded Taco Casserole Stays Crisp
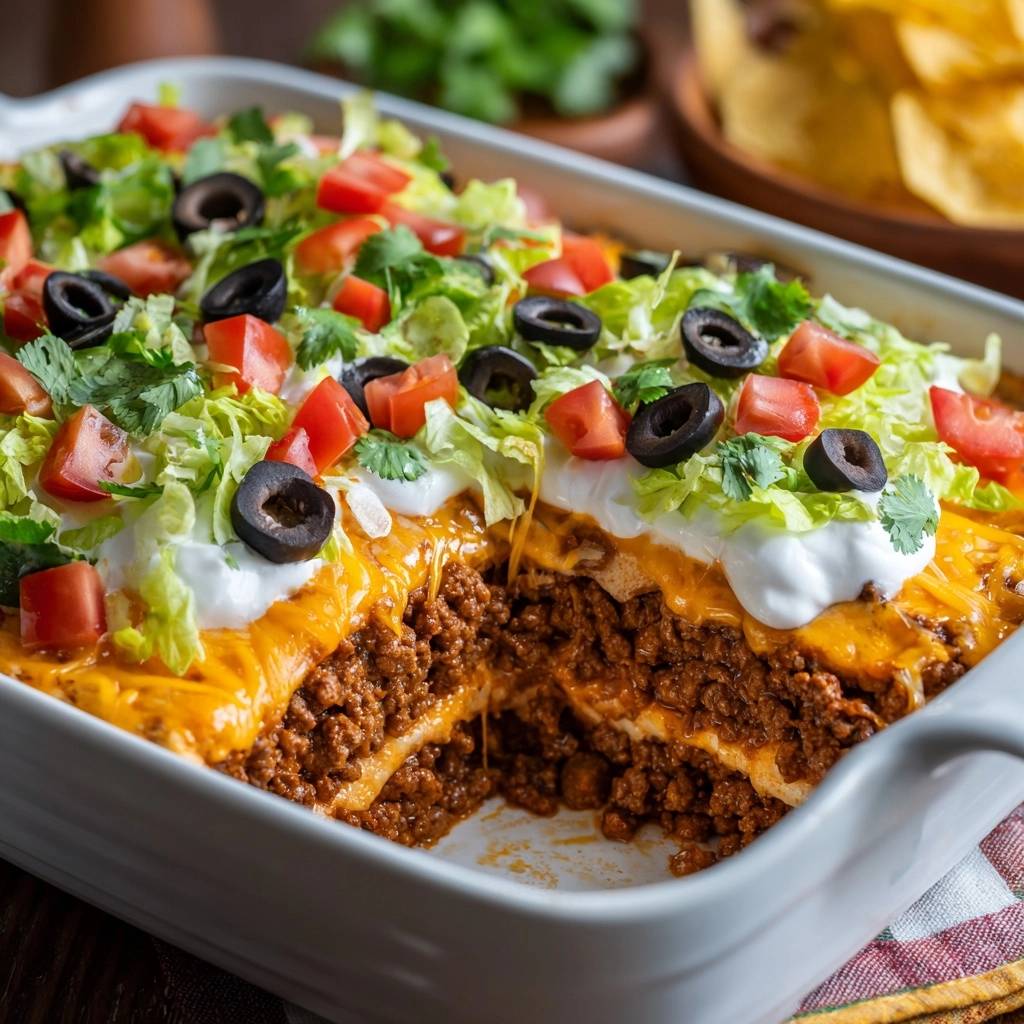
Most taco bakes turn soggy because meat juices seep into the tortillas during baking. However, this loaded taco casserole uses a fat-draining method to lock out that moisture. You end up with golden edges and firm layers instead.
In addition, the uncovered bake at 375 degrees lets steam escape, crisping everything up. It’s not just a taco bake; it’s loaded taco casserole perfection that rivals restaurant quality. No more mushy fails.
Drain-and-Dry Technique Explained
Brown the beef, then dump it into a colander. Press firmly with the back of a spoon for 30 seconds. This squeezes out watery fat that would otherwise migrate into your tortillas.
Therefore, your loaded taco casserole stays textured. Patting dry works too, but the press method removes way more moisture. You’ll smell the difference right away.
Layering for Even Texture
Start with tortillas, then beans as a moisture barrier, beef next, and cheese to seal it. Repeat for loaded taco casserole balance. Heat fuses the layers without sogginess.
Pro tip: spread beans evenly to block juice flow. That’s the physics that delivers crisp results every time.
Key Ingredients for Loaded Taco Casserole
Ground beef forms the hearty base, while refried beans add creaminess without overpowering. Corn tortillas provide structure that holds up better than flour. Shredded cheddar melts into a gooey top.
Fresh toppings like lettuce, tomatoes, olives, sour cream, and cilantro bring crunch and brightness. Use full-fat refried beans for richer spreadability. For seasoning, a packet works, but mix your own with chili powder, cumin, garlic powder, onion powder, paprika, and salt for fresher kick.
In addition, no buttermilk or fancy stuff here. You likely have most items ready, making this loaded taco casserole a weeknight win.
Protein Base: Ground Beef Prep
One pound of lean ground beef browns cleanly and drains easily for loaded taco casserole. Turkey swaps in perfectly if you want lighter flavor. Always drain thoroughly to keep layers crisp.
Tortilla and Bean Layers
Corn tortillas crisp better than flour in loaded taco casserole; cut them into strips for even coverage. Warm refried beans until spreadable, about 3 minutes on low. Two 16-ounce cans fill a 9×13 dish just right.
Cheese and Fresh Toppings
Three cups cheddar creates that melty seal on your loaded taco casserole. Add toppings post-bake to avoid wilting. Shredded lettuce stays vibrant, and cilantro adds zesty punch.
Science of Crisp Loaded Taco Casserole
At 375 degrees uncovered, moisture evaporates fast, triggering the Maillard reaction for golden crispness. Fat removal beforehand cuts steam even more. Resting lets structure set firm.
Therefore, your loaded taco casserole avoids the covered-bake trap where trapped humidity ruins textures. It’s simple science for restaurant-level results at home.
Moisture Control in Baking
Draining beef slashes fat content, so less renders out during the high-heat bake. Thermodynamics favor crisp edges over soggy centers in loaded taco casserole. Keep the oven rack in the middle for even flow.
Melty Cheese Seal Effect
Cheddar’s fats emulsify under heat, binding layers into a cohesive loaded taco casserole. It acts like glue, preventing separation. Bubbly top signals perfection.
Assembling Loaded Taco Casserole Layers
Phase 1: Brown beef 8 minutes until no pink remains. Drain and press dry. Phase 2: Add seasoning and water, simmer 3-4 minutes till thick. Phase 3: Warm beans separately till smooth.
Phase 4: Layer tortillas, beans, beef, cheese in thirds. Bake 20-25 minutes till golden. Phase 5: Rest 5 minutes, then top fresh. Each step builds loaded taco casserole success.
Phase 1: Browning and Draining Beef
Use a wide skillet for even browning. Press in colander till no drips form; that’s your soggy-proof loaded taco casserole hack. You’ll hear the sizzle calm down.
Phase 2: Seasoning and Thickening
Simmer absorbs flavors deeply into beef for loaded taco casserole punch. Homemade mix: 1 tbsp each chili powder and cumin, plus others. Thickens fast, no watery mess.
Phase 3: Layering in 9×13 Dish
Grease lightly, distribute tortilla strips flat. Spoon beans and beef evenly; one-third each per layer. Ensures loaded taco casserole bites consistently.
Phase 4: Baking and Resting
Middle rack, uncovered, till cheese bubbles. Rest firms it up. Hot loaded taco casserole slices cleanly.
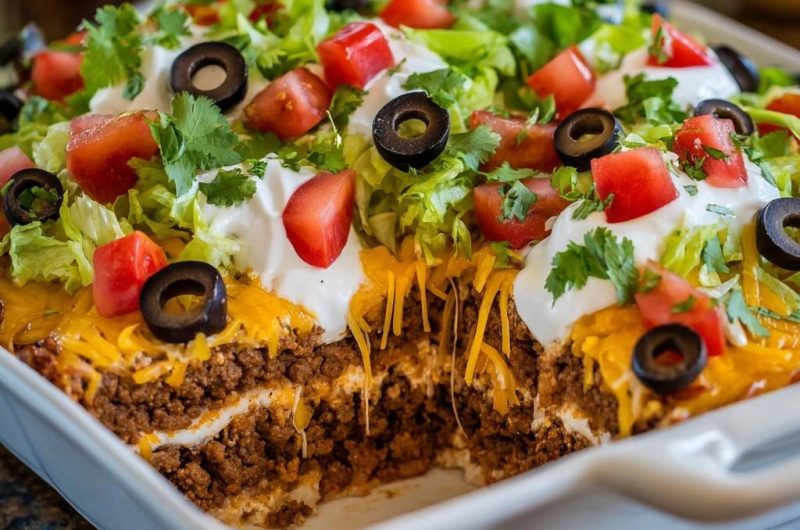
Phase 5: Fresh Topping Application
Add toppings last for crunch in loaded taco casserole. Dollop sour cream generously. Serve immediately.
Equipment for Perfect Taco Casserole Bake
A 9×13 metal dish heats evenly for crisp loaded taco casserole bottoms. Glass works but takes longer to warm. Colander and spoon handle draining; no fancy gear needed.
In addition, a large skillet speeds browning. Budget metal pans from any store outperform pricier options here. Keeps your loaded taco casserole foolproof.
Best Baking Dish Choices
Metal conducts heat faster, crisping tortillas best in loaded taco casserole. Glass retains more but risks uneven edges. Both fit 9×13 perfectly; avoid smaller for full layers.
Make-Ahead Loaded Taco Casserole Guide
Assemble layers up to 24 hours ahead, cover tight, and fridge. Bake straight from cold, adding 5-10 minutes. Freezes well assembled; thaw overnight first.
Pro tip: wrap in foil before freezing to block freezer burn. Reheat at 350 degrees covered then uncovered for crisp loaded taco casserole revival.
Freezing and Thawing Steps
Portion into single layers if needed, airtight containers best. Freeze up to 3 months. Thaw in fridge 24 hours, bake as directed for loaded taco casserole freshness.
Avoiding Loaded Taco Casserole Pitfalls
Common mistakes include skipping the drain, which floods layers, or low-heat baking that steams instead of crisps. Overcrowd tortillas, and they won’t brown. Early toppings wilt fast.
However, follow the press-dry and high-heat rules for loaded taco casserole wins. Fixes keep it restaurant-crisp every time.
Fixing Soggy Tortilla Issues
Root cause is undrained beef juices. Press extra hard next time, and bake hotter. Double bean layers block moisture in loaded taco casserole retries.
Flavor Twists on Loaded Taco Casserole
Swap beef for ground turkey or double beans for lighter loaded taco casserole. Add bell peppers with beef for veggie pop. Try Monterey Jack cheese for milder melt.
Spice it up with extra chili powder. All twists keep the crisp method intact.
Vegetarian Loaded Taco Casserole
Skip beef; use three cans refried beans mixed with seasoning and water. Add corn or peppers for bulk. Layers crisp same way in meatless loaded taco casserole.
Pairing Sides with Taco Casserole
Crisp coleslaw cuts the richness of loaded taco casserole. Mexican rice soaks up juices perfectly. Guacamole adds cool creaminess.
Sparkling cranberry juice refreshes alongside. Simple sides balance the bold bake.
Loaded Taco Casserole FAQ
Can You Freeze Loaded Taco Casserole?
Yes, assemble fully without toppings, wrap airtight, and freeze up to 3 months. Thaw in fridge overnight, then bake adding 10 minutes. Crispness holds well; re-top fresh for best loaded taco casserole texture.
Gluten-Free Loaded Taco Casserole Options?
Corn tortillas make this naturally gluten-free loaded taco casserole. Check seasoning packet labels, or use homemade mix. No other swaps needed; layers stay crisp and safe.
Best Cheese for Melty Layers?
Cheddar melts smoothly with great binding in loaded taco casserole. Mix in Monterey Jack for extra stretchiness. Freshly shredded beats pre-packaged for superior loaded taco casserole gooeyness.
How to Reheat Without Sogginess?
Oven at 350 degrees, covered foil first 10 minutes, then uncovered till hot. Avoid microwave; it steams loaded taco casserole soggy. Portion singles for even crisping.
Scaling for Smaller Batches?
Halve everything for 8×8 dish in loaded taco casserole. Use 8 tortillas, 1.5 cups cheese, one can beans. Bake same time; perfect for 2-4 servings with crisp results.
Loaded Taco Casserole
Course: Main CourseCuisine: Mexican-AmericanDifficulty: easy8
servings20
minutes30
minutes50
Minutes450
kcalMexican-American
Ingredients
1 pound ground beef
1 packet taco seasoning (or 2 tablespoons homemade: chili powder, cumin, garlic powder, onion powder, paprika, salt)
1/2 cup water
2 (16 oz) cans refried beans (about 3 cups)
12 corn tortillas, cut into strips or quarters
3 cups shredded cheddar cheese, divided
2 cups shredded lettuce
2 cups diced tomatoes
1 cup sliced black olives
1 cup sour cream
1/2 cup chopped fresh cilantro
Directions
- Preheat oven to 375 degrees F. Brown ground beef in a large skillet over medium heat until fully cooked, about 8 minutes. Drain excess fat thoroughly using a colander, pressing with a spoon to remove all moisture, then return to skillet. This is the key step to prevent soggy tortillas, as it eliminates watery juices that make layers mushy.
- Stir in taco seasoning and 1/2 cup water. Simmer 3-4 minutes until thickened and flavorful. Remove from heat. Heat refried beans in a separate saucepan over low heat until warmed and spreadable, about 3 minutes; set aside.
- In a greased 9×13-inch baking dish, layer one-third of the tortilla pieces evenly on the bottom. Top with one-third of the refried beans, one-third of the beef mixture, then one cup shredded cheese. Repeat layers twice more, ending with cheese on top.
- Bake uncovered for 20-25 minutes until cheese is bubbly and edges are golden. The high heat and uncovered baking crisps the tortillas while sealing layers. Let rest 5 minutes to set.
- Top with shredded lettuce, diced tomatoes, black olives, dollops of sour cream, and chopped cilantro right before serving. Crisp toppings stay fresh, no wilting. Slice and enjoy!
Notes
- Key to success: Drain beef fat thoroughly using a colander and press with a spoon to remove all moisture. Add fresh toppings right before serving to keep them crisp.


