We have all been there: you bite into a stuffed pepper only to find a watery, mushy mess at the bottom of the dish. This common frustration usually happens because peppers are high-moisture vegetables that steam from the inside out when filled raw. It is a culinary heartbreak that turns a nostalgic favorite into a soggy disappointment.
However, you can easily fix this by adopting the “Anti-Soggy” philosophy. By using a specific par-roasting technique and a moisture-locking rice ratio, you ensure the pepper stays firm while the filling remains juicy. This method transforms the humble bell pepper into a sturdy vessel for savory beef and aromatics.
The secret to success lies in roasting the empty pepper shells first to release excess water before the filling ever touches them. In addition, using pre-cooked rice prevents the grains from sucking all the moisture out of the sauce, which keeps the interior perfectly balanced. I’ve found that this extra fifteen minutes of prep makes the difference between a mediocre meal and a dinner-party-worthy masterpiece.
The Science of Structural Integrity in Peppers
Bell peppers are essentially water-filled cells held together by pectin, a natural fiber that provides crunch. When you heat a raw pepper filled with moist meat, the internal steam breaks down those pectin walls too quickly. Consequently, the pepper collapses into a puddle of its own juices before the beef is even fully seasoned.
Therefore, we par-roast the empty shells at 375°F to begin the softening process in a dry environment. This temperature is high enough to evaporate surface moisture but gentle enough to keep the pepper walls intact. By the time you add the filling, the pepper has already shed its excess water, allowing it to hold its shape beautifully during the final bake.
Essential Components for Classic Beef and Rice Stuffed Peppers
Selecting the right peppers is the first step toward a successful dish. I always look for four large green bell peppers with flat, stable bottoms so they don’t tip over in the oven. While red or yellow peppers are delicious, green peppers provide a slightly bitter, earthy counterpoint that cuts through the richness of the beef.
For the protein, lean ground beef is your best friend here. I recommend a 90/10 or 93/7 blend because it provides plenty of flavor without leaving a pool of grease in the bottom of your pepper. If you use a higher fat content, the rice will absorb the oil, resulting in a heavy, greasy mouthfeel that masks the bright tomato notes.
Selecting the Right Grain: Why Long-Grain Rice Wins
The type of rice you choose dictates the final texture of your filling. Long-grain white rice is the superior choice because the grains stay separate and distinct even after being mixed with sauce. In contrast, short-grain or arborio rice can become sticky and create a “mushy paste” that feels dense on the palate.
Make sure your rice is fully cooked and cooled slightly before you fold it into the beef mixture. If the rice is piping hot, it will continue to soften too much during the second bake. Using day-old rice is actually a fantastic hack here, as the slightly drier grains soak up the tomato sauce and Worcestershire flavors much more effectively.
The Aromatics and Pantry Staples
Yellow onions and fresh garlic provide the aromatic backbone of this dish, but the way you treat them matters. I always sauté the onions until they are translucent before adding the garlic to prevent the garlic from burning and turning bitter. This creates a sweet, savory base that permeates every bite of the beef.
Furthermore, don’t just stir the tomato paste in at the end. You should toast the paste in the center of the skillet for about a minute until it turns a deep brick red. This triggers the Maillard reaction, which intensifies the umami profile. When combined with a splash of Worcestershire sauce, the filling gains a complex, “meaty” depth that tastes like it simmered for hours.
Phase One: Par-Roasting for Maximum Texture
Start by preheating your oven to 375°F and placing your hollowed-out peppers upright in a glass baking dish. It is vital that you do not add any water to the dish during this stage. We want a dry heat environment to draw out the moisture from the pepper walls.
Bake the empty shells for exactly 15 minutes. When you pull them out, you will notice the color has shifted to a more vibrant, darker green and the skin looks slightly wrinkled. They should be tender enough to pierce with a fork but still firm enough to stand tall without leaning.
Phase Two: Developing the Savory Beef Filling
While the peppers are in the oven, get your skillet screaming hot over medium-high heat. Brown the ground beef thoroughly, breaking it into small crumbles as it cooks. Once the meat is no longer pink, drain every drop of excess fat from the pan to keep the filling tight and clean.
Next, stir in your diced onions and cook until they are soft and fragrant. Add the minced garlic and that tablespoon of tomato paste, stirring constantly. You will smell the aroma change from raw and sharp to sweet and caramelized, which is your cue that the flavor is fully developed.
Integrating the Binding Agents
Now it is time to bring the filling together by folding in the cooked rice and 1/2 cup of the tomato sauce. You aren’t looking for a soup; rather, you want a cohesive, thick mixture that holds its shape on a spoon. The sauce acts as the glue that keeps the beef and rice from falling apart when you cut into the pepper.
Add your dried oregano, salt, and black pepper at this stage. Give it a quick taste to ensure the seasoning is bold. Remember, the pepper shell itself is unseasoned, so the filling needs to be flavorful enough to carry the whole dish. The mixture should look rich, red, and incredibly fragrant.
Phase Three: The Assembly and Final Bake
Before you start stuffing, look inside your par-roasted peppers. You will likely see a small pool of liquid at the bottom of each shell. Carefully pour that liquid out! This is the “pepper water” that usually causes the dreaded soggy bottom, and getting rid of it is a total game-changer.
Pour another 1/2 cup of tomato sauce into the bottom of your baking dish. This creates a flavorful poaching liquid that seasons the base of the peppers while they finish cooking. It also prevents the bottom of the peppers from scorching or sticking to the glass.
Packing Techniques for a Dense Filling
When you fill the peppers, don’t be afraid to use a little pressure. Use the back of your spoon to pack the beef and rice mixture firmly into every corner of the shell. If you leave large air pockets, the pepper is more likely to collapse inward as it softens in the oven.
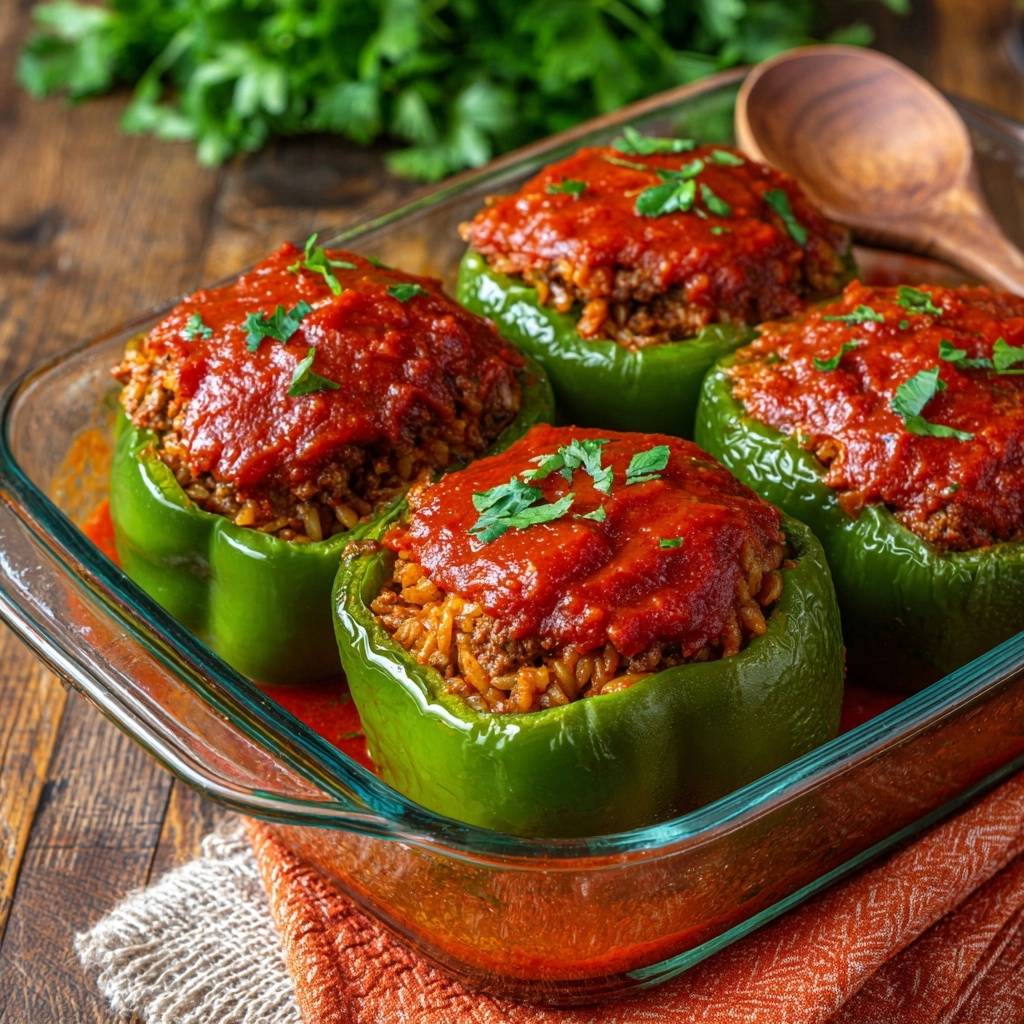
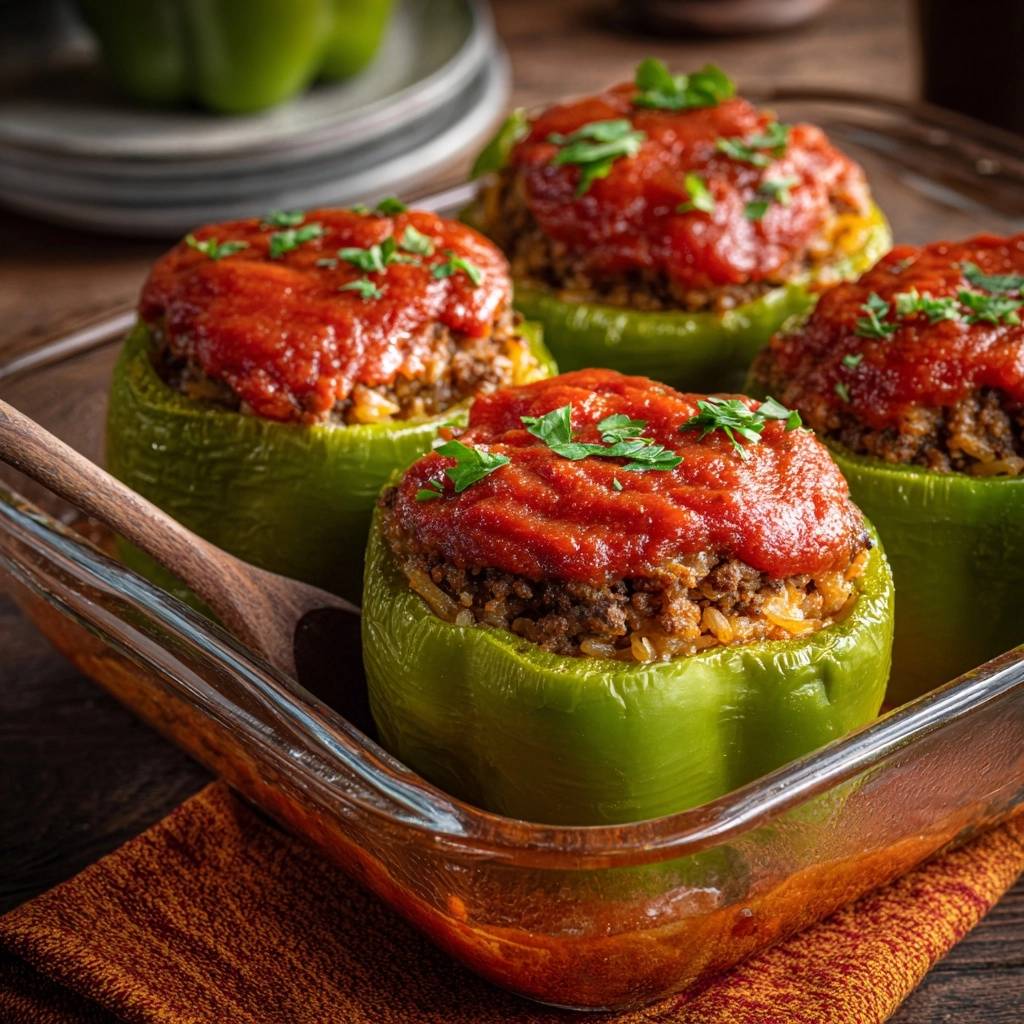
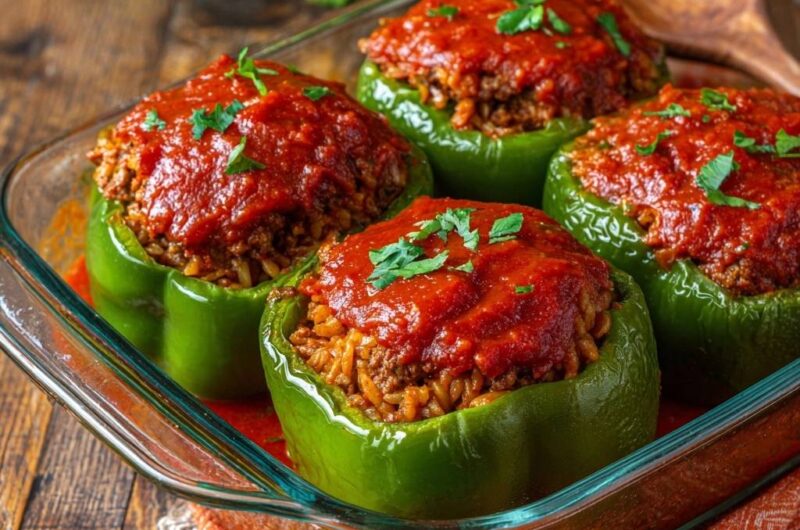
Mound the filling slightly above the rim for a professional, hearty look. Finally, spread a thick layer of the remaining tomato sauce over the top of each mound. This sauce acts as a moisture seal, protecting the rice from drying out and creating a beautiful, concentrated glaze as it bakes.
Avoiding Common Stuffed Pepper Mistakes
One of the most common issues is peppers that won’t stay upright. If your peppers are wobbly, simply slice a tiny sliver off the bottom bumps to create a flat surface. Just be careful not to cut all the way through to the cavity, or your delicious filling will leak out into the pan.
Additionally, always bake these uncovered. Many people make the mistake of covering the dish with foil, which traps steam and leads back to that mushy texture we are trying to avoid. Baking uncovered allows the top sauce to thicken and the pepper skins to blister slightly, which provides a much better eating experience.
Flavor Variations and Ingredient Swaps
If you want to change things up, this recipe is incredibly flexible. You can easily swap the ground beef for ground turkey or ground lamb. If you use turkey, add an extra teaspoon of olive oil to the skillet, as turkey is much leaner and can dry out faster than beef.
For those looking to reduce carbs, riced cauliflower works as a substitute for white rice. However, cauliflower releases a lot of water, so you must sauté it in a dry pan first to remove that moisture. You might also need to add an extra tablespoon of tomato paste to help the looser cauliflower grains bind together.
Optimal Side Dish Pairings
Since stuffed peppers are quite rich and savory, I love pairing them with something bright and acidic. A crisp cucumber and radish salad with a lemon vinaigrette provides a refreshing crunch that cleanses the palate between bites. The cold, raw vegetables offer a great contrast to the warm, soft peppers.
Alternatively, roasted broccoli with plenty of lemon zest and red pepper flakes adds a nice charred flavor to the meal. If you want something creamy, a dollop of Greek yogurt mixed with garlic and fresh herbs on the side works beautifully. It acts as a cooling agent that complements the warm spices in the beef filling.
Make-Ahead Strategies and Storage Logistics
You can easily prep the filling a day in advance and store it in the fridge. However, I do not recommend stuffing raw peppers and freezing them. The freezing process breaks down the cell walls of the pepper, and they will turn into a watery mess once thawed and baked.
If you have leftovers, they store beautifully in an airtight container in the refrigerator for up to three days. To reheat, I suggest using the oven at 350°F for about 15 minutes to maintain the texture. While the microwave is faster, it can make the pepper skin a bit rubbery, so the oven is always the better choice for quality.
Expert Troubleshooting
Why are my peppers still crunchy after 45 minutes of total cooking?
This usually happens if the pepper walls are exceptionally thick or if your oven is running a bit cool. You can fix this by extending the par-roasting time by 5 minutes next time. For the current batch, you can add a tablespoon of water to the bottom of the pan and cover it with foil for the last 10 minutes of baking to create a little steam.
Can I use brown rice instead of white rice?
Yes, you can certainly use brown rice, but keep in mind that it has a nuttier texture and doesn’t absorb sauce quite as easily. If you make this swap, I recommend adding an extra two tablespoons of tomato sauce to the filling mixture. This ensures the filling stays moist despite the heartier texture of the brown rice grains.
My filling seems dry even though I followed the recipe. What happened?
The most likely culprit is over-draining the beef or using rice that was too dry. If the mixture looks crumbly before it goes into the pepper, stir in an extra splash of tomato sauce or even a tablespoon of beef broth. Also, ensure you are putting a generous layer of sauce on top, as this is the primary “seal” that keeps the moisture inside during the final bake.
How do I scale this recipe for a large family gathering?
To double the recipe, use a large 9×13 roasting pan. You may need to increase the initial par-roasting time by about 5 minutes because the increased mass in the oven can drop the temperature slightly. Make sure the peppers aren’t squeezed too tightly together; they need a little space for the hot air to circulate and brown the sides properly.
Is there a way to make these even more savory?
If you want an extra punch of flavor, try adding a teaspoon of smoked paprika or a pinch of red pepper flakes to the beef while it browns. You can also stir in some chopped kalamata olives or capers if you enjoy a salty, Mediterranean flair. Just be sure to adjust your salt levels accordingly, as those additions bring plenty of their own sodium to the dish.
Classic Beef and Rice Stuffed Peppers
Course: Main CourseCuisine: AmericanDifficulty: easy4
servings15
minutes45
minutes60
Minutes385
kcalAmerican
Ingredients
4 large green bell peppers, tops removed and seeded
1 pound lean ground beef
2 cups cooked long-grain white rice
1 small onion, finely diced
2 cloves garlic, minced
1 can (15 ounces) tomato sauce, divided
1 tablespoon tomato paste
1 tablespoon Worcestershire sauce
1 teaspoon dried oregano
1/2 teaspoon salt
1/4 teaspoon black pepper
2 tablespoons fresh parsley, chopped
Directions
- Preheat your oven to 375 degrees F. Place the empty, hollowed-out green peppers upright in a glass baking dish. Do not add water to the dish yet. Bake the empty shells for 15 minutes. This par-roasting step allows the peppers to release their internal moisture and begin softening without steaming into a mushy texture.
- While the peppers par-roast, brown the ground beef in a large skillet over medium-high heat until no longer pink. Drain any excess fat thoroughly to ensure the filling remains tight and not greasy.
- Stir in the diced onion and garlic, cooking for 3 to 4 minutes until softened.
- Stir in the tomato paste and cook for 1 minute to deepen the flavor. Add the cooked rice, 1/2 cup of the tomato sauce, Worcestershire sauce, oregano, salt, and pepper to the skillet. Stir well to combine and heat through until the mixture is thick and cohesive.
- Remove the peppers from the oven. Carefully pour out any liquid that has pooled inside the pepper shells.
- Pour 1/2 cup of the remaining tomato sauce into the bottom of the glass baking dish to create a flavorful poaching liquid for the base of the peppers.
- Spoon the beef and rice mixture generously into each pepper, packing it down firmly so the filling is mounded slightly above the rim.
- Top each pepper with a thick, generous layer of the remaining tomato sauce. This concentrated layer acts as a seal to keep the filling moist while the pepper finishes cooking.
- Bake uncovered for 30 minutes. The high heat will thicken the sauce on top into a rich glaze and finish tenderizing the peppers.
- Garnish with fresh parsley before serving.
Notes
- The par-roasting step is essential to prevent a watery texture. Ensure you drain the beef thoroughly to keep the filling tight and non-greasy.