
We’ve all been there. You sit down at a restaurant, excited for a plate of Chicken Parmesan, only to find the breading has turned into a mushy, flavorless paste under a mountain of watery sauce. It’s a heartbreak that happens far too often in home kitchens, too. Traditional recipes often trap steam between the chicken and the pan, effectively boiling the bottom of your dinner while the top looks perfectly fine.
This recipe changes the game by focusing on structural integrity and moisture management. By utilizing a wire rack and a specific layering logic, we ensure that every bite offers a satisfying, shatteringly crisp crunch. We aren’t just making dinner; we’re engineering the perfect bite where the Panko stays dry and the chicken stays incredibly juicy.
The secret to this success lies in the “Anti-Soggy” philosophy: airflow is your best friend. Most people fail because they let the chicken sit in its own juices or drown it in sauce too early. By placing the cheese as a protective barrier between the crispy crust and the marinara, you preserve the texture you worked so hard to create in the skillet.
The Physics of Crunch: Why This Method Works
Achieving a professional-grade crust requires understanding how heat and moisture interact. When you place breaded chicken directly on a flat baking sheet, the heat from the oven draws moisture out of the meat. That moisture has nowhere to go, so it pools under the breading, creating a “steaming” effect that ruins the crunch instantly.
Using a wire rack elevated inside a rimmed baking sheet allows hot air to circulate 360 degrees around the chicken. This constant airflow evaporates surface moisture on the bottom just as quickly as the top. Therefore, the underside stays just as toasted and firm as the side facing the heating element.
Furthermore, the initial pan-sear is non-negotiable because it triggers the Maillard reaction. This chemical reaction between amino acids and reducing sugars creates that deep, savory flavor and golden-brown color that baking alone simply cannot replicate. The sear “sets” the crust, ensuring it stays attached to the meat during the final roast.
Essential Components for Crispy Baked Chicken Parmesan
Your choice of breading is the foundation of this dish. I always recommend Panko breadcrumbs over the traditional fine-ground variety. Panko has a larger, jagged surface area that doesn’t absorb oil as readily, resulting in a lighter, airier texture that stays crispy even after it hits the oven.
In addition to the Panko, finely grated Parmesan cheese acts as both a flavor booster and a structural binder. As the cheese melts slightly in the oven, it fuses with the breadcrumbs, creating a savory shell. Use the “dust-like” finely grated stuff here rather than thick shreds so it integrates perfectly with the Panko.
For the sauce, look for a thick, high-quality marinara. If your sauce is too watery, the excess liquid will run off the cheese and soak into the breading. A concentrated, slow-simmered sauce provides the best flavor punch without the risk of making your plate a soggy mess.
Selecting and Preparing the Poultry
Uniformity is the key to juicy chicken. If one end of the breast is an inch thick and the other is a sliver, the thin part will dry out before the center is safe to eat. Use a meat mallet or a heavy skillet to pound the chicken to a consistent 1/2-inch thickness.
Before you even touch the flour, pat the chicken breasts completely dry with paper towels. Any surface moisture left on the meat will prevent the flour from sticking properly. If the flour doesn’t stick, the egg wash will slide off, and your beautiful crust will peel away like a jacket.
The Three-Stage Dredging Station
Organization prevents a messy kitchen and ensures a better crust. Your first bowl contains flour seasoned with garlic powder, oregano, salt, and pepper. This layer acts as a primer, absorbing any remaining moisture and giving the egg something to grip.
The second bowl is your “glue”—a simple mixture of beaten eggs and a splash of water. The water thins the egg just enough so it doesn’t go on too thick, which can lead to a “cakey” interface between the meat and the crumbs. Finally, the third bowl holds your Panko and Parmesan mixture.
To keep your hands from becoming breaded themselves, use the “dry hand/wet hand” technique. Use your left hand for the dry flour and Panko, and your right hand for the wet egg wash. This keeps the ingredients where they belong: on the chicken, not on your fingers.
Step-by-Step: Achieving the Perfect Golden Crust
Now that your station is ready, it’s time to execute. This process moves quickly, so have your wire rack and baking sheet prepped and waiting nearby. You want to move the chicken from the heat of the pan to the oven without letting it sit and cool down.
Phase 1: The High-Heat Skillet Sear
Heat your olive oil until it is shimmering but not smoking. If the oil isn’t hot enough, the breading will soak it up like a sponge and become greasy. You should hear a loud sizzle the moment the chicken touches the pan.
Sear the chicken for about 3 minutes per side. You aren’t trying to cook it through yet; you are simply looking for a deep, mahogany gold color. Avoid overcrowding the skillet, as this drops the oil temperature and leads to steaming rather than frying.
Phase 2: The Elevated Oven Roast
Transfer the seared breasts to the wire rack. The oven should be at a high 425°F to finish the cooking process quickly. This high heat ensures the interior reaches the safe temperature of 165°F while the exterior continues to crisp up.
Roast for about 8 to 10 minutes. Because the chicken was pounded thin and seared first, it won’t need long in the oven. This prevents the meat from becoming tough or rubbery, which often happens with longer, lower-temperature baking methods.
Phase 3: The Strategic Layering Sequence
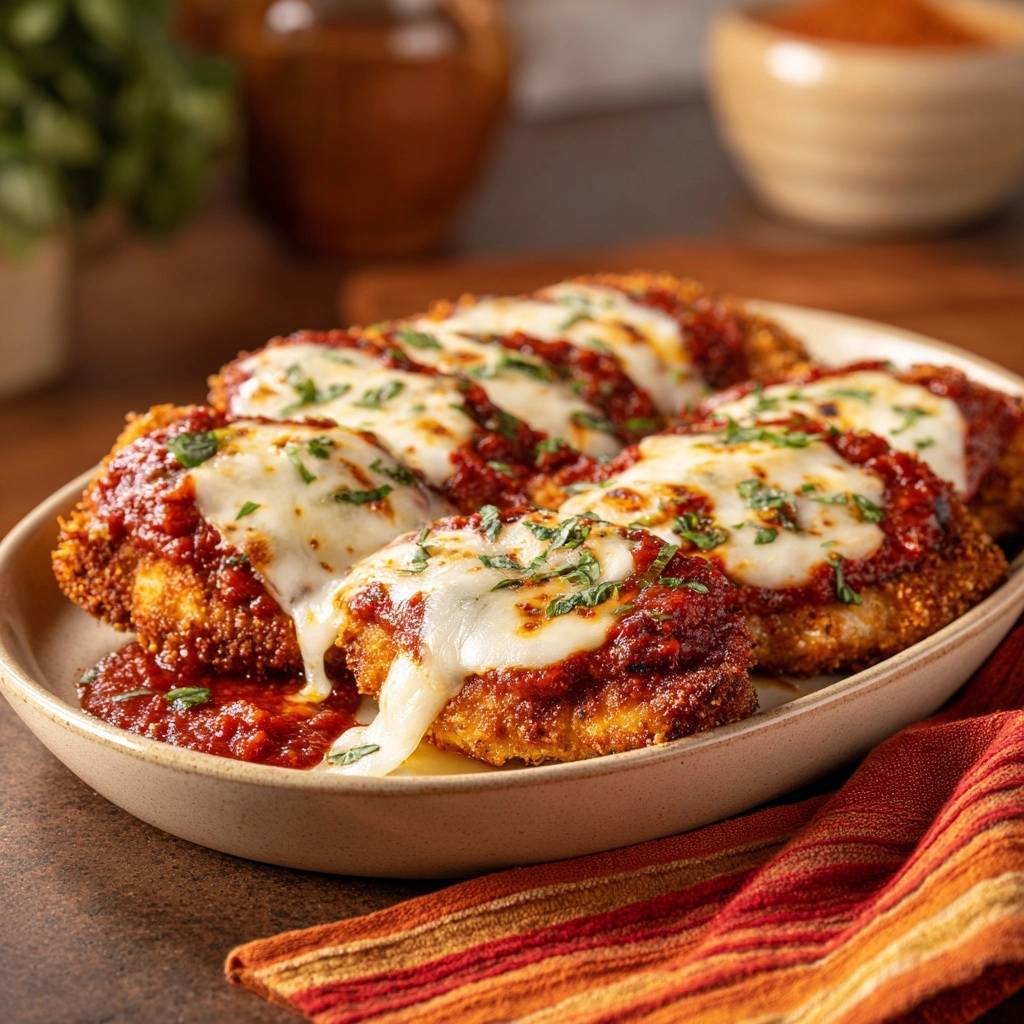
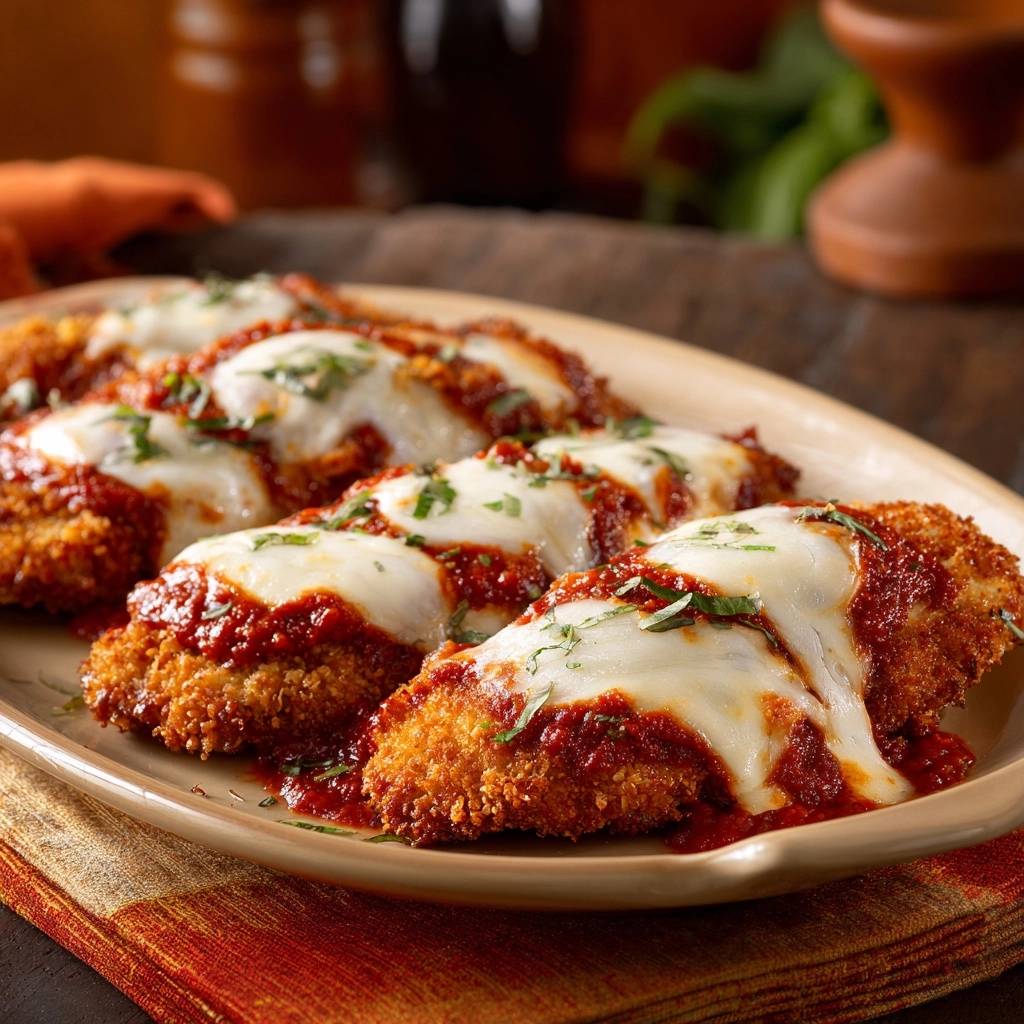
This is the most important step for texture. Instead of putting sauce on the chicken and then cheese, do the opposite. Place your mozzarella slices on the hot chicken first. The cheese acts as a waterproof shield for the crispy crust.
Spoon the warmed marinara only over the center of the cheese. This keeps the sauce from touching the breading directly. Pop it back in the oven or under the broiler for a minute until the cheese is bubbly and has those beautiful brown toasted spots.
Avoiding Common Mistakes with Baked Poultry
If your breading is falling off, you likely skipped the flour step or didn’t press the Panko firmly enough into the egg wash. You really have to use some muscle to push those crumbs into the meat so they become one unit. Don’t be afraid to get your hands dirty!
Dry meat is almost always a result of overcooking. Since we sear the chicken first, the oven time is much shorter than you might think. Use a meat thermometer to check the internal temperature early so you can pull it out the second it hits 165°F.
Lastly, don’t skimp on the seasoning in the flour bowl. The breadcrumbs provide texture, but the flour layer is where the salt and spices sit closest to the meat. If that layer is bland, the whole dish will taste flat regardless of how good your sauce is.
Equipment: Why the Wire Rack is Mandatory
I cannot stress enough that a standard baking sheet alone will not give you these results. You need a rimmed baking sheet with a fitted wire cooling rack. This setup is the only way to ensure the bottom of the chicken stays as crispy as the top.
For the initial sear, a heavy-bottomed skillet like cast iron or stainless steel is superior to non-stick. These materials hold heat much better, which means the oil temperature won’t plummet when you add the cold chicken. This leads to a more even, professional-looking crust.
Smart Pairings for a Balanced Plate
Since this dish is rich with cheese and savory breading, I love pairing it with something bright and acidic. A simple arugula salad with a lemon vinaigrette cuts through the fat perfectly. Alternatively, roasted broccolini with plenty of garlic provides a nice crunch and earthy contrast.
If you are serving this with pasta, toss the noodles in a little olive oil and garlic rather than drenching them in sauce. Serve extra marinara in a small bowl on the side. This allows your guests to dip the chicken as they go, preserving that hard-earned crunch until the very last bite.
Make Ahead and Storage Strategies
You can bread the chicken up to 4 hours in advance. Just keep the breaded, uncooked cutlets on a plate in the fridge, uncovered. The cold air in the refrigerator actually helps dry out the breading even more, which can lead to an even crispier result when you finally fry them.
If you have leftovers, avoid the microwave at all costs. The microwave will turn the breading into a soggy sponge. Instead, reheat the chicken in an air fryer at 350°F for about 5 minutes or in a toaster oven. This will crisp the Panko back up and melt the cheese perfectly.
Expert Tips for Professional Results
If you are using fresh mozzarella (the kind stored in water), make sure to slice it and let it drain on paper towels for 15 minutes before using. Fresh mozzarella releases a lot of water when it melts, which can pool on top of your chicken and ruin the crust.
For a little extra kick, add a pinch of red pepper flakes to your flour mixture. It won’t make the dish “spicy,” but it adds a back-of-the-throat warmth that balances the sweetness of the tomato sauce. Also, always use fresh herbs like basil and parsley for the garnish; the hit of fresh chlorophyll wakes up all the cooked flavors.
How do I keep the bottom from getting soft?
The secret is the combination of the wire rack and the layering order. The rack allows air to flow underneath the chicken so it doesn’t steam. By putting the cheese on the chicken before the sauce, you create a moisture barrier that prevents the marinara from soaking into the breading.
Can I use gluten-free breadcrumbs?
Yes, gluten-free Panko is a fantastic substitute and often stays even crispier than wheat-based versions. Just ensure your dredging flour is also a gluten-free 1-to-1 blend. Follow the same searing and baking instructions, but keep a close eye during the sear as some GF crumbs brown faster.
What is the best marinara for this dish?
You want a thick, “chunky” style marinara rather than a thin, strained tomato sauce. A thicker sauce stays put on top of the cheese and has less water content to migrate into the crust. If your favorite sauce seems thin, simmer it in a small saucepan for 10 minutes to reduce it before topping the chicken.
How do I know when the chicken is fully cooked?
Visual cues can be tricky because the Panko and Parmesan darken quickly in the pan. The only foolproof way is to use an instant-read thermometer. Insert it into the thickest part of the breast; once it reads 165°F, pull it out immediately to ensure the meat stays juicy and tender.
Can I skip the pan-searing step?
While you can technically bake the chicken from raw, you will lose the signature crunch and deep flavor of a classic Chicken Parm. The sear “fries” the outer layer of Panko, creating a texture that baking alone cannot achieve. If you skip it, the breading will likely taste “floury” and look pale.
Why did my breading fall off in the pan?
This usually happens if the chicken was too wet before dredging or if you flipped the chicken too early. Let the chicken sear undisturbed for at least 3 minutes. This allows the egg and flour to cook and “bond” to the meat. If you try to move it before the crust is set, it will stick to the pan and pull away.

Crispy Baked Chicken Parmesan
Course: Main CourseCuisine: Italian-AmericanDifficulty: easy4
servings20
minutes25
minutes45
MinutesItalian-American
Ingredients
4 boneless skinless chicken breasts, pounded to 1/2-inch thickness
1 1/2 cups Panko breadcrumbs
1/2 cup finely grated Parmesan cheese
2 large eggs, beaten with 1 tablespoon water
1/2 cup all-purpose flour
1 teaspoon garlic powder
1 teaspoon dried oregano
1/2 teaspoon kosher salt
1/2 teaspoon black pepper
1 1/2 cups thick marinara sauce (warmed)
8 ounces fresh mozzarella cheese, sliced or torn
1/4 cup olive oil (for pan-searing)
Fresh basil and parsley, finely chopped for garnish
Directions
- Preheat your oven to 425°F (220°C). Set a wire cooling rack inside a large rimmed baking sheet. This elevation is essential for hot air circulation, ensuring the bottom of the chicken doesn’t steam and turn soggy.
- Set up a dredging station with three shallow bowls:
- Bowl 1: Flour mixed with garlic powder, oregano, salt, and pepper.
- Bowl 2: Beaten eggs and water.
- Bowl 3: Panko breadcrumbs and grated Parmesan cheese.
- Dredge each chicken breast in the flour, shaking off the excess. Dip into the egg wash, then press firmly into the Panko-Parmesan mixture, ensuring a thick, even coating on all sides.
- Heat the olive oil in a large skillet over medium-high heat. Once the oil is shimmering, sear the chicken for 3 minutes per side until the crust is deeply golden brown and set. (The chicken will not be fully cooked through at this stage).
- Transfer the seared chicken onto the wire rack on the baking sheet. Bake for 8-10 minutes.
- Remove from the oven. To maintain maximum crunch, place the mozzarella slices on the chicken first, then spoon a thick layer of marinara sauce over the center of the cheese. This prevents the sauce from soaking directly into the breading.
- Return to the oven for 3-5 minutes, or until the cheese is melted and bubbly. For the toasted cheese look seen in the image, turn on the broiler for the final 60 seconds.
- Garnish generously with fresh basil and parsley. Serve immediately, ideally with extra sauce on the side of the plate rather than poured over the top.
Notes
- Use a wire cooling rack inside the baking sheet for maximum air circulation. For a toasted cheese finish, broil for the final 60 seconds. Serve extra sauce on the side to maintain crispness.


