
We’ve all been there. You’re craving that perfect, rigid, restaurant-style sweet potato fry, but your home oven keeps turning out limp, orange wedges that more closely resemble mashed potatoes than a crispy snack. It’s frustrating because sweet potatoes are naturally high in moisture and sugar, a combination that usually leads to steaming rather than searing.
The secret to overcoming the “soggy bottom” isn’t just a higher temperature; it’s about moisture management and surface area. By using a strategic cold-water soak and a light dusting of cornstarch, you create a structural barrier that locks in the fluffy interior while building a glass-like exterior. This method ensures your fries hold their shape from the baking sheet to the dipping sauce.
I’ve found that the real game-changer is the “translucent veil” technique. Most people use too much starch, which creates a gummy paste. You want just enough to absorb the surface moisture, creating a microscopic scaffold that the oil can then crisp up into a golden crust. It’s a simple shift in technique that yields professional results every single time.
The Chemistry of a Non-Soggy Sweet Potato
Sweet potatoes are biologically different from the standard Russet. While a Russet is packed with starch that turns fluffy when heated, sweet potatoes contain more natural sugars and a higher water content. When these sugars hit high heat, they caramelize and burn quickly, often before the internal moisture has a chance to evaporate. This is why your fries might look burnt on the outside but feel raw in the middle.
To fix this, we have to manipulate the potato’s surface. Our goal is to dehydrate the exterior while the interior steams gently. By removing the excess surface sugars through soaking, we raise the “burn point” of the fry. This allows the potato to sit in the oven long enough for the internal water to turn into steam and escape, leaving behind a rigid, dehydrated shell that provides that signature crunch.
Why Cold Water Soaking is Non-Negotiable
When you cut a sweet potato, you release starches and sugars onto the surface. If you go straight to the oven, those sugars will caramelize into a sticky, soft mess. A 30-minute cold water soak uses osmosis to pull those excess sugars away from the surface. You’ll actually see the water turn cloudy; that’s the “soggy factor” leaving your potatoes.
Make sure the water is ice-cold to keep the potato cells tight and firm. After the soak, the water should be noticeably murky. This simple step ensures that when the fries hit the heat, they develop a golden-brown hue rather than a charred, bitter black crust. It’s the most important tenet of the anti-soggy philosophy.
The Role of Cornstarch in Surface Tension
Cornstarch acts as a secondary insurance policy against moisture. Even after you pat the fries dry, they will continue to release internal moisture as they sit. The cornstarch absorbs this immediate wetness and forms a thin, starchy film. When this film meets the hot oil in the oven, it fries instantly, creating a crisp “scaffold” around the potato.
This layer of starch also increases the surface area of the fry on a microscopic level. More surface area means more places for the heat to create crispiness. However, the key is a light touch. You aren’t looking for a battered fry; you want a coating so thin it’s almost invisible before the oil is added.
Essential Components for Crispy Rosemary Sweet Potato Fries
Quality ingredients are the backbone of this recipe. Since we are roasting at 425°F, your choice of oil is paramount. I always reach for avocado oil because it has a high smoke point, meaning it won’t break down or turn bitter in the intense heat of the oven. Avoid extra virgin olive oil here, as it can smoke and leave an acrid aftertaste at these temperatures.
Fresh rosemary is another non-negotiable component. Dried rosemary can feel like eating pine needles and doesn’t offer the same aromatic oils that fresh sprigs do. When the fresh needles roast in the avocado oil, they infuse the entire batch with an earthy, woodsy scent that perfectly balances the natural sweetness of the potato. Use a sharp knife to mince it finely so it sticks to the fries.
Selecting the Right Sweet Potato Variety
Not all sweet potatoes are created equal. For the best fries, look for the Beauregard or Jewel varieties. These typically have a copper-colored skin and bright orange flesh. They possess a balanced starch-to-sugar ratio that holds up well under high-heat roasting without becoming overly mushy.
Avoid the “Japanese” or white sweet potatoes for this specific recipe. While delicious, they have a much denser, creamier texture that doesn’t crisp up in the same way. Stick to the classic orange varieties to ensure that the cornstarch and oil method works as intended.
The Importance of High-Heat Stable Fats
Using the wrong fat is a one-way ticket to a smoky kitchen and soggy fries. Butter contains water and milk solids that will burn at 425°F, and unrefined oils have low smoke points. Avocado oil or a high-quality refined vegetable oil provides a clean flavor and allows the fries to sear properly.
The oil acts as a heat conductor, transferring the oven’s energy directly into the cornstarch layer. If the oil breaks down, that conduction fails, and your fries will simply soak up the fat rather than crisping. Always ensure your oil is fresh and neutral-tasting for the best results.
Step-by-Step: Achieving the Perfect Oven Roast
Success in the kitchen is often about the details of the process. Roasting is a dry-heat cooking method, so every step of this walkthrough is designed to eliminate moisture and maximize heat contact. Follow these phases closely to transform a humble root vegetable into a gourmet side dish.
Phase 1: Precision Cutting and the 30-Minute Soak
Start by peeling your potatoes and cutting them into uniform 1/4 inch sticks. Uniformity is the key to a successful batch; if some are thick and others are thin, the thin ones will burn while the thick ones stay raw. Aim for the size of a standard fast-food fry for the best crunch-to-fluff ratio.
Submerge the sticks in a large bowl of cold water. Let them sit for at least 30 minutes, though you can go up to an hour if you have the time. You’ll notice the water getting cloudy as the starch releases. This is exactly what you want to see before you move to the drying stage.
Phase 2: The Dehydration and Coating Protocol
Once soaked, drain the fries and lay them out on a clean, lint-free kitchen towel. This is a critical moment. You must pat them until they are bone-dry. Any water left on the surface will mix with the cornstarch to create a gluey paste, which is the enemy of crispiness.
Place the dry fries in a large bowl and sprinkle the cornstarch over them. Toss them vigorously until they look dusty. If you see clumps of white powder, keep tossing or give them a gentle shake in a colander to remove the excess. They should look like they have a very thin, translucent veil of dust on them.
Phase 3: Thermal Shock and the Preheated Sheet Pan
While you are prepping the fries, place your empty baking sheet in the oven at 425°F. This is a professional trick that creates “thermal shock.” When the oiled fries hit that screaming-hot metal, the searing process begins instantly. This prevents the fries from sticking and helps form a crust on the bottom side immediately.
Carefully remove the hot pan, line it with parchment paper, and spread the fries out. You should hear a faint sizzle as they land. This immediate heat transfer is what separates a “baked” potato from a “roasted” fry. Work quickly so the pan doesn’t lose too much heat before going back into the oven.
Phase 4: Airflow Management and the Single Layer Rule
Crowding is the most common mistake home cooks make. If the fries are touching or overlapping, they will trap steam between them. This steam softens the crust you worked so hard to build. Every single fry needs its own “personal space” on the pan to allow the hot air to circulate.
If you have too many fries for one pan, use two. It is better to wash an extra dish than to eat soggy fries. Halfway through the 20-25 minute bake time, use a wide spatula to flip them. This ensures that the side touching the pan doesn’t get too dark while the top stays pale.
Troubleshooting Common Texture Failures
Even with the best intentions, things can go wrong. If your fries aren’t meeting your expectations, it’s usually a small mechanical error in the process. Understanding the “why” behind a failure helps you adjust in real-time so you don’t waste a single potato.
Correcting for “Limp” or Flaccid Fries
If your fries come out soft, the culprit is almost always trapped steam. This happens if the potatoes weren’t dried enough after the soak or if the oven was too crowded. To save a limp batch, try the “Oven Door Crack” technique. Turn the oven off, crack the door open about an inch, and let the fries sit inside for 5 minutes.
This allows the last bit of residual steam to escape the oven while the dry heat continues to set the crust. You can also try increasing the heat to 450°F for the final three minutes of cooking, but watch them like a hawk. Sweet potatoes can go from “perfectly golden” to “burnt” in about sixty seconds.
Preventing Bitter or Burnt Rosemary
Rosemary contains volatile oils that can turn bitter if they are scorched. By tossing the chopped rosemary with the oil and the fries before they go into the oven, you are essentially “confiting” the herb. The oil protects the rosemary from the direct dry heat of the oven, allowing it to infuse the fries without burning.
If you find the rosemary flavor too intense, you can leave the sprigs whole and toss them on the pan halfway through the roasting process. This provides a more subtle aroma. However, for that classic herb-crusted finish, the fine mince added at the beginning is the gold standard.
Flavor Profiles and Savory Pairings
These fries are a powerhouse of flavor on their own, but they also play well with others. The natural sweetness of the potato and the piney notes of the rosemary create a sophisticated profile. To keep things balanced, look for dipping sauces or main dishes that offer acidity or saltiness to cut through the richness.
Herb and Spice Variations
Once you master the cornstarch and soak method, you can experiment with different flavors. A blend of smoked paprika and lime zest added after roasting provides a smoky, bright kick. Alternatively, you can use sage and a touch of garlic powder for a more autumnal, savory vibe.
If you want to change the spice profile, always add the dry spices (like garlic powder or paprika) with the oil. Save the salt and any fresh citrus zest for the very end. Adding salt too early draws moisture out of the potato, which will ruin the crispy texture you’ve worked so hard to achieve.
Main Dish Accompaniments
These fries are the perfect partner for high-protein mains. They pair beautifully with a roasted chicken seasoned with lemon and thyme, as the herbs complement the rosemary. For a vegetarian option, try them alongside a hearty black bean burger topped with avocado and red onion.
The sweetness of the fries also makes them a great match for salty, grilled meats like lamb chops or a well-seared steak. The key is to avoid main dishes that are overly sweet, like those with heavy BBQ sauces, as the meal can become cloying. Stick to savory, acidic, or spicy pairings for the best balance.
Expert Tips for Preparation and Storage
In a professional kitchen, efficiency is everything. You can actually do most of the work for these fries ahead of time. This makes them a great option for dinner parties or busy weeknights when you don’t have 40 minutes to wait for a soak.
The “Double-Blast” Reheating Method
Leftover sweet potato fries are notorious for getting soft in the fridge. Never use a microwave to reheat them; it will turn them into mush. Instead, use an air fryer at 375°F for 3-4 minutes or place them under a broiler for 2 minutes. This “double-blast” of high heat re-activates the oil in the crust and restores the crunch.
If you use the broiler, stay right by the oven. Because the fries have already been cooked once, the sugars are very close to the burning point. A quick hit of heat is all they need to wake back up and regain that rigid structure.
Advanced Prep: Can You Soak Overnight?
Yes, you can absolutely soak your cut potatoes overnight. In fact, a longer soak can sometimes result in an even crispier fry as more starch is removed. Just make sure to keep the bowl in the refrigerator so the potatoes stay cold and firm.
When you’re ready to cook, simply drain, dry, and proceed with the cornstarch coating. This is a fantastic time-saver. Just remember that the potatoes must be completely submerged in water while soaking to prevent them from oxidizing and turning brown.
Frequently Asked Questions Regarding Sweet Potato Fries
Can I make these in an air fryer instead of an oven?
Yes, the air fryer is excellent for this recipe. Follow the same soaking, drying, and coating steps. Set your air fryer to 380°F and cook for 12-15 minutes, shaking the basket every 5 minutes. Because air fryers have more concentrated airflow, they often get even crispier than a standard oven.
Why do I have to add the salt at the very end?
Salt is a humectant, meaning it draws moisture out of whatever it touches. If you salt the fries before they go into the oven, the salt will pull water to the surface of the potato, creating steam and making the fries soggy. Adding flaky sea salt immediately after they come out of the oven allows it to stick to the hot oil without affecting the internal texture.
Do I have to peel the sweet potatoes?
Peeling is optional, but it does result in a more uniform crunch. The skin of a sweet potato can be a bit tough and fibrous. If you choose to leave the skin on, make sure to scrub the potatoes very well. Skin-on fries have a more “rustic” look and added fiber, but peeled fries will have a more consistent, glass-like exterior.
Can I use arrowroot powder instead of cornstarch?
Absolutely. Arrowroot powder is a great 1:1 substitute for cornstarch and works in the exact same way to create a crispy barrier. Some even prefer arrowroot because it stands up slightly better to very high temperatures without losing its structural integrity. The process remains identical.
Why did my fries turn black on the edges?
This usually happens if the fries were cut too thin or if the soaking step was skipped. The natural sugars in the sweet potato caramelize quickly; if those sugars aren’t rinsed off, they will burn. Ensure your fries are a consistent 1/4 inch thick and that you don’t skip the 30-minute cold water bath.
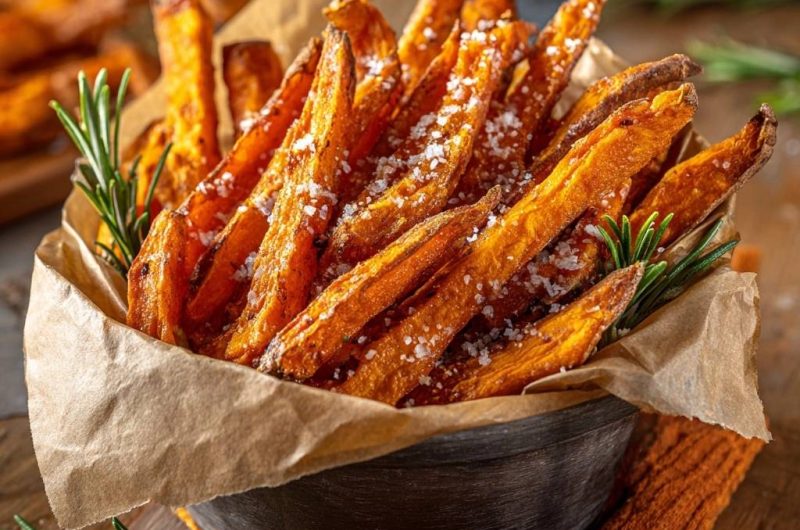
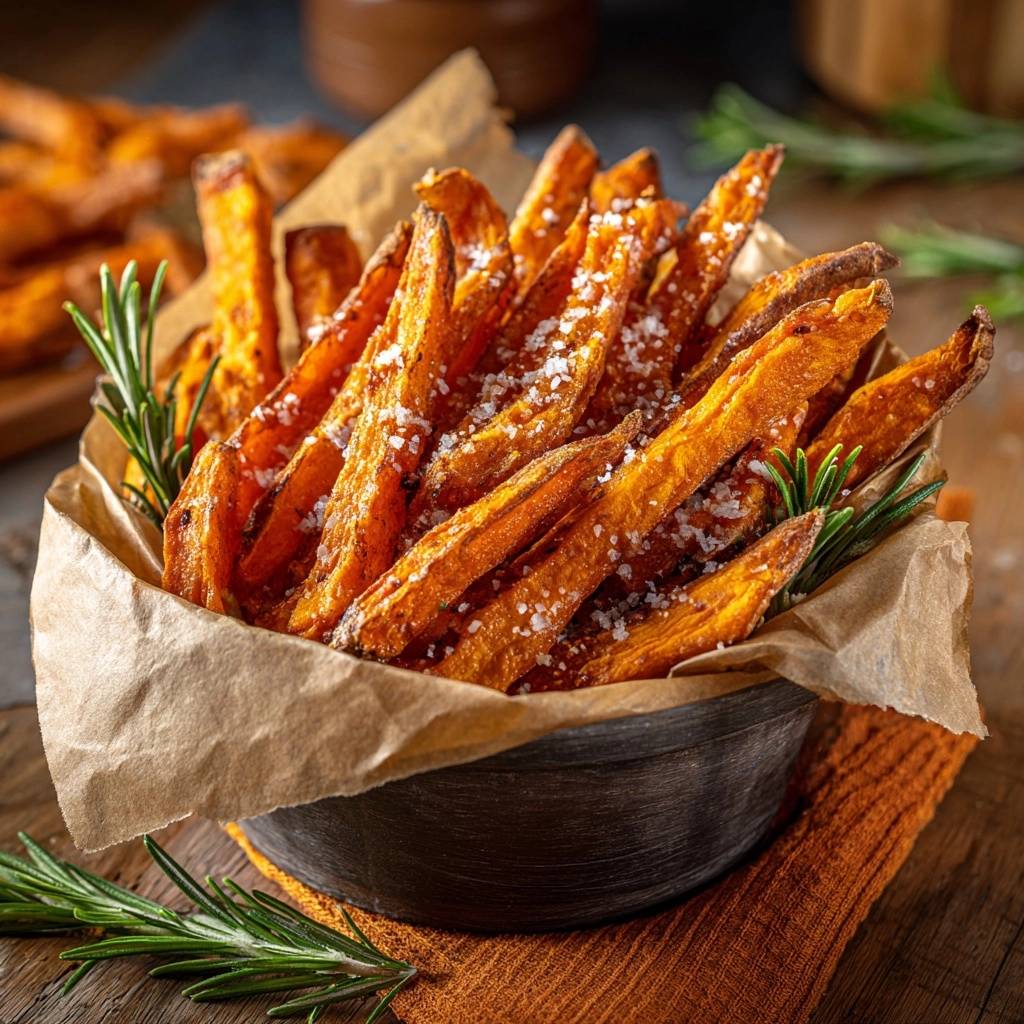
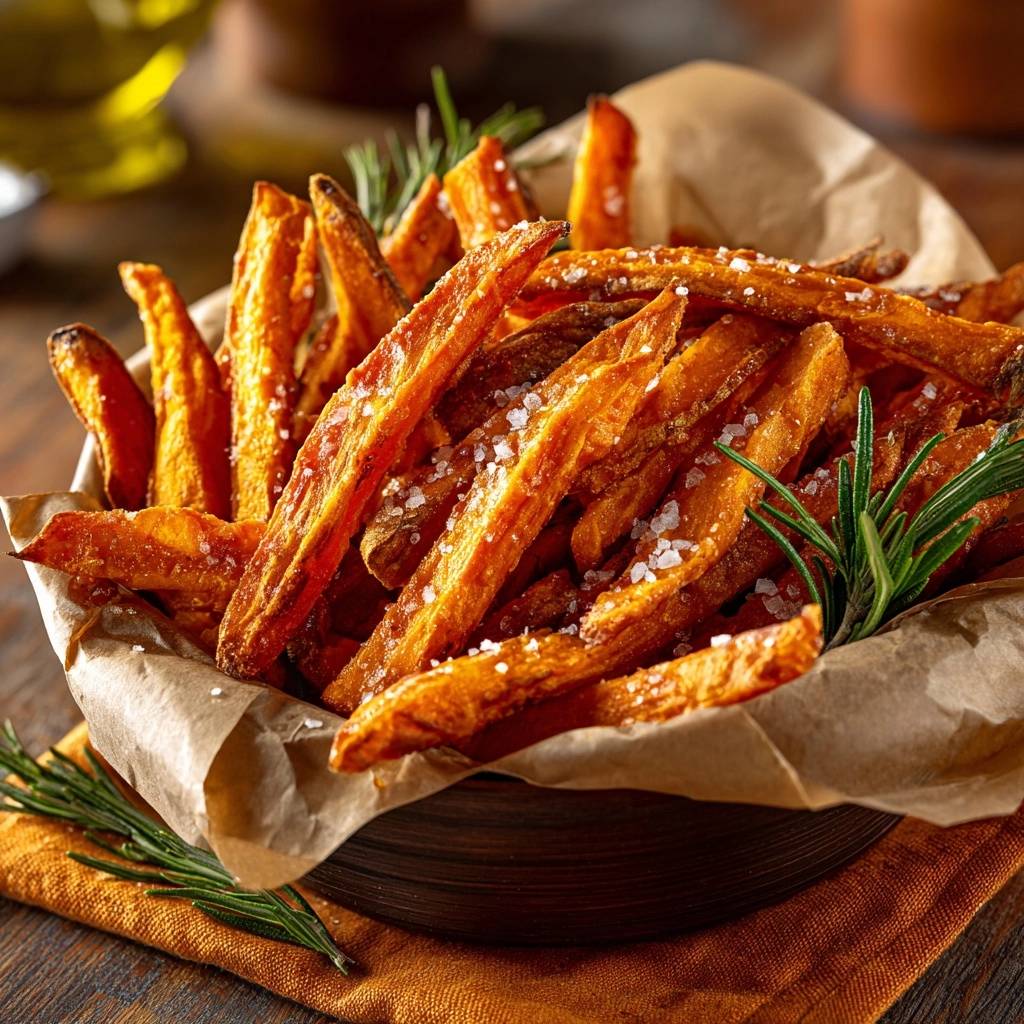
Crispy Rosemary Sweet Potato Fries
Course: Side DishCuisine: AmericanDifficulty: easy4
servings40
minutes25
minutes65
Minutes210
kcalAmerican
Ingredients
2 large sweet potatoes, peeled and cut into 1/4 inch sticks
2 tablespoons cornstarch
3 tablespoons avocado oil or high-heat vegetable oil
2 tablespoons fresh rosemary, finely chopped (plus whole sprigs for garnish)
1 teaspoon flaky sea salt (like Maldon)
1/2 teaspoon black pepper
1/2 teaspoon garlic powder
1/4 teaspoon smoked paprika (for color and depth)
Directions
- Soak the cut sweet potato sticks in a large bowl of cold water for at least 30 minutes. This pulls out excess surface starch and sugars that cause the fries to burn before they get crispy.
- Drain the fries and pat them extremely dry with lint-free kitchen towels or paper towels. Any remaining moisture will steam the potato, resulting in a limp texture.
- Place the dry fries in a large bowl or zip-top bag with the cornstarch. Toss or shake vigorously until every fry has a very thin, even coating. Tap off any excess powder; you want a translucent veil, not a thick paste.
- Add the oil, chopped rosemary, garlic powder, pepper, and smoked paprika. Toss again to ensure the oil has fully hydrated the cornstarch coating. Do not add the salt yet.
- Preheat your oven to 425°F (220°C). For the best results, place a large rimmed baking sheet in the oven while it preheats so the fries hit a hot surface.
- Carefully remove the hot baking sheet and line with parchment paper. Spread the fries out in a single layer. Ensure they are not touching; airflow is critical. Use two pans if necessary to avoid crowding.
- Bake for 20 to 25 minutes, flipping the fries with a spatula halfway through to ensure even browning on all sides.
- Remove from the oven when the edges are dark golden brown and the fries feel rigid. Immediately sprinkle with the flaky sea salt while the oil is still sizzling. Garnish with fresh rosemary sprigs and serve immediately for maximum crunch.
Notes
- Do not add salt until after baking to prevent moisture release. Ensure fries are spread in a single layer with space between them to allow for proper airflow and maximum crispness.


