
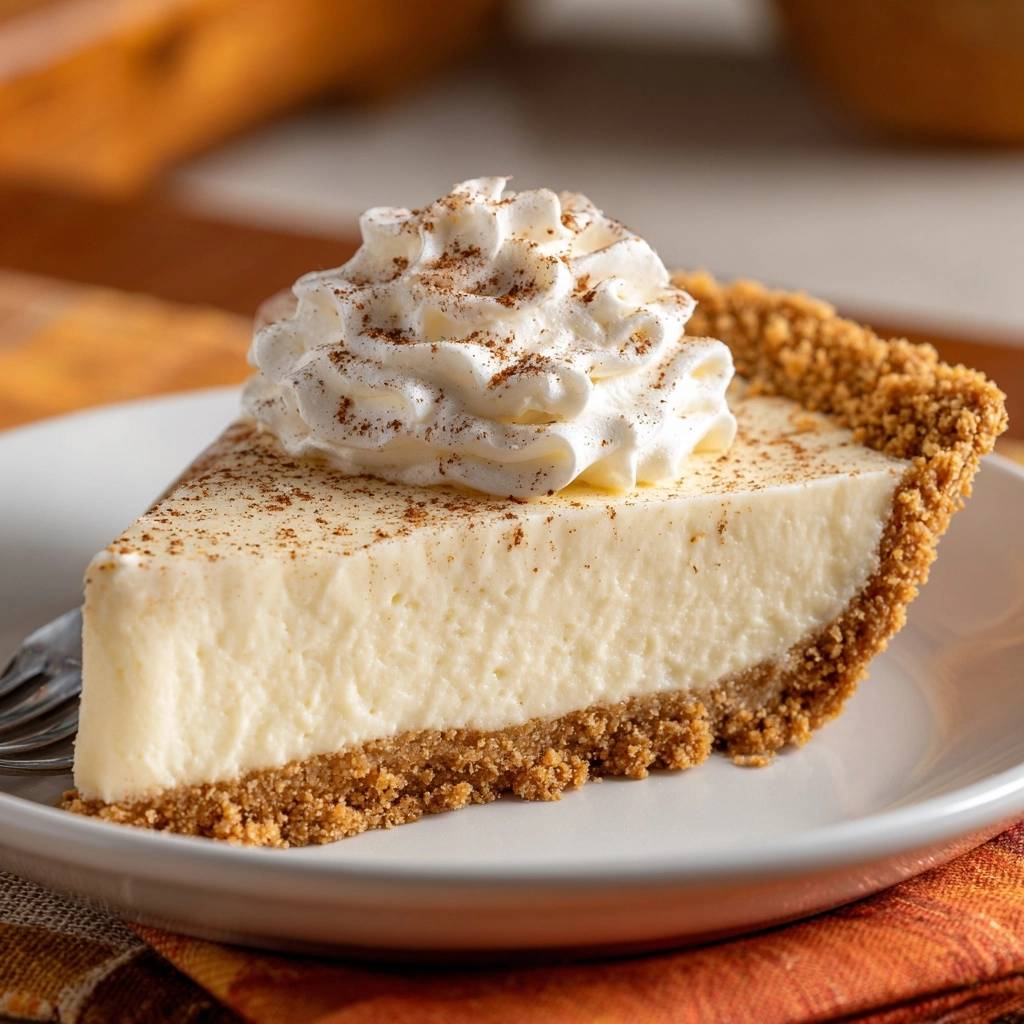
Nothing ruins a beautiful holiday dessert faster than a wet, mushy crust that falls apart the moment you slice it. We’ve all been there, staring at a delicious filling sitting on top of a soggy mess. This Creamy Eggnog Custard Pie solves that heartbreak by using a double-seal technique on the graham cracker crust, ensuring every slice stays crisp and firm against the silky filling.
The contrast here is what makes the dish a total standout. You get that immediate snap from the buttery base followed by a luscious, spiced custard that feels like velvet on the tongue. It’s the ultimate comfort food for the winter months, bringing all the warmth of a classic holiday drink into a sliceable, elegant form.
The secret to this professional finish isn’t just the ingredients; it’s the temperature control. By baking the custard at a lower heat, you prevent the eggs from tightening too quickly. This keeps the texture incredibly smooth and prevents those unsightly cracks that often plague homemade pies. You’re going to love how reliable this method is.
The Anatomy of a Perfect Graham Cracker Base
A great custard pie starts with a foundation that can actually hold its weight. For this recipe, the ratio of 1.5 cups of graham cracker crumbs to 6 tablespoons of melted butter is the golden rule. The butter acts as the glue, but the addition of granulated sugar is what provides the essential “snap” once it cools. Without that sugar, the crust stays soft and crumbly.
When you’re building the base, put down the spoon and grab a flat-bottomed measuring cup. Pressing the mixture firmly into the pie plate with a tool creates a superior density that fingers just can’t match. You want to pack it tight, especially in the corners where the bottom meets the sides. This high-pressure packing creates a wall that prevents the liquid custard from seeping through the cracks.
Think of the crust as a structural vessel. If it’s loose and airy, the eggnog mixture will soak right in, leading to that dreaded soggy bottom. By compressing the crumbs into a tight, even layer, you create a barrier that stays crunchy even after a night in the refrigerator. It’s a small detail that makes a massive difference in the final mouthfeel.
The Science of the Double-Seal Technique
To guarantee a crisp result, we use a chemical process called the double-seal. After par-baking the crust for eight minutes, you’ll notice it looks slightly dry. While it’s still piping hot, you brush a thin layer of beaten egg white over the entire interior. When you pop it back into the oven for sixty seconds, the proteins in the egg white coagulate instantly.
This creates a moisture-resistant, waterproof shield. It’s like laminating the inside of your pie crust. Even though the eggnog filling is quite liquid when it first goes in, it can’t penetrate that protein barrier. This is the secret to a professional-grade pie that maintains its structural integrity from the first slice to the last.
Essential Components for the Silky Eggnog Filling
The quality of your eggnog is the most important factor in this recipe. You must use full-fat eggnog rather than “light” or low-fat versions. The higher fat content is what provides that luxurious, coating mouthfeel and ensures the custard sets properly. Fat also carries flavor, so a richer nog means a more intense spice profile in every bite.
To achieve that deep, custard-like consistency, we use three whole eggs plus one extra egg yolk. That additional yolk adds lecithin and fat, which creates a smoother emulsion and a richer yellow hue. It’s the difference between a filling that feels like gelatin and one that feels like premium pastry cream. If you want the best results, don’t skip that extra yolk.
When it comes to aromatics, fresh-grated nutmeg is non-negotiable. The pre-ground stuff in the tin often loses its volatile oils and tastes like sawdust. Grating a whole nutmeg seed directly into the bowl releases a bright, peppery aroma that defines the dish. Pair this with a high-quality vanilla extract to round out the sweetness and add depth to the dairy notes.
Step-by-Step: Mixing and Tempering the Custard
Mixing the custard requires a gentle hand. When you combine the eggs, sugar, and eggnog, you want to whisk just until the ingredients are incorporated. Avoid the temptation to beat the mixture vigorously. If you create too much foam or air bubbles, those bubbles will rise to the surface in the oven and create an uneven, pitted texture on your beautiful pie.
You’re looking for a smooth, pale yellow liquid that looks uniform and heavy. If you see a thick layer of suds on top, let the bowl sit for a few minutes so the air can escape before you pour it into the crust. A well-emulsified base should look like thick cream, with the tiny flecks of nutmeg suspended evenly throughout the liquid.
Refining the Texture with Fine-Mesh Straining
Pouring the mixture through a fine-mesh strainer is a total pro-move that separates beginners from experts. This step catches the chalazae—those white, stringy bits attached to egg yolks—which don’t dissolve during baking. It also catches any tiny clumps of undissolved sugar or spice that might ruin the glass-smooth finish of your custard.
Simply hold the strainer over your cooled, sealed pie crust and pour the liquid through slowly. You’ll be surprised at the little bits of debris left behind in the mesh. This extra sixty seconds of work ensures that every single forkful of your Creamy Eggnog Custard Pie is perfectly consistent and free of any unexpected textures.
Precision Baking for a Crack-Free Surface
Baking at 325°F is the key to a flawless surface. High heat is the enemy of eggs; it causes the proteins to tighten too much and squeeze out moisture, a process called syneresis. This leads to a rubbery texture and a watery pie. By keeping the oven temperature low, you allow the custard to set gently and evenly from the edges to the center.
You need to master the “jiggle test” to know exactly when to pull the pie out. If the center sloshes like water, it needs more time. You’re looking for a firm wobble, similar to gelatin or flan, where the whole center moves as one cohesive unit. The edges should be slightly puffed and set, but the very middle should still have some play to it.
The Critical Cooling and Setting Phase
Don’t be alarmed if the pie looks a little soft when you first take it out. Carry-over cooking continues for several minutes as the pie sits on the wire rack. It’s vital to let it cool to room temperature for at least an hour before moving it to the fridge. This slow descent in temperature prevents the custard from shocking and cracking.
A minimum of six hours in the refrigerator is mandatory, though overnight is even better. This chilling period allows the fats and proteins to fully stabilize, which is what gives you those clean, sharp slices. To prevent a “skin” from forming on the surface, you can press a piece of plastic wrap directly onto the custard once it has cooled slightly, though a well-made custard usually stays smooth on its own.
Troubleshooting Your Creamy Eggnog Custard Pie
If your custard curdles or looks “weepy,” it’s almost always a sign of overbaking or an oven that runs too hot. Use an oven thermometer to verify your settings. If the pie is done but the crust is crumbly, you likely didn’t use enough pressure when packing the crumbs or might have skimped slightly on the melted butter.
Bubbles on the surface are a result of over-whisking. If you notice them before baking, you can lightly run a kitchen torch over the top or pop them with a toothpick. For the perfect slice, use a long, sharp knife dipped in hot water and wiped dry between every single cut. This melts through the fats in the custard for a mirror-like finish on the side of the slice.
Flavor Variations and Enhancements
While the classic version is hard to beat, you can easily tweak the flavor profile. Try swapping the graham crackers for ginger snaps to add a spicy, molasses-heavy kick to the base. You could also spread a thin layer of salted caramel on the bottom of the crust before pouring in the custard for a hidden surprise.
If you want to play with the spice notes, adding a pinch of cardamom or cinnamon to the eggnog mixture can brighten the flavor. These spices complement the nutmeg beautifully without overwhelming the creamy dairy notes. Just remember to keep the ratios the same so you don’t disturb the delicate balance of the custard set.
Presentation: Whipped Cream and Finishing Touches
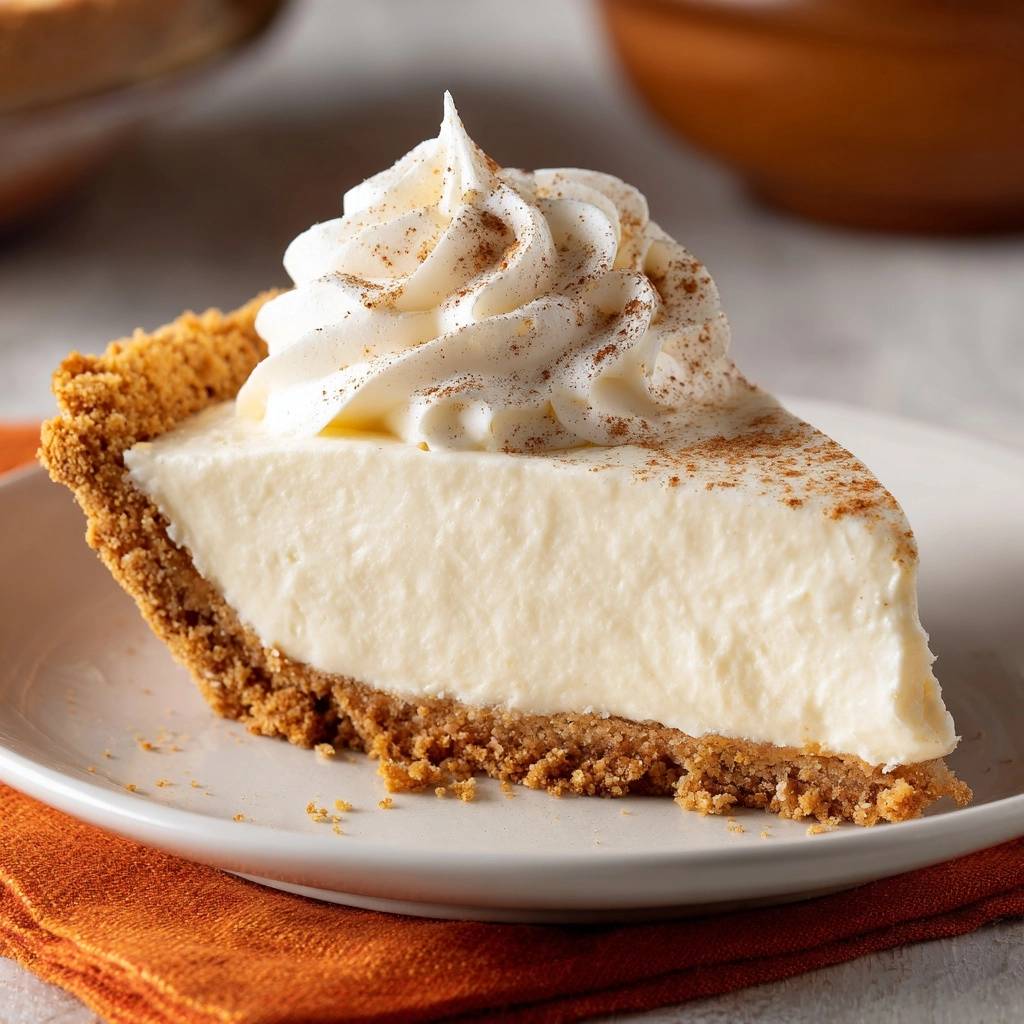
Presentation is everything with a holiday pie. Use a piping bag with a star tip to create a generous swirl of stiff-peak whipped cream in the center. Make sure your cream is stabilized with a little powdered sugar so it doesn’t wilt if the pie sits on the table for a while. The white cream against the pale custard looks incredibly sophisticated.
The final dusting of nutmeg is the finishing touch that ties it all together. Use a fine grater to shower the top with a light layer of spice just before serving. This provides the first olfactory hit to your guests, filling the air with that classic holiday scent before they even take their first bite. It’s a simple gesture that makes the dessert feel truly special.
Make-Ahead Strategies and Storage Logistics
This is the perfect make-ahead dessert because it actually needs time to sit. You can bake the crust a day in advance and keep it at room temperature. Once the pie is fully assembled and baked, it will stay fresh and delicious in the refrigerator for 3 to 4 days. Just keep it loosely covered so it doesn’t pick up any fridge odors.
Note that custard pies do not freeze well. The freezing and thawing process breaks the delicate emulsion of the eggs and dairy, resulting in a grainy texture and a soggy crust. For the best experience, stick to the refrigerator. If you’re planning for a big event, bake the pie the evening before so it has the full night to set into perfection.
How do I store leftovers?
Store any remaining slices in the refrigerator in an airtight container or loosely covered with plastic wrap. The pie will stay fresh for up to 4 days. Do not freeze this pie, as the custard texture will become grainy and the crust will lose its crispness upon thawing.
Why did my custard turn out rubbery?
A rubbery texture is a classic sign of overcooking. When eggs are exposed to high heat for too long, the proteins tighten and push out moisture. To avoid this, ensure your oven is set to 325°F and pull the pie out while the center still has a uniform, gelatin-like jiggle.
Can I use a store-bought pie crust?
You can use a store-bought graham cracker crust, but you should still apply the egg white seal technique. Brush the store-bought crust with egg white and bake for a few minutes to create that moisture barrier. If using a traditional pastry crust, you must blind-bake it fully before adding the custard.
What can I use if I don’t have eggnog?
If eggnog isn’t available, you can mimic the flavor by using 2 cups of whole milk or heavy cream mixed with 1/2 cup sugar, 2 extra egg yolks, and a heavy pinch of cinnamon and nutmeg. However, the specific thickness of commercial eggnog is what makes this recipe unique, so the texture may vary slightly.
How do I prevent the crust from sticking to the pan?
The high butter content in the graham cracker crust usually prevents sticking. However, ensuring you press the crust firmly and evenly helps it hold together. If you’re worried, you can lightly grease the pie plate with butter before pressing in the crumbs, but it’s generally not necessary for this style of base.
Why are there small holes in my finished pie?
Small holes or a “honeycomb” appearance on the surface are caused by air bubbles in the custard. This happens if the eggs are whisked too vigorously. To prevent this, whisk gently by hand and pour the mixture through a fine-mesh strainer to break up any bubbles before baking.
Creamy Eggnog Custard Pie
Course: DessertCuisine: AmericanDifficulty: easy8
servings20
minutes45
minutes60
Minutes360
kcalAmerican
Ingredients
1.5 cups graham cracker crumbs
6 tablespoons unsalted butter, melted
1/4 cup granulated sugar
1 large egg white (for sealing the crust)
2 cups full-fat eggnog
3 large eggs + 1 egg yolk
1/2 cup granulated sugar
1 teaspoon vanilla extract
1/2 teaspoon ground nutmeg
Whipped cream (stiff peaks) for topping
Extra nutmeg for dusting
Directions
- Preheat your oven to 350°F (175°C).
- In a medium bowl, combine graham cracker crumbs, 1/4 cup sugar, and melted butter. Stir until the mixture resembles wet sand. Press the mixture firmly into the bottom and up the sides of a 9-inch pie plate, using the bottom of a measuring cup to ensure it is tightly packed.
- To prevent a soggy bottom, bake the crust alone for 8 minutes. Immediately after removing it from the oven, lightly brush the inside and sides of the hot crust with a thin layer of beaten egg white. Return to the oven for 1 additional minute to set the seal. Let the crust cool completely.
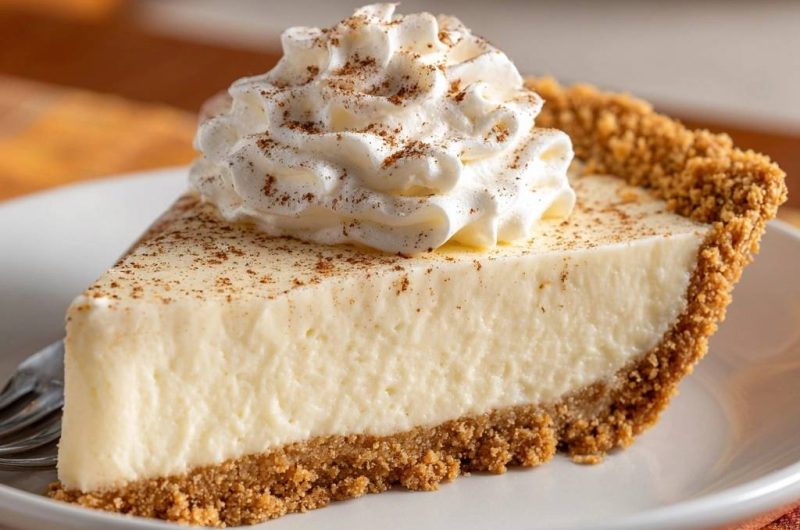
- Reduce oven temperature to 325°F (165°C). A lower temperature ensures the custard stays silky and white as seen in the image, rather than browning or curdling.
- In a large bowl, whisk the 3 eggs, 1 egg yolk, 1/2 cup sugar, vanilla, and 1/2 teaspoon nutmeg until well combined but not foamy.
- Slowly pour in the eggnog, whisking gently by hand to avoid creating air bubbles, which cause unsightly holes in the finished slice.
- Place the cooled pie crust on a baking sheet. Pour the custard mixture through a fine-mesh strainer directly into the crust to remove any stray egg chalazae or bubbles.
- Bake for 40 to 50 minutes. The pie is done when the edges are set and slightly puffed, but the center still has a uniform jiggle like gelatin.
- Allow the pie to cool to room temperature on a wire rack for 1 hour, then refrigerate for at least 6 hours (preferably overnight) to fully set the custard for clean slicing.
- Before serving, pipe a generous swirl of stiff whipped cream in the center and dust the entire surface with a fine layer of fresh nutmeg to match the visual finish.
Notes
- To ensure a clean slice, refrigerate the pie for at least 6 hours or overnight. Use a fine-mesh strainer when pouring the custard into the crust to remove air bubbles and egg bits for a professional finish.


