
Most people approach a potato cake expecting a crunch, only to end up with a greasy, limp mess that falls apart the moment a fork touches it. It’s a common kitchen heartbreak. You want that deep, golden-brown crust that shatters when you bite into it, but instead, you get a soggy center that feels more like mashed potatoes than a structured cake.
The difference between a standard hash brown and this Crispy Skillet Potato Cake lies in its structural integrity and thickness. We aren’t just frying loose shreds; we’re engineering a dense, savory masterpiece that holds its shape. By using a dual-heat method, we achieve a contrast in textures that is truly addictive: a rugged, salty exterior and a fluffy, cloud-like interior.
The secret to this success is the moisture-wicking technique. If you leave the natural water inside the potato, it turns into steam the second it hits the hot oil. That steam is the enemy of crispiness. Therefore, you must squeeze the potatoes until they feel dry and starchy to the touch, ensuring the heat creates a crust rather than a boil.
The Science of Starch and Moisture Control
When it comes to the perfect potato cake, the Russet potato is your best friend. These potatoes are high in starch and low in moisture, which is exactly what you need for a cake that stays together. The starch acts as a natural glue, while the low water content means you spend less time fighting sogginess and more time building flavor.
However, even a Russet contains a surprising amount of liquid. When you grate a potato, you break open its cell walls, releasing water and enzymes. If this liquid stays in the mix, it prevents the Maillard reaction—the chemical process that creates that beautiful brown color and savory aroma. Instead of browning, the potatoes effectively steam in their own juices.
By removing that excess water, you allow the surface temperature of the potato shreds to rise quickly in the oil. This rapid heat transfer creates a “shatteringly crisp” shell. In addition, the concentrated starches left behind become incredibly sticky, helping the cake form a solid, cohesive unit that won’t crumble when you flip it.
Essential Components for the Perfect Potato Cake
Every ingredient in this recipe serves a specific functional purpose. We use baking powder, which might seem unusual for a potato dish, but it provides essential aeration. It creates tiny air pockets within the dense potato mass, ensuring the interior stays light and fluffy rather than turning into a heavy, leaden block.
The eggs and flour work together as the “mortar” for our potato “bricks.” Instead of just tossing them in, we whisk them into a thick paste first. This ensures every single shred of potato is coated in a binding agent, which prevents the cake from falling apart during the high-stakes inversion process. It’s all about structural engineering.
Grated onion adds a deep, savory backbone to the flavor profile. However, we grate it finely so it melts into the batter. This provides the aromatic sweetness of the onion without adding large, watery chunks that would compromise the crispiness of the crust. It’s flavor without the structural sacrifice.
Choosing the Right Fat: Oil vs. Clarified Butter
The fat you choose determines how high you can crank the heat. Vegetable oil is a reliable workhorse because it has a high smoke point, meaning it won’t burn while you’re trying to get that deep sear. If you want a richer flavor, clarified butter is an excellent choice because the milk solids—the parts that usually burn—have been removed.
Avoid using regular butter for the initial sear. The milk solids in standard butter will scorch at the temperatures required to crisp the potatoes, leaving you with a bitter, blackened crust. Stick to fats that can handle the heat so your potato cake tastes clean and toasted, not burnt.
The Moisture-Wick: A Critical Preparation Phase
This is the most important step in the entire process. Once you’ve grated your potatoes, pile them into the center of a clean, lint-free kitchen towel. Don’t be gentle here. Gather the corners, twist the top, and squeeze with everything you’ve got over the sink. You’ll be shocked at how much murky, starchy liquid pours out.
As you squeeze, you’ll hear the liquid hitting the porcelain and feel the bundle getting smaller and tighter. Keep going until you can’t get another drop out. When you open the towel, the potato shreds should no longer feel slippery or wet. Instead, they should feel “starchy and velcro-like,” clinging to each other and the fabric.
This physical transformation is what guarantees success. By wringing them dry, you’ve removed the primary cause of sogginess. These dry shreds are now ready to absorb the seasoned egg paste and crisp up instantly when they hit the shimmering oil in your cast iron skillet.
Step-by-Step: Engineering the Golden Crust
To start the batter, whisk your eggs, flour, baking powder, and spices in a large bowl until they form a smooth, thick paste. It’s vital to do this before adding the potatoes. If you dump everything in at once, the flour will clump, and you’ll end up with dry pockets of powder and unevenly distributed seasoning.
Once the paste is smooth, fold in your dried potato shreds and grated onion. Use a sturdy spatula to mix them, ensuring every strand is well-coated. The mixture should feel heavy and cohesive. If it looks runny, you didn’t squeeze the potatoes hard enough, but don’t worry—the flour will help stabilize it.
The Initial Sear: Building the Foundation
Heat your oil in a 10-inch cast iron skillet until it is shimmering. You should see faint wisps of smoke rising from the surface. Carefully pack the potato mixture into the pan, pressing it down firmly with a spatula. You want a dense, even layer that makes full contact with the hot bottom of the skillet.
Now comes the hard part: leave it alone. Cook the cake undisturbed for 6 to 8 minutes. Resist the urge to peek or move it around. This “quiet time” allows the starches to caramelize and form a rigid, golden foundation. If you move it too early, you’ll break the crust and the cake will stick to the pan.
The Oven Transition: Cooking the Core
A cast iron skillet is the superior tool here because it holds heat beautifully and can move safely from the stove to the oven. While the stovetop builds the crust, the 400°F oven provides the ambient heat needed to cook the thick center of the cake. Without this step, you’d likely burn the bottom before the middle is done.
The oven heat penetrates from all sides, ensuring the eggs set and the potato shreds in the middle become tender and fluffy. This dual-zone cooking is the secret to a cake that is over an inch thick but perfectly cooked all the way through. It’s a foolproof way to avoid the dreaded raw-potato center.
The Inversion Technique: Achieving Uniform Crispness
The “Plate Flip” is the most dramatic moment of the recipe, but don’t let it intimidate you. After the oven phase, the cake is structurally sound. Place a large, flat plate over the skillet, use oven mitts to grip both the handle and the plate, and flip it in one confident motion. The cake should drop right onto the plate.
Now, slide that cake back into the skillet with the browned side facing up. This allows the bottom side—which was protected during the first phase—to make direct contact with the hot pan. A final 3-minute sizzle on the stovetop ensures that both sides are equally crispy and the cake is fully set in its circular shape.
This final sear also helps cook off any residual moisture that might have migrated to the bottom during the oven bake. By the time you’re done, the cake should feel firm and sound hollow when tapped with a spatula. That’s the sound of a perfectly engineered potato crust.
Troubleshooting Common Potato Cake Failures
If your cake falls apart when you try to flip it, the culprit is usually moisture. If the potatoes weren’t dry enough, the steam prevents the egg and flour from bonding to the shreds. Next time, squeeze that towel even harder. Also, ensure you’re using enough oil; a dry pan is a sticky pan.
A raw center usually means you skipped the oven phase or pulled it out too early. Because this cake is thick, the stovetop alone isn’t enough. Conversely, if the exterior is burnt but the inside is raw, your initial stovetop heat was too high. Aim for a medium-high heat that sizzles without smoking aggressively.
Lastly, if the cake feels greasy, your oil wasn’t hot enough when you added the potatoes. Cold oil gets absorbed by the starch, while hot oil sears the outside and creates a barrier. Always wait for that oil to shimmer before you even think about adding the batter to the skillet.
Optimal Pairings and Serving Suggestions
This potato cake is rich and salty, so it pairs beautifully with toppings that offer a cool, tangy contrast. A dollop of thick Greek yogurt or labneh is a classic choice. The creaminess cuts through the fried exterior, while the tanginess brightens the earthy flavor of the Russet potatoes.
For a light lunch, serve a thick wedge alongside a crisp arugula salad tossed in a sharp lemon vinaigrette. The peppery greens provide a fresh counterpoint to the dense cake. If you’re looking for a hearty breakfast, top a warm slice with a poached egg. The runny yolk acts as a natural sauce for the crispy shreds.
You can also lean into the savory side by serving it with a side of smoked salmon and fresh dill. The saltiness of the fish and the herbal notes of the dill elevate the humble potato into something elegant enough for a weekend brunch with friends. It’s a versatile base that welcomes bold flavors.
Storage and Reheating for Maximum Crunch
If you have leftovers, whatever you do, stay away from the microwave. Microwaves heat by vibrating water molecules, which will turn your beautiful crust into a rubbery, soggy mess in seconds. Instead, store wedges in an airtight container in the fridge for up to three days.
To revive the crunch, use an air fryer at 350°F for about 5 minutes. The circulating hot air will crisp the edges perfectly. Alternatively, reheat a wedge in a dry, non-stick skillet over medium heat for 3 minutes per side. This mimics the original cooking process and brings that “shatteringly crisp” texture back to life.
You can also freeze pre-portioned wedges. Wrap them tightly in plastic wrap and place them in a freezer bag. When you’re ready to eat, don’t thaw them. Just pop them straight into a toaster oven or air fryer. It’s the ultimate “emergency” comfort food for busy weeknights.
Expert Tips for Flavor Customization
Once you’ve mastered the base recipe, you can start experimenting with flavors. Adding a teaspoon of smoked paprika to the egg paste gives the cake a beautiful reddish hue and a subtle, campfire depth. It’s a simple addition that makes the dish feel much more complex.
Fresh herbs are another great way to customize. Finely minced rosemary or thyme folded into the batter adds a sophisticated, earthy aroma that pairs perfectly with the toasted potato. Just make sure the herbs are very finely chopped so they distribute evenly throughout the cake.
For a cheesy twist, mix in a half-cup of a hard, dry cheese like aged Parmesan or Pecorino Romano. Because these cheeses have low moisture, they won’t make the cake soggy. Instead, they will melt and then crisp up against the hot iron, creating “lacey” cheese edges that are incredibly flavorful.
The Importance of the 5-Minute Rest
It is tempting to slice into the cake the moment it leaves the pan, but patience is a virtue here. Let the cake rest in the skillet for at least 5 minutes before moving it to a cutting board. During this time, “carry-over” cooking finishes the very center, and the starches begin to firm up as they cool slightly.
If you cut it too early, steam will escape rapidly, which can actually soften the crust you worked so hard to build. Resting allows the internal structure to set, ensuring that when you finally slice it, you get clean, sharp wedges that hold their shape from the plate to your mouth.
Frequently Asked Questions
How do I store leftovers and can I freeze this?
Store any leftover wedges in an airtight container in the refrigerator for up to 3 days. For longer storage, you can freeze the cooked wedges. Wrap each wedge individually in parchment paper and place them in a freezer-safe bag for up to 2 months. To reheat, go straight from the freezer to a 375°F oven or air fryer until heated through and crispy.
Why did my potato cake fall apart when I flipped it?
The most common reason for a crumbling cake is excess moisture. If the potatoes aren’t squeezed completely dry, the steam prevents the egg and flour binder from sticking to the potato shreds. Additionally, make sure you press the mixture down firmly into the skillet at the start to create a dense, unified mass. If the cake feels loose before the flip, let it cook on the stovetop for another minute or two to strengthen the crust.
Can I use a different type of potato like Yukon Gold?
While you can use Yukon Golds, they have a higher sugar and moisture content than Russets. This means they will brown much faster (potentially burning before the center is done) and won’t be quite as crispy. If you do use them, you must be even more diligent about squeezing out the liquid and you may need to lower the stovetop heat slightly to prevent scorching.
What can I use instead of all-purpose flour?
If you need a gluten-free option, a 1:1 gluten-free flour blend works well. You can also use potato starch or cornstarch in the same amount. These substitutes will still provide the necessary “mortar” to hold the potato shreds together, though the texture of the crust may be slightly more glass-like and brittle than with wheat flour.
My cake is golden on the outside but the potatoes feel crunchy/raw inside. What happened?
This usually happens if the heat was too high during the initial stovetop phase or if the oven phase was skipped. The high heat browns the outside before the thermal energy can reach the center. Ensure your oven is fully preheated to 400°F and that you give the cake the full 12-15 minutes in the oven to ensure the thick interior is steamed to perfection by its own internal heat.
Can I add cheese inside the cake?
Yes, but stick to hard, aged cheeses. Moist cheeses like fresh mozzarella will release water as they melt, which will ruin the structural integrity of the cake and make it soggy. A half-cup of shredded sharp cheddar or parmesan folded into the batter adds great flavor without adding too much moisture. Avoid “processed” cheese slices which can become oily and prevent the crust from forming.

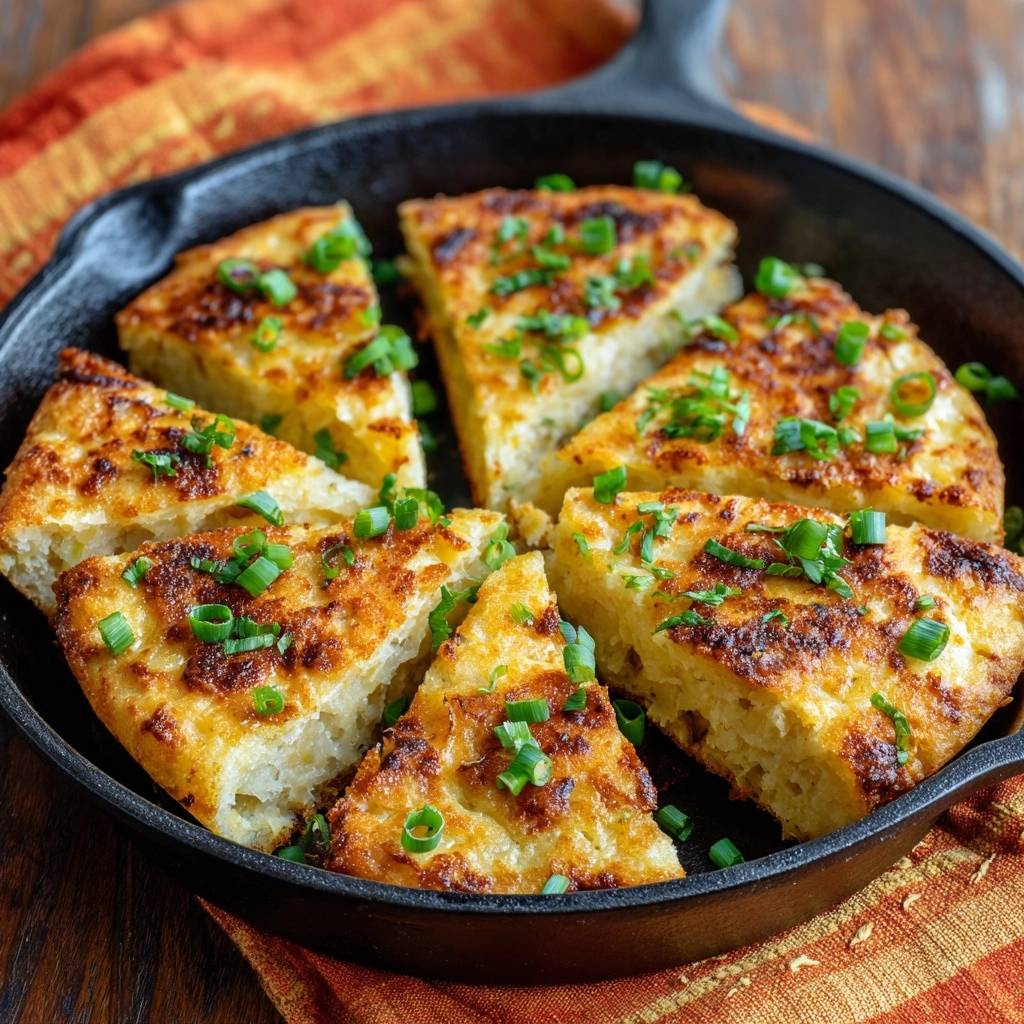
Crispy Skillet Potato Cake
Course: Side DishCuisine: AmericanDifficulty: easy6
servings15
minutes25
minutes40
Minutes285
kcalAmerican
Ingredients
4 large Russet potatoes (about 2.5 lbs), peeled
1 small yellow onion, finely grated
3 large eggs, beaten
1/2 cup all-purpose flour
1 teaspoon baking powder (for lift and interior fluffiness)
1.5 teaspoons salt
1/2 teaspoon black pepper
1/2 teaspoon garlic powder
6 tablespoons vegetable oil or clarified butter
1/4 cup fresh green onions, chopped
Directions
- The Moisture-Wick: Grate your potatoes using the large holes of a box grater into a clean kitchen towel. Gather the corners of the towel and squeeze with all your might over the sink. You must remove as much liquid as possible until the potato shreds feel dry and starchy.
- The Batter: In a large bowl, whisk the eggs, flour, baking powder, salt, pepper, and garlic powder into a thick paste. Fold in the dried potato shreds and grated onion. The mixture should be thick and cohesive, not runny.
- The Sear: Preheat your oven to 400°F (200°C). Place a 10-inch cast iron skillet over medium-high heat. Add the oil and wait until it is shimmering and wisps of smoke appear.
- The Build: Carefully pack the potato mixture into the hot skillet, pressing down firmly with a spatula to create an even, dense cake.
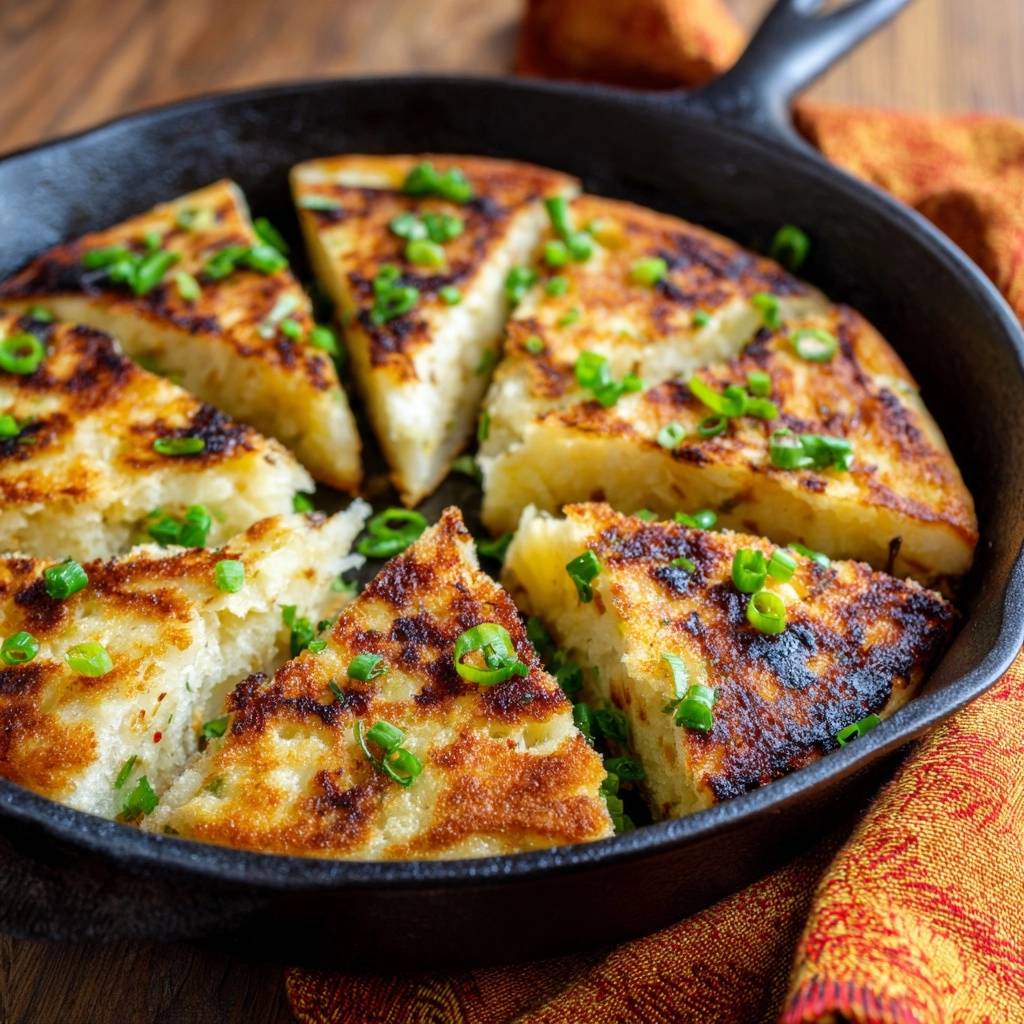
- Stovetop Phase: Cook undisturbed on the stovetop for 6-8 minutes. Look for the edges to turn a deep golden brown. This builds the initial crust shown in the image.
- Oven Phase: Transfer the entire skillet to the preheated oven. Bake for 12-15 minutes. This ensures the thick center is fully cooked through without burning the bottom.
- The Flip & Finish: Carefully remove the skillet from the oven. Place a large flat plate over the skillet and invert the cake onto the plate. Slide the cake back into the skillet (browned side up) and cook on the stovetop for an additional 3 minutes to crisp the bottom and set the shape.
- Resting: Remove from heat and let the cake sit in the pan for 5 minutes. This allows the internal starches to set so you get clean, sharp wedges when slicing.
- Service: Slice into 6 thick wedges and garnish generously with fresh green onions as pictured.
Notes
- The key to success is the ‘Moisture-Wick’ step; if the potatoes are wet, the cake will steam rather than crisp. Resting for 5 minutes is essential for clean slicing.


