
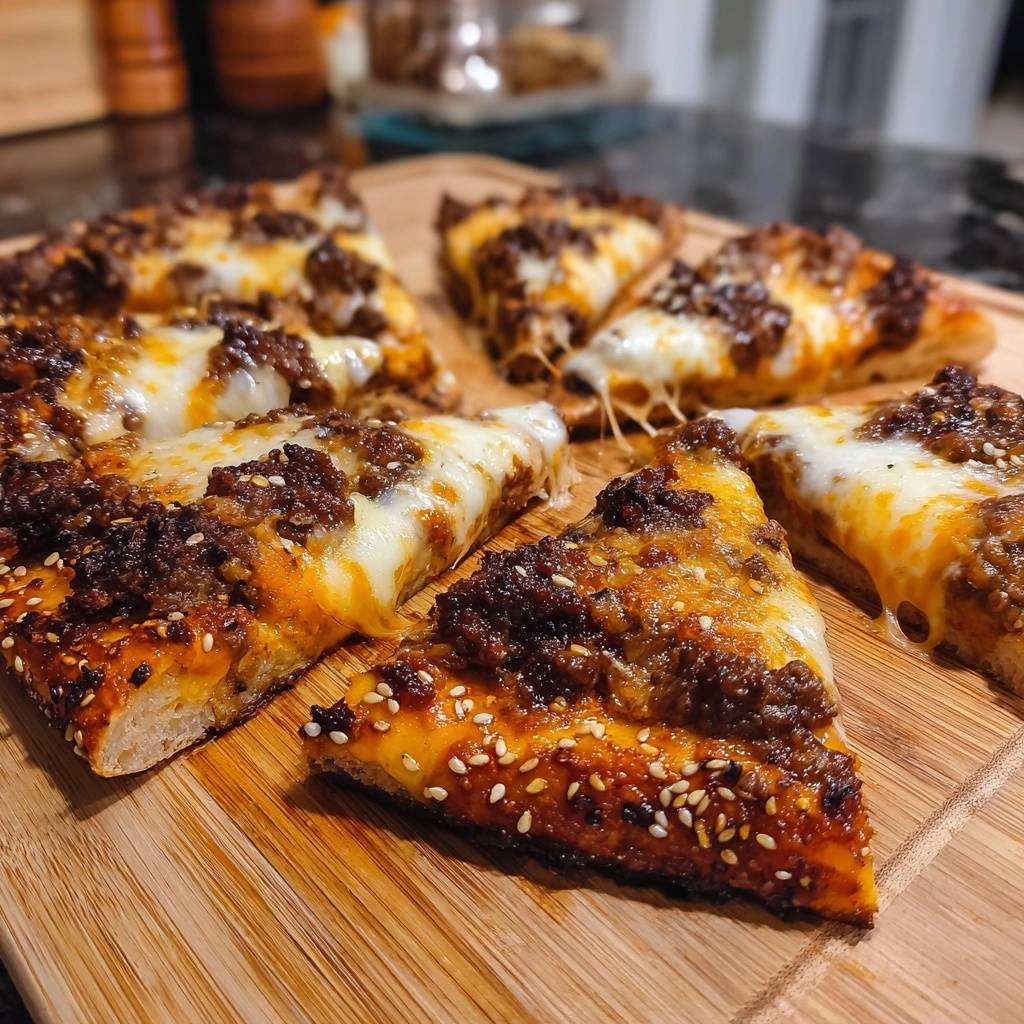
Imagine biting into a pizza where the crust doesn’t just bend—it shatters. You get that incredible, cracker-like crunch followed immediately by the savory, umami punch of glazed beef and nutty toasted sesame. This isn’t your average Friday night delivery; it’s a textural masterpiece that balances the richness of a pan pizza with the vibrant aromatics of East Asian cuisine.
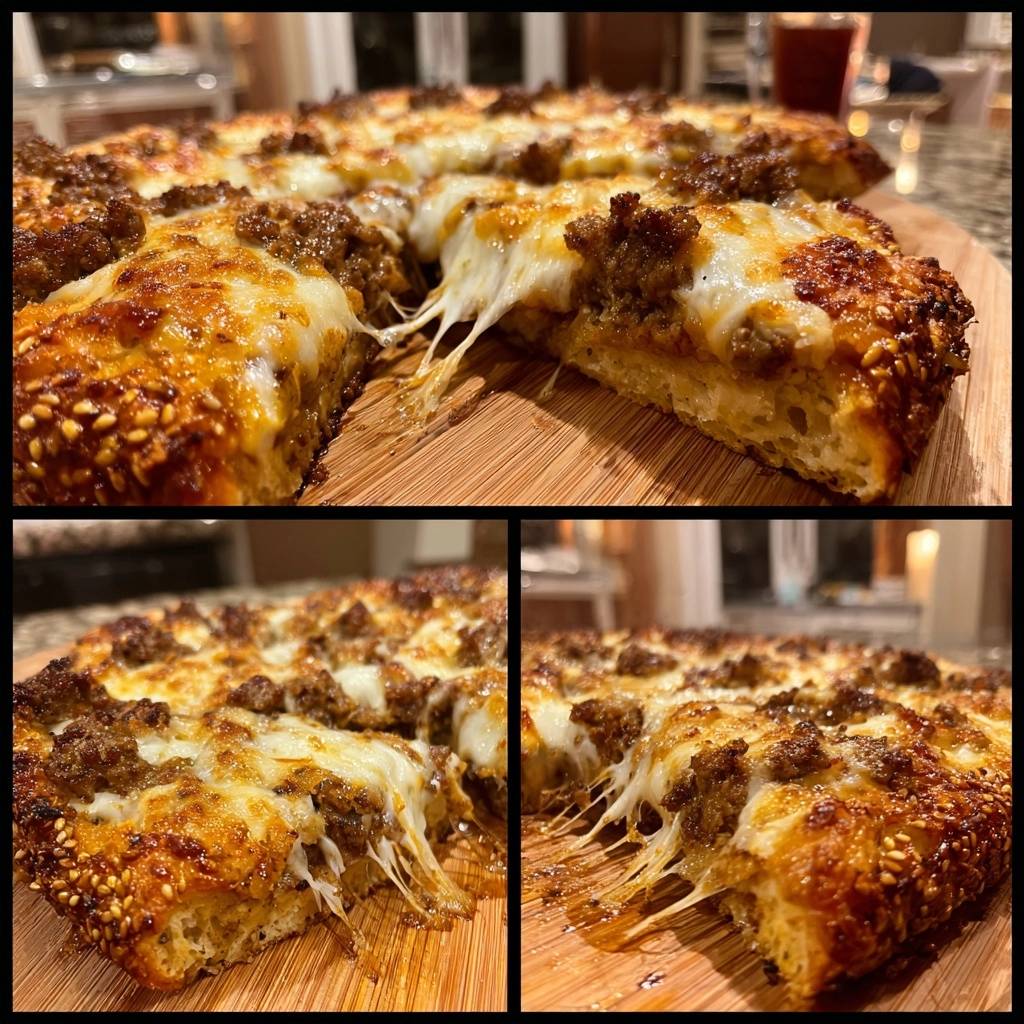
The real beauty of this dish lies in the contrast. Most homemade pizzas suffer from a “soggy bottom” because the toppings release moisture faster than the dough can cook. By using a high-heat searing method and a specific layering technique, we ensure every slice stays rigid and crisp, even under a mountain of juicy, ginger-scented beef.
The secret to this structural success is par-baking the dough on a screaming-hot surface before the toppings ever touch it. This creates a “structural set” that locks the crust in place. If you’ve ever been disappointed by a limp, doughy center, this technique is about to change your home pizza game forever.
The Architecture of a Crisp Pan Pizza
Achieving a professional-grade crunch at home requires understanding heat transfer. Most home ovens struggle to mimic a brick pizza oven, but you can bridge that gap by cranking your heat to 500°F. This intense temperature is non-negotiable because it forces the water in the dough to evaporate instantly, creating those airy, crispy pockets we crave.
Therefore, you must use a heavy baking sheet or a pizza stone as a heat reservoir. When you slide your dough onto a surface that has been preheating for at least 30 minutes, the heat transfers directly into the bottom of the crust. This prevents the dough from steaming in its own moisture, which is the primary cause of a gummy texture.
Why Par-Baking is Non-Negotiable
Par-baking is the process of partially cooking the crust before adding any cheese or meat. Think of it as building a foundation for a house. By giving the dough a five-minute head start in the oven, you create a rigid lattice structure that can support heavy toppings without collapsing.
In addition, this step dries out the surface of the dough. When you eventually add the beef and cheese, the crust is already “sealed” and won’t soak up any stray oils or sauces. It’s the most effective insurance policy against a messy, undercooked center.
Essential Components for the Sesame Beef Topping
For the best results, I recommend using lean ground beef, specifically a 90/10 or 93/7 blend. While fat usually equals flavor, too much rendered grease on a pizza will lead to structural failure. We want the flavor to come from the glaze, not from a pool of oil sitting on top of your cheese.
Hoisin sauce is the MVP of this ingredient list. It provides a deep, mahogany color and a complex sweetness that pairs perfectly with the salty soy sauce. It acts as a thickener, ensuring the beef is coated in a sticky glaze rather than a runny liquid that might compromise the dough.
The Moisture-Locking Cheese Barrier
The order in which you layer your ingredients is a technical decision, not just a preference. You should always place the shredded sharp cheddar down first, followed by the mozzarella. Cheddar has a slightly higher oil content and a lower melting point, which helps it fuse into a “waterproof” seal over the par-baked crust.
This cheese barrier acts as a shield. It prevents the moisture from the beef and the steam from the aromatics from reaching the bread. By the time the mozzarella is bubbling and golden, the cheddar has formed a delicious, salty glue that keeps everything in its proper place.
Aromatics: Ginger, Garlic, and Soy
Freshly grated ginger is a game-changer here compared to the powdered version. It provides a bright, peppery bite that cuts through the richness of the beef. When combined with garlic and soy sauce, it creates a classic flavor profile that feels sophisticated yet comforting.
As the pizza undergoes its second bake, the honey and soy sauce in the beef glaze experience the Maillard reaction. This chemical process browns the sugars and proteins, intensifying the savory notes. You aren’t just heating the meat; you’re caramelizing it into the cheese.
Step-by-Step: Engineering the Perfect Crunch
Start by preheating your oven to 500°F with your baking sheet inside. While that gets scorching hot, focus on the beef. Brown the meat in a skillet over medium-high heat until it’s fully cooked and starting to get those desirable crispy edges. You must drain every single drop of excess fat from the pan at this stage.
Once the beef is dry, stir in your soy sauce, honey, hoisin, ginger, and garlic. Simmer this mixture for about three minutes. You’ll notice the liquid start to reduce and thicken until it clings tightly to the meat. If you see liquid pooling at the bottom of the pan, keep simmering; the beef should look glazed, not saucy.
Next, stretch your room-temperature dough on a piece of parchment paper. Brush the edges generously with olive oil and press the sesame seeds into the dough. The oil acts as a frying medium, toasting the seeds during the par-bake and releasing their nutty oils into the crust itself. Slide the dough into the oven for its first five-minute stint.
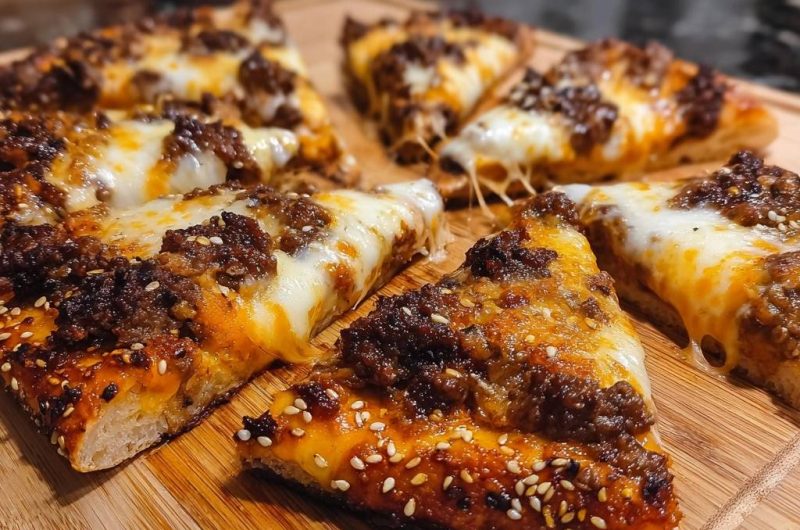
After the par-bake, pull the crust out and work quickly. Layer your cheeses all the way to the edges to create that waterproof seal. Spoon the beef over the top in small clusters rather than one solid sheet. This allows heat to circulate between the meat, ensuring the cheese underneath gets perfectly bubbly and brown in the final 7 to 9 minutes.
Preparing the Glazed Beef Base
When you’re simmering the beef, look for visual cues. The meat should take on a dark, glossy sheen as the hoisin and honey reduce. You’ll know it’s ready when you can drag a spatula through the pan and no liquid fills the gap. This “dry glaze” is the secret to maintaining that “shatter-crisp” base.
Applying the Sesame Seed Crust
Don’t be shy with the sesame seeds. Press them firmly into the oiled dough so they don’t fall off during the bake. As the pizza cooks at high heat, the seeds will turn a beautiful golden brown and provide a crunch that mimics a high-end artisan loaf. It’s a simple addition that provides a massive flavor payoff.
Troubleshooting the Soggy Bottom Syndrome
If your pizza still comes out a bit soft, the culprit is usually one of three things: under-preheating, excess moisture in the meat, or trapped steam. Ensure your oven has been at 500°F for a full 30 minutes before baking. Even if the dial says it’s ready, the heavy baking sheet needs extra time to soak up that heat.
Secondly, double-check that you’ve drained the beef thoroughly. Any leftover grease will act like a drill, soaking straight through the cheese and into the dough. Finally, never let your pizza sit on a flat cutting board immediately after it comes out of the oven.
The Importance of the Wire Rack Rest
The moment you pull that pizza out, slide it onto a wire cooling rack for two minutes. If you place a hot pizza on a solid surface, the steam escaping from the bottom of the crust has nowhere to go. It hits the board, turns back into water, and softens your perfectly crisp crust in seconds. The rack allows for 360-degree airflow, keeping the base crunchy.
Equipment: Tools for High-Heat Success
A heavy-duty baking sheet or a pizza steel is your best friend for this recipe. Thin aluminum trays often warp at 500°F, which can cause your toppings to slide to one side. A heavy pan holds onto heat much better, providing the consistent energy needed to sear the dough.
Parchment paper is also essential for safety. Trying to move raw dough onto a 500-degree surface is dangerous and difficult. By stretching the dough on parchment, you can easily slide the whole thing onto the hot sheet without losing the pizza’s shape or burning your fingers.
Flavor Variations and Ingredient Swaps
If you want to change things up, ground lamb makes a fantastic substitute for beef, offering a richer, more earthy flavor. For a vegetarian version, finely chopped shiitake mushrooms sautéed until very dry can mimic the umami of the beef. Just ensure you cook the mushrooms long enough to remove all their water content.
You can also adjust the heat levels easily. If you like a spicy kick, increase the red pepper flakes or drizzle a little chili oil over the finished pizza. However, avoid adding fresh vegetables like raw peppers or onions directly to the top, as they release water during the bake and might ruin your crisp crust.
Expert Tips for Dough Management
Always let your pizza dough sit at room temperature for at least two hours before you try to stretch it. Cold dough is “tight” and will constantly snap back, making it impossible to get that thin, even base required for a pan pizza. When the dough is warm, the gluten relaxes, allowing you to shape it with ease.
If the dough feels too springy, let it rest for ten minutes on the counter and then try again. This gives the gluten fibers time to settle. A well-stretched, room-temperature dough ensures an even bake, preventing those thick, doughy spots that often stay raw in the middle.
Frequently Asked Questions
Can I use store-bought pizza dough?
Absolutely! Store-bought dough is a great time-saver. Just make sure you take it out of the refrigerator at least two hours before you plan to bake. This “tempering” process allows the gluten to relax, which is essential for stretching the dough thin enough to achieve that signature pan pizza crunch without it tearing.
What is the best substitute for Hoisin sauce?
If you don’t have hoisin, you can create a quick substitute by mixing two tablespoons of soy sauce with one tablespoon of creamy peanut butter, a teaspoon of honey, and a pinch of five-spice powder. This mixture provides the same thick consistency and deep, savory-sweet profile that helps glaze the beef and color the pizza.
How do I reheat leftovers without losing the crunch?
Never use a microwave for this pizza, as it will turn the crust rubbery. Instead, place a dry skillet over medium heat and let the pizza warm up for 3 to 5 minutes until the bottom is re-crisped. Alternatively, put it in a 400°F oven for about 5 minutes. This evaporates any moisture absorbed during refrigeration and restores the original texture.
Why did my sesame seeds burn?
Sesame seeds can burn if they are placed too close to the top heating element of your oven. If your oven has “hot spots,” try moving your baking rack to the middle position. Also, ensure the seeds are well-coated or pressed into the olive oil, as the oil acts as a heat buffer that helps them toast evenly rather than scorching.
Can I make the beef topping in advance?
Yes, you can definitely prepare the glazed beef a day in advance. In fact, chilling the beef can actually help the pizza’s structure. When the beef is cold, the fats and sugars are solid, meaning they won’t immediately run or soak into the dough the moment the pizza hits the oven. Just spread the cold beef over the cheese and bake as directed.
Sesame Beef Pan Pizza
Course: Main CourseCuisine: AmericanDifficulty: easy4
servings20
minutes15
minutes35
Minutes520
kcalAmerican
Ingredients
1 pound pizza dough, room temperature
1/2 pound lean ground beef
2 tablespoons soy sauce
1 tablespoon honey
1 tablespoon hoisin sauce (for the deep mahogany color shown)
1 teaspoon garlic powder
1/2 teaspoon fresh grated ginger
2 cups shredded mozzarella cheese
1/2 cup shredded sharp cheddar cheese
3 tablespoons sesame seeds
2 tablespoons olive oil
1/2 teaspoon red pepper flakes
Directions
- Place a heavy baking sheet or pizza stone in the oven and preheat to 500 degrees F. This intense heat is the first step to preventing a soggy bottom.
- In a skillet over medium-high heat, brown the ground beef until fully cooked and slightly crispy. Drain every drop of excess fat and liquid. This is crucial because any leftover grease will soak into the dough and cause it to fail.
- Stir the soy sauce, honey, hoisin sauce, ginger, and garlic powder into the beef. Simmer for 3 minutes until the sauce is thick, dark, and glazes the meat completely. Set aside.
- Stretch your dough into a circle on a piece of parchment paper. Brush the entire surface and the outer edges generously with olive oil. Sprinkle the sesame seeds heavily over the edges and lightly across the center, pressing them into the dough.
- Carefully slide the dough (with the parchment) onto the preheated baking sheet in the oven. Bake for 5 minutes. This par-baking step sets the structure of the crust so it cannot absorb moisture from the toppings.
- Remove the par-baked crust. Immediately layer the cheddar cheese first, followed by the mozzarella. This cheese layer acts as a waterproof seal for the bread.
- Spoon the glazed beef over the cheese in clusters and sprinkle with red pepper flakes.
- Return to the oven for 7 to 9 minutes until the cheese is bubbling, the beef glaze is caramelized, and the crust edges are a deep golden brown.
- Let the pizza rest on a wire rack for 2 minutes before slicing. Resting on a rack allows steam to escape from underneath, keeping that bottom crust perfectly crunchy.
Notes
- Draining every drop of excess fat from the beef is crucial to prevent grease from soaking into the dough. Resting the pizza on a wire rack after baking allows steam to escape and maintains the crunchy bottom.


