
Why This One-Pan Crispy Chicken Rice Transforms Weeknights
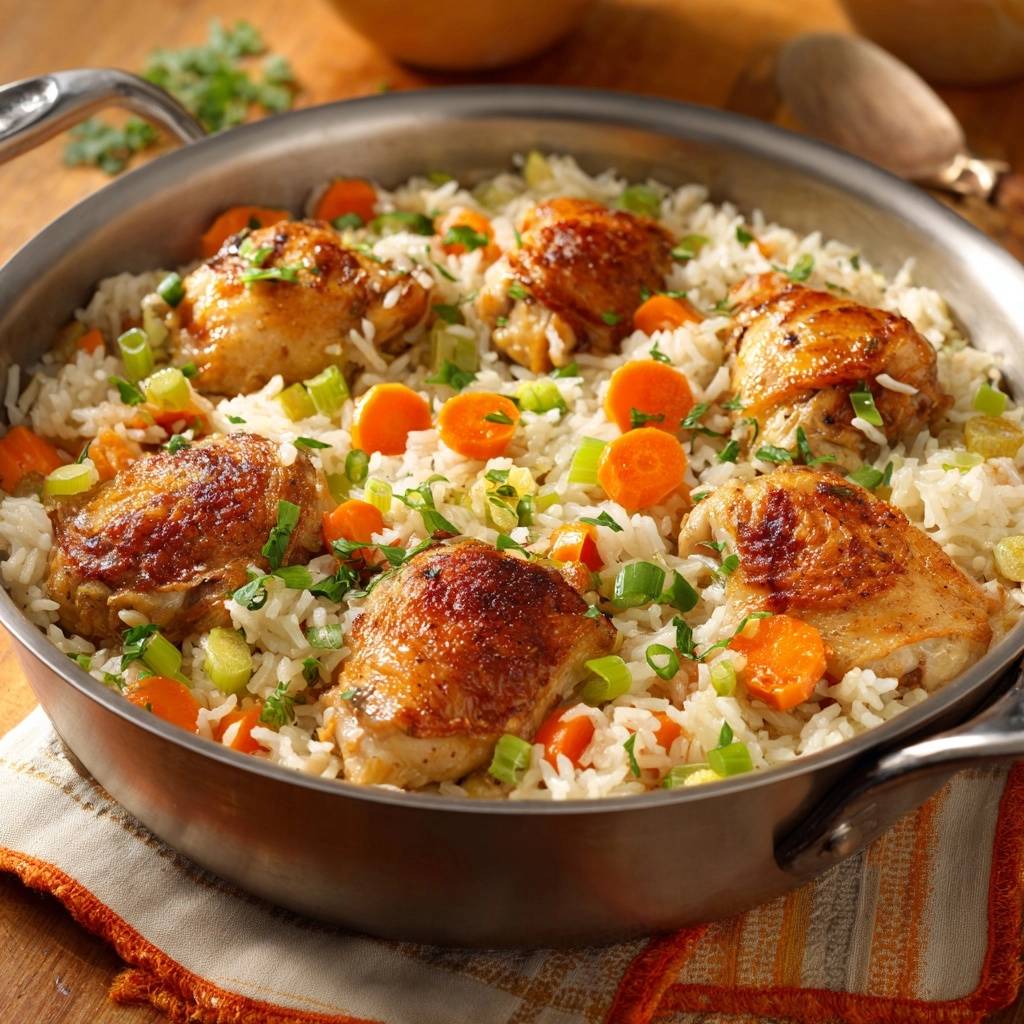
Picture this: you’re craving that golden, shatter-crisp chicken skin over fluffy rice, but every one-pan crispy chicken rice attempt ends in soggy disappointment. Most recipes steam the skin right into rubbery oblivion. However, this method changes everything with a hard sear first, then nestling the thighs skin-up on the rice.
That’s why this one-pan crispy chicken rice delivers juicy thighs and fat-infused grains in just 40 minutes. You’ll skip the takeout hassle and cleanup nightmare. Plus, the whole family devours it, carrots and all.
The real secret? Pat the chicken bone-dry before searing undisturbed for 8 to 10 minutes. That kickstarts the Maillard reaction for unbeatable crunch that lasts through cooking.
Key Ingredients for Perfect One-Pan Crispy Chicken Rice
Bone-in, skin-on chicken thighs form the heart of this crispy chicken rice dish. They render rich fat that flavors the rice while staying juicy inside. Boneless versions dry out fast, so stick with these for success.
Chicken Thighs: Bone-In for Maximum Crispiness
Choose bone-in, skin-on thighs because the bone keeps meat moist during simmering. Pat them completely dry first. Otherwise, trapped moisture steams the skin instead of crisping it.
Rice and Broth: Foundations of Fluffy Texture
Long-grain white rice stays fluffy and separate, unlike short-grain that turns gummy. Toast it in chicken fat for nutty flavor and even cooking. Use 4 cups low-sodium broth to match the rice perfectly, preventing a salty mess.
Vegetables and Aromatics for Balanced Flavor
Thinly slice carrots and celery for quick softening and crisp-tender bite. Separate green onion whites for sautéing and greens for fresh garnish. Chopped parsley adds a bright finish that cuts the richness.
Science of Crispy Skin in One-Pan Chicken Rice
The magic in one-pan crispy chicken rice starts with the undisturbed sear. High heat triggers the Maillard reaction, browning proteins for deep gold color and intense flavor. Therefore, that first 8 to 10 minutes builds a crunchy barrier.
Chicken fat renders out, bubbling around the edges. You leave it in the pan to coat the rice later. In addition, nestling skin-up lets steam rise without softening the crust.
Skin contracts slightly during searing, locking in crispiness. Evaporation keeps things dry up top while rice absorbs below. That’s the science behind shatter-crisp skin in your one-pan crispy chicken rice.
Rendered Fat: Rice’s Flavor Supercharger
Toasting rice in rendered chicken fat creates a nutty aroma through mild browning. It coats each grain evenly. However, skip this and your rice tastes bland.
Steam Control for Lasting Skin Crunch
Position chicken skin-up so steam vents away from the crust. Burying it turns skin rubbery. This simple step preserves the sear.
Essential Equipment for One-Pan Crispy Chicken Rice Success
Grab a large skillet or Dutch oven with a tight lid for even heat in crispy chicken rice gear. Cast iron excels at high-heat searing without hot spots. Non-stick can warp or scratch under that intensity.
A sturdy spatula presses chicken for full contact. Paper towels dry the skin thoroughly. No fancy gadgets needed; these basics ensure pro results every time.
Mastering the Sear: First Phase of One-Pan Crispy Chicken Rice
Pat chicken thighs dry and season generously with salt and pepper. Heat 2 tablespoons vegetable oil over medium-high until shimmering, about 2 minutes. Place skin-side down in a single layer and press gently.
Cook undisturbed for 8 to 10 minutes. Look for deep golden skin and bubbling fat; that’s your cue it’s rendered. Flip once, brown 2 minutes, then transfer to a plate, leaving fat behind.
Don’t poke or flip early, or the crust breaks and steams. Pro tip: if oil smokes too much, lower heat slightly to avoid bitterness.
Drying and Seasoning Chicken Thoroughly
Surface moisture causes steaming, not crisping. Dry well and salt ahead for better penetration. Do this right for flawless skin.
High-Heat Sear Without Disturbance
Undisturbed cooking avoids temperature drops. Single layer prevents steaming. Flip minimally to keep crunch intact.
Building the Rice Base in Crispy Chicken Rice
Reduce heat to medium. Add sliced carrots, celery, and green onion whites to the fat. Sauté 4 minutes until softened and fragrant, building sweet fond.
Stir in 2 cups rice and 1 teaspoon salt. Toast constantly for 2 minutes; grains turn opaque and nutty. Pour in 4 cups broth, scrape bits, boil, then simmer low.
This deglazing pulls umami into the one-pan chicken rice base. Toasting prevents mush by sealing starch.
Sautéing Vegetables in Chicken Fat
Chicken fat softens veggies without browning. Use whites of onions first for mellow flavor. They release sweetness fast.
Toasting Rice Grains Evenly
Stir nonstop to coat every grain. This stops clumping later. Fragrance signals it’s ready.
Finishing and Resting Your One-Pan Crispy Chicken Rice
Nestle chicken skin-up into the rice. Don’t submerge or flip. Cover tightly and simmer 15 to 18 minutes until liquid absorbs; check at 15.
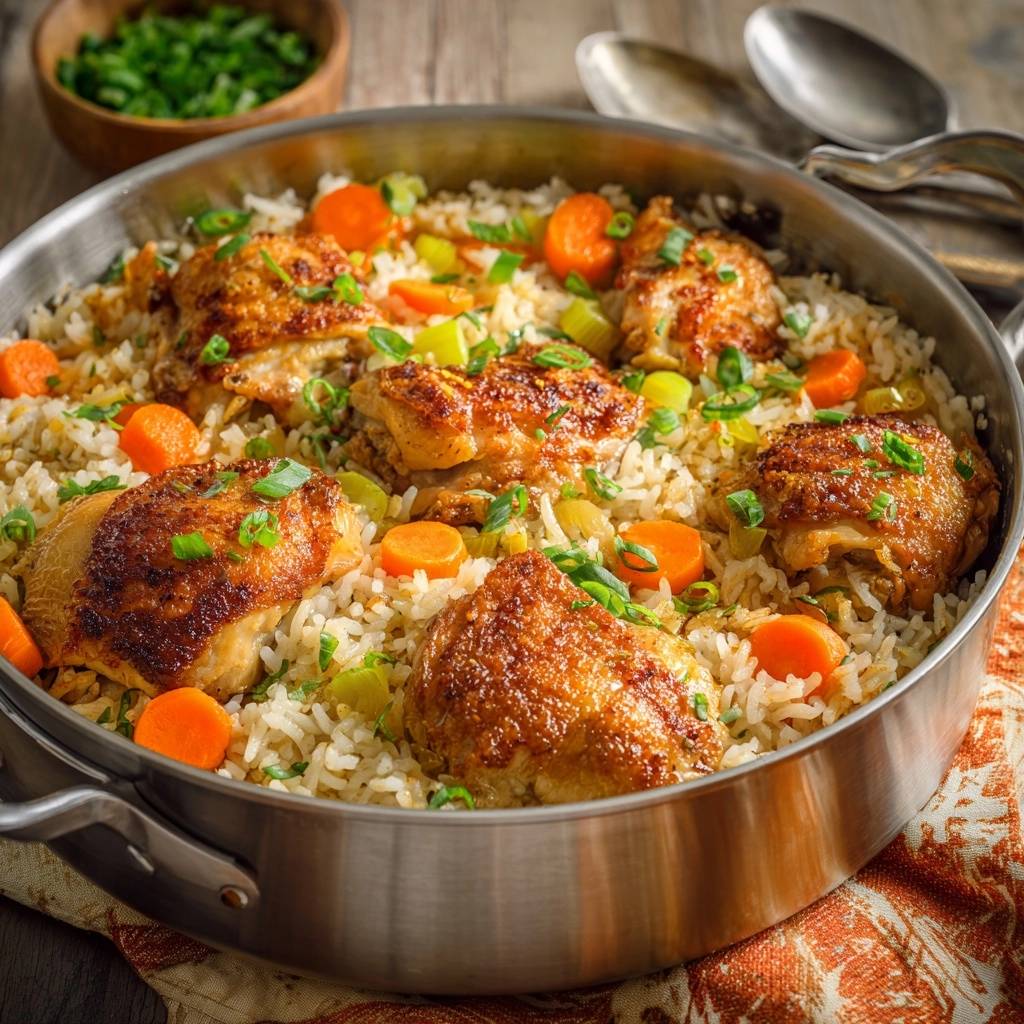
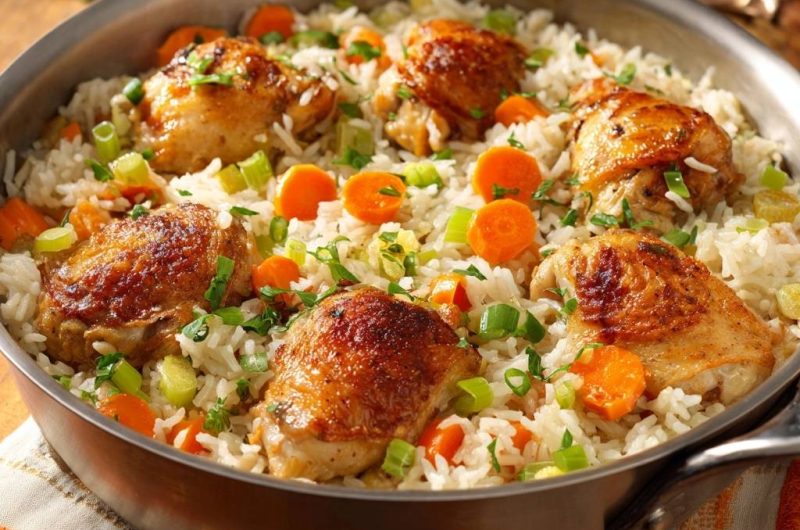
Remove from heat, stand covered 5 minutes. Rice fluffs perfectly. Sprinkle green onion greens and parsley, then serve hot for popping crisp skin.
Serve immediately to maximize crunch. Leftovers still impress, but fresh is best.
Nestling Chicken for Even Cooking
Place thighs evenly, skin exposed. Peek at 15 minutes for doneness. Rice finishes under the weight.
Resting Phase for Fluffy Results
Standing covered redistributes steam for fluff. Skip it and rice stays wet. Patience pays off.
Avoiding Pitfalls in One-Pan Crispy Chicken Rice
Soggy skin hits from overcrowding, early flipping, or loose lids in crispy chicken rice troubleshooting. Sear properly and cover tight. Scale down pan size for fewer pieces.
Mushy rice comes from short-grain types or skipped toasting. Measure broth exactly and use long-grain. Undercooked chicken? Extend simmer by 2 to 3 minutes.
Pro tip: for 4 servings, halve everything and use a 10-inch skillet to maintain ratios.
Fixing Soggy Skin Issues
Avoid top mistakes: crowding, poking during sear, burying skin-down. Pat dry, sear long, position up. Crisp returns in seconds.
Preventing Mushy or Undercooked Rice
Check ratios and toast well. Low simmer prevents boiling over. Adjust time for altitude.
Flavor Twists on One-Pan Crispy Chicken Rice
Lemon-herb: add zest and thyme with veggies for bright tang. Spicy paprika: dust chicken with smoked paprika before searing. Garlic mushroom: swap celery for sliced mushrooms and extra garlic.
Asian ginger-soy: grate ginger into rice toast, splash low-sodium soy in broth. Try quinoa instead of rice, but rinse well and add 2 extra minutes. Chicken breasts work too; sear boneless 4 minutes per side, check early.
These keep the crispy chicken and rice variations core intact. Experiment once mastered.
Ideal Pairings for One-Pan Crispy Chicken Rice
Crisp green salad with vinaigrette cuts the richness in serving crispy chicken rice with sides. Steamed broccoli or green beans add freshness. Yogurt-dill sauce cools any spice.
Sparkling cranberry juice refreshes perfectly. Herbal iced tea balances savoriness. Acidity enhances that shatter-crisp bite.
One-Pan Crispy Chicken Rice: Common Questions
Can Bone-In Thighs Be Swapped?
Yes, use boneless skinless breasts, but sear 4 minutes per side and reduce simmer to 12 minutes. Bone-in drumsticks work too; adjust to fit single layer. Keep skin-on for best crisp in one-pan crispy chicken rice.
Best Rice Type for Crispiness?
Long-grain white or basmati shines for fluffiness without gumminess. Avoid short-grain or brown, as they stay wet. Rinse well before toasting in your crispy chicken rice.
Reheating Without Losing Crunch?
Preheat oven to 400°F, place skin-up on a baking sheet, heat 10 to 12 minutes. Microwave softens skin, so avoid it. Crisp revives beautifully for one-pan crispy chicken rice leftovers.
Scaling for Smaller Batches?
For 2 to 3 servings, halve ingredients, use 10-inch skillet, sear 6 to 8 minutes. Simmer 12 to 15 minutes. Broth ratio stays key in smaller crispy chicken rice batches.
Vegetarian Version Possible?
Swap thighs for thick tofu slabs or portobello caps; sear 4 minutes per side. Use vegetable broth. Toast rice same way for vegetarian one-pan crispy chicken rice vibes.
One-Pan Crispy Chicken Rice
Course: Main CourseCuisine: AmericanDifficulty: easy6
servings15
minutes35
minutes50
MinutesAmerican
Ingredients
6 bone-in, skin-on chicken thighs
2 cups uncooked long-grain white rice
3 medium carrots, thinly sliced
2 celery stalks, thinly sliced
1 bunch green onions, sliced (white and green parts separated)
1/4 cup fresh parsley, chopped
2 tablespoons vegetable oil
4 cups low-sodium chicken broth
1 teaspoon salt
1/2 teaspoon black pepper
Directions
- Pat chicken thighs completely dry with paper towels. Season both sides generously with salt and pepper.
- Heat oil in a large skillet or Dutch oven over medium-high heat until shimmering (about 2 minutes). Place chicken skin-side down in a single layer. Press down gently with a spatula for full contact. Cook undisturbed for 8 to 10 minutes until skin is deep golden and crispy, fat fully rendered (no flipping or poking, this is the key to shatter-crisp skin that stays crisp). Flip, cook 2 minutes more to brown undersides. Transfer chicken to a plate, leaving fat in pan.
- Reduce heat to medium. Add carrots, celery, and white parts of green onions to the chicken fat. Sauté 4 minutes until softened.
- Stir in rice and 1 teaspoon salt. Toast, stirring constantly, 2 minutes until grains are coated and fragrant (this prevents mush).
- Pour in broth, scraping up browned bits. Bring to a boil, then reduce to low simmer.
- Nestle chicken thighs skin-side up into rice (do not bury or flip). Cover tightly and cook 15 to 18 minutes until rice is tender and liquid absorbed (check at 15 minutes).
- Remove from heat. Let stand covered 5 minutes for perfect fluff. Sprinkle with green onion greens and parsley. Serve hot, skin popping crisp.
Notes
- Key to crispy skin: Pat chicken completely dry, sear skin-side down undisturbed for 8-10 minutes until deep golden, and nestle skin-side up on rice without burying.


