Ever struggled to achieve that perfect tender-crisp texture with roasted cauliflower, only to end up with something soft and bland? I’ve discovered the simple secret to unlocking truly Perfectly Roasted Cauliflower – golden, deeply flavorful, and never mushy. This recipe will transform a humble vegetable into a show-stopping side dish you’ll crave.
Why This Roasted Cauliflower Will Be Your New Favorite Side
The Secret to That Irresistible Tender-Crisp Texture
This recipe focuses on high heat and ample space, preventing the cauliflower from steaming. The result is consistently tender florets with beautifully caramelized, slightly crisp edges that are simply divine.
A Burst of Flavor, Simply Achieved
With just a few pantry staples like smoked paprika and garlic powder, we unlock a rich, savory depth. The roasting process intensifies these flavors, creating a truly satisfying taste experience.
Quick, Easy, and Adaptable for Any Meal
Requiring minimal prep and under 30 minutes of cook time, this easy cauliflower recipe is perfect for busy weeknights. It’s incredibly versatile, pairing wonderfully with almost any main course.
The Simple Ingredients for Stellar Roasted Cauliflower
Crafting incredible roasted cauliflower begins with selecting the right ingredients. Here’s a closer look at what you’ll need.
Choosing the Perfect Head of Cauliflower
Look for a large, firm head of cauliflower that is uniformly white or off-white. Avoid any with dark spots or a soft texture, as these indicate it’s past its prime.

Aromatic Spices: Unlocking Deep Flavor
Smoked paprika provides a gorgeous color and a warm, subtly smoky flavor that elevates the dish. Garlic powder adds essential savory notes, while an optional pinch of ground cumin introduces an earthy depth.
Essential Oil and Finishing Touches
Olive oil is crucial for coating the florets, helping them caramelize beautifully and become crispy. Salt and black pepper enhance all the flavors, and a sprinkle of fresh chopped parsley at the end brightens the dish with a pop of color and freshness.
Kitchen Essentials: Gear Up for Roasting Success
Must-Have Equipment for Roasting
-
Large Baking Sheets: Using one or two large baking sheets is critical to spread your cauliflower in a single layer, ensuring it roasts rather than steams.
-
Large Mixing Bowl: Essential for easily tossing the florets with oil and spices, ensuring every piece is evenly coated.
-
Sharp Knife and Cutting Board: Necessary for safely and efficiently breaking down the cauliflower head into florets.
Optional Gadgets for Added Convenience
-
Silicone Spatula: Great for gently tossing the cauliflower mid-roast, preventing sticking and promoting even browning.
-
Parchment Paper: Lining your baking sheets with parchment paper makes cleanup a breeze and helps prevent sticking.
From Florets to Fabulous: Your Roasting Journey
- Prepping for Perfection: Oven & Cauliflower
Preheat your oven to a robust 425 degrees F (220 degrees C) to ensure a hot roasting environment from the start. A high temperature is key for crisping.
Thoroughly wash the cauliflower, then cut off the stem and separate the head into evenly sized florets, aiming for pieces roughly 1 to 1.5 inches. Uniform size is crucial for consistent cooking.
- The Flavor Coat: Seasoning Your Florets
Place the prepared cauliflower florets into a large bowl. Add the olive oil, smoked paprika, garlic powder, optional cumin, salt, and black pepper.
Toss everything together until each floret is beautifully and evenly coated. This ensures every bite of your Perfectly Roasted Cauliflower is bursting with flavor.
- The “No Mush” Zone: Spreading for Success
Crucially, arrange the seasoned florets in a single layer on one or two large baking sheets. Do not overcrowd the pan!
Giving the florets space allows them to roast and brown, rather than steam, which is the secret to avoiding soggy cauliflower and achieving that desirable crispiness.
- The First Roast and The Crucial Flip
Roast for 15 minutes, allowing the cauliflower to begin softening and developing its initial golden hue.
Remove the baking sheet from the oven and gently toss or flip the florets. This promotes even browning and caramelization on all sides.
- Final Touches: Golden-Brown & Tender-Crisp
Return to the oven and roast for another 10-15 minutes, or until the cauliflower is tender-crisp and beautifully caramelized with dark golden-brown edges. The florets should be yielding but still hold their shape when pierced with a fork.
This final stage develops the deep flavor and ensures a delightful texture.
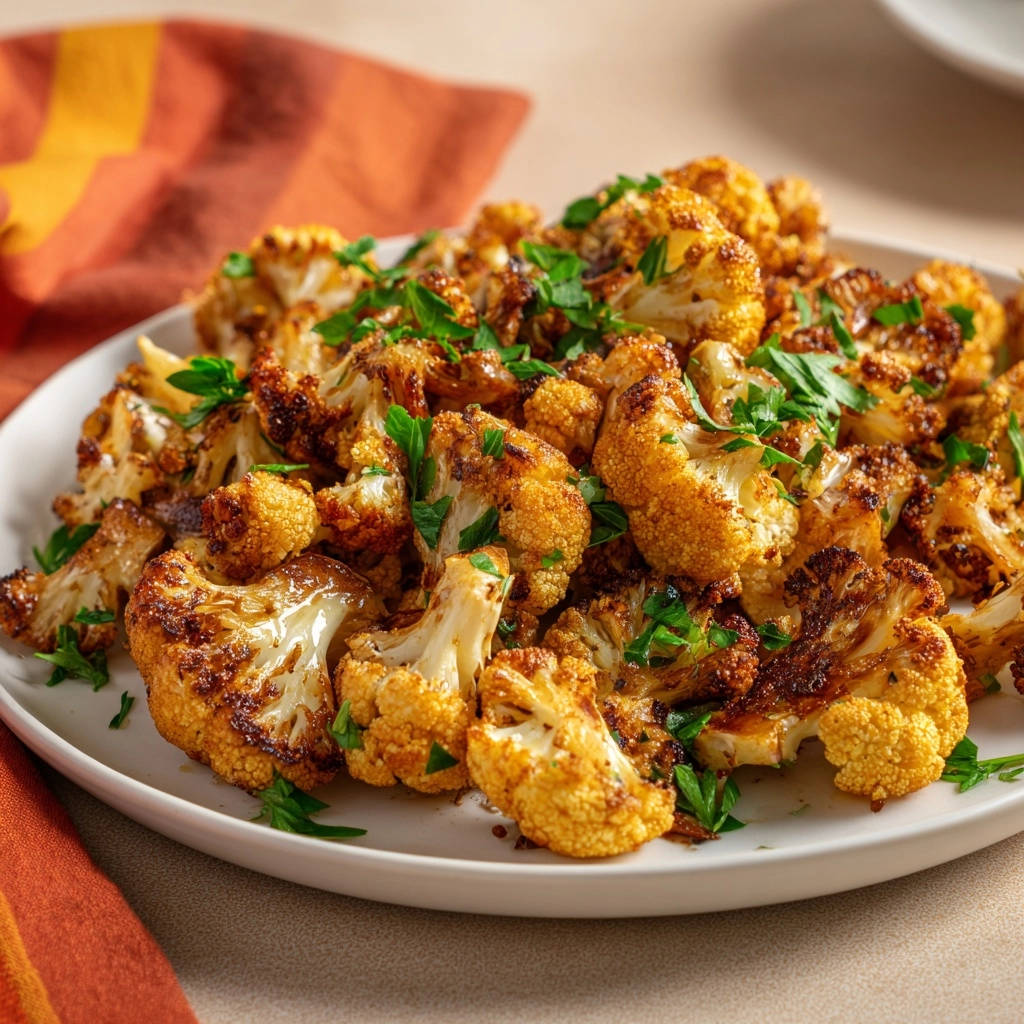
- Garnish and Serve Immediately
Remove the perfectly roasted cauliflower from the oven and transfer it to a serving dish. Sprinkle generously with fresh chopped parsley for a vibrant finish and burst of fresh flavor.
Serve hot to enjoy its optimal tender-crisp texture and aromatic seasoning.
Chef’s Secrets: Elevate Your Roasted Cauliflower Game
Achieving Maximum Caramelization (Without Burning!)
For ultimate browning, ensure your oven is fully preheated and consider preheating your baking sheet as well. A single layer of florets is paramount, as overcrowding creates steam, inhibiting caramelization.
Don’t be afraid of those dark golden-brown edges; they are where the deepest flavors reside.
Cutting Uniform Florets: Why It Matters
Consistent floret size is not just for aesthetics; it’s vital for even cooking. Uneven pieces will lead to some florets burning while others remain undercooked and firm.
Aim for bite-sized pieces to ensure every floret roasts perfectly.
Spice Blends: Customizing Your Roasted Creation
The beauty of flavorful roasted vegetables is their adaptability. Beyond our recipe, experiment with a pinch of curry powder for an Indian twist, Italian seasoning for a Mediterranean vibe, or a dash of smoked paprika and chili powder for a smoky kick.
You can even make your own blends, like a robust homemade chili powder for a Southwest kick.
Add-Ins for Extra Zing
Just before serving, a squeeze of fresh lemon juice brightens the flavors beautifully. You can also toss the hot cauliflower with grated Parmesan cheese for a savory, umami boost, or a drizzle of balsamic glaze for a sweet and tangy contrast.
Solving Common Roasting Roadblocks
Why is My Cauliflower Soggy or Steamed?
The most common culprit is overcrowding the baking sheet. When florets are packed too tightly, they release moisture, creating steam instead of allowing them to roast.
Ensure a single layer with ample space between each piece; use two baking sheets if necessary.
It’s Not Browning Properly
If your cauliflower isn’t getting that beautiful caramelization, check your oven temperature to ensure it’s reaching the specified heat. Light-colored baking sheets can also inhibit browning; darker pans tend to yield better results.
Make sure the florets are completely dry before tossing with oil, as excess moisture prevents browning.
The Flavor Feels Flat
Sometimes, the seasoning needs a little boost. Ensure you’re using enough salt and pepper to awaken the other spices.
A final squeeze of lemon juice or a sprinkle of fresh herbs can provide that missing vibrant punch your dish needs.
Serving Suggestions: What Pairs Well with Roasted Cauliflower?
Perfect Side Dish Pairings
This caramelized cauliflower makes an exceptional side for almost any protein, from roasted chicken to grilled fish or a hearty steak. Pair this incredible side with a hearty main like my Juicy Beef Roast with Caramelized Onions or alongside some Perfect Roasted Carrots and Crispy Chickpeas for a vibrant vegetable feast.
Incorporating Into Main Meals
Beyond a side, add cooled florets to a vibrant salad or a nourishing grain bowl for added texture and flavor. They also make a fantastic base for vegetarian tacos or a flavorful addition to curries and pasta dishes.
Make-Ahead & Storage Tips for Busy Cooks
Storing Leftovers: Keeping it Fresh
Store any leftover Perfectly Roasted Cauliflower in an airtight container in the refrigerator for up to 3-4 days. While the texture won’t be as crisp, the flavor remains delicious.
Reheating for the Best Texture
To restore some crispness, reheat the cauliflower on a baking sheet in a hot oven (375°F/190°C) or an air fryer until warmed through and lightly re-crisped. Avoid the microwave, which tends to make it soft.
Prepping Cauliflower in Advance
You can wash and cut your cauliflower florets up to 2-3 days in advance. Store them in an airtight container lined with a paper towel in the refrigerator to absorb any excess moisture.
Season just before roasting for the best results.
Your Roasted Cauliflower Questions Answered
Can I use frozen cauliflower for this recipe?
While fresh is always preferred for optimal texture, you can use frozen cauliflower. Be sure to thaw it completely and pat it thoroughly dry before seasoning and roasting.
This extra step helps prevent excess moisture that can lead to steaming.
What about different cooking oils?
Olive oil is classic for its flavor and good smoke point. You can also use avocado oil, which has a higher smoke point and a neutral flavor, or even a small amount of melted coconut oil for a subtle, unique taste.
Is this recipe gluten-free/vegan?
Yes, this recipe for crispy roasted florets is naturally gluten-free and vegan, making it suitable for a wide range of dietary preferences. It’s a healthy and delicious plant-based option.
How can I make it spicier?
For a spicy kick, add a pinch of red pepper flakes or cayenne pepper when tossing the florets with other spices. You can also drizzle the finished cauliflower with a touch of your favorite hot sauce.
Ready to Roast? Share Your Perfectly Golden Creation!
Now that you have all the secrets to creating truly Perfectly Roasted Cauliflower, it’s time to get cooking! This recipe is a game-changer, transforming a humble vegetable into a star side dish with minimal effort.
I can’t wait for you to experience the tender-crisp texture and incredible flavor. Tag us in your culinary creations and let us know what you think in the comments below!

Perfectly Roasted Cauliflower
Course: Side DishCuisine: American CuisineDifficulty: easy4
servings10
minutes25
minutes35
minutesAmerican Cuisine
Ingredients
1 large head cauliflower, about 2 pounds
2 tablespoons olive oil
1 teaspoon smoked paprika
1/2 teaspoon garlic powder
1/4 teaspoon ground cumin (optional, for depth of flavor)
Salt to taste
Black pepper to taste
2 tablespoons fresh parsley, chopped (for garnish)
Directions
- Preheat your oven to 425 degrees F (220 degrees C).
- Wash the cauliflower thoroughly. Cut off the stem and separate the head into evenly sized florets. This is important for even cooking! Aim for pieces roughly 1 to 1.5 inches in size. Place the florets into a large bowl.
- Add the olive oil, smoked paprika, garlic powder, cumin (if using), salt, and black pepper to the bowl with the cauliflower. Toss everything together until the cauliflower florets are evenly coated.
- Here’s the key to avoiding mushy cauliflower: Arrange the seasoned florets in a single layer on one or two large baking sheets. Do not overcrowd the pan! Giving the florets space allows them to roast and brown, rather than steam. If your pan is too crowded, they’ll release too much moisture and turn soggy.
- Roast for 15 minutes, then remove the baking sheet from the oven and gently toss or flip the cauliflower florets to ensure even browning.
- Return to the oven and roast for another 10-15 minutes, or until the cauliflower is tender-crisp and beautifully caramelized with dark golden-brown edges. Test with a fork to ensure it’s tender but still holds its shape.
- Remove from the oven, transfer to a serving dish, and sprinkle with fresh chopped parsley before serving. Enjoy that perfectly roasted texture!
Notes
- Do not overcrowd the baking sheet for best results and crisp texture. This prevents steaming and encourages browning.