Have you ever craved the best of both worlds – the fudgy decadence of a brownie and the chewy goodness of a chocolate chip cookie? Enter the brookie, that delightful hybrid that satisfies every sweet tooth. But what happens when you try to elevate this treat with a vibrant red velvet layer, only to find it bleeding and blurring into a disappointing mess? Fear not! This recipe for Red Velvet Brookies solves that problem, delivering perfectly distinct layers every single time. Get ready for a stunning and delicious dessert that’s as beautiful to look at as it is to eat.
Why You’ll Love These Red Velvet Brookies
These aren’t just any brookies; they’re a guaranteed crowd-pleaser. Here’s why you’ll be making them again and again:
- No More Bleeding: The secret technique ensures a clear separation between the red velvet brownie and the chocolate chip cookie layers.
- Perfectly Fudgy Brownie: The red velvet layer is rich, moist, and intensely flavored.
- Chewy, Classic Cookie: The chocolate chip cookie layer provides the perfect textural contrast.
- Easy to Make: With simple instructions and readily available ingredients, these brookies are surprisingly straightforward.
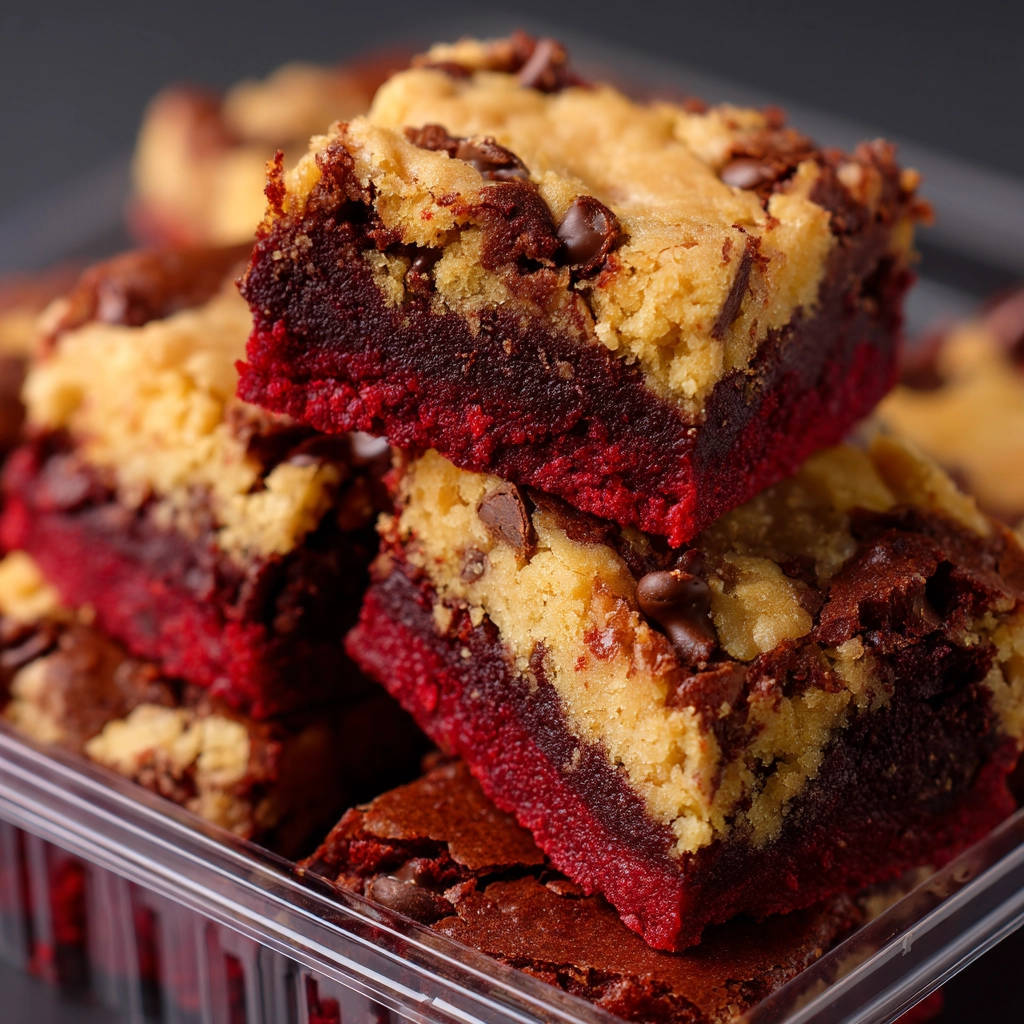
- Impressive Presentation: The vibrant red and golden-brown layers make these brookies visually stunning.
Gathering Your Ingredients for Red Velvet Brookies
Creating these layered brookies is all about balance and flavor. The red velvet brownie layer brings a touch of tangy sweetness and a gorgeous color, while the chocolate chip cookie provides a familiar, comforting base. Let’s break down what you’ll need for each component:
For the Intensely Flavored Red Velvet Brownie Layer: This is where the magic begins. We’re aiming for a rich, slightly tangy, and deeply red base.
- Unsalted Butter: Softened butter is crucial for creating a light and fluffy batter. Using unsalted butter allows you to control the overall saltiness of the brownie layer.
- Granulated Sugar: Provides sweetness and helps to create a tender crumb.
- Large Egg: Binds the ingredients together and adds richness.
- Vanilla Extract: Enhances the overall flavor profile, adding a touch of warmth.
- Red Food Coloring: This is what gives the red velvet layer its signature vibrant color. Use a gel food coloring for the most intense hue.
- Unsweetened Cocoa Powder: Adds a subtle chocolate flavor that complements the red velvet.
- All-Purpose Flour: Provides structure to the brownie layer.
- Salt: Balances the sweetness and enhances the other flavors.
For the Classic Chocolate Chip Cookie Layer: A simple, yet satisfying complement to the red velvet brownie.
- Unsalted Butter: Again, softened butter is key for creating a light and chewy cookie dough.
- Granulated Sugar: Contributes to the cookie’s crisp edges and overall sweetness.
- Light Brown Sugar: The molasses in brown sugar adds moisture and a subtle caramel flavor. This helps create a softer, chewier cookie.
- Large Egg: Binds the ingredients and adds richness to the cookie dough.
- Vanilla Extract: Enhances the flavor of the chocolate chips and adds a touch of warmth.
- All-Purpose Flour: Provides structure to the cookie dough.
- Baking Soda: Helps the cookies to rise and spread, creating a light and airy texture.
- Salt: Balances the sweetness and enhances the other flavors.
- Chocolate Chips: The star of the cookie layer! Use your favorite type of chocolate chips – semi-sweet, milk chocolate, or even dark chocolate – depending on your preference.
Crafting Your Red Velvet Brookies: Step-by-Step
Ready to bake up a batch of these stunning brookies? Don’t be intimidated by the layered element. The secret freezing trick makes all the difference! Follow these steps carefully, and you’ll be rewarded with perfectly layered, delicious Red Velvet Brookies.
- Get Started: Preheat your oven to 350°F (175°C). This ensures even baking. Grease and flour an 8×8 inch baking pan to prevent the brookies from sticking. A light coating of flour helps them release easily once cooled.
- Make the Red Velvet Brownie Batter: In a mixing bowl, cream together the softened butter and granulated sugar until light and fluffy. This process incorporates air into the batter, resulting in a tender brownie layer. Beat in the egg and vanilla extract until well combined, creating a smooth emulsion. Finally, stir in the red food coloring until you achieve your desired vibrant red hue.
- Combine Dry and Wet for Brownie Layer: In a separate bowl, whisk together the cocoa powder, flour, and salt. This ensures that the dry ingredients are evenly distributed, preventing clumps and ensuring a consistent flavor throughout the brownie layer. Gradually add the dry ingredients to the wet ingredients, mixing until just combined. Be careful not to overmix, as this can develop the gluten in the flour and result in a tough brownie. Pour the batter into the prepared baking pan and spread evenly.
- Make the Chocolate Chip Cookie Dough: In a separate mixing bowl, cream together the softened butter, granulated sugar, and brown sugar until light and fluffy. The combination of granulated and brown sugar adds both sweetness and moisture to the cookie dough. Beat in the egg and vanilla extract until well combined.
- Combine Dry and Wet for Cookie Layer: In another bowl, whisk together the flour, baking soda, and salt. Again, this ensures even distribution of the dry ingredients. Gradually add the dry ingredients to the wet ingredients, mixing until just combined. Stir in the chocolate chips until they are evenly dispersed throughout the cookie dough.
- The Secret Step: Freeze the Brownie Layer: This is the key to preventing the red velvet from bleeding into the cookie dough. Place the brownie layer in the freezer for 15 minutes. This partially solidifies the red velvet layer, creating a barrier that prevents the cookie dough from sinking and mixing. This ensures distinct layers!
- Layer and Bake: After the brownie layer is chilled, gently drop spoonfuls of the chocolate chip cookie dough over the partially frozen red velvet layer. Carefully spread the cookie dough evenly over the brownie layer. This may take a little patience, but it’s worth it for the beautiful layered effect.
- Bake to Perfection: Bake for 25-30 minutes, or until a toothpick inserted into the center comes out with a few moist crumbs. Be careful not to overbake, as this can result in dry brookies.
- Cool Completely: Let the brookies cool completely in the pan before cutting into squares. This allows them to set properly and prevents them from crumbling.
Tips for Perfect Red Velvet Brookies Every Time
Want to ensure your Red Velvet Brookies are a resounding success? Here are a few extra tips to keep in mind:
- Room Temperature Matters: Using softened butter and room-temperature eggs is crucial for creating a smooth and well-combined batter in both the brownie and cookie layers.
- Don’t Overmix: Overmixing can lead to tough brookies. Mix the ingredients until just combined.
- Chill the Brownie Layer: The 15-minute freezer trick is essential for preventing the red velvet from bleeding. Don’t skip this step!
- Evenly Spread the Cookie Dough: Take your time to evenly spread the cookie dough over the chilled brownie layer for a uniform and visually appealing final product.
- Baking Time Varies: Ovens can vary, so keep an eye on the brookies while they’re baking. They’re done when a toothpick inserted into the center comes out with a few moist crumbs.
What to Serve With Red Velvet Brookies
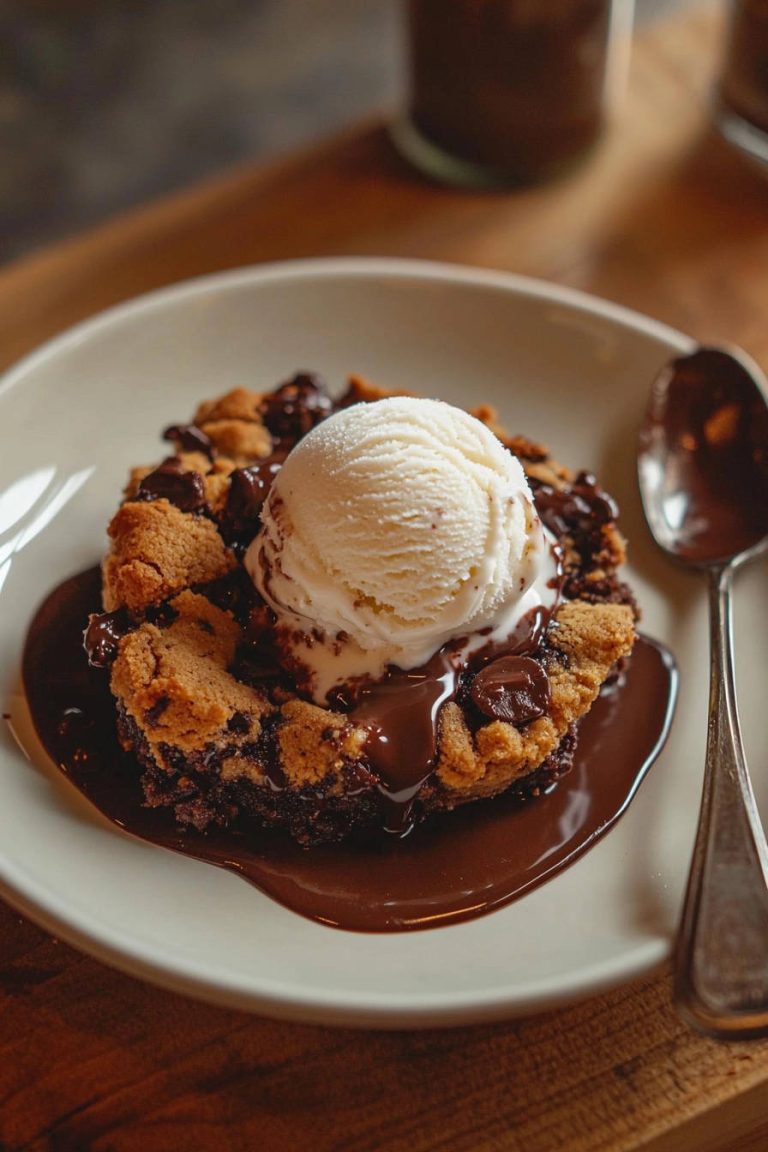
These Red Velvet Brookies are delicious on their own, but they also pair well with a variety of accompaniments. Consider serving them with a scoop of vanilla ice cream, a dollop of whipped cream, or a sprinkle of powdered sugar. For a festive touch, try drizzling them with melted white chocolate or adding a few colorful sprinkles. Pair them with coffee, tea, or milk for a perfect afternoon treat. You can serve these brookies alongside other desserts, such as these easy caramel nut dessert jars or even this decadent chocolate topped cream cake recipe/.
Your Red Velvet Brookies Questions Answered (FAQ)
Can I use a different size pan?
While an 8×8 inch pan is ideal for achieving the perfect thickness, you can use a 9×13 inch pan. However, the brookies will be thinner, so you may need to reduce the baking time by a few minutes.
Can I make these brookies ahead of time?
Yes, you can! The baked brookies can be stored in an airtight container at room temperature for up to 3 days. You can also freeze them for longer storage. Wrap them tightly in plastic wrap and then place them in a freezer-safe bag or container. They can be frozen for up to 2 months.
Can I use a different type of chocolate chip?
Absolutely! Feel free to experiment with different types of chocolate chips, such as milk chocolate, dark chocolate, white chocolate, or even peanut butter chips. You can also add other mix-ins, such as chopped nuts or sprinkles.
Why is my red velvet layer bleeding even after freezing?
Make sure the brownie layer has been in the freezer for at least 15 minutes to get a solid barrier. Be gentle when spreading the cookie dough on top as well!
Enjoy Your Homemade Red Velvet Brookies!
These Red Velvet Brookies are a delightful combination of fudgy brownie and chewy cookie, with a vibrant red velvet twist. The secret freezing technique ensures perfectly distinct layers, making them a stunning and delicious treat. Gather your ingredients, follow the steps carefully, and get ready to impress your friends and family with these irresistible brookies. Now it is time to try our easy delicious chocolate sheet cake recipe as well. Don’t forget to leave a comment below and let us know how they turned out! Rate the recipe and share it on social media!
Red Velvet Brookies (Stops Layers Bleeding!)

Ingredients
- For the Red Velvet Brownie Layer:
- 1/2 cup unsalted butter, softened
- 1 cup granulated sugar
- 1 large egg
- 1 teaspoon vanilla extract
- 1 ounce red food coloring
- 1/4 cup unsweetened cocoa powder
- 1/2 cup all-purpose flour
- 1/4 teaspoon salt
- For the Chocolate Chip Cookie Layer:
- 1/2 cup unsalted butter, softened
- 1/2 cup granulated sugar
- 1/4 cup packed light brown sugar
- 1 large egg
- 1 teaspoon vanilla extract
- 1 1/4 cups all-purpose flour
- 1/2 teaspoon baking soda
- 1/4 teaspoon salt
- 1 cup chocolate chips
Directions
- Preheat oven to 350°F (175°C). Grease and flour an 8×8 inch baking pan.
- Make the Red Velvet Brownie Layer: In a mixing bowl, cream together the softened butter and granulated sugar until light and fluffy. Beat in the egg and vanilla extract. Stir in the red food coloring.
- In a separate bowl, whisk together the cocoa powder, flour, and salt. Gradually add the dry ingredients to the wet ingredients, mixing until just combined. Do not overmix. Pour the batter into the prepared baking pan and spread evenly.
- Make the Chocolate Chip Cookie Layer: In a separate mixing bowl, cream together the softened butter, granulated sugar, and brown sugar until light and fluffy. Beat in the egg and vanilla extract.
- In another bowl, whisk together the flour, baking soda, and salt. Gradually add the dry ingredients to the wet ingredients, mixing until just combined. Stir in the chocolate chips.
- **The Secret Layering Trick:** Here’s the key to preventing the red velvet from bleeding. Before adding the cookie dough, place the brownie layer in the freezer for 15 minutes. This partially solidifies the red velvet layer, creating a barrier that prevents the cookie dough from sinking and mixing. This ensures distinct layers!
- After the brownie layer is chilled, gently drop spoonfuls of the chocolate chip cookie dough over the partially frozen red velvet layer. Carefully spread the cookie dough evenly over the brownie layer.
- Bake for 25-30 minutes, or until a toothpick inserted into the center comes out with a few moist crumbs.
- Let cool completely in the pan before cutting into squares.