
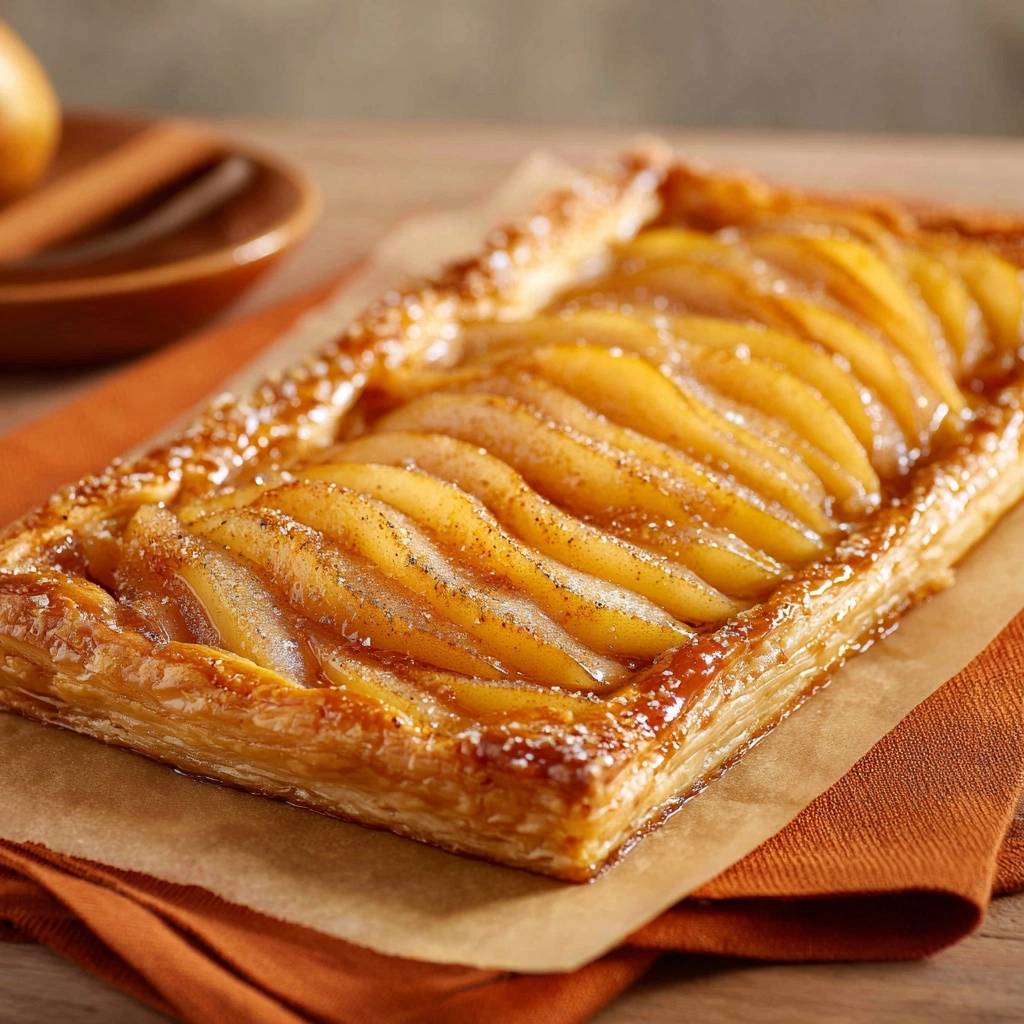
Nothing ruins a fruit tart faster than a soggy crust. You’ve sliced those beautiful pears, arranged them just so, and then the juices leak out during baking, turning golden puff pastry into a mushy disaster. But this rustic pear tart flips the script with its free-form galette style, no fancy tart pan required.
That’s where the cornstarch trick comes in. It coats the pears and traps every drop of juice, so you get that shatteringly crisp base every time. I remember pulling a failed tart from the oven once, all soupy and sad, but tweaking it with this method turned it into a winner that wowed everyone.
However, the real foolproof edge lies in chilling the pastry base for 15 minutes before baking. It keeps the layers intact, letting steam build those perfect flaky lifts. You’re set for rustic pear tart success, no patisserie skills needed.
Why Rustic Pear Tarts Stay Crisp
Fruit tarts go soggy because pears release exudate, those natural juices that soak into the puff pastry’s delicate layers. Puff pastry relies on lamination, thin sheets of dough separated by butter that expand into steam pockets during high heat. Without protection, that moisture collapses everything.
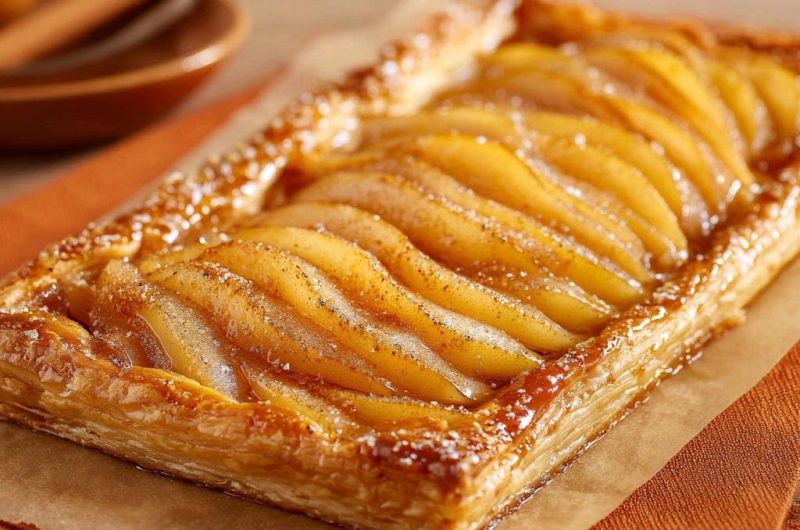
In addition, the Maillard reaction needs dry, high heat for that deep golden crust. This rustic pear tart solves it all with a cornstarch barrier on the fruit. It absorbs juices before they hit the pastry, keeping your pear galette crisp and caramelized.
Therefore, you end up with a free-form pear tart that looks rustic but eats like a pro dessert. No more disappointments, just reliable crunch.
Juice Trap Science in Rustic Pear Tarts
Sugar in the coating triggers osmosis, pulling juices from the pears. Cornstarch then binds them into a thick gel. Unlike apples, which hold firmer, or peaches that gush more, pears strike a sweet spot here.
So, after 10 minutes, you drain the liquid. That simple move keeps sogginess at bay.
Puff Pastry’s Role in Rustic Pear Tarts
Chilling the dough firms the butter, so it doesn’t melt early and leak. During baking, steam puffs the layers sky-high. Prick the center with a fork to prevent giant bubbles.
Result? A crisp, lofty crust that holds those pears perfectly.
Gathering Ingredients for Rustic Pear Tart
Frozen puff pastry shines here because it’s pre-laminated and consistent. Thaw it fully for easy rolling into that 12×10-inch rectangle. Fresh dough works too, but store-bought saves time without sacrificing flake.
Ripe pears provide the juicy filling, while sugar and cinnamon add warmth. Cornstarch is your hero for juice control, and melted unsalted butter gives richness you control. Apricot jam, warmed, adds a glossy pectin shine, but honey subs in a pinch.
Therefore, grab 5 pears, 1/4 cup sugar, 1 teaspoon cinnamon, 2 tablespoons each of cornstarch and butter, plus that jam. These rustic pear tart ingredients come together fast.
Selecting Perfect Pears for Tarts
Pick Bosc or Anjou for their firm texture; they slice evenly and hold shape. Test ripeness by pressing the neck, it should yield gently. Five medium pears yield enough thin slices to cover the tart beautifully.
Spices and Binders for Flavor Balance
Cinnamon warms the pears’ subtle sweetness without overpowering. Cornstarch absorbs twice the juice of flour, staying clear instead of cloudy. Toss thoroughly for even coverage.
Equipment Essentials for Rustic Pear Tart
You need a baking sheet, parchment paper for non-stick release, and a fork for docking. Preheat to 425°F for instant oven spring that lifts the pastry. A rolling pin ensures an even rectangle, no cracks.
However, skip the air fryer; it cramps the puff. Rotate the sheet midway for uniform browning. Minimal gear, maximum results.
Baking Sheet and Parchment Setup
Parchment conducts heat evenly, preventing stuck bits. A standard half-sheet fits perfectly. Rotate at 20 minutes to dodge hot spots.
Mastering Step-by-Step Rustic Pear Tart Assembly
Start by preheating your oven to 425°F and lining the sheet with parchment. Unfold the thawed puff pastry, roll it lightly, and fold edges for a border. Here’s how to make rustic pear tart flawlessly.
Prick the center, chill 15 minutes. Meanwhile, toss pears with sugar, cinnamon, and cornstarch. Let sit 10 minutes, then drain, pro tip: this maceration is non-negotiable for crispness.
Arrange slices overlapping in rows, brush with butter. Bake 35-40 minutes until golden. Brush with warm jam, cool slightly. Oh man, the caramelized edges smell incredible!
Prepping and Chilling Puff Pastry Base
Light flour stops sticking. Fold edges inward half-inch, prick center densely. Chill firms it up, preventing shrinkage in the heat.
Coating Pears to Lock in Juices
Toss until powdery. After 10 minutes, pears glisten but cornstarch slurps up the juice. Drain fully, no puddles allowed.
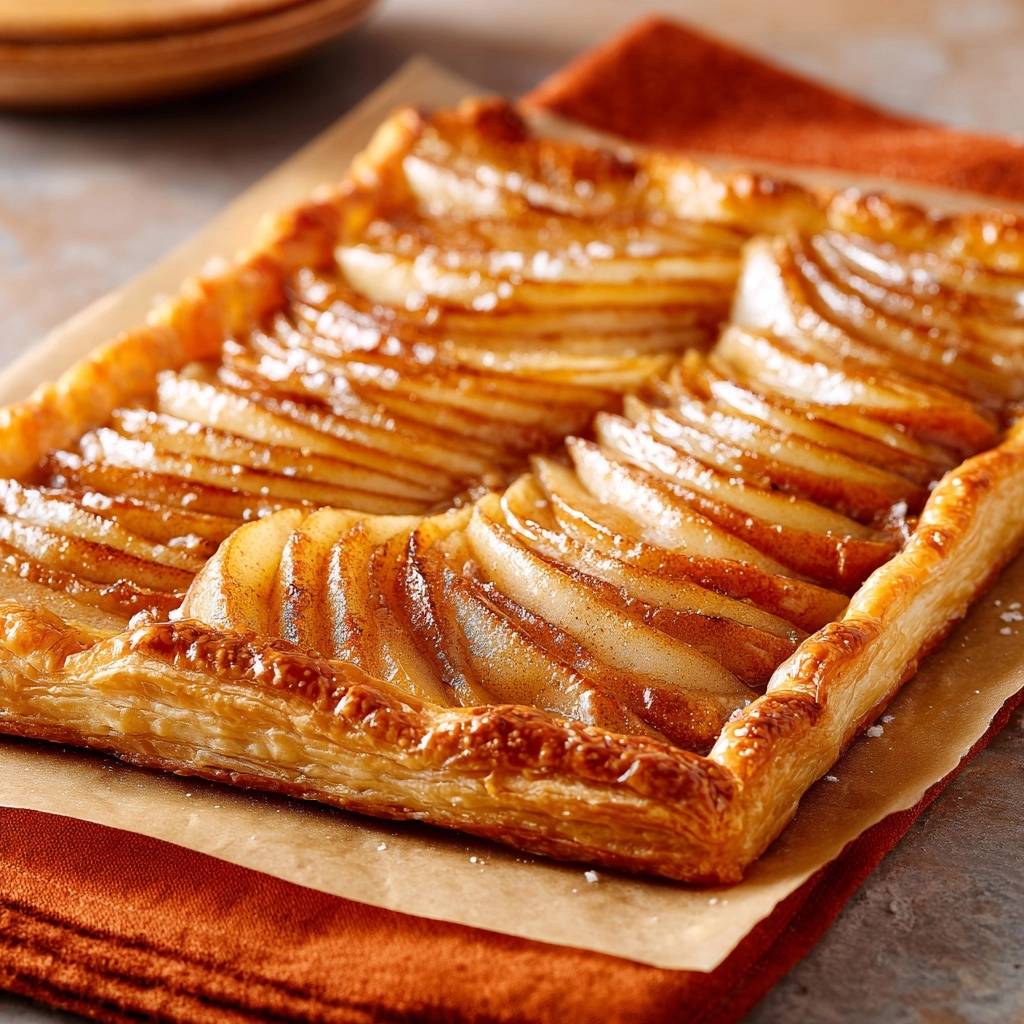
Arranging Slices on Rustic Pear Tart
Overlap shingle-style for pretty layers and even baking. Keep the border bare. Brush butter evenly, it crisps everything.
Baking to Caramelized Perfection
Watch for deep gold pastry and bubbling edges. Rotate halfway. Pears tenderize, edges crisp up beautifully.
Glazing for Professional Shine
Glazing for Professional Shine
Warm jam melts smooth. Brush generously while hot. Cool 10 minutes for clean slices that hold together.
The Science Behind Crisp Rustic Pear Tarts
Cornstarch gelatinizes at lower heat than flour, trapping juices clear and thick. High 425°F bakes trigger caramelization fast, browning sugars before sogginess sets in. Without it, experiments show pastry wilts under the wet fruit.
Therefore, puff pastry stays hydrated just right, steaming up without drowning. Pros use this in galettes for that rustic pear tart reliability.
In addition, thermodynamics keep the base dry. Heat evaporates surface moisture first, crisping as it goes.
Cornstarch vs. Other Thickeners
Cornstarch holds 10 times its weight in liquid, clearer than flour’s paste. Tapioca works but gets stringy. Stick with cornstarch for foolproof results.
Avoiding Pitfalls in Rustic Pear Tart
Overripe pears mush up, so choose firm ones. Skip chilling, and pastry shrinks. Forget draining, sogginess strikes.
Low oven temps yield pale crusts, no lift. However, follow the steps, and you dodge every issue.
Fixing Soggy or Shrunken Pastry
Chill longer if warm kitchen. Dock more holes. Crank oven to 425°F, calibrate with thermometer.
Flavor Twists on Rustic Pear Tart
Add almond frangipane under pears for nutty base. Swap cinnamon for ginger zest. Mix in apple slices for tartness.
Therefore, try vegan pastry with oil brush. Or cheese crust for savory kick. Endless rustic pear tart variations await.
Nutty and Spiced Adaptations
Frangipane: blend almonds, sugar, egg. Ginger: grate fresh into toss. Balance with extra sugar if needed.
Pairing Sides with Rustic Pear Tart
Whipped cream cuts the richness. Vanilla ice cream melts into warm pockets. Sharp cheddar contrasts sweetly.
Nut brittle adds crunch, tea’s earthiness elevates. Coffee’s bitterness balances perfectly.
Storing Your Rustic Pear Tart
Keep at room temp up to 2 days, covered loosely. Fridge lasts 5 days in airtight container. Freezes well up to 3 months, wrap tightly.
Reheat at 350°F for 10 minutes, crisp returns. Prep pears ahead, toss and drain same day.
Troubleshooting Rustic Pear Tart Issues
Overcoming Uneven Browning
Rotate midway, position rack middle. Convection helps too.
Rescuing Bland or Mushy Pears
Firmer pears, add lemon zest. Boost cinnamon or vanilla.
FAQ
How do I store leftovers of rustic pear tart?
Store slices in an airtight container at room temperature for up to 2 days to keep the crust crisp. Refrigerate for 5 days max, covered to prevent drying. It freezes beautifully for 3 months, wrapped individually in plastic then foil; thaw overnight in fridge and reheat at 350°F for 10-12 minutes on a parchment-lined sheet to revive the flake without sogginess. Avoid microwaving, it steams the pastry soft.
Why did my rustic pear tart turn out soggy?
The most common culprit is skipping the cornstarch toss or drain step, letting juices flood the puff pastry. Overripe pears release more liquid too. Fix it next time by using firm pears, macerating exactly 10 minutes, and draining thoroughly, the cornstarch turns excess into gel that stays put. Also, ensure full chilling of the base to maintain butter layers against moisture.
Can I substitute ingredients in rustic pear tart?
No puff pastry? Use pie dough, but chill extra. Swap pears for firm apples or plums, adjust sugar if tart. Out of apricot jam? Warm honey or apple jelly works for shine, thin with water if thick. Cornstarch only for vegan thickener, arrowroot subs but use half as much. Unsalted butter is best, but salted cuts fine, just reduce added salt if any.
What’s the best pear type for rustic pear tart?
Bosc or Anjou hold shape best, their dense texture slices thin without falling apart. Avoid soft Bartletts, they mush during baking. Pick ripe but firm, neck yields to gentle pressure, about 5 medium give perfect coverage without overflow. Peel for smooth look, core thoroughly to nix grit.
How long does rustic pear tart take to make?
Prep runs 20 minutes, bake 35-40, total under an hour plus 15 chill and 10 macerate. Hands-on is quick, mostly passive. Cool 10 minutes for slicing, serve warm for peak crispness and melt-in-mouth pears.
Can I make rustic pear tart ahead?
Assemble fully, bake same day for best flake. Or prep pears tossed and drained up to 4 hours ahead, store covered. Pastry base chills overnight fine. Bake fresh, or freeze assembled unbaked up to a week, bake from frozen adding 5 minutes.
Rustic Pear Tart
Course: DessertCuisine: AmericanDifficulty: easy8
servings25
minutes40
minutes65
Minutes320
kcalAmerican
Ingredients
1 sheet frozen puff pastry, thawed
5 ripe pears, peeled, cored, and thinly sliced
1/4 cup granulated sugar
1 teaspoon ground cinnamon
2 tablespoons cornstarch
2 tablespoons unsalted butter, melted
1/4 cup apricot jam, warmed for glazing
Directions
- Preheat oven to 425 degrees F. Line a baking sheet with parchment paper.
- Unfold puff pastry on a lightly floured surface and roll into a 12×10-inch rectangle. Transfer to the prepared baking sheet and fold edges inward 1/2 inch to form a border. Prick the center dough all over with a fork. Chill in fridge for 15 minutes.
- In a large bowl, toss sliced pears with sugar, cinnamon, and cornstarch until evenly coated. Let sit for 10 minutes. This key step draws out excess juices, which the cornstarch absorbs completely, preventing any sogginess from reaching the pastry. Drain any liquid in the bowl.
- Arrange pear slices in overlapping rows on the pastry, leaving the border empty. Brush pears and pastry edges with melted butter.
- Bake for 35 to 40 minutes, until pastry is deep golden and pears are tender and caramelized. Rotate sheet halfway for even browning.
- Brush warm tart with apricot jam for shine. Cool slightly before slicing. Serve warm or at room temperature. Perfect flaky results guaranteed!
Notes
- Chilling the pastry and coating pears with cornstarch are key to preventing sogginess. Drain excess liquid from pears before arranging on pastry.


